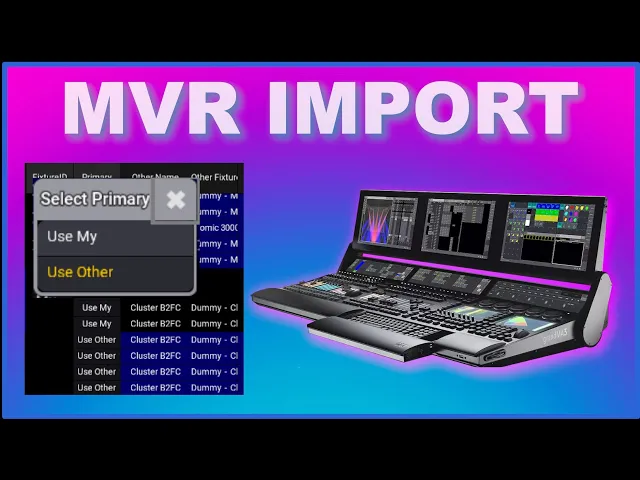
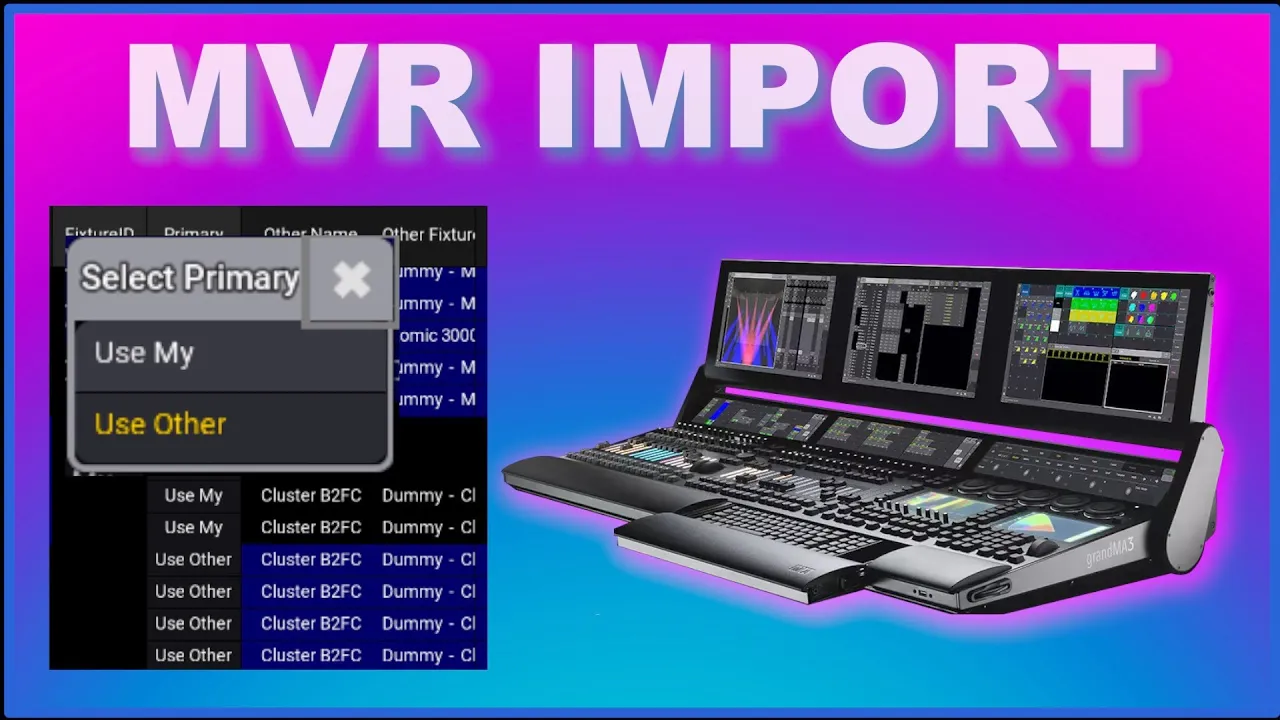
Hi, and welcome back to the Event Lighting Channel. Today, we're going to try something fun again, and that is to delete our entire house rig, leave our tour rig intact, and then import an MVR file to try to implement everything again. I'm going to show you how easy it is.
We're also going to clone some global presets into our new fixtures to make it very easy to reestablish everything in your show file. I know I've covered some of this stuff before on my channel in my long-form videos covering my workflow, but I'm just going to make a special video only on the MVR thing. I think MVR is really, really, really cool and easy to work with, and actually very simple to work with as well.
So, just to set everything up here, you can see I have my patch in here. I have a lot of local fixtures. The fixtures in these groups— the groups here, local production— change every day because I'm in a new venue, so the content of these groups is new every day.
Something I always have is some global fixtures down here, which I can use to clone information from. I primarily use my house profiles here, 1701, and the Aura XB, 1601, which just contains some color information, some beam information for the profile, some gobo information, stuff like that. I need that for cloning my global fixtures later.
But let's just start with having a look at our rig. You can see my rig here. If I zoom in, you can see it contains my tour rig, which is everything on the floor, which is something I carry every day.
Then, I have up here my house rig, which is what changes every day. So, I need to delete all this stuff from my house rig, and then I want to import a new MVR file and see how fast we can reestablish everything. Let's just start by deleting all the content of these groups.
I'm just going to speed up the video a little bit so you don't have to wait for me to do all of it. But this is basically all the stuff I need to delete and all the stuff I need to replace with something else. As you can see, I deleted the content of these groups, the patch groups, but I do not delete the group itself because I need the group numbers for some easy cloning afterwards.
So now that everything is cleared out, I can just close this Global fixture. You can see our local production here is completely empty, and if I save my show and you look at the MVR file over here, you can see everything simply deletes. It uploads the show file again to all my units here, and you can see everything is gone.
Now we need to import an MVR file and reestablish everything really, really quickly. You can also see all my groups here are empty because all the fixtures that were in these groups are now deleted. So now we don't have anything in the groups.
We need to make sure that we patch something and we put it into the groups as well. There are a few different ways I do this. I have some macros running some of the grouping for me.
So if we just start by going into the patch, we go into new fixture here and we say import MVR. On my USB stick over here, I have some different MVR show files, so let's just take this one, PF 2023, which is from some festival I did this summer. We say import, and it starts the MVR import process.
The first stuff you're going to see up here is the house rig. For my house rig, there's something that is already in the show, and if I scroll all the way down to the bottom, you can see this is what it wants to import; this is the MVR file content from this. Below, I can already see now I don't want all this stuff; these are pipes and all kinds of different scenic equipment.
I don't care about all that; I just want the fixtures. So I say use mine, which means don't import that. I go further down; there's some trussing down here as well, and we say use mine.
We have some smoke machines—that is fine, so we say import MVR. It prepares everything, and now you can see it puts everything down here below where I imported it. The first thing we need to do is to make sure that all our fixtures are swapped into correct fixtures because when you import an MVR file, the fixture from the MVR file is not always, or almost never, matched with a correct fixture inside your GrandMA3.
So, it just tells you basically what it thinks it is. It's a Viper Performance, but it's not matched to a correct fixture profile. However, it does know the mode, and it does know the patch.
So, the only thing we need to do here is go into our Viper Performance, go into our library, and search for Viper. We find Martin Professional Viper Performance; we take it in the basic mode, select it, and now it should be matched correctly. We do that with the Cameo units down here as well.
We search for W600, and I know it's in a three-channel mode like this. We go further down our XIPs; we go in and search for XIP like this, and they are right here. That's in the basic mode, which means it has instances.
We covered that on this channel previously. We have some two lights; we're just going to patch a normal dimmer channel; it doesn't really matter. Then we have some Auras here, which is the front light.
Oops, that was too much. We have some Auras here like this, and we go in and search for Aura. We have some Martin down here; we have an Aura.
A standard mode and everything is okay. These ones are just dimmer channels; that is our smoke machine. We import that as well, and if you look here, when I exit the patch, you can see now everything comes up as it's supposed to be.
So now we imported a new show file, but if I look at my groups here, there's nothing in my groups, because we imported everything, but it doesn't know anything about the fixtures. It's not part of any groups, and it's not part of any presets. So as you can see, now everything is imported into the show.
Everything is positioned, but we still need to do some cleanup in the patch. We go back into the patch, and we look at all the grouping, and everything. You can see all these groups here are empty; I don't need them, so I'm just going to delete them.
But another thing you can see is they don't have any fixture numbers, so let's just put them into the correct groups. Like this, we just cut everything, and this is our performance—these are our house spots. We paste them in here, and we simply give them a fixture number of 701 because they are in group 700.
And by the way, head over to eventlearning. com and have a look at some of the courses we have over there. Right now, we have a DMX course, and I'm working very hard on a more dedicated and much more structured GrandMA3 course if you are a beginner.
Later, we're going to look at some network courses and some other stuff that could be relevant for you as a GrandMA3 programmer. So just head over to eventlearning. com and sign up, and there's a community in there which I hope is going to be filled with a lot of people.
Right now, there's almost 100 people in there, so make sure that you are in there as well. Let's do that with the strobes here as well. We cut them, and we find our strobe group somewhere like this, and we paste them in here, giving them a fixture number of 301.
Sometimes, if everything is not sorted ascendingly here, and you give them fixture numbers, you might have some fixture numbers going up and down. It doesn't really matter that much anymore when you're using the selection grid, but of course, if you want them to be in a certain way, you have to make sure that they are. Sometimes, the fixture numbers are imported with the MV file, and sometimes they're not; that depends on how you made them.
If you are using WYSIWYG, for instance, and you are used to using unit numbers for your fixture numbers, then they are not exported as part of your MVR. But if you're using spot numbers, they are exported as part of your MVR file, so that's a little bit different. I rarely use them in my setup, so let's paste these ones into our washes here and give them a fixture number of 601.
And what else do we have? Some two lights? We cut these guys and we put them into the Blinder group like this.
Paste, and we give them some unit numbers, 101, or fixture numbers, as they are called. The auras are the front light; we cut those guys and we find the front light here, paste them in, and give them the correct fixture numbers like this. And what else do we have?
Some smoke machines down here? Here, we cut those guys, put them into the smoke group, and we give them the correct numbers like this. So this is basically all we need to do.
Everything is set up with fixture numbers, and we can start our cloning process. So let's just exit this stuff, and you can see now everything has been offset a little bit, and that's because I, at some point, moved my group because the file I was importing was offset. So if I go into my patch again and I select my local production, you can move each group individually.
So if I go into my house Blinder here, I can move only the blinders. If I go into the front, I can move only the front. And of course, if I go into a certain fixture, I can move that one as well.
But let's just take our local production here, go into Show 3D positions, and if I put this over here, you can see what's happening. You can see everything is off to one side, which is kind of not what we're looking for. So we take our local production here, we go into X, and we move it into place.
I think it is actually all the way down to zero. You can see now everything is positioned a lot better than it was before. So let's just exit this, and again, you can see everything pops into place.
Over here, in a previous video, I showed you how to make a macro here that can store some groups for you. So if I just press this guy here, it's going to look into my patch groups and it's going to take the content of the groups in my patch and put it into the groups right here. The way I store my linearized groups is with this simple macro here.
If you look at it, I simply go into blind, I clear everything, then I select fixture 700, and fixture 700 is a group in my patch which contains all my spot fixtures for my show. Then I press down because if I only store fixture 700, it just stores the group as just one fixture. I just press down, and then I store everything in my house spot linearized group.
When I press down, it selects the content of the group; how many fixtures you might have in there doesn't matter; it just takes everything that is inside that group. So that number of fixtures will vary from day to day if you are on tour like I am. Then it's so easy to make a macro that does this stuff, and then.
. . I just go through all my different fixtures all the way down.
I clear everything, and I blind and I turn blind off, and then it has stored these four groups I need. Now, if I press my house wash linearize, it actually selects all my house washes as it's supposed to. Over here, one thing I still need to do is to store my worlds because it makes it easier to do some selections afterwards.
So if I press my house washes, you can see there's nothing in these worlds, which is, of course, a problem. But that's why I have a small little macro that stores my worlds. So if I push that one, it's just going to go through all the different fixtures, and it's going to put them into its own world.
Now I can select my washes, spots, strobes, blinders, front light, and so on, or everything. But again, if we look at this one, this is our linearized group. This is all our macro stored for us; we need to put this into our selection group if we want to utilize the selection grid in our show.
The way my show is built, I have the first group as a linearize selection. If you look in the selection grid over here, it just selects one through to the last fixture in that group. So I want to put this into my selection grid, and we have the 3D information here.
If I push this button, you can see it now stores it into the now selected into the selection grid. You can see there's a lot of space between the fixtures, and if I press next now, it's just going to select the first one. Next, time I press next, it's going to select an empty space and there's no output, and again, empty space, empty space, empty space before it selects whatever is on the x-axis.
What you can do is remove the offset like this, and that actually puts it into the selection grid. You can see now they are next to each other, but now they are not taking into consideration all the other fixtures in your show. So you want to make sure you use it the correct way.
You can remove the spaces; it makes it easier to tap through stuff, but then it doesn't know exactly how to position or do effects according to the other fixtures in your show. So that's another thing you need to consider. I never put it into remove gaps unless I'm working with specials.
So this is basically all my washes. I just want to store this into my wash group like this and clear everything, and that's my groups here. Then I do the same with my spots.
I put them into my selection grid, and I simply just go in and store my spots group here. Now I just need to make my odd and even groups on my washes and my spots. I'm going to speed up the process, and I'm going to do it on the console over here.
So if I select all my washes now, you can see all my groups are updated. If we go in and we look at the house spots, you can see it selects everything. Everything looks good in 3D, but the only thing missing is our color information, our gobo information, all this stuff.
So what we can do now is we can utilize a little macro I made a little time ago here, and I can go in and see if I can find my clone spots. As I said, nothing is in it right now—no colors, no everything. So if I go into my clone spots, it's going to ask me my origin, and I showed you I have a spot fixture in there called 1701, so I say 1701, and then my destination is 701, and then it just clones all the presets I need.
If I now go in and look at the spots, you can see now we have color information, we have some gobo information, some iris, some strobe, some zoom—they are universal presets. This is the same for the intensity, and just to show you how this macro works, if my clone spot macro here, I edit that one. You can see I go into blind, I clear everything, and then I set two variables.
The source spot fixture is basically what I call my variable; ssf is for my input spots. You can see when I put this in brackets like this, and I put in a question here, if I run this macro line, it's going to ask me this question: "Please enter input source spots," and you can see that's exactly what I put here. If I do the next one, set user variable SDF, which is my destination fixture, basically if I test that macro line, it's going to ask me that question.
So I just need to input these guys, then it stores it in these variables: the source spot and the destination spot of the destination fixture. Then I just clone my fixture, and then it calls the variable ssf, my source, and then it says at fixture, and then my destination. If I expand this a little bit, it says if preset 3.
1 through—that is my 3. 1 through one of my directories. The next one here does the same thing; it clones fixture, uses this variable for my source, and then it goes down and says add fixture, and my destination if preset 4.
1 through, then it merges high, and it repeats that same process. You can see my different groups here; if my different presets 4. 1 would be—sorry, 4.
1 would be the color presets, 3. 1 would be gobos, 5. 1 would be beam, and so on and so forth.
So that's how simple it is to build that macro: just use two variables and then just repeat the process all the way down through how many presets you want to clone. So let's do the same with the wash fixtures. We select them here; you can see there's nothing here.
Clear this stuff, and we run our wash clone. It's called 1601, my input fixture, and it goes to 601. It clones everything, and now, if I clear this stuff, you can see it now contains some color.
It doesn't have any strobe or anything; I don't use strobe with that fixture at all. So, this is how easy it is. If I go to my sequence now, you can see stuff is showing up now, but you can't see any of the wash fixtures right now, which is really annoying because the wash fixtures are supposed to be part of this show.
That is because we have an instance problem. If I go into my house wash and I press down on my keyboard and select all the instances, I can store the instances on top of this one, and now we should be able to see something happening. You can see now we have some fixtures showing up, and I think highlight is active; that’s why they are all white.
You can see now it's starting to look like something, but if we turn this off again and we want to make sure that everything is set up correctly, you can see I don't have any positions right now because I'm not cloning my position information. If we just go into highlight again like this, we select all our house washes, and we go into our position here, we can start moving them around in 3D like this and just store that as position number one. Maybe we can store that as position number two as well, putting them into the audience just a little bit like this.
Then, we can store that into this one and we can put them all the way up in the air like this and store that into the last one. So, that's cool! Now we need our wash—sorry, our spots—to do the same thing.
We just store this into position one and then store the same into position two like this, and then we put it into the audience. I'm going to show you something cool because if we use the selection grid, we can use something cool right now. It's not selected, so if I do my fanning here, you can see it looks really odd because it doesn't know where every fixture is.
So, if we center that and we use our selection grid instead, we put it up into the audience like this. We use the align tool and you can see now it aligns even though we are on two separate trusses. That is because the selection grid is helping us; it knows where every fixture is.
So, align actually works even though you might be on three, four, or five different trusses. Align will still make a fan for you very, very easily. So, we store that into the audience, and we can put that all the way up into the roof as well and store that into our roof position here.
It can even help doing some of the positions on stage. Let's just do the lead singer here. We turn on align and we can align all the fixtures the way we want them to hit the downstage center position.
So, that's one of the things you can do. Now we know we imported our show, so we made our positions, we made our colors, and basically, if I go down to the cue where they are supposed to be moving around, they should be moving now. You can see they are actually still working the way they're supposed to; they're doing a symmetrical circle with a wing of two, even though we didn't clone anything—any positions or any selection order or anything like that.
It just works, and that is the power of recipes and the selection grid on GrandMA3. It is fantastic to work with and really, really easy. The last thing I want to show you is some of the specials over here.
You can see these groups are completely empty because I choose the specials every day. I just use the specials for maybe two or four, depending on how many fixtures I have to go down to the lead singer or to the guitarist or whatever. The powerful thing about recipes is that it looks at a group or the content of a group; how many fixtures are in there is up to you, and then it uses the position.
That's all I need to make specials because I can take color information from the color directory and whatever I might want to use. So, if I wanted to do something for my lead singer here, I need to select some wash fixtures, and I just go into my wash world like this and select whatever fits me today—whatever would be the best fixtures today. I just make sure that I remove the offset and the gaps; otherwise, I have to tap through all the empty spaces.
I store that into this one here, and then I only need to do the position. So, we can just take the position up, we can go into align, and we can align it into the lead singer, and we can store that position right here. Now, that’s the only thing I need to do to make my special work.
My special will be selected by a recipe, it will be put into a position by a recipe, and then the color or strobe or whatever I use will come from another recipe somewhere else. So, the only thing you need to do is the content of a group and a position, and everything works through your entire show. That is really, really cool.
So, that’s the power of importing MVR. You can delete everything, and then you can import an MVR into your show relatively easily and get up and running again with the recipes and the selection grid and all this stuff in GrandMA3. So, this is my little video on MVR.
I know it’s a little long, but basically, we just set up an entire show in what, 20-30 minutes? It’s really, really easy sometimes. You would spend hours doing this on GrandMA2 or other consoles.
If you're using recipes and if you're using the selection grid in GrandMA3 to do all your effects and all this stuff, it is so easy to work with, and it can make very, very large shows very, very easy because of recipes. I hope you enjoyed the video! If you did, you're more than welcome to give it a like.
It's going to help my channel to be pushed out to more people and indicate to YouTube that you like the video. If you're not subscribed to the Event Lighting Channel, you are more than welcome to do so as well—just push the little bell down there so you get a notification every time I upload a new video, so you can go watch it right away. Until I see you next time, I hope you have some happy GrandMA3 programming moments at home, sitting and learning all this stuff, and I'll see you next time.
Bye-bye!