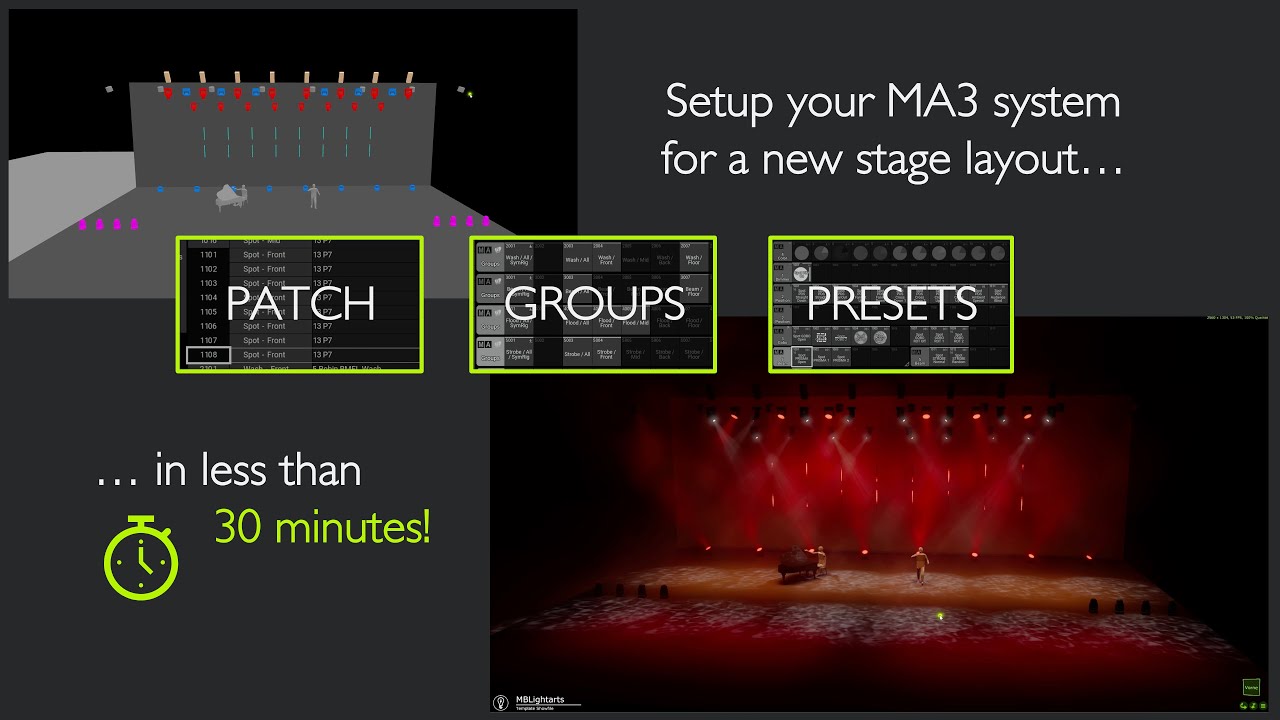
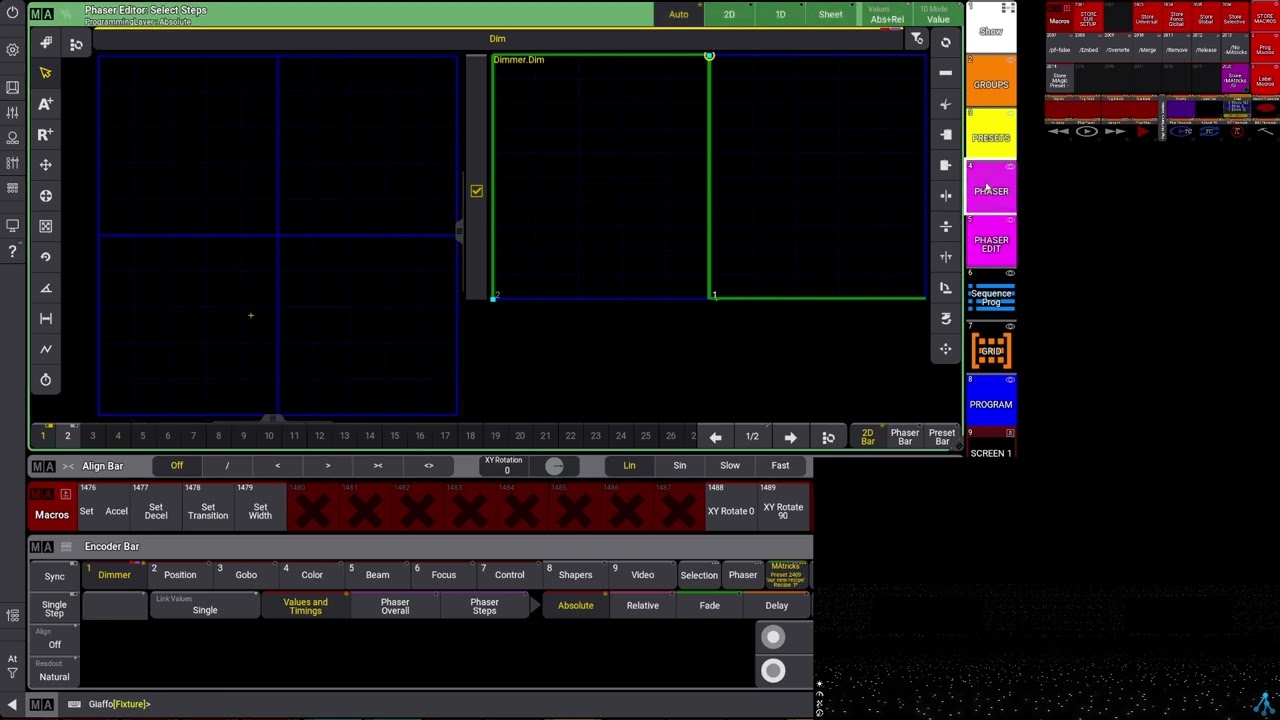
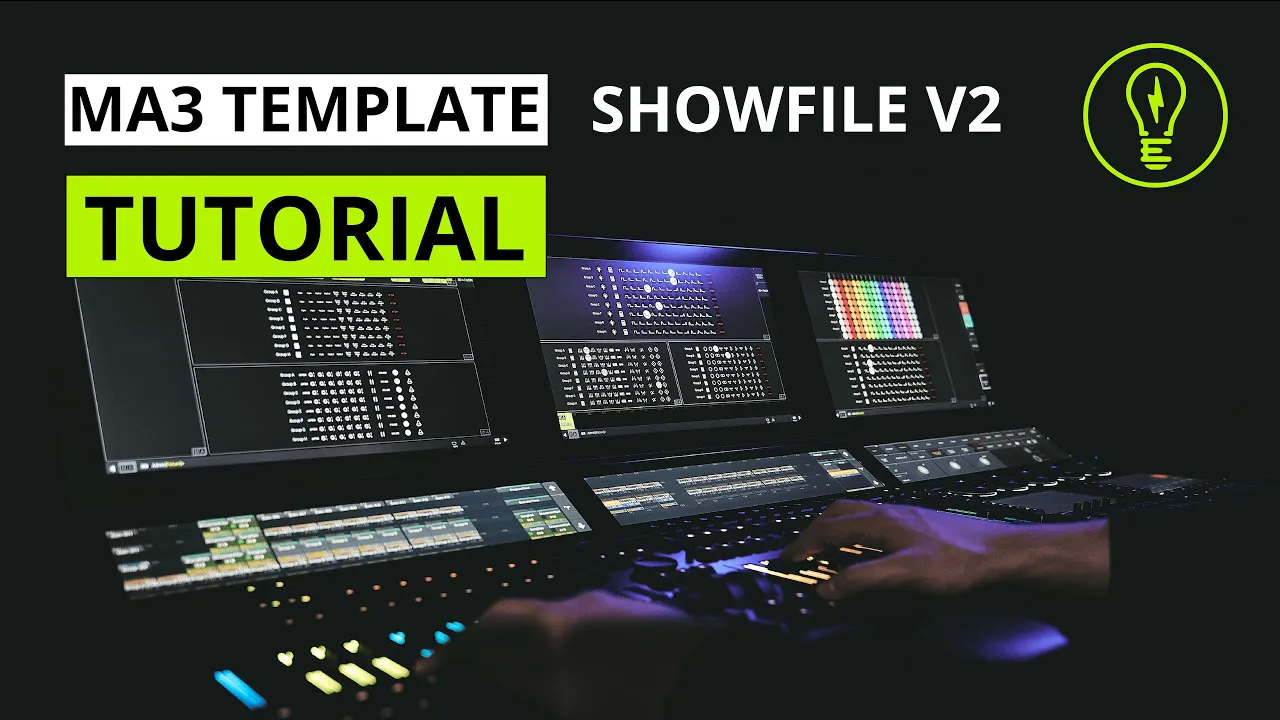
welcome ma3 community in this video we want to explain all the steps that are necessary to get this nice show file here up and running again with an entirely new stage layout for this video we have modified our demo stage and added four different fixture types to it so we have some profile moving lights in the front truss for front lighting some hybrid uh LED moving lights uh as main fixture in the rig in the background some additional LED pixel tubes and also some GP X4 bars to show you how to handle pixel bars that
have a tilt movement the first step it takes to get the show file up and running again is to patch your fixtures accordingly therefore simply enter the patch menu of ma3 in here you will initially find some fixtures already patched after downloading our file and those are the fixtures that matches the stage layout in our main demo stage as our show file does not follow any clone show structure you can simply delete the entire patch and then there's no need to keep those fixtures in here and just modify the fixture types or so on you
can simply clear this completely after this is done let us bring in our new fixtures as you can see in capture we have a total of uh 16 hybrid moving lights 16 Astera LED tubes in the background and 16 gpx4 bars so we will now simply bring them in accordingly to do this simply hit the insert new fixture button down below move over to the library so that you get all the fixtures not just those one which are already in the show and search for the corresponding type in our case those uh hybrid fixtures are
from JB uh so those P9 beam spots and we will use them in mode one so let's call them just hybrid we want to have uh 16 of them fixture ID uh we start with 1,000 but we will modify this directly and we go for a patch and I think uh yeah Universe one count one is just fine and matches our dmix layout that we have in capture so we confirm this and there we go I will now just repeat this for the other fixtures and we will fast forward this a bit in the video
to keep it a bit more compact [Music] after you've patched your fixture successfully uh with the correct mode and the correct demix patch we can uh do a little bit of fine-tuning here and for example care about the fixture ID which are really great uh to structure your stage uh in a way that fits your mind the best so we normally use a scheme where we separate different trusses uh with blocks of 100 so let me show this to you as we can see here in capture we have two trusses uh by eight uh of
those hybrid moving lights and therefore we will put the first ones to our uh uh first block of 100 so this will be 1101 and the second block of eight moving heads will get one to uh1 so then we know easily that the range of 100 are the first uh spots in the truss one and uh the second block of eight moving lights will be uh in the range of 200 I will now simply proceed with this method for the remaining fixture type types and also adapt the naming a little bit so uh according to
our trust layout we can for example call those hybrids just front trust and those will be the hybrids in our back trust and I will just continue and we will also forward this a bit um because I think you got this and understand the basic principle of it [Music] after we've successfully uh structured our padge a bit uh better we can simply close our patge menu and save and exit with our adapted patch we have successfully completed step one that is necessary to get everything up and running and we can move on to our groups
which are a really important key element of the show file so therefore we move over to the group View and start our work here as we are using an onpc system we will first just modify this view here uh this is a view basically created for big consoles and a lot of different groups but we will now just use a different one that is already prepared for you and you can find it in the view pool it is called groups small and we just use the swipey command and assign this view here so you can
modify the show file really to your personal needs and we will now get this nice New View where we also have the selection Grid in the first fixtures that we want to store into a group are our hybrid ones so we will start directly with fixture ID 111 through 118 and this will give us the first eight of them in this uh front trust here then afterwards we will uh click into the selection grid and move down because we want to get the next line and use our 1201 through 1208 fixtures to get the next
line the show file is built in a way that it really uses this selection grid to build your symmetrical effects and therefore it is necessary that this selection grid represents your stage layout in the best way therefore we will Now work on this Gap here that you can see in the capture uh stage showing up and we will therefore simply enter the setup mode here which is a cool feature of ma3 um 2. and above where you can now simply click on a fixture and drag and drop it and we will simply rebuild this little
gap down below afterwards close the setup dialogue or mode and use this command which will uh uh ensure that we start from the first index zero here correctly after this is done simply type store or hit a store key if you're working on a console and store this to the group a sim a you can choose override in this case because we will really start from scratch here after you've sted your group successfully uh you can do a quick check uh which I would really recommend so press the Highlight key I've already turned it on
otherwise it would look dark and uh then just look on your real stage or your visualization and uh click the next key um to check whether your selection grid works fine and represents your real stage layout and as you can see in the comparison between the selection grid and capture this looks quite good in this case so we can clear our programmer by just uh hitting a key three times as a next step we want to give this uh entire fixture category uh a a new name and therefore we will modify this first group here
this is the group uh giving the name to this category so we will call it hybrid as this is the name for those fixtures and this name will now also show up in all the layout views in the show file as you can see there are now still some groups left on this right side for fixture category a but this is not an issue because you will only need them if you want access to some further functions of the show file or if you're using pixel fixtures that have a master uh subf fixture uh like
our gpx4 bars in this tutorial so we will keep it simple for the moment and explain this more in detail later on and in a separate video so let us move on to our fixture category B uh which consists of our estera Titan tubes so our LED uh tubes in the background and uh we move onto the fixture uh sheet to check uh their uh Arrangement or their structure first and as you can see we have them in an 8 pixel mode so we have one to eight pixels showing in a subf fixture for every
of those tube elements and if we uh have a closer look at our stage we remember that we have eight of them in a horizontal line and two vertical lines and this will give us a total pixel resolution of 8 and another eight so 16 by 8 in total and we will now represent this and rebuild this in our selection grid accordingly the the first thing we want to do is to set up the grid size uh using the grid command so just uh enter grid into your command line and enter the corresponding starting point
which is uh 0/0 so your X and Y AIS and as we want a grid with a size of eight we have to enter through 7 uh sl7 because uh the the ma3 system always starts to count from zero so 0 to 7 will give you a width uh and a height of eight just hit please to confirm this and afterwards you will get this nice pre-selected grid after this we have to specify all the subf fixtures and therefore we just enter all uh the fixtures from our first upper row so 2101 through 2108 dot
through and this dot through at the end will give us only the sub fixtures which we want for our simic group as you can see this works quite well and we can now just store this as a separate group uh to make life a bit easier and we will just put it there and label it up row we will now proceed the same way with our second row so if you look at capture we have now start start this up row of pixels and we will now just do it in the same way for this
uh bottom or down row [Music] [Music] after this is done there's just one more step to do before we can combine those two groups easily to our simri group a uh and to show you this I will just delete those uh view elements here to get this a bit bigger if we look at our uow group we will notice that our uh first Titan tube so 211 uh is in this horiz Al alignment here and that's not the case with our real stage we need them to be aligned vertically and therefore there's this nice transform
tool you can just hit this and this will flip uh your uh grid accordingly and now it's all fine as you can see we have the first pixel to 101.1 here to 101.2 there uh until we reach the eight uh at the the bottom and now it's fine so we simply hit store and override this group and we clear our programmer and do it a exact same way for our down row so we flip it and we just store and overwrite this after this is done we can now simply combine those two groups to do
so first select your ow group and after that uh move down to this uh bottom left corner and uh select your down row afterwards and there you go you have your uh entire selection for your uh Titan tube Arrangement simply hit store and override this first uh SRI group for your category B before we continue let us do a quick check also on our simri group for Group B uh and therefore just select it and okay this looks quite good in capture all fixtures are showing up and then we can also use uh in combination
with highlight our next key to just step through our grid and as we see this works quite good by pressing set you will get again the entire selection and you can now also use the flip uh or the uh transform tool here to get um the selection flipped to do a test with the single pixels and this looks also quite fine so we have a nice continuous pixel movement from top to the bottom or from the left to the right uh if we flip it back so this looks good and we can continue with our
next group to do so clear your programmer and we bring back uh in our old view layout here moving on to our third and last fixture category uh in this tutorial so the group C will introduce this pixel Master group this is especially designed and needed for elements that have uh for example pixels and a basement with tilt movement as it is the case with those X4 bars if you're not interested in that or if you just don't need this feature uh just skip the tutorial where we continue with the presets this would be just
fine and you can simply apply all the principles that we've shown uh during the setup of group a and Group B in our stage layout we have those uh two rows uh with eight uh X4 bars each and we will check now the fixture sheet to get a better understanding of the pixel amount so if we look into those X4 bars we can see that we have 1 to 20 pixels per bar um and we will just bring them in our selection grid as we have them all in a horizontal line This will be quite
easy we can just enter 3101 through 310 uh8 uh dot through which will give us the first row of 160 pixels so we have uh 8 times 20 pixels and for the second row we just move down by clicking here and enter uh 32 um 01 through 3208 dot through which will directly give us the second line and after that we can uh store our uh simic group for fixture category C now we just repeat this step for our pixel Master group with the main fixtures of those uh X4 bars so therefore enter uh 3101
through 3108 which will just give us those main elements we can just double check this also in the fixtures uh sheet as you can see no sub fixtures selected you would also see the numbers uh there if this would be the case select the next row enter uh 32 uh1 through 328 and there you go you have your master fixtures selected and we can now store them into this pixel Master group and that's basically it we are good to go with all our our groups with this we have now completed step two out of three
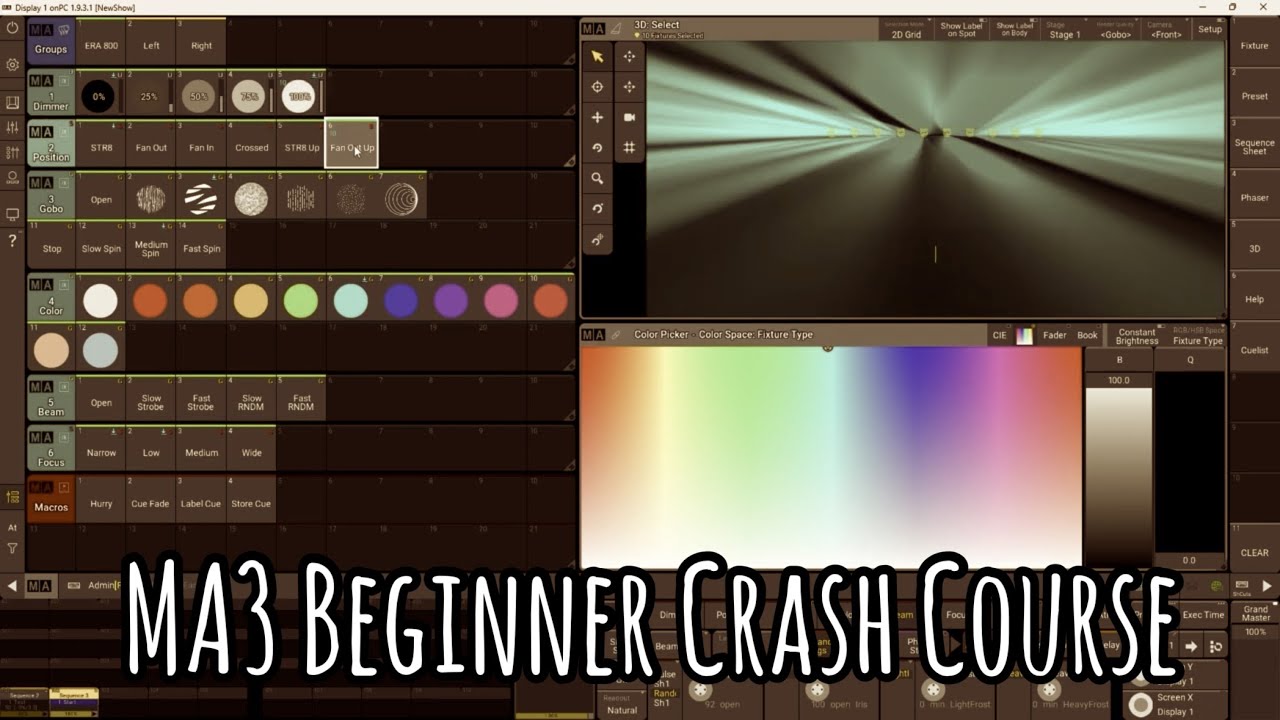
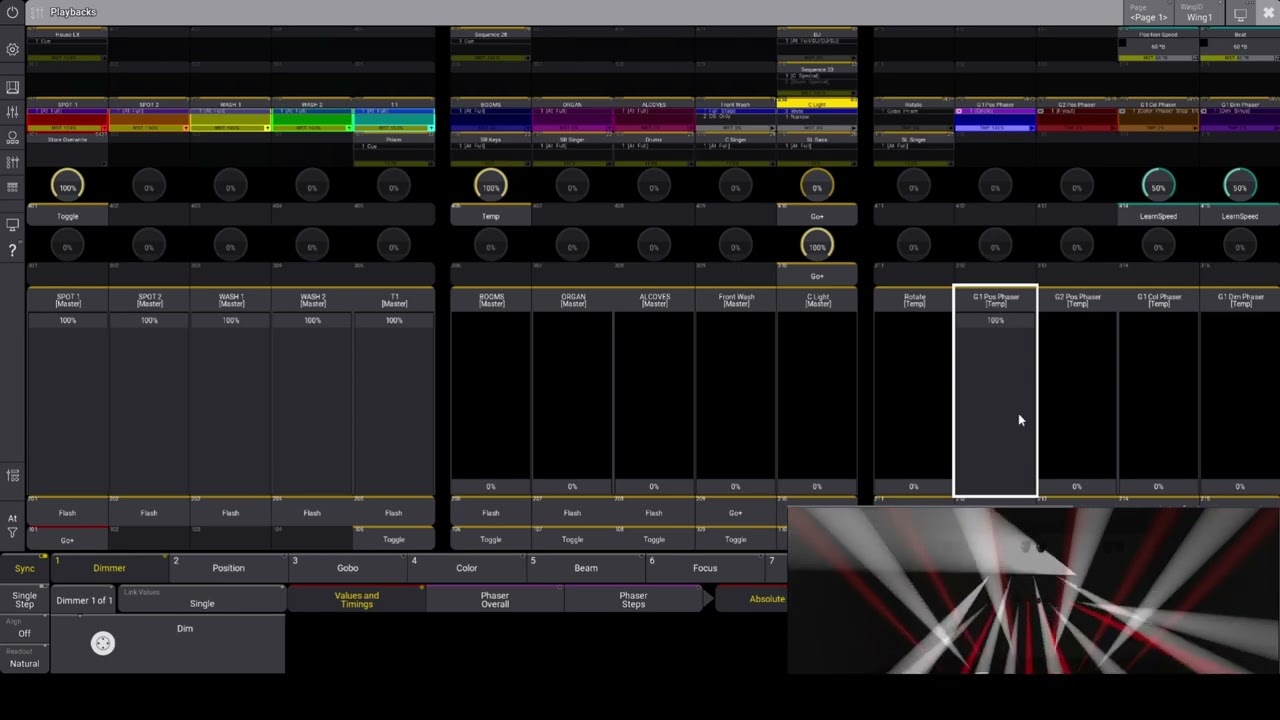
which are there to get this show file up and running again and we can focus on the last step which is adapting the presets in the show file in the preset area you will find a bunch of different presets for example for your positions up there your Goos for Gobo rotation stropes uh prism Iris zoom and focus values and they are all nicely structured for your different fixture groups uh by those macros and fuse up there and by using those macros you can switch between your different fixture groups and the cool thing here is that
this will also change your few bar on the right side so that you can for example uh quickly jump between your group View and the preset view for your uh fixture group that you're currently working on in addition you will also find uh the corresponding groups uh you're working on down below so that you get a quick access here um to start programming your presets in general there is really no magic behind working with those presets in our show file but there are two things that you should know the first thing is if you set
up those uh first uh position presets so the straight down and the straight up one you can use Auto position macro to get uh those remaining presets up and running except some special ones the other thing is that if you work with Goos you should really split your Gobo and focus values so just store the Gobo values there and the focus values here this is important to ensure that you can use shop go projections uh along your entire Zoom range but we will show this now step by step and if you're already know how to
do this for sure you can simply skip this section okay so let's start with our position presets therefore we simply select our group and uh ensure that we can see something by hitting highlight or edit to get those demo values up and after that we simply uh go for the first straight down position which is in our way of thinking a position where the moving lights are just uh pointed downwards towards the stage for example like this this would be fine and we simply hit the store Key and store this first preset as there's nothing
uh left in the preset we want we can choose over right here otherwise you should choose merge the straight up position is now a position where we want to get some moving lights also up we could for example tilt up the entire uh rig like this or we could also split it for example uh we keep the back trust down on our stage and we just select our uh spots in the front R so by uh entering 111 through 11 108 and we now just put those front uh lights up for example like this and
we can just keep it that way hit store again and start this uh second preset after this we can now cheat a little bit with our autopa macro to do so simply move over to the misscellaneous section and open the show file menu and here you will find in our feature grid a gear icon with uh the text autop pause hit this and you will be asked if you want to uh really override all your positions in this case it is fine but be careful with this function because it will simply override all your position
presets and maybe ruin work if you've adapted them so let us hit this now and as you can see in the background in the capture feed uh the show file is now creating some basic positions for you after this is done move back to your preset section and check the generated presets you will now find presets for all those basic looks like a fan out uh fan in and also some more complex fan uh looks uh two fans three fans four fans always in those different height levels that you've defined in your straight down and
straight up look Please be aware that uh not all of those autogenerated looks will work great with your stage layout because your stage layout is built with a certain width uh and a certain selection grid so for example a three fan setup uh won't work with uh the stage layout as we have a selection grid with a a width of 10 on our x-axis so uh three uh fans in here won't work because we would always need uh two more fixtures to get 12 or leave out one fixtures to get nine which can then be
easily divided uh by three so with a selection grid width of 10 uh the positions that will work great are a two fan because we get them uh five uh Parts separated by two or a five fan where we would have those bigger Parts uh with a width of five so two of them and we can also check this just to make sure that this is really the case uh so we have our two fan up here and for example our F uh fan five down and up there it is also really easy to fine-tune
the looks uh with those presets as a starting point for example we could simply say that we want the front rust to be a bit lower in the Tilt value and therefore we just select the corresponding fixtures adapt the Tilt value until we we're happy for example just do this uh and hit the store uh on this uh corresponding preset and use the merge command to get this look in there and that's basically it so you can uh use that as a starting point uh save some time and afterwards modify them to your personal needs
as you will probably notice there are four presets left uh after running the auto position macro and this is because we have two other presets that are just uh special positions uh the one to Blind your audience and the other one uh to use as a ambient scene for example with some nice uh spots on a wall uh in combination with some goo projections and for sure you have to set them up manually because aut theosis macro just doesn't make sense for them and those two other guys here are there to uh suppress running fix
in combination with a position together with those groups down there and uh we will explain this in a future video so uh to complete your basic looks just make sure to get a nice ambient look and a blind position as well and after this you're basically set up with all your position presets so let us also do this real quick here so to start with we just select our straight down position uh bring the Tilt value maybe uh just there to hit this back wall we hit store store our ambient position and afterwards we just
use the Tilt again and bring those uh lights uh to this position and store our blind position so uh this is it we're basically said and done and can move to our uh goo presets to start our goo positions let us first use a better position preset for this and uh yeah make sure that you use addit to um get your dimmer at 100% or do it manually but you can't use highlight for this because otherwise there will be no goo visible so uh after this is set move over to the goo Tab and we
can start working on those presets the first uh goo preset that we want to store is our goo open preset where we have to ensure that we open all the goo wheels so not just goo one uh but also Gobo 2 in our case so you can do this by using your uh encoder Wheels on the console or also by clicking in here or using the cool smart bar feature of ma3 so let us do goo wheel two by using the smart bar after this is done and goo whe 1 and two are open hit
the store Key and stall this first preset we will now continue storing uh three Goos for goo wheel one and therefore just select first goo U for example like this uh in this step of the setup process we don't care about the uh Focus values we will do this later on as already explained and please make sure that you've not only selected a goo for goo wheel 1 but also selected open for goo wheel 2 so let us start this first preset we continue with a second one and always ensure goou wheel 2 is open
here and the third one let's use those circles uh and make sure as well that goo wheel 2 is Open start this preset and now we do it vice versa we ensure goo wheel one is open select the goo for goo wheel 2 like this bit hard to see those small dots uh let us use now this one open go whe one store this there and the third goo we want to use uh let's use this funny rainbow one uh make sure again and go will want is open and start this last goo and yeah
this is it you're done with the basic Gobo presets for goo rotation we proceed in the same way um and we will uh first uh store our rotation off Gobo so we can use rotate stop here and we also do it for goo wheel one if there is this feature of rotation uh also for this goo wheel in our case it's not there so we can just do this for our goo wheel too hit store stall is preset and move on to the next uh slow rotation preset so we do uh a rotation for example
like this and we have a really smooth uh rotation uh there um if you if you like it just keep it otherwise uh modify this value uh we just keep it as it is and start this second uh slow rotation preset the last one is a bit faster so we modify the speed here and yeah let's do this so that we get a clear difference maybe it's a bit fast for the real world but uh I think it's fine for this tutorial so hit store and store this last uh fast rotating preset after this uh
we can clear our programmer and move on to our stroke presets the stroke presets in the show file are divided into two main categories uh our normal stroke presets uh in two variants so fast and slow stroke and the random stroke presets also divided into a fast and a slow variant and they are basically only used in our bump section at the moment so it doesn't really matter what you put in there uh in terms of the function so you could for sure also um store a different uh prec configured shutter effect in here so
let's store those presets real quick for our fixture group a we select our group um put them to full intensity and move over to the beam section and let's give them uh a Max strope which is too slow in this case um so we increase this a little bit until it's really fast maybe like this and store this as our first uh stroke preset then we simply decrease the speed a little bit maybe a fleshing like this start this as our second strob preset move over to our random strope I can't see it there ah
there is it Max rent okay doesn't work quite well so we yeah adjust this a bit until we get a random strob store this modify the speed a bit again store this and say okay that's fine for now so yeah that's that's all we have to do here and we can move on to our prism section so for the prism we simply continue in the same pattern select our groups bring them to full intensity and let's have a look where we find the prism there it is uh we will now do it by by clicking
in here so that you also see some different way of uh setting those uh different feature sets um so yeah basically we can choose between open and three faet prism so we choose open uh say store store this first preset select the three facet prism start this second preset and yeah basically this third preset is now left over there is no a second prism on this fixture type so we just select the three prism again and store this preset here with the same so that we ensure uh a working prism if we select one of
those uh two prisms here we don't want to get no function with Prism 2 that's why I just store um the same preset again in this case to continue directly with our Iris presets uh just make sure your iris is wide open I do this with my encoders on my my on PC commanding on my desk hit store uh store the iris white preset then we bring it a bit down maybe like this for our Iris mid preset and last not least we reduce it to a really tiny beam uh maybe like this we we
don't use the the closest Value because I think it's just too close U from for my personal preference so I yeah keep it as it is and store this Iris narrow preset to directly continue with our Zoom we just clear our programmer to make sure nothing is left in there select the group again bring them at uh 100% intensity move over to the focus Tab and set our zoom level uh first to our wide um preset maybe like this um Yep this is also the widest uh uh setting possible here stall this as our first
White preset bring it down maybe like this St our sum mid position or preset and bring it all the way down to get this nice beam look for our uh Zoom narrow preset the last presets that we have to take care uh are those presets down there in this second Focus uh preset pool which contain our actual Focus values and we have a stack of 3x3 presets here as we need them for our three different uh Zoom levels so wide mid narrow and also for our three uh optic scenarios where we have the open one
goo wheel one active and goo whe two active scenario so this gives us a total of uh nine presets here when storing those presets you have to ensure that only the actual Focus value is is in the corresponding preset and not the zoom preset this will give you a bad result for the show control so it's a bit tricky to separate this because it's basically the same preset pool but we will show you a way how this can be done and it's not a big deal but you have uh to keep an eye on it
so first select your group bring it up to 100% intensity select uh your first uh Optics uh scenario so let's choose goo open first and the first Zoom stage the next step is to clear your programmer twice so I hit clear twice and this will deselect all active uh features in here which will be recorded and also unfortunately uh will bring out my group selection so I will hit the group again and as you can see nothing will be recorded and now I can simply work on my focus value I put this to 100% because
in this visualization there is no really difference not not really a difference um so this is just fine and as you can see I've only the focus value and the zoom preset is not active for recording so let's start this first one um here and we can now select simply uh go wheel one because this won't matter as goo is a different um uh preset pool so it won't be recorded uh and I can simply work on the focus here until it gets sharp nice this looks good so I will uh record this one and
for the last one I select my goo wheel 2 work on the focus again uh it's basically the same for this visualization and store this uh here now I will switch my zoom level and also go back to the starting point so let us move there same procedure as in the beginning hit clear twice to deselect everything select your groups again and start working on your focus like this store this here select goo wheel one work on the focus again uh store this there let's select go wheel 2 work on the focus again it's the
same hard to see but it should be fine it's like in real life it's often hard to see those Focus things um okay so done with the second stack and for the last St we repeat the same go there uh select our last Zoom stage and this will be quite challenging now with this uh really narrow beam but we proceed the same way hit clear twice select the group again uh and work on your focus until your beam is nice and sharp uh St this first preet here uh select goo wheel one work on the
focus again like this maybe just as an example oh this was a bit fast St this uh second preset uh for the narrow Zoom stage and move uh for the last move over for the last goo wheel 2 uh preset that uh like this work on the focus again make sure that it's active store it and you're done after we have successfully stalled all our presets for fixture group a we can move over uh to fixture Group B and clear our programmer and this should be a really quick run through as uh we have the
titon cubes in our fixture category or group b and they only have the strope function and nothing else so you can just leave the other presets as they are because those fixtures don't have those uh functions so I won't show this in the video because I think you got the basic principle and you can just do it in the same way as we did it for group a so let us move on to group C for our last fixture group uh Group C in this tutorial uh things are a bit different as we are using
a more complex fixture type uh which also uh contains uh subf fixtures and therefore we have to use our uh pixel Master group to separate the master fixtures with the basement control from the individual uh pixels to get everything right here you have to consider which group is relevant for the corresponding features of your presets for this fixture category to take that into account within the show file you have to move over to the show file menu and do some settings here you will find the Tilt bars uh as our group three and uh on
the right side there are some additional checkboxes that you can set uh and also another important gear icon uh you already know the autop PA but there are four other things uh left that are also quite helpful the first uh three checkboxes are there to uh tell the show file if it should use the pixel Master group so the PMG instead of the normal simic group for a certain feature set so for position strob uh and the other optic uh things like Zoom levels and in this uh case with our tilt bars we want uh
this uh for all three of them so we want the positions um for the pixel Master group we want the strope control control for our pixel Master group as our sub pixels won't have an individual strob control and uh we also want this for zoom and so on as those tilt BS also do not have any individual Zoom levels for the single pixels before we leave the chaal menu we want to utilize this uh Little Help marro called dim default which will basically adjust your default dimmer value for the pixel Master group so your main
fixture of your uh tilt bars to 100 and put its sub pixel subf fixtures dimmers by default to zero and this is great to give full intensity control to the single pixels to achieve nice uh pixel intensity effects to understand better what it does let us first uh check our fixture sheet and here we will see that our uh main dimmer of our Tilt Bar is closed at the moment by default so my programmer is cleared and that all the other sub dimmers are open and we want the behavior that is uh yeah quite the
opposite um to get a nice control over the individual pixels so let us move back to the chofa menu and just hit this little micro and after that we will check our fixture sheet again and as expected it is now vice versa so Main open sub dimmers are closed and this will give you a great control uh for all those pixels so that you can you utilize them in bumps and also all our predefined intensity effects okay after this is done we can move back to our presets and simply store them in the same pattern
we did it for group A and B as the process of storing all those presets is exact the same uh I will not do it in full in the video uh but let us do one or two examples uh just uh to yeah get a common understanding especially with regard to the intensity control now if I uh select my pixel Master group The dimmer is already open as we start this with this little help macro and we have to also select the simri group a and set the dimmer to full to get uh some light
output here um as an alternative way you can normally also use the pixel Master group in combination with highlight if your fixture type is properly configured uh this will uh work too so just keep this in mind when storing the the those presets and don't be surprised if uh yeah uh 100% intensity on this dimmer won't give you uh a light output okay so let's start some quick looks and we will start with two positions um therefore we select simri bring the dimmer to 100 I prefer this way of working compared to using highlight because
highlight will also influence Zoom values and other things normally if there's a highlight value uh in your fixture profile and sometimes it's uh really helpful for example to bring down the zoom when storing positions to get a better understanding of your overall look so uh yeah let's uh quickly adjust the tilt value maybe like this for our straight down look and maybe like that for our straight up look and yeah in that way you can for sure continue for all the other positions uh and you can also use the autopost macro but don't expect too
much because it's basically influencing the pen uh so yeah there uh won't be a big result uh when using tilt bars okay so for now we will just uh finish this section of our group C with some other Zoom presets we will skip the rest of it uh and just store maybe our Zoom wide real quick and zoom mid maybe like like that oh I skipped the view um so there we go and uh the last one is our Zoom narrow yeah and that's basically it we're done with the presets that are there uh per
fixture category and can now focus on the last set of presets which are our color presets in this extra view up here before we store those color presets uh let's take a quick look at our main groups down below which have not played a role so far except for the naming of our fixture groups but we will use them now to store other our color presets as they are a combination of both thic and pixel Master groups to ensure that we have color presets that work both with subf fixtures but also Master fixtures to set
them up uh simply move over to the chall menu as there's a Plugin or a macro to do that for you uh and hit the regen groups icon this will uh just rebuild those groups and as you can see right now um you will find three active groups for your uh group a b and c to store your color presets simply select all three groups uh bring the dimmer to 100% and uh select the colors you like and afterwards use the store command you can be really fast on this if you're doing this uh in
preparation with a uh visual ation tool like I'm doing it right now because the colors on a real stage with real fixtures uh will look different anyway so don't waste time here and be quick on this uh on the real stage then make sure sometimes to also select only one fixture category and uh fine-tune their color until you're satisfied and afterwards use store in combination with merch to make sure this color information gets in there without kill other color information of the different remaining fixture categories so just continue in the same way for the remaining
color presets and after that you're basically done and uh you've successfully completed step three which is setting up all of your presets as a last step uh before running a show there's just one more thing to do and this is moving over to the chofa menu again and hitting our regen all button this takes a little while as our plugin adjust and optimizes a lot of things for you in the background um for example the color effects are built based on specially created presets with an integrated color preset uh or uh the bumps are generated
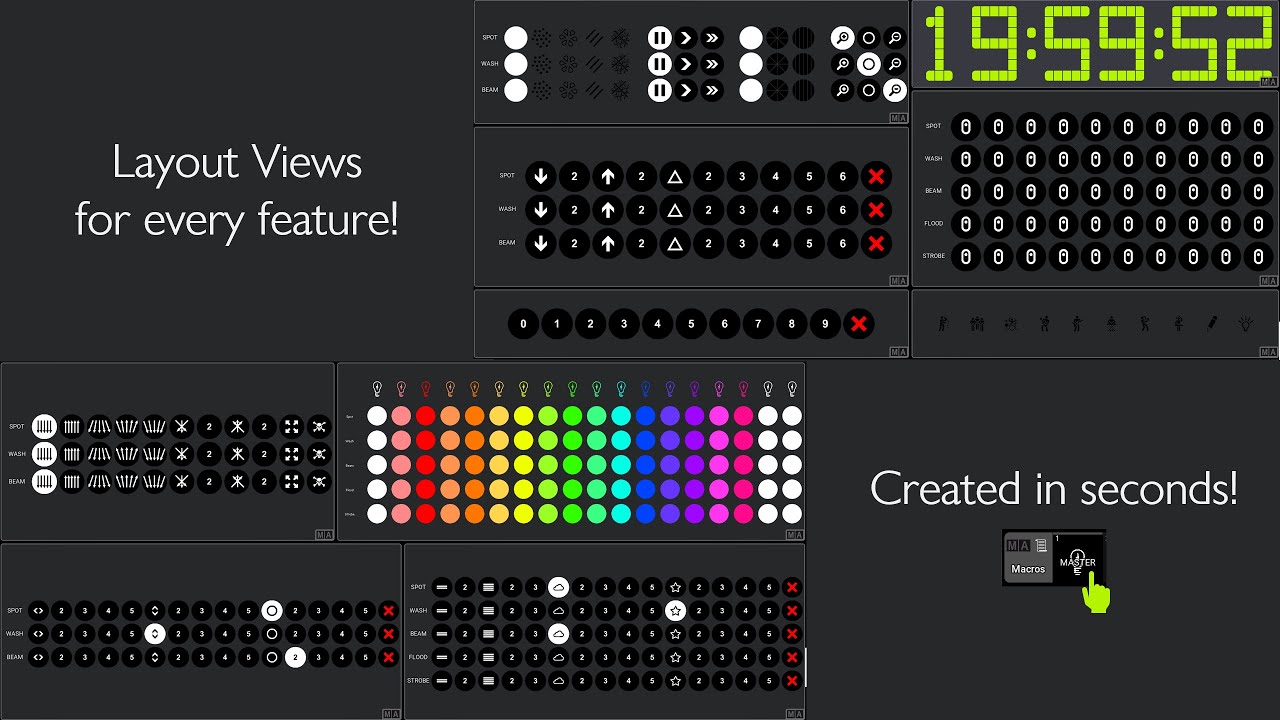
according to your rig size once the macro has run through you are ready to go and you can test all the functions in our show views for example we can turn on our hybrid spots and our tilt bars uh apply a color on all of our fixtures uh maybe add an intensity FX on our tilt bars and as you can see it works perfectly and uh you get a nice symmetrical Behavior also with those pixel elements and in addition for example we can also uh apply a color iFix on our spots as we believe that
this layout here is quite intuitive we will not go into detail however we would like to uh highlight two points of this uh layout view the first thing is this little calculator uh icon here you can use it to modify all the FX that are in the show file therefore simply hit it and afterwards the effect that you want to adjust uh in our case we will just use this run running fix and then you can simply play around with all the parameters in here for example we adjust the wing setting maybe add a block
of let's do eight and as you can see this will directly influence your running FX as a special add-on you can also change the SYM group that is used for the fix I will now use a different one and as you can see the effect now looks different this is the case uh if you set up an alternative uh sumic group as I did it in the background of the video for our uh tilt bars which is a straight line so just one single line and not two lines of them so I just created another
version which is a really cool feature um in our opinion to further modify do FX this can be really handy if you have a more complex rig or also uh line elements as we have them here after you have modified the FX simply close this dialogue and everything is fine there's no need to save things you can just switch to another fix and switch back and you will directly uh get your um designed fix back a second special element that we want to point out is this little up icon here this is there to save
some space for you in your position layout view because you can use it to modify your fan positions and some other special uh creative looks that you might want to have in your show so as you can see it changes those numbers there and for example we can now use a five fan or move on and use a two fan uh just by hitting this up icon we can switch between those different Fanning Styles uh and it also Chas es this little uh Magic icon there which we call Creative position uh and those are simply
related to your creative presets and should be considered as some free space for you for you and your creativity to stall some special looks for your show as you may have noticed there are still many elements in those layer views which we don't actually need for our current uh design with our three uh fixture categories for example we have only our hybrids uh so our spots um our moving light fixtures that uh need those positions and the position FX to fix this for all those layout views here simply move over to our show file menu
and adapt the feature grid we also showed this in our feature overview video but we will do it here also so just select or deselect all the functions that you need or don't need in our case tilt bars will have iFix color fix cfix um they will get Optics because they have zoom our Titan cubes will only have intensity fix color fix uh color and color fix no positions no position FX no Optics and no multi fix and uh hybrid spots will have everything so this is fine and we then simply confirm this by hitting
uh Chen layouts we wait some seconds and afterwards the show file is adjusted and you will find a nice and clean uh overview for your show which only contains your uh correct fixture categories or groups with their corresponding feature sets for the end of this video we would like to talk about another special feature of our show file that we haven't covered yet and this is our override section here which is a simple tool for spots so solo spots and other highlights in your show please notice that this section is not functional by default and
must be set up separately according to your needs therefore move over to the preset area and select our Global presets down there here you will then find 10 uh prepared uh slots for all presets which must be used for those override looks as an example in this video we will create a solo spot for our Pano guy therefore we have to first select our uh fixture that we want to use for this are multiple fixtures this is also possible and um yeah in our case we use let's say spot one one uh 03 so this
is a spot of our front rust uh first thing we want to ensure is that we set the dimmer to 100% we want uh the solo spot to be uh in white like we see it now here so this is the spot that we've selected uh and we will then simply adjust the position to our needs so let's bring it down maybe like this this looks quite quite good I think this is cool maybe a bit more to the right so uh then we will also maybe modify the the zoom a bit so like this
we will get it a bit tighter and uh before we will save this now it is important that you hit the stop iFix and the stop pfx preset there because this will ensure that uh no iFix is running if you hit uh this uh override um icon afterwards so the preset will then stop all running FX uh in the most scenarios this really makes sense for solo spots maybe there are also some used cases where it don't make sense that's why we leave it open and do not automate this so if you want to create
a a standard solo spot hit both of them after you're satisfied with your look and then simply hit store and override this first uh override all preset after this quickly move over to our show file menu and hit the regen override icon this will uh then store the corresponding sequences for you and you're good to go and check out your first override look by default move in Black for your overrides is active so if this is active you will get a nice and smooth move in Black transition to your uh solo spot position so this
is a nice and very clean uh way of highlighting uh things if you deactivate this move in Black Behavior you will get a direct transition so with the uh movement and uh all the other features that changes to your uh solo this can be cool if you want to really show the audience that something is happening I think it doesn't make sense with this look where the spot is pointing upwards but it could be cool if we maybe use a spot in the back and this is just moving forward and uh yeah pointing towards our
Pano guy and that's basically it you've learned all the Essential Elements and steps of our show file and with a little practice you can easily also bring large stages to life in about 30 minutes we hope you found this video useful and and you enjoy testing uh all those functions in your own show if this is the case don't forget uh to subscribe to our channel so you don't miss any news and future videos [Music]