all right everyone this is Ryan AKA Kendra and Clark and this is going to be the new block Roots Market profile and Order flow program so in this course we're going to be taking a comprehensive look at both tools and in the end this should help us build a robust trading approach and Foundation that is actually fit for all markets so we already have a ton of content on the roadmaps portion of the website we have plenty of modules on order flow and Market profile and for the sake of this course if there's anything that
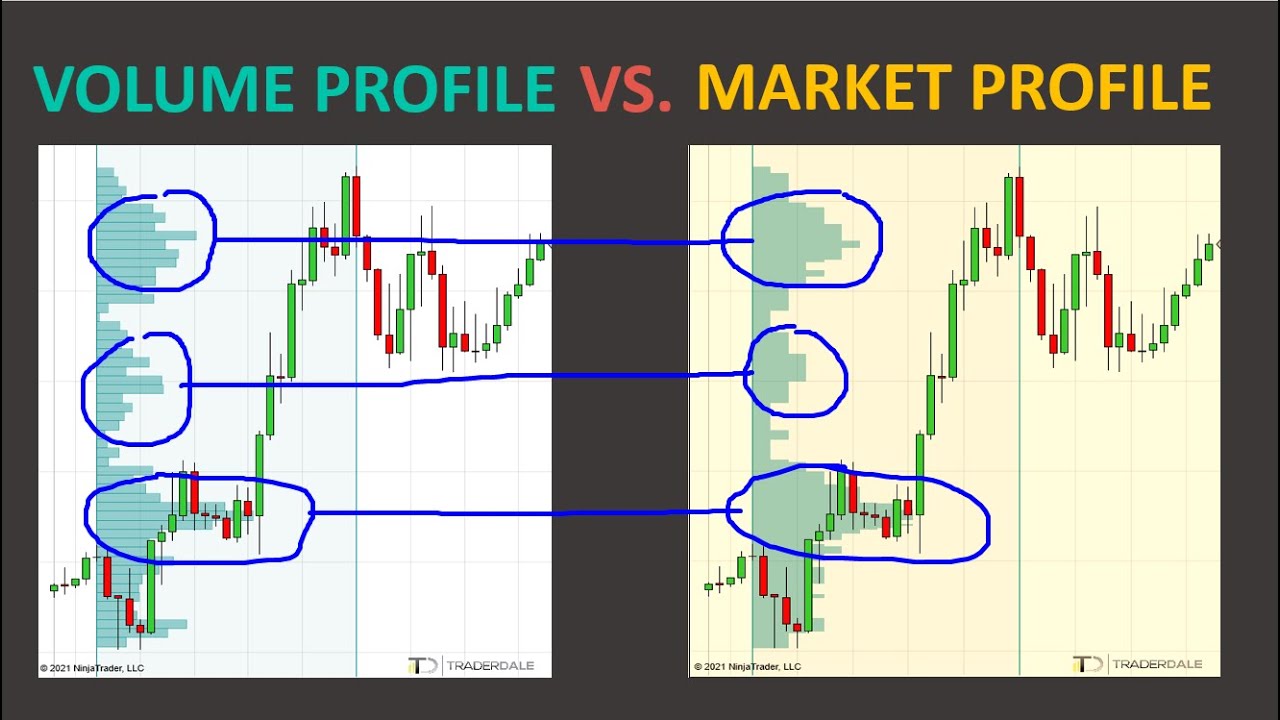
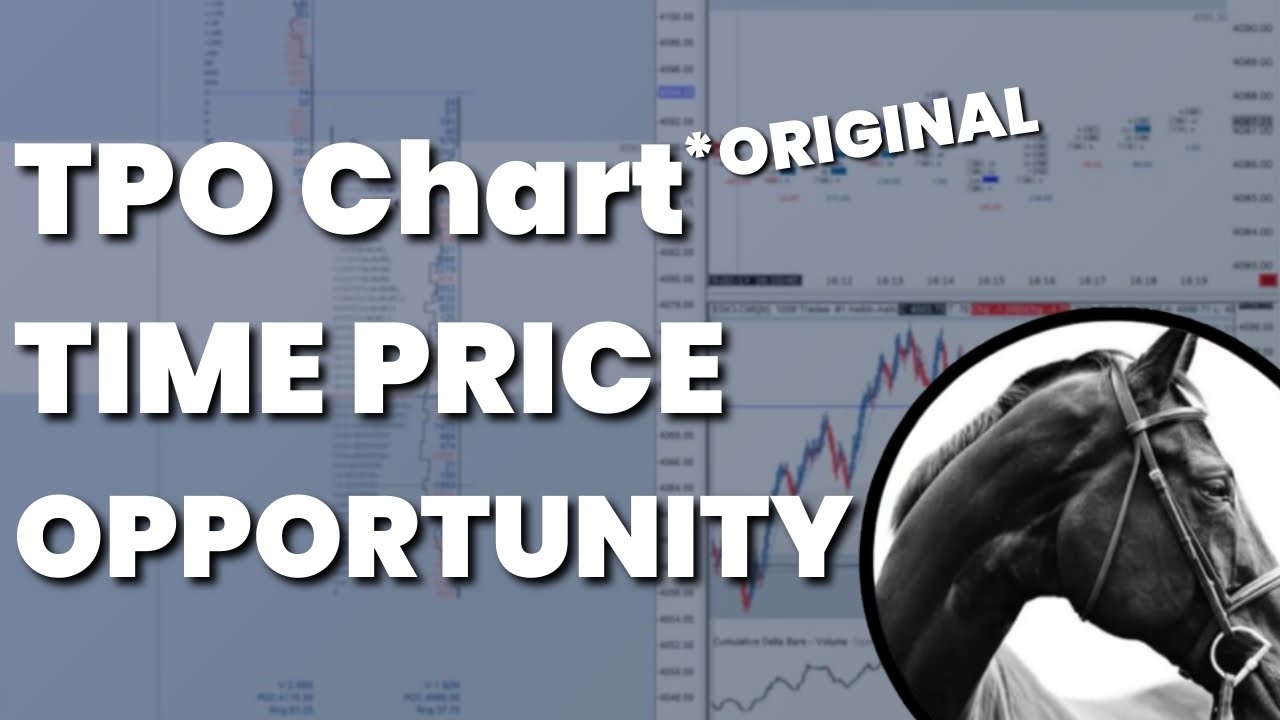
you know you need to brush up on any specifics with regards to Theory something like let's say auction Market Theory you could still refer to the road maps this is just going to be more of a chronologically ordered approach to both of these subjects so just a general overview of what we're going to be covering within Market profile we're going to first go over what the time price opportunity chart is so a TPO chart or Market profile chart that chart that looks like a gaussian distribution hopefully if it's balanced so we're going to go over
how this chart is constructed the features of this chart some of the things that we can omit within this chart that are used in traditional markets that are less applicable in crypto and we're going to go over the purpose so why do we use Market profile why do we use a TPO chart rather than just looking at you know a line chart or candlestick chart we're going to be talking about the concept of developing value this is very important this is what we are always looking to find where value is developing and we're going to
talk about key contextual levels and inflection points so these are the significant areas within Market structure and we don't only need to look at things like weekly closes and daily closes and and areas on the Candlestick chart to be able to form some type of idea as to where these levels exist where this interaction can be expected we're going to be talking about environment types and lastly the finer finer details of Market profile some of the things that are a little bit less frequently talked about things like anomalies and inefficiencies and so forth moving on
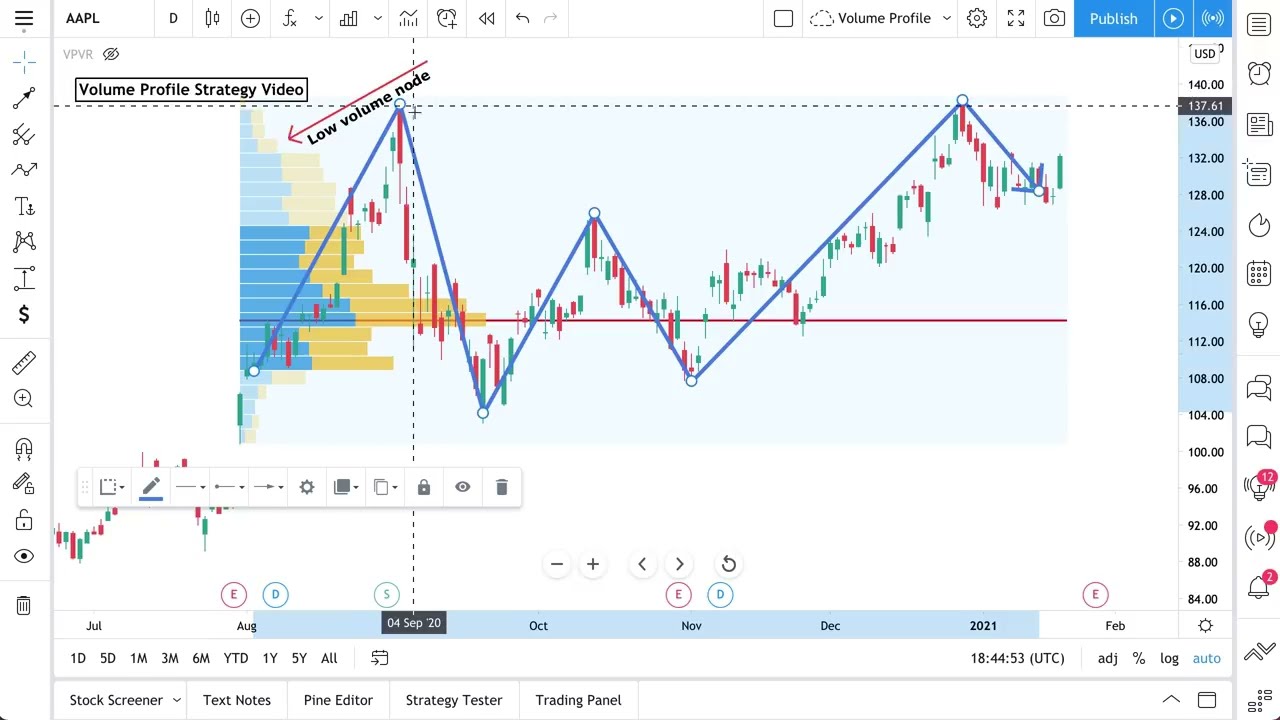
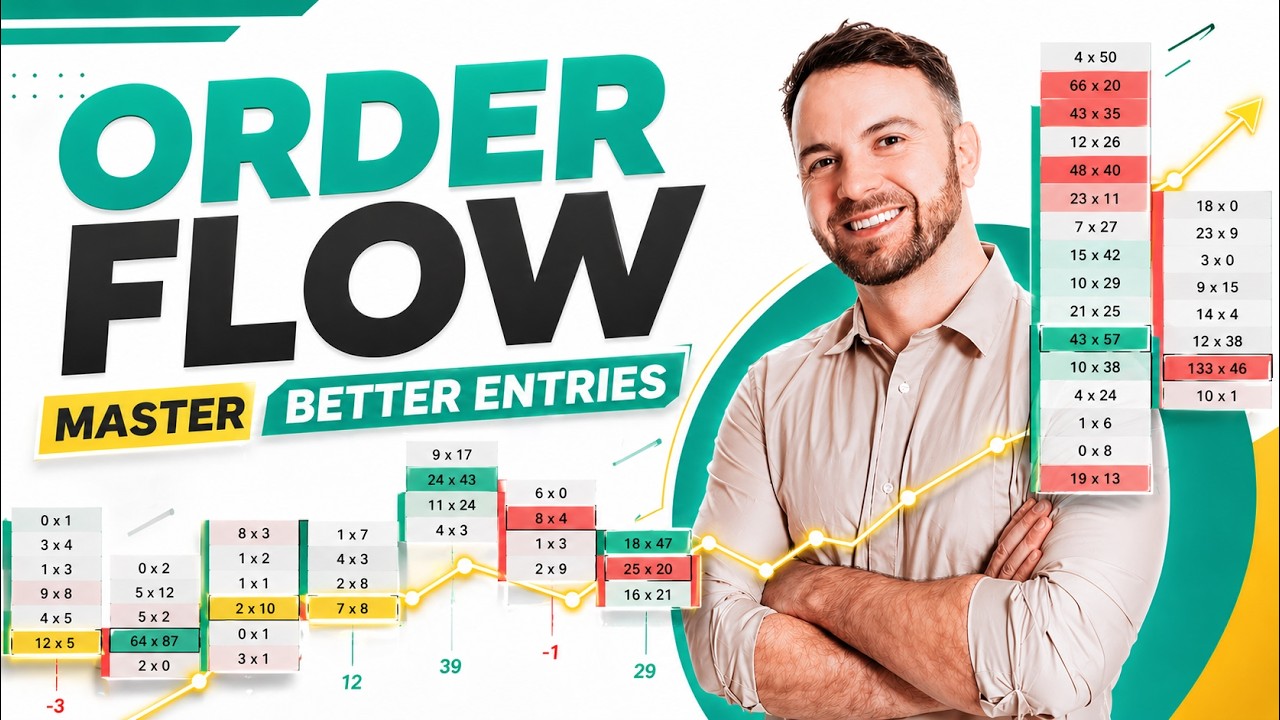
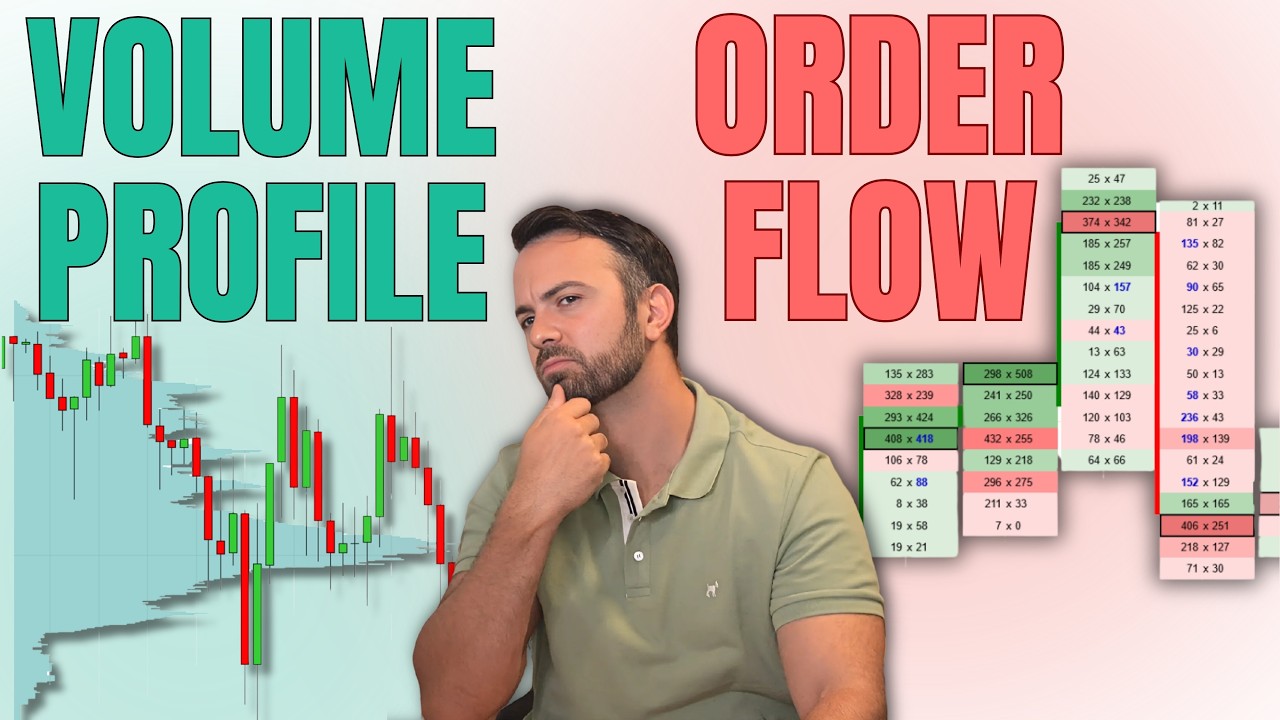
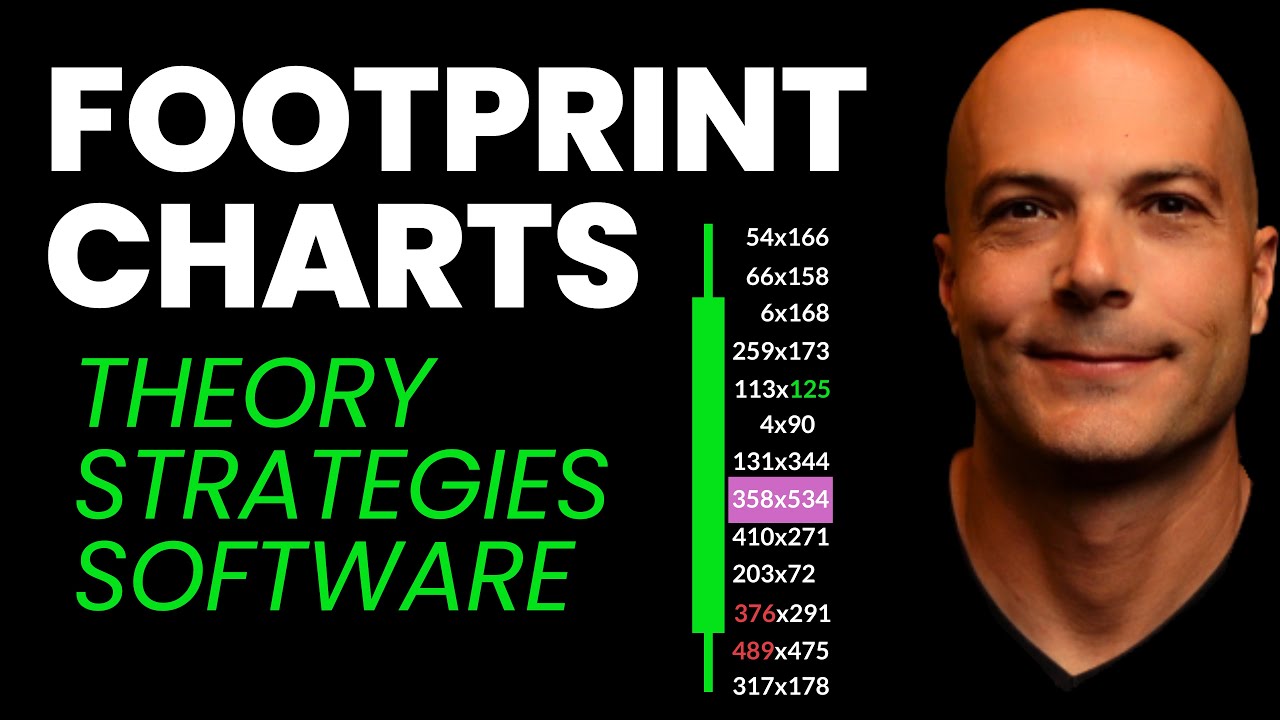
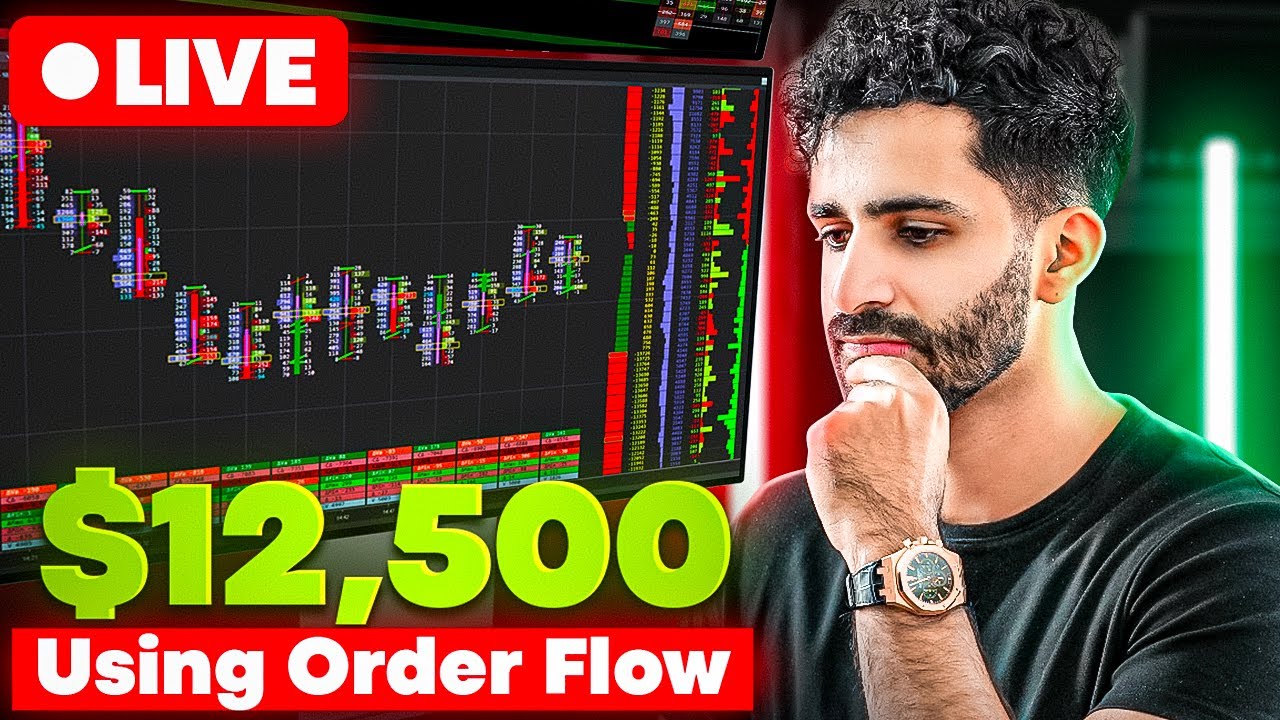
to order flow some of the general concepts that we're going to first cover the footprint chart we're going to go over how this is constructed what we're looking at what we're looking for we've covered this before on the road maps within one of our modules but we'll cover this again second we're going to go over volume profile so this is something that is very similar to Market profile except rather than just presence we're talking about participation in his own so the amount of volume over the profile third we're going to be talking about Delta this
is something that we're going to be referencing quite frequently so what Delta is what we're looking for fourth the idea of positioning positioning is one of the most important aspects of our trading approach looking for poor positioning for example fifth Concepts we're going to go over auction exhaustion and absorption these are things that we constantly reiterate and again some more of the behavior that we're looking for from the levels that we are determining to be important from something like Market profile and then lastly we'll go over momentum and this is just the general overview but
we're going to get down into the specifics as we break it down we're going to cover mapping your environment so this is sort of your higher time frame reconnaissance looking at the environment looking at where your reaction zones are understanding context so this is one of the most important things we're trading so this concept is thrown around quite frequently and not everyone understands the concept of context how we want to figure out how to identify who is in control so again this is one of the most important things who is in control Sellers and control
buyers and control how do we take advantage of recognizing that early locating contextual risk and reward so not just any risk and reward we're talking about major contextual risk reward where the you know cards are heavily in our favor where we are in a really good area to define a position not just kind of pulling out risk award out of thin air we'll talk about entry methods exit methods and worst case and best case Okay so worst case scenario best case scenario these things you should have an understanding of while you're in a trade and
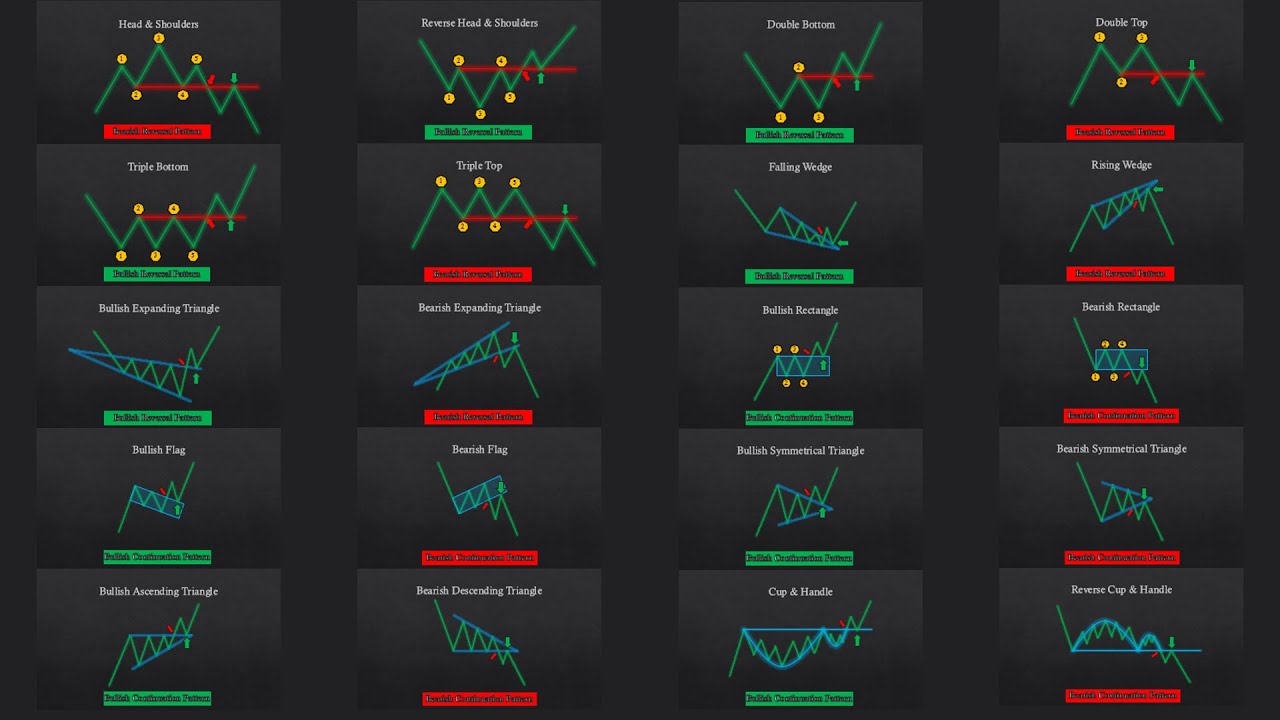
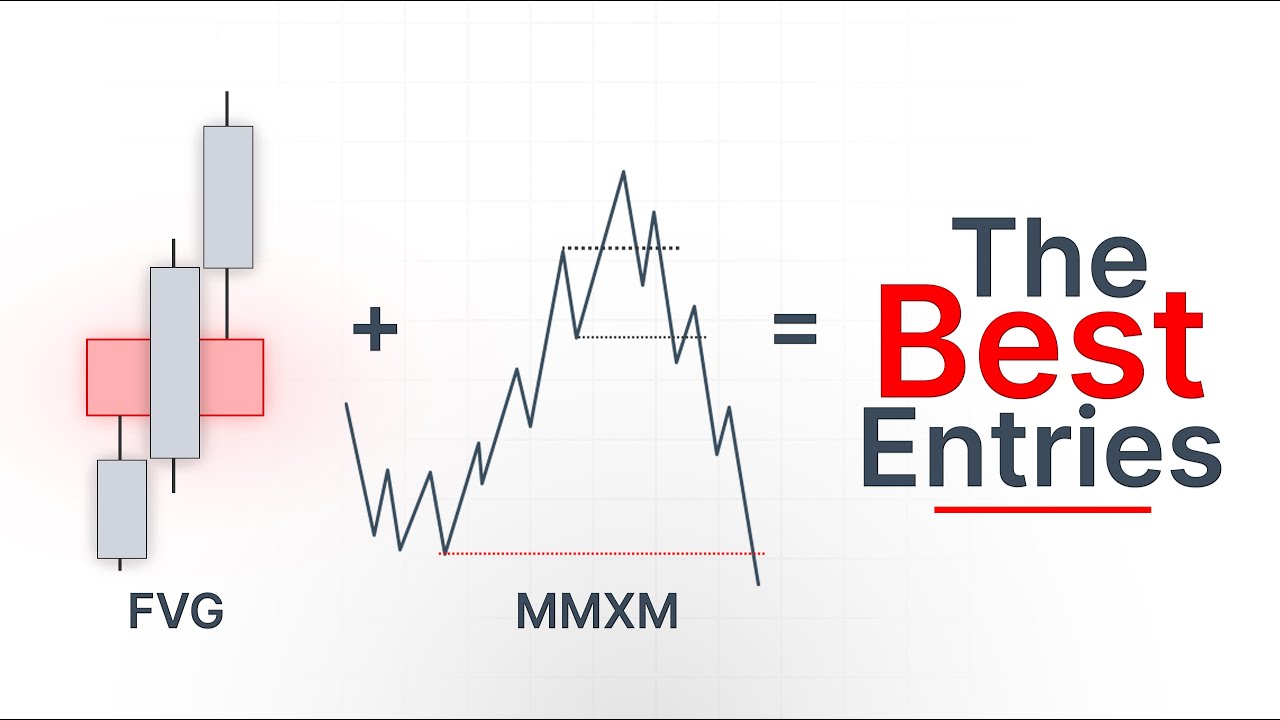
then we'll have a rundown of some of the more popular strategies that we use so swing failure and traps imbalance positioning unwind the concept that I refer to as the heavier aggressor so we have the you'll have an understanding of what the heavier hand is but I want to talk about the heavier aggressor and what that setup is high low absorption and oxygen reversal breakouts from balance inside day breaks very similar fake out unwinds we have an entire roadmap module on this the 76 percent value rule so this is a modified crypto version of the
80 Dalton rule double distribution reversal and then event driven traits and these strategies are just a handful of what we will ultimately once the entire course is put out uh be iterating on moving forward so the point of the course is to have a you know chronologically ordered you know appropriate step-by-step approach to both of these strategies or rather not strategies both of these tools okay because Market profile and Order flow they're not strategies they're not systems they are just tools