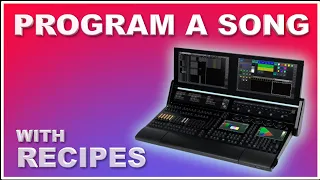
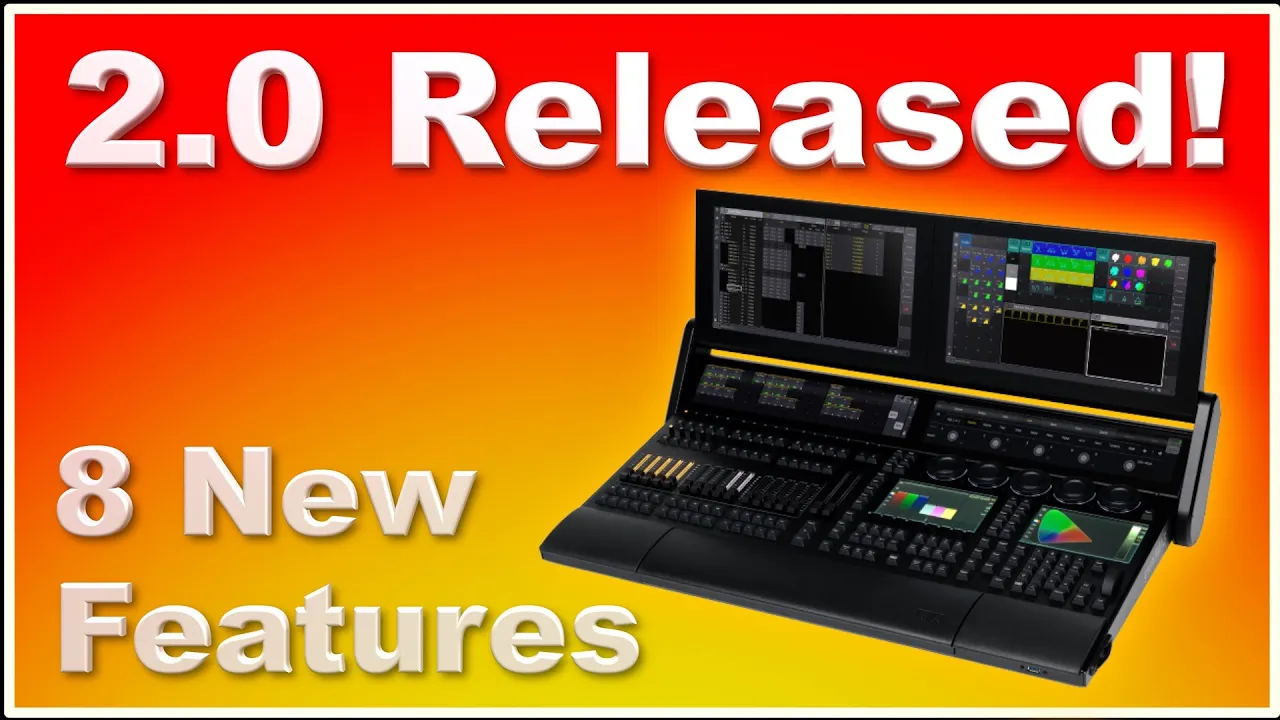
Hi, and welcome to the Event Lighting Channel! This time, it's going to be about the brand new software released today: Granny A3 Version 2. 0.
0. 4. I think it's called.
. . There are a ton of new features in the new Granny 3 software.
In this video, I'm going to go through some of the new features. I mean, there are 84 pages of release notes, so there's like a gazillion different things that have changed in the software and new features that have been added, as well as things that have been fixed. In this video, I'm just going to go through seven or eight of them, which is something that is easily explainable.
Some of the topics are kind of heavy and need a video on their own, but in this video, I'm just going to go through some new features, and you are going to love it, I promise you. Make sure you watch the video all the way to the end because there are many new features in the software, and we'll just go through them step by step. So there might be something that interests you and that can help you in your daily work with Granny 3.
So, welcome to the video, and let's just get right into it! The first thing we're going to look at in this video is one of the most requested features for Granny 3 software, and that is the Special Dialogue. The Special Dialogue is back, and you can now work with Shapers and colors.
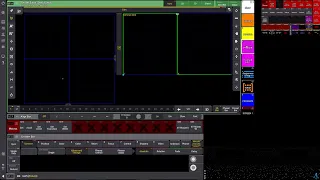
Let's just have a look at how that works. If we go into a view here, I made a view with a 3D setup. You can go up here and search for "Special Dialogue" and open it up.
You can see you have two tabs here: one for color and one for Shapers. If you are in the color mode, you can work with the different colors as you've been able to all the time, but you can also go into the Shaper dialogue here and start working with the Shapers. So, let's just try to play with it.
You can see you have this control that you can adjust, which is a very simple way of doing it. You can work with all the different patterns here, and that is really cool! You can reset settings, work with your rotation and your point of view, which is really interesting.
Let's just say you turned your fixture the other way, shining in the opposite direction. It would make more sense to have this one oriented accordingly. You can simply flip your point of view, and then it’s very easy to adjust, making it more logical for you when you're working with the Shapers and understanding how it works.
It's not a rotation; it's only the point of view you're adjusting to make it more sensible for where the different blades come in. So, let's just reset that one. We can do that here; you have the reset point of view, reset shaper, and reset blades options.
You can do all kinds of fun things! Let’s say we have our mini faders up here. You can turn it up to full and you can work with it like this if you want to.
You can adjust it right here, or you can put it on your encoders down here. Same thing! You can only have your blades or only your rotation if you want to, just rotating the entire thing.
And once again, you can reset everything down here. You can go back to “none” here, and we can say we want to link something; we want to link everything. Now, you can see everything is linked, and we can easily work with that.
Let's just unlink it so we can link in parallel. If I put these settings in, you can link them in parallel like this, maybe even putting it a bit further in and working with it this way—kind of cool! Let’s reset it again.
Linking could also be mirrored, so if I have this one, it’s going to mirror what's happening on the other side. It’s really cool working with that! So, that's the Special Dialogue on the Shapers.
You have all kinds of different controls and options going on here; you really have to play with it. I think it’s really interesting to see what they have done with the Special Dialogue. You can even go into faders and do all kinds of different things, so there are a lot of options on how you want to work with the Special Dialogue.
Download the software, dive in, and start playing with it! That is feature number one. In this video, the special dialogue was number one!
Now, let’s talk about the View Bar on the right side of your screen, which has gone through a lot of changes in version 2. 0 from MA Lighting. Let’s just have a look at it!
You have all these view bars or views over here, and you can actually go into your settings, go into your Configure Display, and make it wider. You can actually look at it like this and see, “Okay, I now have two rows. ” You can decide if you want it here on the right side or if you want to put it all the way at the top if you want to.
So, those are the two different options you have here. You expanded one more row. You can see I have these, uh, things here: I have assigned a macro, I have assigned an M trick, I have assigned a quick key, I have assigned a user, and I have assigned an encoder bar.
We’ll get back to the encoder bar in a later video here on the Event Lighting Channel, because that has gone through a massive change, uh, also here on, uh, Granny M 3. 2. 0.
So let’s just continue with our View Bar over here. We now have our programmer and all these things over here. Uh, I have a clear button here, which clears the screen, which we have been using in MA2 and MA3 for quite a while.
But one of the new other features of GR M3 is if you have an empty view and you click it, it’s going to clear the screen, which I think is fantastic. So we can now basically just delete these guys here, and, uh, we don’t need that anymore. As you can see, swipes is now a thing in the View Bar as well, which I find really amazing.
It’s much easier to work with once you get used to using swipes. Uh, you can use it almost anywhere in the console, and now in the View Bar as well. Expanding the View Bar can be done on each screen, so it doesn’t have to be the same on all screens.
So if we move to screen number two and we go into our settings here, we have the same Configure Display here, and I can expand the View Bar as well if I want to. Uh, let’s just say we have a new edition here: we have our programmer. Uh, and if we want to store this view, a new cool feature has popped up in Granny 3.
2. 0. This little icon up here, if you tick that one, you will actually store a thumbnail into your view.
So if I say okay to this one, it grabs a screenshot and it stores it into the view. And, uh, if we go into our show here and we store a new view, it’s going to do the same thing—swipes is a thing as well in the views. So we can now, uh, go into this fixture view here and we can say store, and it’s the same thing; it grabs a thumbnail right away.
If you look over here, if I close this group here or this pool and I search for images, you can actually see they are stored into the images, and you can, uh, you can use them in there—all the thumbnails. So that’s another really cool feature of the View Bar in GR A3. Another cool thing, uh, in the View Bar is you can now use your two-finger gesture to move things up and down in the View Bar, as well as you can in other parts of the console.
So if you go here, you can simply just use your two-finger gesture, and in this case, I’m on the OnPC, so I’m just using, uh, the left and right click of the mouse and just holding it, uh, while I move the View Bar up and down. So it gives you a lot more flexibility in the View Bar in GR MA 3. 2.
0. Another highly requested feature of Granny A3 is the ability to shift columns around in your fixture sheet and all other places here in the GR A3 software. Uh, you can do it in—I have it written down here—in, uh, the sequence sheet, the content sheet, the fixture sheet, the layout editor, the agenda viewer, uh, the RDM device viewer, uh, the time code editor, and the time code viewer.
So let’s just have a look at it here in the sequence sheet. Uh, you have all these columns here, and if you press and hold a column, this red bar will appear, and you can simply just move it somewhere and release it, and they now switched places. Uh, you can also, uh, turn on or off columns if you don’t want to use them at all.
If you press, uh, with two fingers here, this small icon appears. We do that again here, and we can go into column editing. So if I go into column editing and see, okay, I never use Q Parts; I can hide that.
I don’t use, uh, let’s say, release break, duplicates, tracking distance, sync, and so on. Um, I can simply just hide them, and if I leave column editing, they are now gone. As I said, you can use that in many different places.
If we go into the time code, you can do the same thing. You can, uh, press and hold something, and you can swap places. You can go up here again, and you have this small wheel here, and you can do exactly the same thing.
So moving columns around and hiding columns is very, very valuable for some people in their programming if they don’t want to look at different stuff. But let’s just go back to the, uh, view we have here. Uh, once again we can go into the icon here, we can, uh, enter the column editor, we can do some, uh, hiding here, and, uh, we can, uh, leave the column editing, and they are now gone.
We have these column sets up here, and you can see there are some predefined ones, uh, from, uh, the MA software, and we can make a new one with whatever we just made, and we can, uh, label it to custom, for instance, and we can, uh, basically say this is our new custom, uh, set, and you can see it’s already stored here, so I can go into my first set and. . .
I can go into my custom set, and that's going to change. You can store different stuff in here, and you can change different stuff in here, so that's a new addition to Gran A3 2. 0.
All the columns can be shuffled around, and I think it's very cool. It's going to solve a lot of problems; it's been a highly requested feature of the Granny3 software. Another cool thing about Gran A3 2.
0 is the ability to apply filters to different things. I opened up a fixture sheet here on my computer, and I have my filters down here. If I only want to look at something and not everything in this one, I can apply a filter, and I can customize the filters any way I want down here in the filter menu or the filter pool.
So, if I take this one and assign it, and I press the bar up here, you can see it removes everything but the demo values. Then you can simply apply the filter you want. For instance, here I made a filter with position, color, and dimmer information.
I can say "assign," press the bar up here, and it removes everything but what's in my filter. You can use that to filter down whatever you want to look at. Maybe you don't want to look at Gobo, or maybe you don't want to look at all the different blades in a fixture; you can simply remove it and only look at what you need in this case.
So, another cool addition to Gran A3 2. 0! Let's stay in the fixture sheet for a second because we also have another new addition to the fixture sheet.
There are a few different ways you can view your content. If you go up into the MA icon here, you will have this sheet mode, which is Fixture, Channel, Demo Plus, and Sheet Filtering. If we go into Channel, you can see a channel view as we have been able to before.
We can go into the sheet filtering, and we can go into Demo Plus, which I find kind of valuable. If you are in the Demo Plus view, you will always see the dimmer information plus whatever you select in the feature groups down below. So, let's say we are in this one right now; we have dimmer information.
But if I go into position, it instantly changes to be dimmer and position. If we go into Gobo, it changes to dimmer and Gobo information. If we go into color, it sorts out the dimmer information and the color information in the same view.
Depending on what you want to look at, you can actually shuffle this around, and that will change your view immediately. If you need to look at something else, you can go up to the MA button up here again and say, “Okay, I need more space to see this! ” I can adjust the columns to say I have a column width of 10 instead of 20.
That gives you more space to see the tracked information. Really cool! Another addition to Gran A3 2.
0! Another cool but small addition to Gran A3 is the ability to test your commands if you’re using command-line macros in your sequences. If you go into our sequence here and scroll all the way down, you can see I have some commands here, and I want the ability to test them without going the queue.
What I can do now is go up into the MA bar up here, go into "Mask," and show the command test. When I do that, you can see there's a small go button here, or arrow, and if you push that one, it's actually going to test the macro without you going to the queue. You can write all these command-line things here, and you can test them easily without jumping back and forth in your sequence, which I find highly valuable.
So, another cool addition to Gran A3 2. 0! Who would have thought that audio is now a thing in Gran A3?
But it is! You can now, in Gran A3 2. 0, put audio files into your console, and you can play them back through a USB device.
Right now, Gran A3 supports four different USB devices: the Focusrite Sapphire, the M-Audio AirHub, the Palmer P4, and the Radial USB Pro. You can actually connect these devices directly to your Gran A3 console, and Gran A3 can take audio in and send audio out. I'm just going to show you how you can work with this.
You can see here in my view I have opened the sounds pool, and over here, I have opened up my USB stick and my music folder. I downloaded a test sound; it doesn't really matter what it is. In my Gran A3, on my USB stick, I go into my library, I go into my media, I go into sounds, and it's empty at the moment.
So, the only thing I need to do is drag and drop this audio file into my USB stick, and now it is ready to be imported into my sound pool. If I say "edit" to my sound one and I go into import, I select my USB drive over here, and it pops up—it's a WAV file. It pops up right here, and I can import it straight into the console.
So now I have a test sound! Here, and I can say "go" and, uh, select this one, and it starts playing immediately. I can turn it off again like this.
If you're doing a small theater show and you might need to play back some, uh, audio files, Grom A3 can easily do it for you. The way you trigger it, you can do that from your command line up here. If we say "go sound one," you can see another edition here; it, uh, kind of puts in green whatever it understands.
If it doesn't understand it, it's going to look different. You see this? Uh, then it thinks it's a name.
So when it's green like this, it kind of understands what you're trying to do. So I say "please," and I can put one down here, off sound one, and now I can press this button up here, and it starts playing right away. If you, uh, have an audio card connected to your console, it's going to play back, uh, immediately.
You can do some settings on volume and stuff like that in your, uh, sound editor. But right now, I'm just demonstrating how it works in real life. So "go sound one" works; "off sound one" it, uh, turns off again.
So that's sound files or audio files out of Grom A3 in the new software version 2. 0. The last thing I'm going to show you in this video is something extremely powerful; it's about macros.
It's about macros keeping their reference even though you can move stuff around. If you remember from MA2 and MA3 all the way up till today, if you have a macro and you say "go sequence one," and you, by any chance, move sequence one, the macro breaks; it doesn't work anymore. Gran A3 2.
0 fixed that, and let me show you how this works. So we have this, uh, sound test we just made before, and we have this "go sound one" up here. If I press this one, you can see it starts running down here, and if I press the off button here, it stops.
But if I move this one somewhere else, and I press the go button, nothing happens; it doesn't know what's happening anymore. So I can, uh, move this back, and it works again. That's fine.
But let's just write the macro in a different way. So if we go up to this one, sound one, and we write it in a different way, we say "go," and we put a hashtag and some square brackets here, and we say "sound one. " You can see it turns yellow because it references the object, the underlying object now.
So, uh, and it even, uh, knows the name of it. So I say "please," and you can see it's yellow up here. If I move this one, then you should see what happens.
If you look at the macro up here, it automatically updates the macro. So even though you move stuff around, your macros will still work. The same thing is if I relabel it and I say "test label," you can see it also updates the macro.
So if you are building macro shows and you have to have stuff in order, Granny MA3 fixed that because now the macro keeps the reference no matter what you do. Even if you change the placement of a sequence, or in this case an audio file, or you can change the name, no matter how you reference it, the macro is still going to work. So that is a fantastic addition to Granny 3.
2. 0. As you can see, there's uh, a gazillion new things happening in Granny A3.
This is only one video from me, and uh, I'm definitely going to look at the other stuff as well. There are new changes in the selection grid, there's new changes in Koda bars, there's changes in almost anything, and some of these topics are kind of heavy, so we need to make a video on its own on some of these, uh, topics. But if you like this video, uh, make sure to give it a like and make sure you subscribe to the Event Lighting Channel if you want to have, uh, the opportunity of being first and getting a notification every time I upload a new video.
So my recommendation to you today is definitely go home, download your, uh, Grom A3 2. 0 software, and start playing around with it because it is amazing with all the changes in the software. So, uh, I hope you'll do that and I hope you'll have some happy Grom A3 programming moments at home, and I'll see you in the next video here on the Event Lighting Channel.
See you!