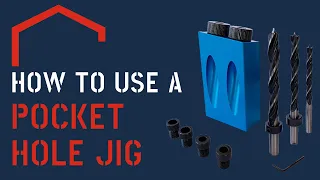
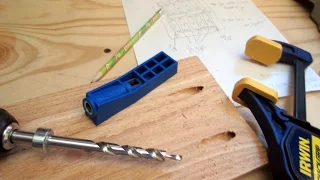
hey there Scott here with saws on skates today I'm going to show you how to use the Kreg pocket hole jig 3:20 thank you to my friends at crank tool for sponsoring this video let's take a look at what's inside the kit there's an instruction manual a jig that has to drill guides a spacer in thickness stops a drill bit and stop collar a material thickness gauge that's also a hex wrench a six-inch driver an adjustable clamp pad and some sample pocket screws to get started we'll use the thickness gauge to determine the thickness of
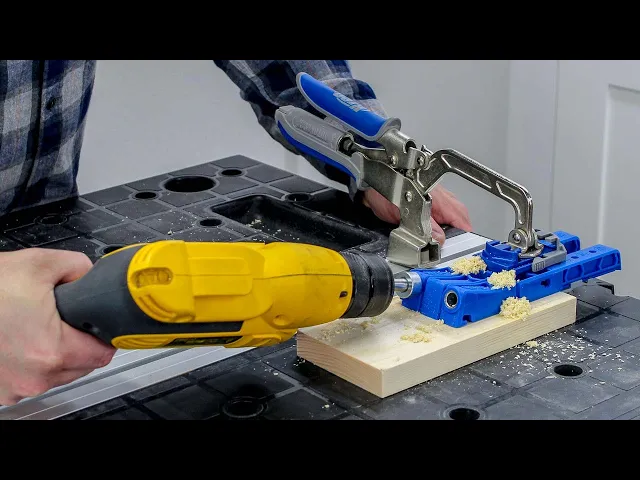
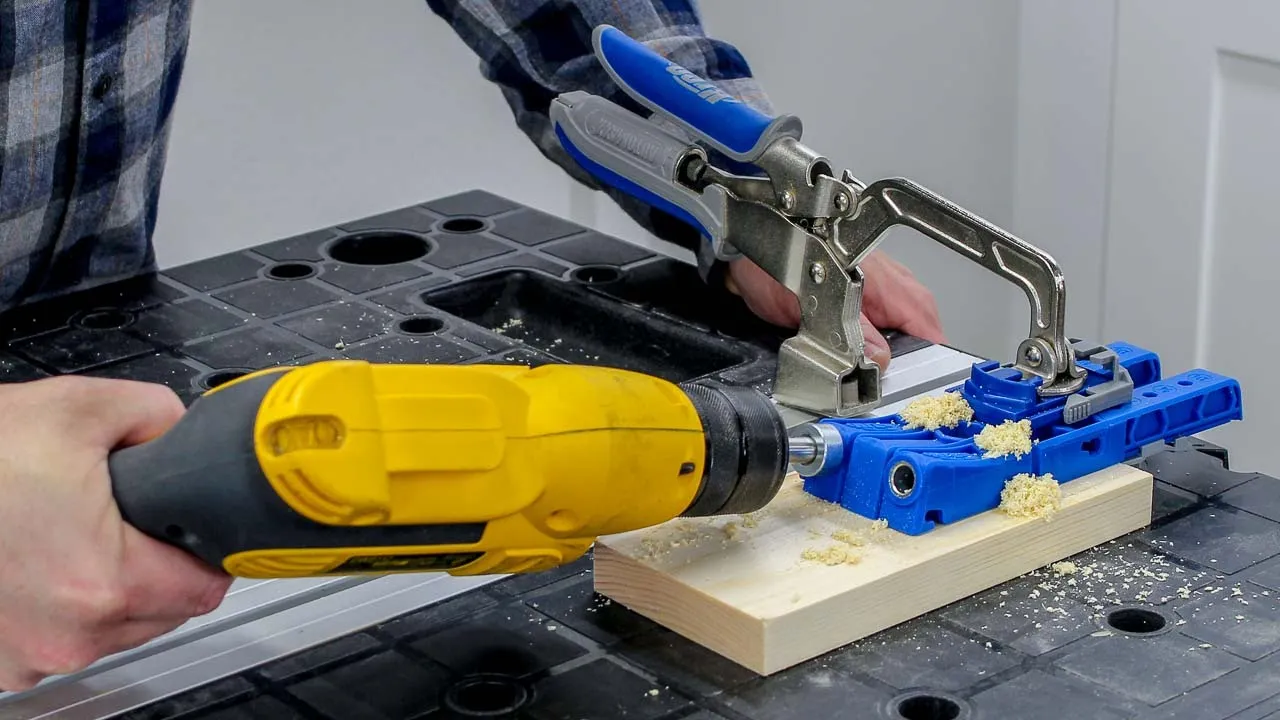
our material next we'll slide the stop collar on the drill bit to match the thickness on the gauge then we'll tighten the screw with the hex wrench next we'll set the thickness stops just press the gray tabs and push the stops to match the thickness of our material now we can add the clamp pad then we'll place the jig so the thickness stops touch the edge of the wood and we'll clamp the jig in place be sure the chip ejection holes are not covered by the clamp we'll insert the bit in the drill guide and
then drill the pocket holes now we can join the pieces I like to use my cordless drill the drive pocket screws because it has a clutch we only need to tighten pocket screws until they're just snug setting the clutch helps to prevent over tightening the screws the unique thing about the pocket hole jig 320 is the drill guides push twist and pull apart this means we can change the configuration to drill pocket holes on a piece that's one and a half inches wide like a 1 by 2 or we can use just one drill guide
to drill pocket holes on the edges like pilot the thickness stop can be removed so we can use the jig in tight spaces to make repairs repairs like a table that has a wobbly leg the jig also has two grooves on either side so it can be used to make repairs without being clamped that's it that's all there is to the simple to use Craig pocket hole jig 3:20