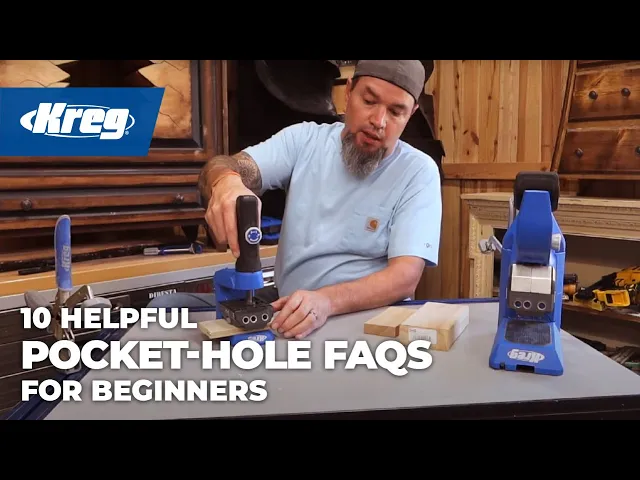
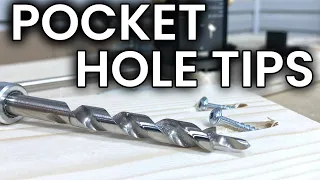
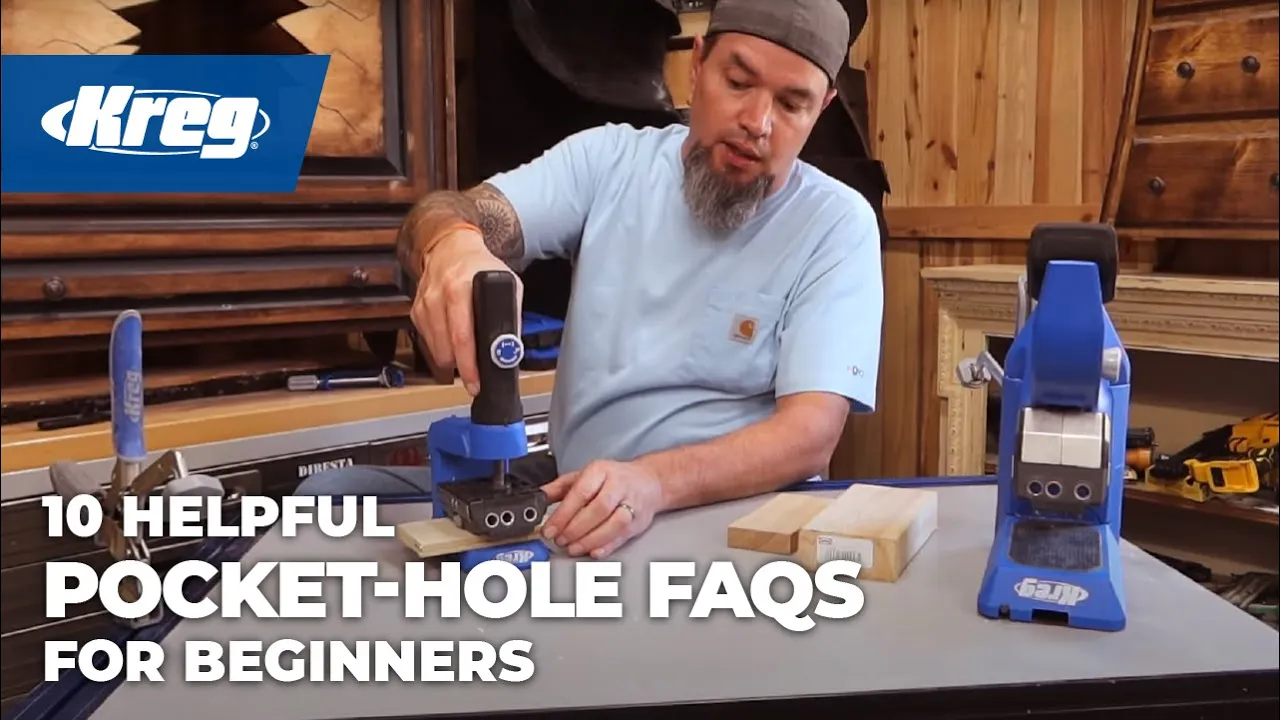
what's up guys I'm Matthew Peach with Matthew Peachwood working in DIY so I am happy to be joining Craig tools today for this video on pocket hole joinery in general what size screws do you use when to use it why to use it where to use different types of pocket hole joinery and I'll be answering some of the most frequently asked questions that I get on my channel and one of the main questions is why do I use pocket hole joinery so often in my build well there's a lot of different reasons the strength of
the joint the durability the ease of use and the biggest thing for me is hiding the Fastener so hiding the screw itself and that's where Craig and pocket hoe joinery comes in there's a lot of people that believe that pocket hole joinery will limit what they can build so let me take you on a quick walk around my shop and I'll just point out some things that are built with Paco join us so you're going to have to excuse the mess but let's take a little stroll around the shop I'll show you what builds that
I've actually done that I have around here that are pocket hole projects to start with right here where we're sitting each one of these crazy fields that I do and some aspect are built with pocket hole joinery and there are some Oddities there this is a project that I'm working on for one of my next videos we have our floating shelf with hidden compartment Pocket Hose another birdhouse this one is actually prototype as soon as you come in this is my coat rack where I store my masks my hearing protection things like that and it's
also a hidden compartment hidden compartment can't see what's inside and those are just a few examples there's another one rotating cornhole board and then over here we have even the work table we'll come back over here shortly because I'm going to be going over some of these different types of joints and actually how to cut those joints while we would cut those joints but the workstation itself is put together with pocket hose my main workstation that was one of my first larger pocket hole builds years ago and it still works great and if you've seen
any of my videos you know that almost every single one in Bob's pocket hole joinery so pocket hole joinery is not just for simple tasks it's not just for cabinet making it's not just for whatever you can use it for anything and I've just shown you examples of things that I actually have sitting around my shop from a beginner level all the way up to this crazy stuff so let's just proof that you know pocket hole joinery can be used for anything so as you can see by that quick little tour around my shop the
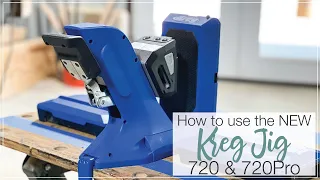
possibilities are endless when it comes to pocket hole jewelry and what you can do with those so we're going to start with a very quick overview of Craig's two most popular jigs the 520 and the 720 Pro both of these machines are very versatile and I actually use them both in different applications so the 720 this is how she comes so we have our workstation and in the back all of our Tools in one place that way we know where they are and where to put them back the wings will fold down and inside the
wings there will be extra storage the wings themselves act as a stabilizer for a board if you want to cut it long ways they can be detached and moved around to say if you're working on an extra long piece the 720 can be used in this position or it can be used in this position whichever is more comfortable and whichever one applies best to the project that you are working on one of my favorite things about the 720 Pro is the ability to have dust collection the more dust that you can keep away from your
bit while it is turning will keep the blade sharper for longer and make a smoother cut but my favorite feature of the 720 is the auto Locking System it will adjust itself based on the thickness of the material that you are putting pocket hose in so that was an inch and a half this is an inch and this isn't half of an inch it's that fast so the main accessories that will come with your jig are the two different lengths of screw bits you will have your actual drill bit itself you have a multi-tool of
sorts and this is used to loosen the Allen to adjust the collar on your bit so it actually has marked onto the shaft of the bit a half of an inch three quarter in an inch and a half and inside of this collar is a viewing window okay that's what I'm going to call it it's a little round viewing window if I want to cut an inch and a half material I'll place it here if I want to cut three quarter of an inch material then I'll lock it down here and let's go ahead and
lock it down into that position because we're just going to repeat that for the half of an inch also built into this handy little tool is a gauge this is a thickness gauge if you're not sure exactly what size material that you are dealing with you can slap it onto your gauge it will tell you exactly what you need to set your drill bit to so you'll always set your drill bit based on the thickness of the material that you are drilling into if I'm drilling into this one and a half inch piece of material
then I will set my collar at one and a half same thing for a half of an inch if I'm drilling into a half of an inch I'm going to be setting my collar to a half of an inch this so that you're working with some odd size material like 5 8. it's not printed on the side of this or onto the bit itself so you would just loosen your collar then you can put it back into its storage place and print it on the sides are different lengths let's say that it was 5 8
I'd take my collar up to the 5 8 and then lock it down in The Jig with the Allen and now I know that this bit is set up to make a pocket into 5 8 material and then we have the 520 Pro I'm showing it here with a docking station this is optional it will come with a clamp if you wanted to make it a permanent docking station if you're going to be making a lot of cuts at once same thing with the blocks here and there are a ton of features on these that
I know that I'm missing there's just too many to mention in the video and so with the 520 out of its docking station it is one of the most versatile pocket hole tools that I've ever seen this is one of my favorite tools you can literally use this in every position sideways upside down whatever that your project needs very lightweight but heavy duty and extremely versatile like the 720 it can handle material from a half of an inch all the way up to an inch and a half you will tighten your material down by using
a squeezed trigger and release with a release trigger let's say that you're going to be making several pocket holes in let's say a piece of three-quarter material you will slide your guide up to three quarters of an inch and it's actually written here on the side half inch three quarter inch and a half and let's say we're going to be making several of those cuts I'm tightening the knob on the top that way when I hit my release button it only comes back a fraction and a couple squeezes you're ready to go so with Paco
joinery there are two main things that you have to remember the depth that you set your drill bit at will always be the thickness of your wood so that will determine where you set your collar but the next thing is what size screws do you use your screw length is always determined by the thickness of the material that you're attaching your board to so even if you have two different sizes of boards let's say that we put our Pocket Hose into this three quarters of an inch piece of material but we're attaching it to an
inch and a half that means we'll be using the screws made for an inch and a half material even though this is three quarter so speaking of screws let me show you some different types of screws lengths of screws and we'll go over when we would use each one and why okay so before we actually get into the screws themselves let me show you the inside look of the anatomy of the pocket hole so when you're making your pocket hole with the drill bit it will bore out a hole and countersink the tip and then
once you place your screw in it will follow the countersink using the tip of the screw which is self-tapping you can see the little groove cut in there as it goes into your pocket hole it will be auguring out material with this cutter head until it reaches the flat spot so that's how it sits and that is one of the important designs of a pocket hose screw this little shelf that the bit cuts is actually made for the top of the screw head to rest in this prevents your screw from going any further than this
like a deck screw would continue to go in until you stop driving it a pocket hose screw will actually stop at this lip so to fully understand how the pocket hose screws worked you had to know the anatomy of the pocket hole itself so we have a flat top that keeps it from going down any further we have our self-drilling tips and then we also have this smooth shank here okay so the reason why that the shank is smooth in this area is once it reaches the lip and this is still twisting it will stop
here if this was all threaded it would keep trying to pull itself down until the board broke or the screw itself of strip there's some people that find that pocket hose screw selection is intimidating it should not be at all yes there are several different types of Pocket Hose screws but if you keep in mind that your screw selection is always based on the thickness of the material that you're driving into and makes it quite easy I'm going to throw a chart into the corner of the screen here I'm also going to see if we
can get that into the description so you can print that out but the most common pocket hole lengths are one inch one and a quarter inch and two and a half inch and this big beast here is a newer product from Craig it is actually used for 2x4 and 4x4 material with a different jig you can install these gigantic boat like Pocket Hose screws so we'll put that one out of the way so our most common lengths the two and a halves they are going to be used for two by four material or an inch
and a half thick so why is one blue and white is one silver the silver one is zinc this is the one that you're going to be using the most the blue is what they call blue coat and that is going to be for exterior interior builds you can get the blue coat screws in any of these sizes anytime that you are building something that is going to be outside you want to use the blue coat or the stainless steel the inch and a quarter screw is going to be for three quarter material and the
one inch screw is going to be for half inch material one of the other things that you may notice that is different between these two screws is the threads so we have a fine thread and we have a coarse thread so the coarse thread which is what you'll probably be using the most on any of these lengths are going to be for your softer wood so it's going to be like for your Pine your fur or Poplar things like that any type of plywood or MDF will also be using the coarse thread your fine thread
screws these are for your Hardwoods okay so these are less aggressive so Hardwoods are more fibrous like Oak Maple Cherry they're more dense the coarse threads May split that material whereas your fine threads are a lot easier on the wood fibers displace them less and we'll ensure that you do not split your wood and the only other real difference in screws are going to be your pan head versus your flat head do you notice how much smaller around the pan head is you will see the pan heads used most often in the one inch length
and the reason why is because this is the size that you would use anytime that you're combining half inch plywood and if you ever have any questions about screw selection I'm going to throw a link into the description connecting you you to this site super cool site that Craig set up you just answer a couple of questions and it will tell you exactly which one of these Crews that you need for your project okay I'm gonna go ahead and drill some hose using the 720 and so I'm using three quarters of an inch material so
I have my bit set up at three quarters of an inch with the auto Locking System I do not have to worry about setting the depth it will set itself that may get a little loud because I am going to be using the dust collection attachment and it can actually go in either side of the jig another question that I get a lot is how far apart should the spacing be personally I like to space one inch in on each side and then six inch spacing in between and this is what it would look like
now this brings me to another very commonly asked question why are the hose not all centered on The Jig itself well Craig actually did that for a reason this is preset for four inch three inch and two inch material so let's say that you're going to be putting pocket hose on the end of three and a half or four inch material so for this you'd actually use the two outer holes okay and that would give you two pocket holes in one piece of material and if you're using three inch material then you'll use these two
holes and this will ensure that the pocket hole spacing is Far Enough From The Edge now these two that are really close together that's going to be for your two inch material okay so let's talk about a couple of different types of joints this is probably the most common this is called a box joint I've left the front off as well as the top just so you can see what's going on in here so this is the same material that we just cut so it's three quarters of an inch thick meaning that I'm going to
be using an inch and a quarter screw let's say it's an Andor project it's a cabinet so I'll just be using the zinc screws now one of the biggest mistakes that I see people do with pocket hole joinery is that it is very tempting just to use an impact driver to install these screws okay the issue with that is with impact driver you cannot set the torque it is made to just drive the problem with that is that you are actually strip rip the wood as it goes in because this lip is preventing it from
going down any further so it'll just keep spinning until there's nothing left for the screw to hold on to so instead of using an impact driver you actually need to use a drill because you can adjust the torque so when we are using this to cut our pocket holes it's just set on a drill setting we don't need the torque relief for that it's what torque does in a drill is allow the drill to slip instead of stripping out a screw so depending on how hard the material is that you're using will depend on the
torque and you can have that set with the first screw that you put in start low work your way up so this is the sound that you want while you're setting your screw it's a nice tight joint without sinking and stripping your screw holes so again this would be an example of a box joint it's probably one of the most common joints because you use it in Cabinetry and making drawers but let me show you a couple of others so another very common question that I get is do I use glue with pocket hole joinery
well the answer is yes and no it depends on where it's going and what it is let's say that it is an outdoor project it's constantly moving so I'm wanting something to kind of hold that together a little tighter so another time that I would use glue would be for 45s just because of the angle of the pocket hole I want a little bit more support where I could not get a pocket hole so I add glue and really the only other time that I use a glue and pocket hole joinery let's say that these
are wide boards like for a tabletop and I'm joining two large pieces wood will constantly move that's just the nature of it with the seasons it's going to fluctuate it's going to swell it's going to shrink but I do not want to swelling and shrinking at my joint so that is another application where I would be using wood glue okay so with this joint is actually an example of a couple of different things this is what we would call a t-joint so it's basically like when one piece of wood does not meet on the end
but I put this together for another example of when you're joining two different sizes of material what do you do what screw do you use remember the screw is always determined by the material that you are drilling into okay so the material that you are connecting to so since this material was an inch and a half thick although this material was only three quarter I still use the screw for an inch and a half material which is going to be two and a half inches long so t-joint and two different sizes of material and this
is a miniature version of another very common type of joint that you would use pocket hole joinery for and that is going to be a butt joint you have your rails and your Styles connecting together flush and here's an example of a t-joint but this is the basic example of a butt joint and how you would use pocket hole joinery to make this type of a joint and another tip in your work piece if you ever see this where the pilot hole is actually drilled all the way through that means that your collar is not
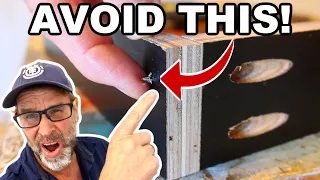
set on the drill bit to the correct depth it may have slipped or you may have forgotten to change it from the previous use so if you're Drilling and you ever see little blue shavings start to come up stop that means that you've done that and everyone out there I promise you if you look at their pocket hole jigs you will see something that looks like this no matter how long and I've done thousands and thousands of pocket hoes with this machine do you see those holes those weren't put there by Craig those were put
there by Peach and again that is from the collar itself not being set correct in this case I simply forgot to change my color from my previous work piece in this case the very first pocket hole that I cut with a 520 I was so excited about getting it in I cut a hole through the middle of my machine but luckily Craig anticipates this and Designs it to where you're not going to be hitting anything metal or messing with the structure in any way so this application would be called a shelf Edge let's say that
you built something out of plywood but you want the edging to be hardwood or just a nicer type of wood you want to cover up the plywood edges that's where you would use this so from underneath of a shelf or on top depending on how high that it is you could put this solid wood shelf Edge onto plywood now you see how this one actually hangs over to make that shelf ledge you could also do this by cutting here so we cut this off you can put the same joint on it go all the way
around and it's kind of like Edge trimming a piece of plywood so instead of the iron-on edging that you can get you can actually put solid wood Edge trimming and turn a piece of plywood into a really nice shelf so for miter Corners you're going to have to look down into your jig itself to see exactly where you need to place them especially once you get into smaller modern Corners so this is a three inch piece of wood because of the length of the pocket that this is making I do not want to go any
higher or it will bust out the side with two pocket holes and glue this is going to be more than strong enough now let me show you what to look for in The Jig itself so this is what it looks like in the pocket hole jig itself okay so you're actually going to be placing the angled section flush so I'm going to show you with this this came off the 520 exactly what we're looking at now you can look into your machine I'll be using these two holes here so this this is how it would
be I'll move it closer to the edge and you see how you start to see through this hole you do not want that so you'll bring it in until the hole is covered and then the one on the right is also covered and you know you're set let's say the board was four inches wide and we wanted to use these two so we'll bring it over until that is completely covered that pocket hole and then we're set for four inch well guys I hope that you have enjoyed this video I have enjoyed making this video
I love Craig tools I love Craig jigs I've used them for years and years and years and I actually got my start back in the day making short form videos about the K4 how to use them how to set them up everything that I've just showed you here to hope that you were able to take something away from this video there's a ton of other things that you can learn as you go but these are the main points for pocket old joinery so thank you guys so much for watching and thank you to Craig for
making such awesome products and letting me be a part of the Craig family till next time guys see ya