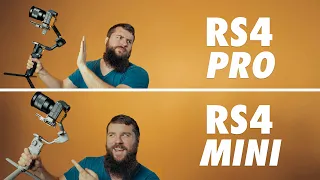
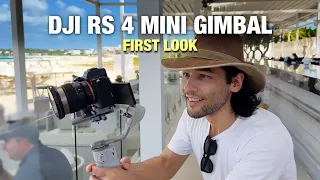
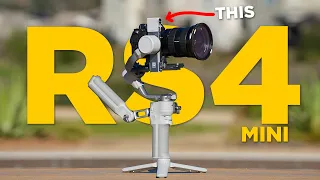
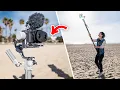
Meet the brand-new DJI RS4 Mini, featuring insane AI-powered 360° tracking—no matter how fast you move, how far you go, or how many people step in front, it never loses its lock on you. It’s also the smallest gimbal with automatic axis locks—a feature I cannot live without since the RS3. The RS4 Mini is all about speed: faster vertical mode switching, faster charging, faster setup, and lightning-fast pack-up.
It even fits perfectly into my PGYTech travel backpack without adding too much weight, which is key for travel filmmakers who need to carry a ton of gear over long distances in remote locations. But before you rush to buy, there are a few issues you must know about—especially if you shoot on bigger immersive cameras like the Canon R5C. There are two big problems.
First, it doesn’t fit every camera out there. Second, with Canon EOS VR, the gimbal’s rail shows up in your lens view—completely ruining that 180° shot! But don’t worry.
I’m going to show you exactly how to fix these issues. Plus I have got some user tips along with some creative shooting techniques you can’t easily pull off with the heavier RS4 or RS4 Pro So, do you really need a gimbal in 2025? Well, if you’re just creating 2D videos for social media, the answer is probably no.
Your phone’s built-in stabilization is pretty good, and most new cameras—like the Canon R5 Mark II that’s filming me right now—come with amazing in-camera stabilization. Personally, I like using handheld mode for a more organic look when I shoot 2D content. A gimbal can be too smooth and make your video feel a bit digital.
But that’s not the case for immersive filmmaking or spatial video. In 3D stereoscopic filmmaking—whether you’re using an iPhone 16 or a Canon Dual Fisheye—keeping the camera steady is crucial. Your viewer’s head is the camera, and you don’t want to shake them around or make them motion-sick.
I love my DJI RS4, but it’s still too heavy to travel with, so I’m thrilled DJI released the RS4 Mini. It’s smaller, lighter, and packs all the same features as the RS4. Now, let’s talk about using it with the iPhone 16 Pro Max.
This phone shoots 3D Spatial Video, and it’s not just a ‘phone camera. ’ We actually used it in our professional immersive 180 film to capture close-up 3D shots. That film is now featured on Meta Quest TV, and you’d be surprised how well footage from the iPhone 16 blends with a 16K 90fps professional immersive 180 camera.
Of course, we’re not handholding it. We use a gimbal and a light for a solid, professional setup. The new DJI RS4 Mini has a dedicated phone quick-release plate, so you can quickly switch between your main VR180 rig and the phone.
It’s super fast. And since the RS4 Mini can hold more weight than the Insta360 iPhone gimbal, you can attach heavier cinema lenses, a light, a microphone, or even an external SSD to enable Apple ProRes RAW shooting. What about subject tracking?
Well, the Insta360 Flow 2 Pro has NFC subject tracking if you’re using an iPhone. But the DJI RS4 Mini offers something even better that works with any phone, or any consumer or professional cameras—the brand-new DJI RS Intelligent Tracking module. It’s a small, detachable unit that snaps on magnetically, so it doesn’t rely on your phone’s battery.
That means less power drain and more accurate tracking. But how good is the tracking, really? We set the RS4 Mini to the new Responsive Mode and ran a real-world test.
Let me show you the results right now. now we are in the BC Center Monica Pier behind me is the pier a lot of people around us so we're going to test the AI tracking feature of this brand new gimbal right here so I raise my hand okay start checking and then I got to walk around full 160° walking all the way around this thing can turn 160° H sorry 360° all around us but how good is a checking distance so let's find out so I got to walk far that people pass me you don't grab their head they grab my head still great I got to walk behind subject now it's way more than 10 met by the way come back still trat me people walk in front of me still checking me not them I got to go super far still checking me right still checking me I'm right here right here probably is not in frame anymore I think a lot track because a lot of people walking by actually I don't think so it's still tracking me I can't see my camera anymore that's how far I went uh okay so now go back so I think just lose track but if I go back into the frame see oh my God it grabed me again right yes it grab me again it's crazy that's how good tracking is and the checking is 360° you see my camera right there you can check everything let's go around it wow and that is the brand new tracking from the DJI rs1 mini pretty good pretty impressive. The only downside?
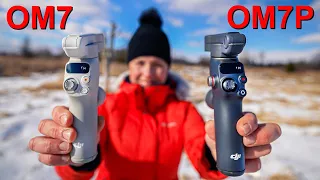
It only tracks people, not animals. Sorry, Kimchi…Comment below if you want DJI to make animal tracking possible! Now, let’s quickly go through all the new features compared to the DJI RS3 Mini and the DJI RS4—so you can decide if it’s worth upgrading if you already own one of those gimbals.
First, the weight. This thing weighs only 880 grams—significantly lighter than the RS4. But don’t let that fool you.
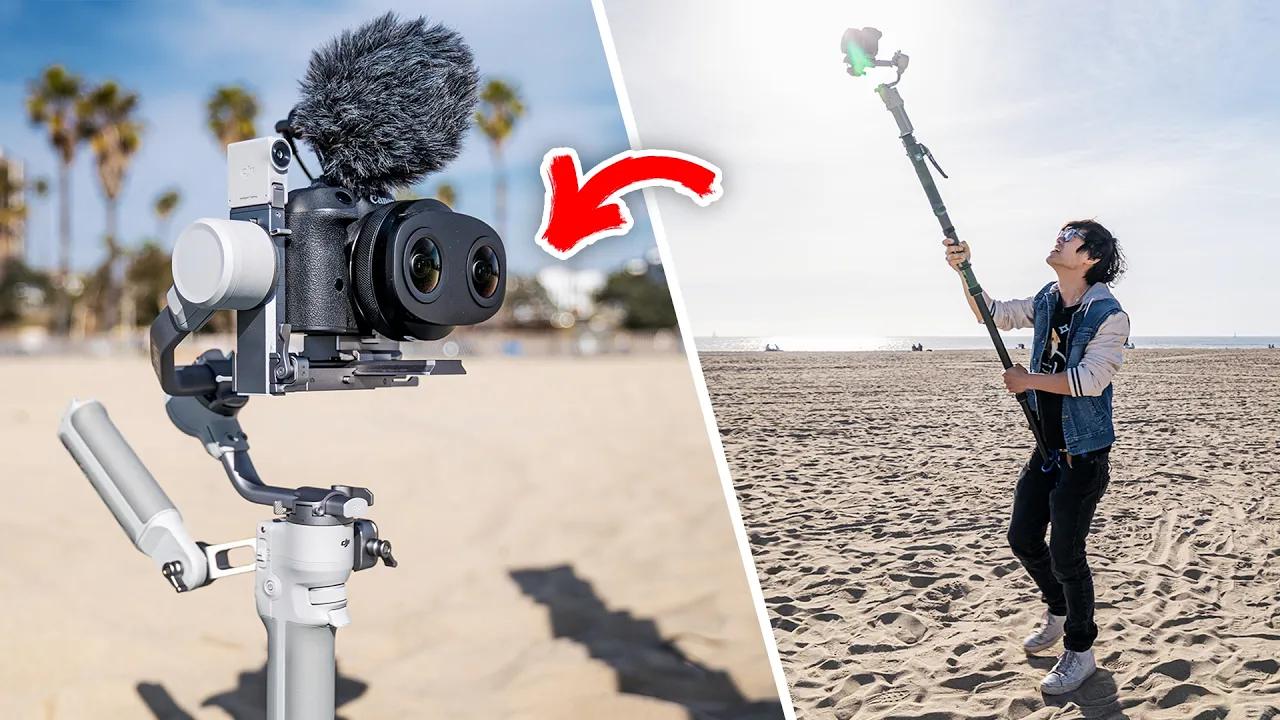
It can hold up to a 2-kilogram camera package, which means it can handle my full Canon R5C 8K 60fps VR180 setup right here. Later in this video, I’ll show you exactly what you need to make that happen. The biggest improvement compared to the RS3 Mini is the automatic axis locks.
I can’t operate a gimbal without this feature anymore. DJI has spoiled us, and honestly, this is why I can’t go back to Zhiyun gimbals…no matter how much cheaper they are. Another new addition is the single NATO rail on the side.
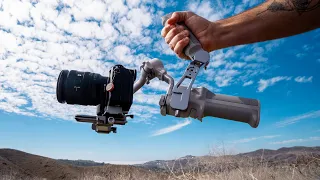
Unlike the RS4, which has rails on both sides, the RS4 Mini just gives you one. But it’s still super useful. It lets you attach the new briefcase handle, which comes free with the Pro package.
If you’re not a fan of the briefcase handle—which, by the way, doesn’t really help with stabilization in immersive filmmaking—you can mount any NATO accessory, like this rotating side handle from SmallRig. Or even better, check out this spring-loaded Z-axis stabilizer from CAME-TV. It works similarly to the Tilta Hydra Alien Mini Stabilizer for the DJI Osmo Pocket 3, reducing that up-and-down movement when walking or running—movement a regular gimbal just can’t eliminate.
This little trick can dramatically improve the stability of your immersive shots. Write it down! The layout of the buttons and the display is exactly the same as the more expensive RS4 and RS4 Pro.
So if you’ve used the RS4 before, there’s basically no learning curve here. It’s the same workflow—just lighter and easier to travel with. one advantage about this little gimball is so easy to pack up so we're done filming let's just put it down uh put the C down right here so as a VR filmmaker as you see I have a lot of gear my Vision Pro my big camera my small camera My Lens so I only have a lot of gear so bring extra gimbo sometime is just very annoying so like take this out put in the backpack microphone so right I'll put a side handle right here just close it by the way this a pgy Tech backpack uh my favorite backpack by the way I bought it with my own money uh become one of my favorite child backpack but one thing about this skimbo is oopsie yeah don't lose this right here right so it's a pocket like perfect for a skimbo so see this because skin board look here it's nothing like really like stick out when I fold it up right it's so easy to just slide in any backpack sght in put this back in here zip it up then I'm ready to [Music] go [Music] and I mean if you have a small backpack let's say you have a small backpack right you don't have a pocket like this outer pocket like this you most now day have a computer section right let me just zip this up so you don't have it you don't have this section assuming you don't have this section right here so most people this day all has a where you put a computer you can literally B skinny right here you can literally Oh wrong pocket the slide in the computer session where you put your laptop in boom slide right in Now, it also has Bluetooth wireless camera control.
If you use a Canon R5, R5 Mark II, or R7, this works great—no extra cables needed. Sadly, it doesn’t work with the R5C since that camera doesn’t have Bluetooth. It still has a built-in battery, but with faster charging and larger capacity than the RS3 Mini, so you’ll spend less time plugged into a wall and more time filming.
And check this out—it has a one-turn vertical switch mode, which feels smoother than the RS4 thanks to a better design. If you shoot vertical content with a pro camera, this is really useful. So yeah…a lot of great improvements.
But what about the drawbacks? Well, there are actually several. Let’s break those down next.
The RS4 Mini fits most cameras on the market—but not all of them. My Blackmagic Pocket Cinema Camera here doesn’t fit. And if I have a camera cage on my Canon R5C, it won’t fit either.
I mean, barely—if I remove my NATO rail —but it’s not ideal. To fit mid-sized mirrorless cameras like the Canon R5C or Sony FX3, you’ll need to strip off the cage. And the camera plate that comes with the DJI RS4 Mini has these locking holes right here.
You’ll need to offset them to the last set to fit the camera body in. Don’t worry—it might look a little funky, but it’ll balance just fine. It’s designed to work that way.
But here’s another weird part: the plate is unnecessarily tall. I have no idea why DJI raised the center of gravity like this. The problem is, when you add a mic or anything on top, it throws off your tilt axis.
If they just gave us a lower plate—like the RS3 Mini had—it would let us add more accessories without messing with the balance. And here’s problem number two: the new adjustable plate. It’s awesome for 2D filmmaking—especially when using zoom lenses.
But for immersive filmmaking with a 180° lens, this frame right here becomes a problem because it shows up in your footage. See that? Not good.
Well, here is the secret tips you only learn form this video. You can actually NOT use the adjust rail, and use the camera plate vertically like so. It will slide in from the back of the gimbal.
It lock in firmly just like the old RS3 Mini. You just lost the Fine Tuning Knob, which you don’t need it if you know how to use a gimbal. But then we hit another problem.
By mounting the plate vertically, we lose those locking holes we used earlier. Which means…we can not offset the R5C to fit it in. Kimchi: Aww…Hugh never wins.
Not so fast, Kimchi! I found a solution. Turns out, we just need to get a little creative.
Meet the SmallRig NP Battery Mount Plate. It’s basically the cheapest mini cage you can buy, and it solves all these problems. First off, it comes with an offset plate to shift your camera to the left—exactly what we need for the RS4 Mini.
Just mount the DJI plate directly onto this SmallRig cage like so, and even though it’s a single-point mount, there’s a spring-loaded locking pin here that keeps the camera from twisting or coming loose. Smart design. Thank you, SmallRig—you saved the day!
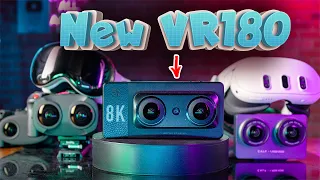
The plate is super light, so the whole rig still stays well under the RS4 Mini’s 2-kilogram limit. And if you need to mount extra accessories, you’ve got three 1/4 screw holes right here. And just like that, you can use the Canon R5C with the Dual Fisheye lens on the RS4 Mini—no problem.
With the latest Canon firmware update, you can now use the new LP-E6P battery to capture 8K60fps VR180 without an external power source. So yeah, this little setup can shoot the highest-spec immersive 180° video for Apple Vision Pro…well, at least until Blackmagic drops that URSA Cine Immersive. There you have it.
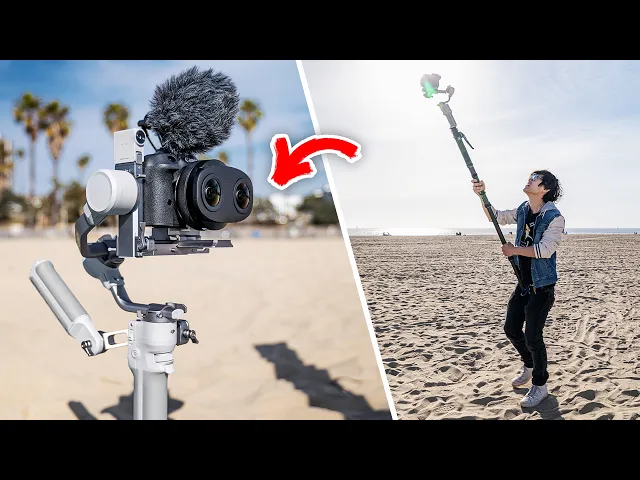
With a little creativity, we solved all the problems and turned the DJI RS4 Mini into the best lightweight, travel-friendly gimbal for immersive filmmakers. so now let me Demo you the high shot so what I have right here is the YY onion professional monop poot right here just put it in the base make sure it tight though okay and then you can just quick your list right here and then what I going to do is I first going to extend a little bit like this the high I want to go out and what I do is the base again you should have assistant but I can do it myself I the B just drop off put in the sand it's fine so see right here the gimbo and right here I can put it on my little pouch right here boom look at that that is a high shot so like and then here is the VR1 crank shot look at that crank shot right here go up ring shot review shot oo review if I going if I want to go higher this is like a quick release right I'll grab the handle and go even higher let go lock again put it right here so you put all your weight in your Bell right here right way this my dog kimchi Bell right here so do crank shot again go down to the camera very sturdy right 30 30 go up crank shot and then I walk to the beach with my long pole and it's pretty study again try to do the in walk it's hot on the sand right um but yeah that is how I do a VR 180 drone shot oh honestly you can put any camera on top uh one good thing about this thing is this thing is so light it's so easy to just operate it compared to the RS4 RS4 Pro right here uh so that is a benefit of using this setup right here so it's easy to operate so what I have right here is the brand new Photo Pro tripod it's currently my favorite travel tripod because it's super lightwe like this thing is a carbon fiber right here super high way uh the plate just arus Swift uh in here as you see actually High the Allen wrench get out for you man so here can help me to tighten the plate onto my d why I lie about this whole system right here again you can just you can't just buy this on Amazon right what I do here two part I get a tripod this tripod can support 20 kilogram and it's carbon fiber super light weights great for travel and here is a Gearhead a precise Gearhead control see this is not to get me precise control so in VR 180 you actually don't want to move your camera that much remember this is your people's head in VR and if you move a Kimbo uh put camera a lot you make the motion sick so what I do 90% of the time is actually put the gimbo on a tripod on monopod a very sturdy platform right here and then I collab it use as a monop part right I turn the gimbo on Boom it's on right so what I do is I lean the camera forward so the tripod is out frame right and then I film it like that it keep it super sturdy and because we have a support system right here so that is basically 90% of my VR1 shot shot that way and then if I need to move I grab it I hold it and move it that way right and then when I'm done I extend this very easy right put it on the ground and now make sure that my camera will not fall because I'm on a stud platform system right here so that is my whole setup right uh again if I don't have the DJ RS4 or if I need to like boom like do some kind of like weird Lean Forward I can always use my Gear Head to adjust like so oh put a temp right here and now I can do a time laap like you lean here forever do a time laap so that's why this is this system is so cool right it's that give me a stly platform and then I can quick level like so or I can don't use the gimb uh gimbo at all to the camera on the tripod and level that way with Gearhead I hope you enjoyed this video! If you’re curious to see this gimbal in action, check out some of our latest immersive 180° films on YouTube VR and Meta Quest TV.
And remember—gear alone won’t make you a better filmmaker. It’s the knowledge of how to use it, combined with practice, that actually improves your craft. That’s why we share everything we learn here on this channel—to help you grow as a creator.
So if you haven’t already, hit that subscribe button, and let’s keep pushing the boundaries of immersive storytelling together. Thanks for watching, and I’ll see you next time!