Hello everyone, this is Live Light. My name is Devon Davis, and today I'm going to be showing you something a little bit different than what I've been doing. This isn't a part of my MA3 Boot Camp series; however, it is going to be a tutorial.
In a sense, it's more of just an explanation of my approach towards a layout view Color Picker with macros, appearances, and things like that. If you're coming from the MA3 tutorial series, don't be afraid—this isn't a part of that; this is just its own separate entity that I would like to show off to the more, I suppose, intermediate users of MA3. I am by no means an advanced user; I'm still getting there, but I'd like to show this off because I think this is pretty cool.
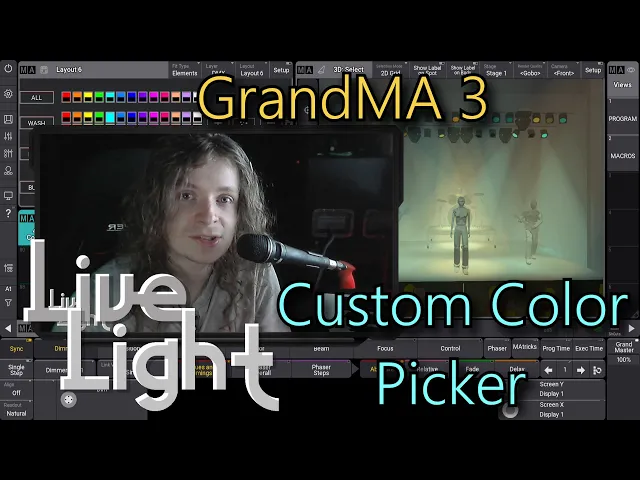
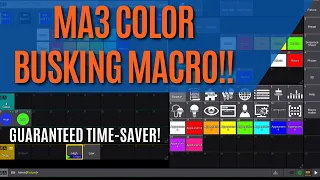
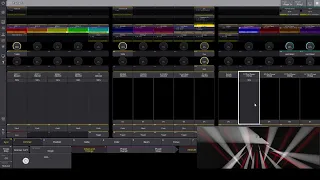
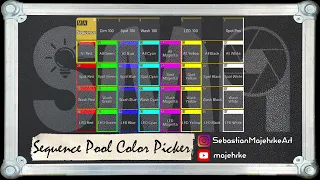
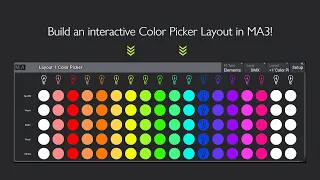
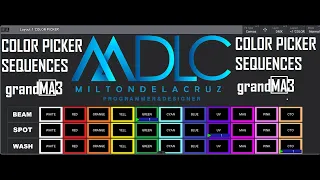
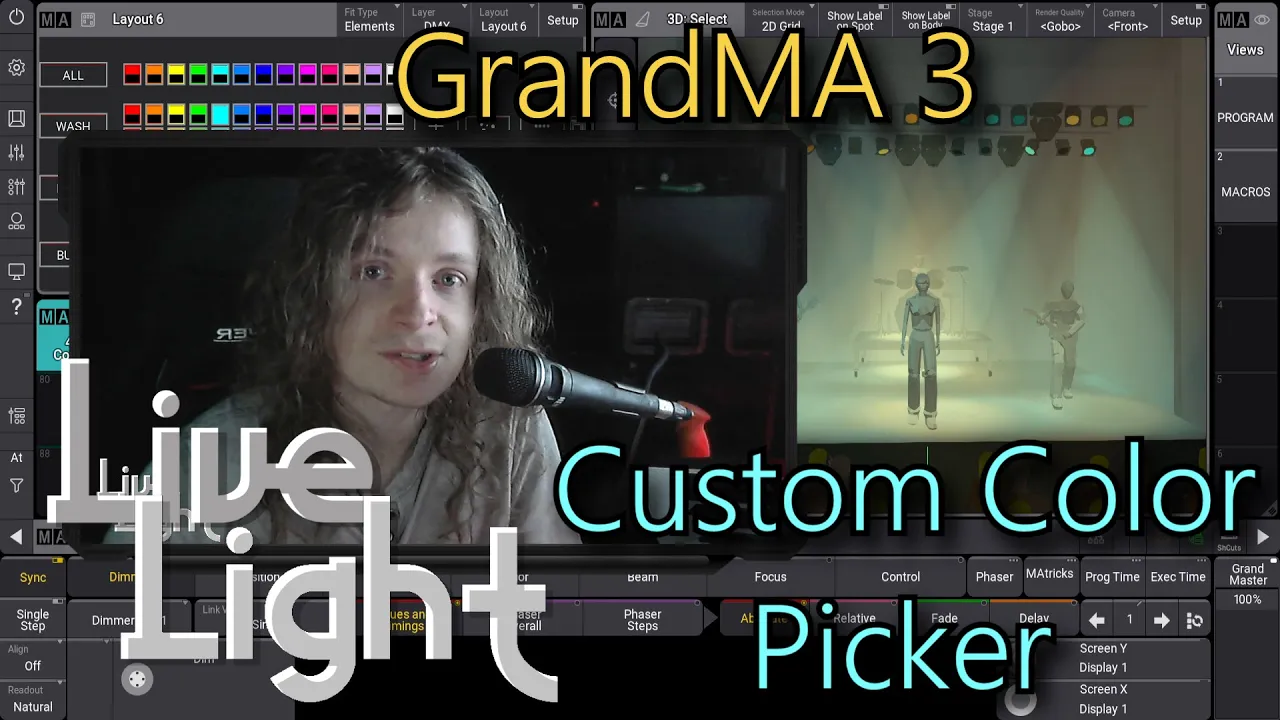
So, let's get into it. What I've got here is, if I move my camera over here, we've got a layout view which just has a bunch of macros assigned to it. That is just a Color Picker; it's as simple as that.
However, I've got a couple of extra features over here where we've got a set look, a fade look, and—oops! —set look, fade look, and a snap, as well as an off. So, what do I mean by that?
If I take my wash light and let's turn them off… All right, let's get you squared away; let's turn you down a bit. All right, so if I take my wash lights, and I select two random colors, then I hit the set look. Then, just like that, without having to mess with anything else, I've got two colors, and it's as simple as that.
I can choose as many colors as I want, and it auto-updates using recipes, which I'll explain in just a minute. But we've got our set look as well as a fade, which has a little dim effect as well and just kind of fades between the two colors that you select. Then there is the snap, which is just almost like a strobe in a way.
So, how does this work? I'll show you. So, like I said before, these are all just macros that are assigned to this layout view.
As well as that, to show you, it's got all buttons right here to set all your lights to a certain color. I also have some movers down here, which I'll show you right now. I turn this off; it's not very many, but I've got some.
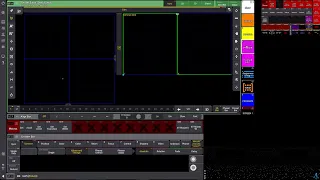
So let me show you how this works. Enough yipper-yapper! So, if I delete this and I go and open up my macro pool, you'll see there's a whole lot of crazy stuff going on here.
Let me just show you the macro screen: a whole lot of crazy stuff going on here, but if I dive into it, it's really not as crazy as you might think. So, what I've got here is one row of macros that's for my "all," which designates every row in that column to that certain color. All it does is go through all of these macros right here, which changes their own appearances.
So, what I've got over here is the clear, which will set all of their appearances into my deselected appearance pool. If you're wondering how I did that, it's essentially just if you open up an empty appearance and you set your brightness of your background all the way up and your actual color of your foreground or your image to black, then you can create essentially a border, which is how I did all my deselected looks. If you look up here in the corner, you can see that color changes.
Then, as soon as you turn your color values up, it gives that selected look. So that's how I did that, and all it does is, if I select "all," for example, it will clear all of the macros in this row using this, so it goes through all of these macros, which in turn all go to their own row clear, just like that. So, if I turn that on, it will go through all of these, which clears their own row, and then it clears its own row and sets its own appearance.
So, you can see that here. I'll talk about this later; this is the color presets. But if you go look down here, it goes to macro 30 and then 47.
Oh, sorry, this is screen number two we’re looking at. This one goes to macro 30 and then goes all of the macros in that column. So, you'll see 3754, 7188, 105—that's the number here: 3754, 71—there you go!
Hope that makes sense. And then it will assign appearance 39 to itself. This is macro 20; it will assign the selected look to its own macro, and you'll notice I also had a bit of a delay, a 0.
1-second delay, in the go macro for its own column. I do not understand why that's necessary. If somebody could help me figure out why in the comments, what I figured was happening was it was going to a macro that, in turn, also clears its own "all" header.
Because if you'll notice, if you select this, I made sure that if you select any of them, it will clear this, so it doesn't think it's in that "all" position or that "all" step anymore. So, what I figured was happening was it would select this, which would then go to this, which would then clear this. So I was like, "All right, then I'll assign the appearance after it goes," which I did, but it's still at a follow.
I really know why it works, but the 0. 1-second delay did work. I tried to 0.
5, and it did work for a bit until I started putting lines in those macros; then it stopped working. So, I don't know, maybe it's a processor speed thing, but that's what I had to do to get it to work. It took some serious playing around with, though, so that's that.
You'll notice all of them are like that. So, what are the actual macros in the columns doing? They are copying color presets to a specific place.
I'll show you that in a second. I do this. Here we go.
All right, it's fine. Then, what it's doing is, if I select red right here, it will take the red preset right here and copy it at Color 1 or Color Bump 1. It should just say C1, but it's okay.
Then, if I select the orange, it will copy this to Color 1. You'll see that no matter what color I press, it will copy that corresponding color to this filler right here, and the same thing goes for Color 2. So, if I select the second color pool right here, it will copy—for example, right here, the magenta.
It will take the magenta and copy it right here. So, how am I using that? I am actually making two more color presets that have phasers built into them, which are referencing Color Bump 1 and Color Bump 2.
So, the way that works is it will actually reference both of these colors. If you go into the edit up here and lift its references, you see it depends on CB2 and CB1. In this case, CB1 would be Step One of the phase, and CB2 would be Step Two.
If I go to this blue over here, then you'll see it's between yellow and blue in the fade. That's why the set doesn't have any phasers going—it's because instead of relying on a phaser, it simply takes your odd group and your even group and assigns it to one of these. The way I did it was actually using worlds instead of groups, so I will show you that real quick.
I've actually got worlds for all even groups. The all wash I had to do for a separate reason, which I won't get into because it's not relevant. However, I did make an even and odd world, which is then used as an output filter for my recipes.
So, if I delete this and open up my sequence sheet and show you my sequences—so, Wash Set Even—the reason it's even is that if I go into the settings, you'll see it's got an output filter of the even world. This means my evens are blue. If I were to change that to odd, then you would see it would all be sorts of messed up; they would actually be overriding each other, which would turn it off.
But going and changing that back. . .
So, like I said, the way that the fade actually works is using recipes. If I go here to the fade, you'll see that all it's doing is taking the color preset fade right here for my wash and putting it in a dim sort of sign. That’s where I get that kind of in-and-out look, and it just assigns it to those lights.
That's why I can turn it on using a macro. So, all this macro here does is tell it to go, and then this macro turns everything off for that wash; then the beams are their own separate thing. If we actually take a look at the bump real quick, it also has its own separate color pool for if you've got a wash look, and you want to insert a certain color—let's just say white—and make an effect.
So, I've got it going in and winging out. The way I've done that is I created another sequence, for which you would create a sequence for every bump look you want to do, and you would just assign that to a macro. But I will show you this real quick: this is the bump sequence.
All it's doing is taking a wing from my middle group, for which I created its own group. All it's doing is referencing that set color, that Color 5 that you change using the sequence that you change using the macros, and then it sets it at full as it goes. The way that I'm making it go from the center and winging out is using a delay.
So, I've got the wing here, which essentially cuts it in half—cuts my group in half—BAS B on the selection grid. Then, I've got a delay going from the middle to the outside, and it has a 1-second delay. So, from here, it will take a full second to get all the way here.
This is actually my release CU, which turns off the dim and turns off that color; it just releases it, and it happens 0. 5 seconds after that. So, you've got enough time to see that kind of effect hang out, and then it turns it all off just by using release presets for each attribute.
It just does the same thing with the wing and the delay. I'll show you that one more time. So, this is the bump; it just wings out like that really simply.
So, that about does it for the color picker in the layout view. I hope you enjoyed it! I'm sure this explanation was very confusing, and I know I.
. . I could have probably done better at this, but I really wanted to get you this video.
Let me know if you have any comments or if you think you can make this any better. You know this is absolutely a community thing where we give each other advice, and I’m still a beginner programmer, or at least I’d consider myself one. I always want to learn new things and get your feedback.
If you have any questions about how this works and you want me to dive deeper into detail, I absolutely will. I’ll make another video if needed. If you’re interested in the stage that I’ve created, let me know, and I will send you the download link if you’d like it.
It’s just an MVR file; you just import it into your MVR library. Other than that, yeah, that about does it. Thank you so much for watching, and I’ll see you in the next video.
Goodbye!