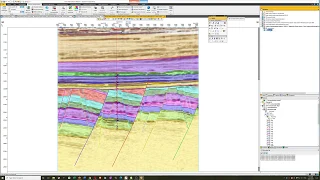
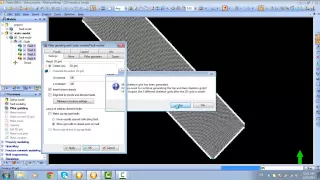
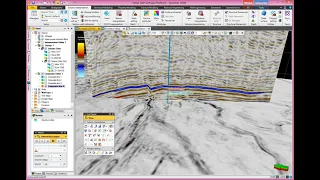
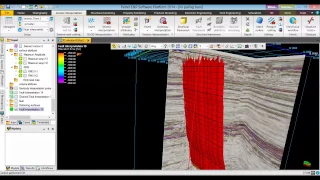
this will be a video on picking horizons in this case we're going to try to pick the Dakota horizon and I'm going to show you how to use four types of picking tools first of all this is a seismic interpretation task so we're going to want to go down to the process processes pane and select seismic interpretation that will then give us the list of tools that we need this is the same list you used for picking faults I'm also going to use the 3d window and the interpretation window to do the picking so in
this case I'm working with the cross line 120 and I'm going to go to the interpretation window I'm going to zoom in and I'm going to hurt demonstrate the the so called manual picking I guess I should jump over we're going to select the horizons tool to say that we're going to pick horizons there are four types of picking tools first is manual interpretation seen on the right second is guided auto tracking third is seated 2d Auto tracking and the fourth is seated 3d Auto tracking the first demonstrate a manual interpretation tool this is not
going to help us by doing any kind of automatic tracking of horizons it just allows us to pick where we choose to pick okay it's telling me there's no active seismic horizon which means I need to go I can put I can click for a horizon by going down here to create new horizon tool on the bottom and this has now created seismic horizon one which is located right here and that's where I will put the pics that I'm about to make so I have the manual tool and I can go along and manually select
points on this horizon is picking in this case trying to pick in the middle if I each time I was moving across I was being with a single click on the left button and the last the last point I used a double click so I can go and it will do exactly where I put and things and it will keep it will maintain a straight line in fact it doesn't do anything smart in this case because I can take this pick and I can go up here and it will blindly follow that so that's manual
picking we can erase things by using the bounding box or other tools like we did with with false so I'm simply going to select this it turns yellow indicating it's been selected and I can delete so that's a way to delete mistakes or errors that we've made I'm going to go on to a guided auto tracking I have to click the horizon button and then to guide it auto tracking and this is now going to be an aid it's going to help me I'm also going to click what are called seeds here and for example
I'll click that one but in this case it is now positioned that point exactly at the peak of that particular trace I can come along and click again with my left mouse button and in fact I can go here this the straight line pick the road and pick wouldn't be very good but when I click here and they click then I'm going to double click to terminate this you'll note that it is now found the peak and followed it exactly so I didn't have to put that curve in I can start a new set of
picks by clicking left mouse button and I can go all the way over here double click and it will follow this is a very easy tool I can use the right arrow on the computer to move things over and I can now pick again and it now has filled in all of that section so it's very it's very handy if I were to come here I could fill right to this point okay I get a good pick I have control it's not running away from me okay I'm going to zoom out of this and I'm
going to delete that particular pic this is probably a very common picking mode that you will use the auto tracking has the capacity to to do things very quickly but you lose some of the control over what you're picking is going to be doing okay I'm now going to move on I'm going to pick again the horizon button and now I'm going to go to seated to the auto tracking before I do that I'm going to put a couple of sections in so that you'll see something that it does so this is still back with
the guided I'm going to put two little segments in here as seeds now when I go to the 2d auto tracking now when I click one time with the left mouse button it is not only it is going to follow automatically along this two-dimensional section so I'm going to click here once and you notice that it ran to this point it will stop when it gets to a pick that's already been made or a seed and but then we can go over in this direction it is picked automatically to here now I probably want this
to go on this means it's detected some lateral at the heterogeneity and it stopped picking but I can now go ahead and put in another seed and it'll continue it further so it's done a very nice job of identifying the end of this fault I could come up here and put another seed in and you can see it will then pick up and run some distance in this case okay so this is really handy now I can come over and here I have now a seed and here I have a seed if I click between
it will connect them but it will stop and then I can come over here and pick and now I run I've run that reflector again at this person again it there is in the center I can continue this if I think this is still the same reflector I can continue it's detecting differences in the peaks here so it will really not do not go very far so I might have to go in here and do guided auto tracking on this to get it to be complete okay now the sort of the all-powerful but somewhat dangerous
tool is the 3d auto tracking so I'm going to come up here and go to the seated 3d auto tracking tool now what this is going to do is it's not only going to run and make automatic pics within the section we're looking at but it is actually going to try to pick you in the whole 3d volume so I'm going to move over one section from this ten ten traces over so that I have a blank slate and then we'll run the auto tracking on that so I'm going to move this over I'm now
into ten ten traces over and now I'm going to come up here and I'm going to click once with my left button and it is then going to fill in the entire or a good portion or a lot of the the data set I'm going to click here notice here that now instead of stopping at this point it actually made the connection across the fault it did that by taking a route that was outside of this particular section so now if I were to move by stepping over you'll note that well it hasn't done hasn't
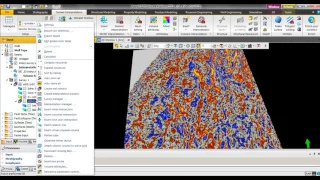
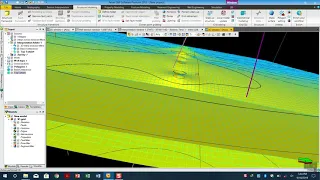
picked that one okay so let's look in the 3d window let's turn on this horizon and you note that it picked one side just like in the 2d because I had put a proto line through here and picked it with the 2d auto tracking it only picked on this side it uses those as boundaries so we can go back in we can go we can pick another point here and my guess is that we'll have now filled out the whole thing I put one seed in on the other side you notice that we have a
large surface area now and we can control if you find that you have this surface terms up just in a solid color the place that you can look for that is this is even style menu Z values is what you want to check and you want to check on colors sometimes it will come up this will not be checked this will all be empty and but you can override the global property template fancy words for the color scale and you will then be able to apply this and you will get colors that correspond in this
case to the two-way travel time to the surface so that's a way those are a set of tools that you can use to do pics on seismic horizons