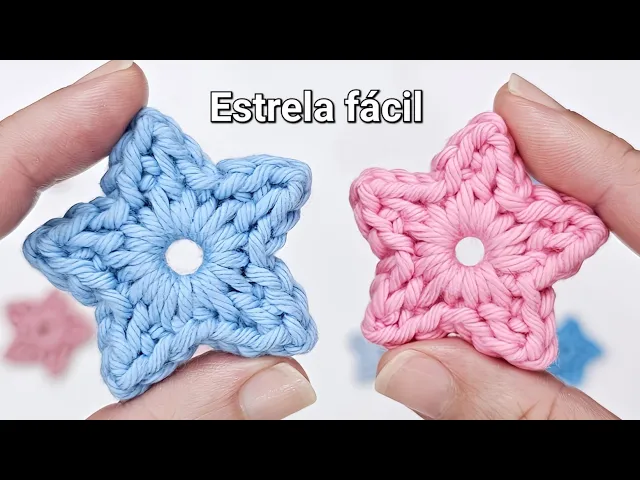
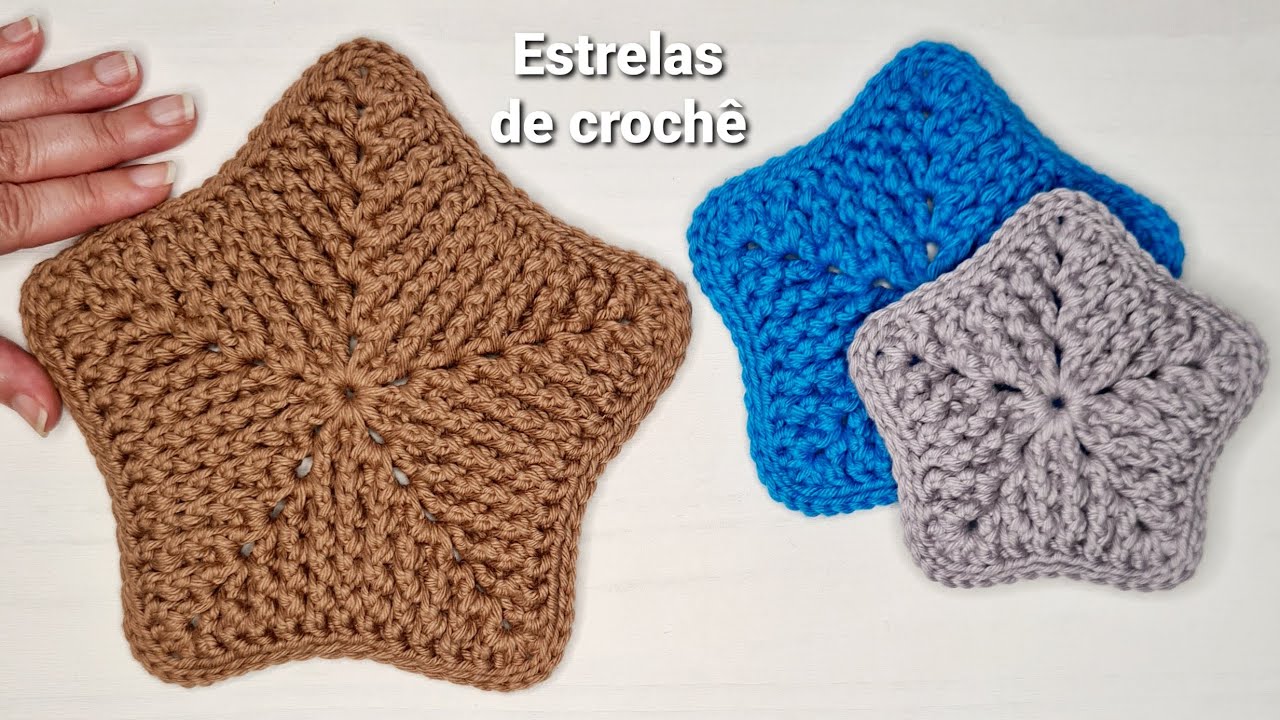
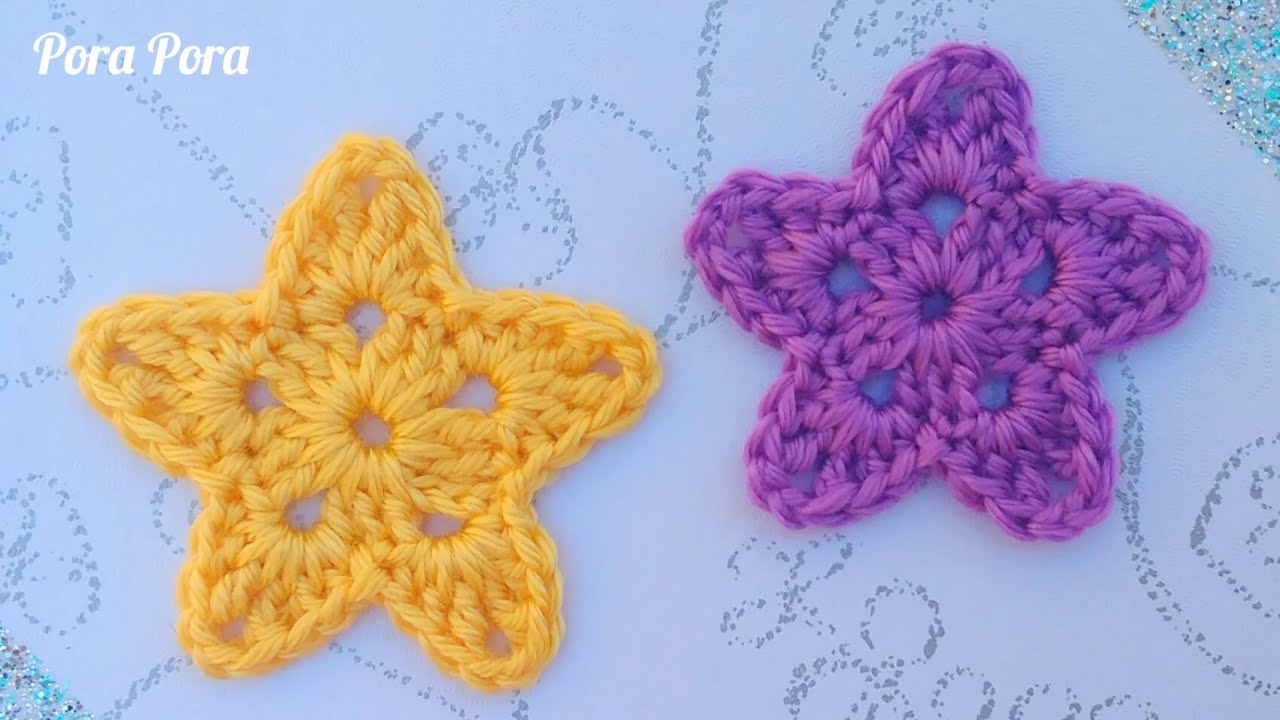
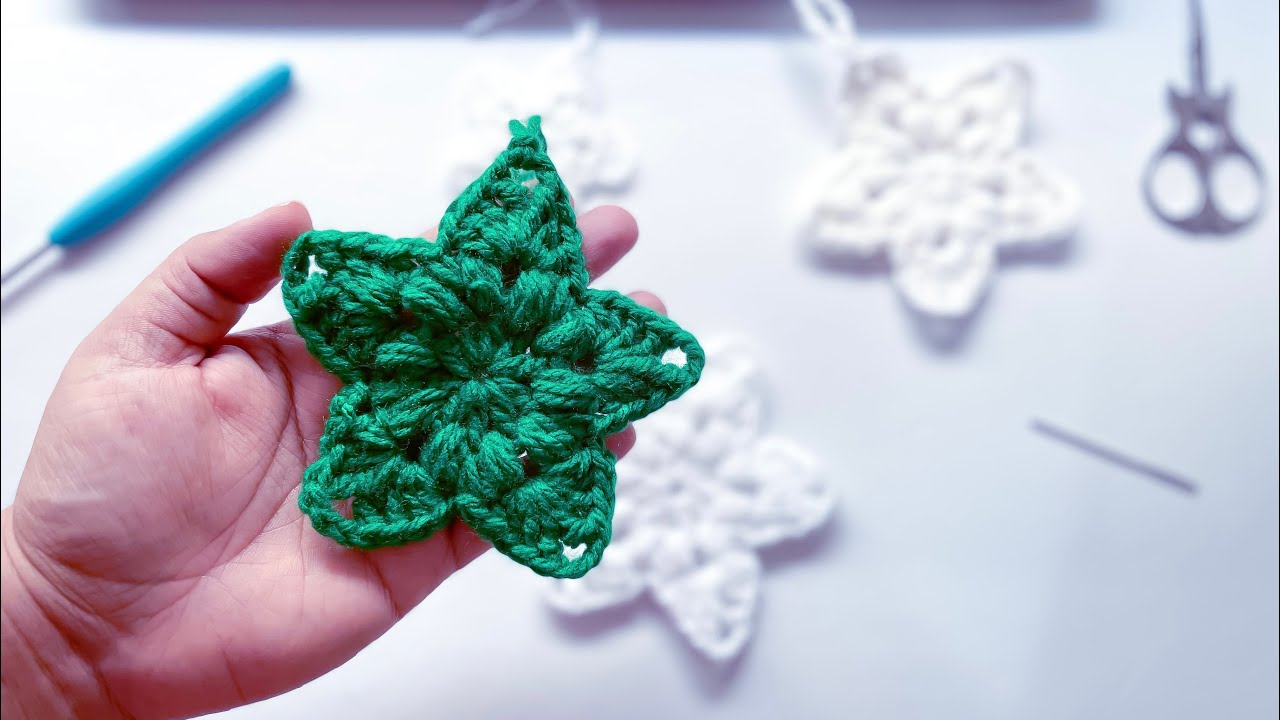
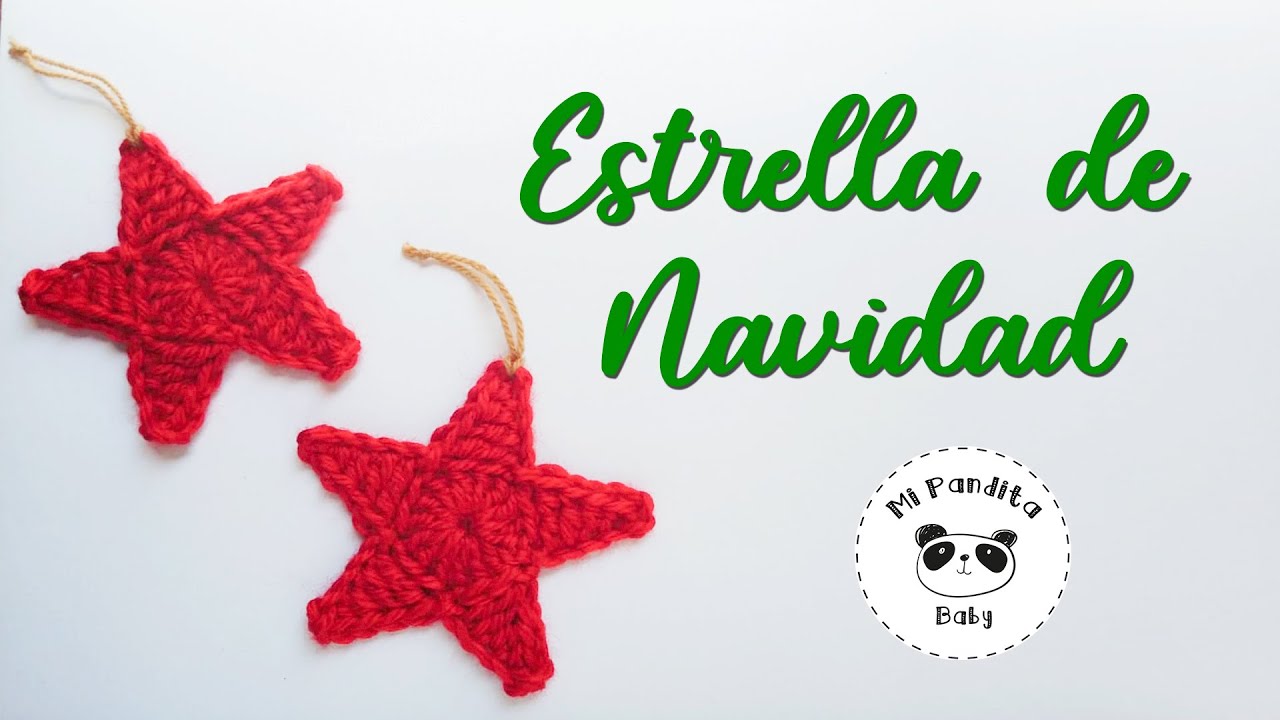
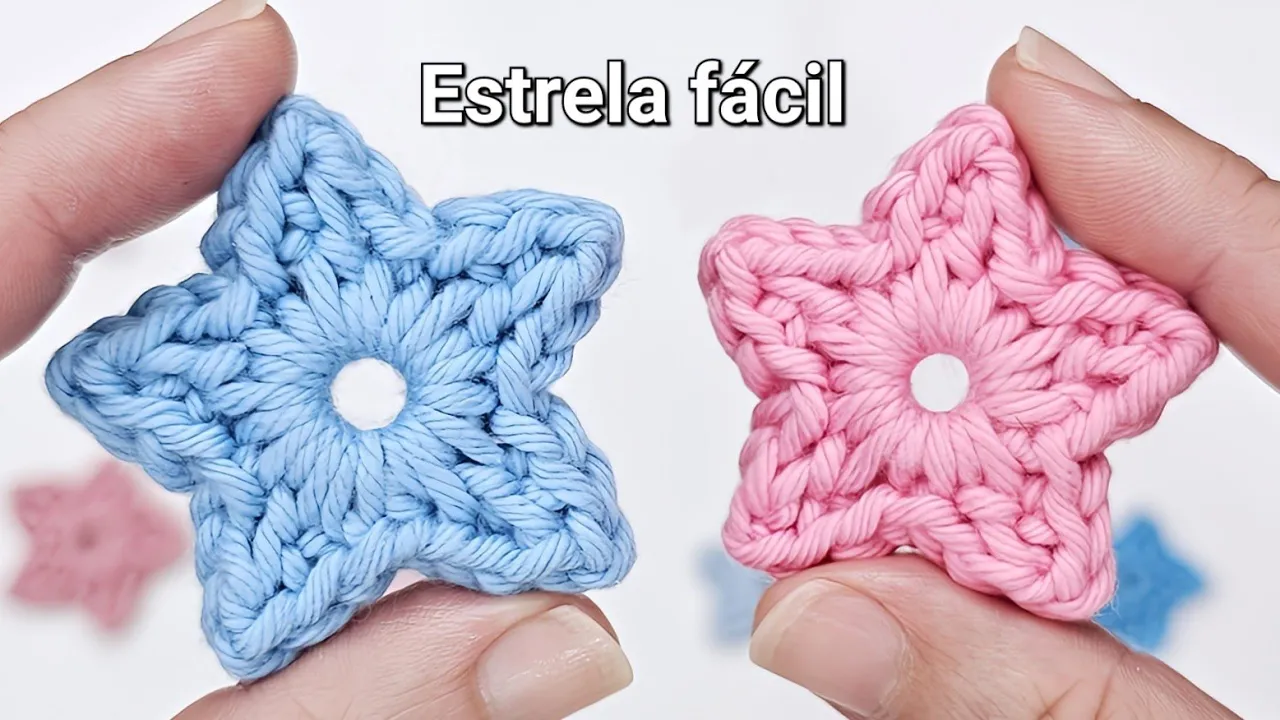
Today's class is about this crochet star. The step-by-step guide is complete and is a new, easy and quick technique. Come learn and improve your work even further.
Use materials of your choice such as string, cotton thread or wool. Always choose a needle compatible with your material To record the class I chose a size 6 string and a 3. 5 thick needle.
To make the class more fun, we will use international crochet symbols. This symbol means Current. This other symbol means Lowest Point.
The next symbol means Low Point and the last symbol means High Point. So let's put it into practice! To start the work, I leave about 10 cm of thread for the final finishes, then I take my thread, make an E, hold it down here, pass two fingers inside this E and turn the thread to the other side, take this thread which was underneath and I pull it forming a slip knot.
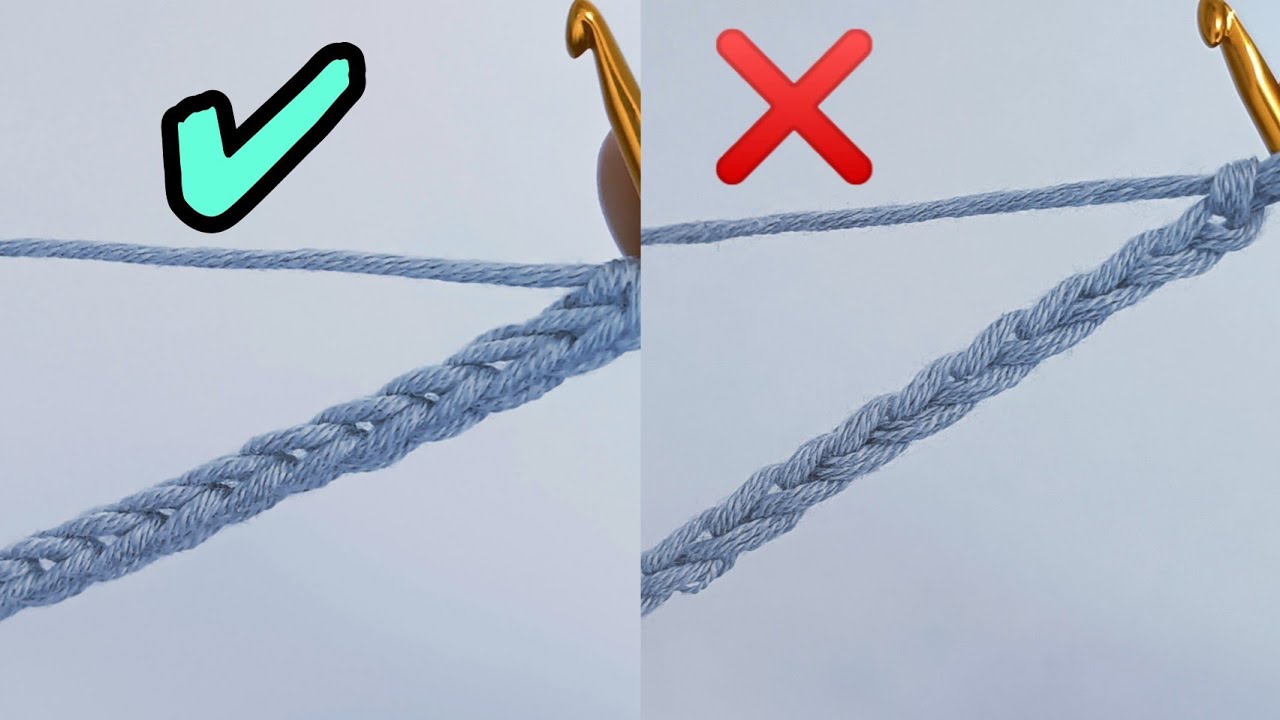
This slipknot will already count as the first Chain of the work. Then I take my needle and pass it through the loop that formed and tighten the thread until the thickness of the needle. Like this.
I already have one Chain, I need five, so let's make four more. 1 2 3 4 for a total of 5 Chains. Now we will make a Slip Stitch to form a Circle.
I take the tip of my needle, pass it through the first Chain and look for a loop and tie it off and tie it off, forming a Circle. Now we will make a Chain, like this. Next, we will make a Low Point inside the Circle, always securing the thread that came from the beginning.
I pass the needle inside the Circle and under the thread that came from the beginning, I look for a loop, small, without stretching like that, it's small and I finish off the two loops by making a Single Crochet , now we will make a Chain, like this. Next, we will make a High Point inside the Circle, securing the thread that came from the beginning of the work. I wrap the thread around the needle, pass it inside the Circle, securing the thread that came from the beginning and look for another loop, without stretching it, working softly.
Fasten off the first two loops and the second two loops and it will look like this. Next, we’re going to climb two Chains, let’s go! One Chain, two Chains and then we will do a Low Point and here is the secret of this star.
Our work is like this, we are going to locate these two little threads here at the base and this little ring that is on top of them is where we will make our Low Point. So I take the tip of my needle, pass it through this little ring , look for another loop, I have two loops and I tie off both loops at once, like this. Now we'll make a Chain, let's go!
A Chain And the first point of our star looked like this. Now we will do the second, third, fourth and fifth tip. All ends are repetitions.
Before starting a new tip, always check that the base wires are very close to each other, if they are not, just give them a little pull. Let's start the second end by making a Low Point, always securing the thread that came from the beginning of the work, like this. Next we will climb a Chain.
An updraft. Now we will make a High Point. Come on, like this!
Now we will make two Chains. One, two and now a Low Point. I locate the two little threads and it's here, like this.
and to finish the second point of our star we will make a Chain, like this. Pay attention to whether all of your Circle handles are close together, if they are not, just give them a little pull and this is the result of the second end being ready. Let's start the third point by making a Low Point inside the Circle, always securing the thread that came from the beginning of the work.
I'll do it and I'll be right back! I did it and it stayed like this. Next, we will do an uphill chain.
I did it and it stayed like this. Now it's time to make a High Point inside the Circle. It stayed like this.
Now there are two Currents, like this. Now it's time to make a Low Point, in that little strap that we already know where it is, I did it and it looks like this and to finish this point all I need to do is make a Chain. I did it and it looked like this and the third tip looked like this.
The next tip is similar, I'll do it and I'll come back with it ready. I did the fourth point, which is a repetition. Now I'm going to do the fifth last tip, which is also the same as all the others.
I made the fifth and final tip and it looked like this. Our ends are always finished with a Chain, but in the fifth and last point it is not necessary to do this last chain. We will finish with a Low Point.
Now I can lengthen it by about 20 cm for the final finishes. I cut and pull the thread that came from the ball. Now just use a thick needle to do the finishing touches.
I'm going to locate the same height on the other side and find it on this side here, pass my needle like this, to the back side. Then I go back inside the Chain and pass it through this little ring, simulating a Chain up here. I pull it to see if it looks similar to the other side and I take this side that went inside here at the beginning and I can now cut it.
And I'm going to pass the thread that's on my needle through the inside of my loops all the way around, to make these loops here really chubby, I can even go through two loops, because then the center is rounder and this loop is chubbier. I'll do it and I'll be back with the whole lap ready. I went all the way around, I can now cut and the finish will look like this.
And this is the result. And we reached the end of another class. Write to me, below, what you thought of today's class.
And I will be very happy and grateful if you can share this class in a crochet group. That way more people can watch it and I'll be excited to record new classes for you. And I want to send you a very tight and affectionate hug.
I want to thank you for illuminating my journey and giving meaning to my path of recording crochet classes. Thank you so much for holding my hand, even virtually, through your comment of encouragement and support. My feeling is one of deep gratitude, thank you a thousand times!
And I would like to invite you to attend my other classes too. Kisses, thank you and see you next time!