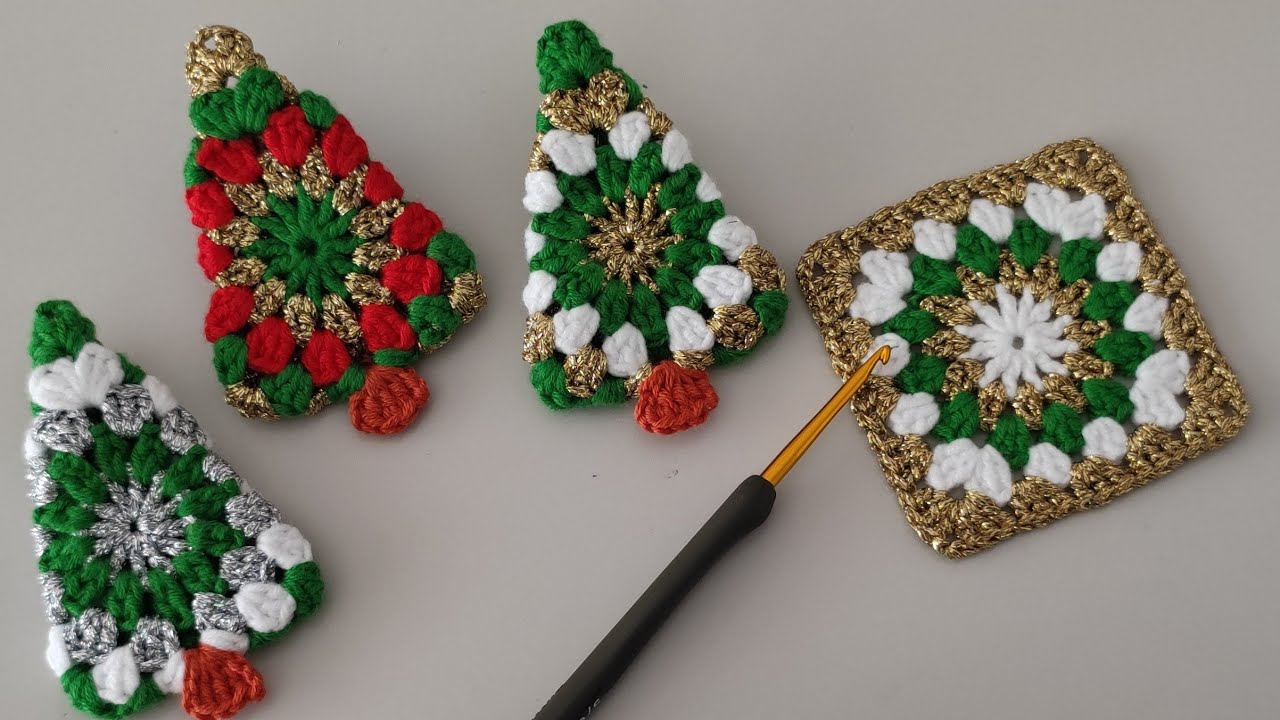
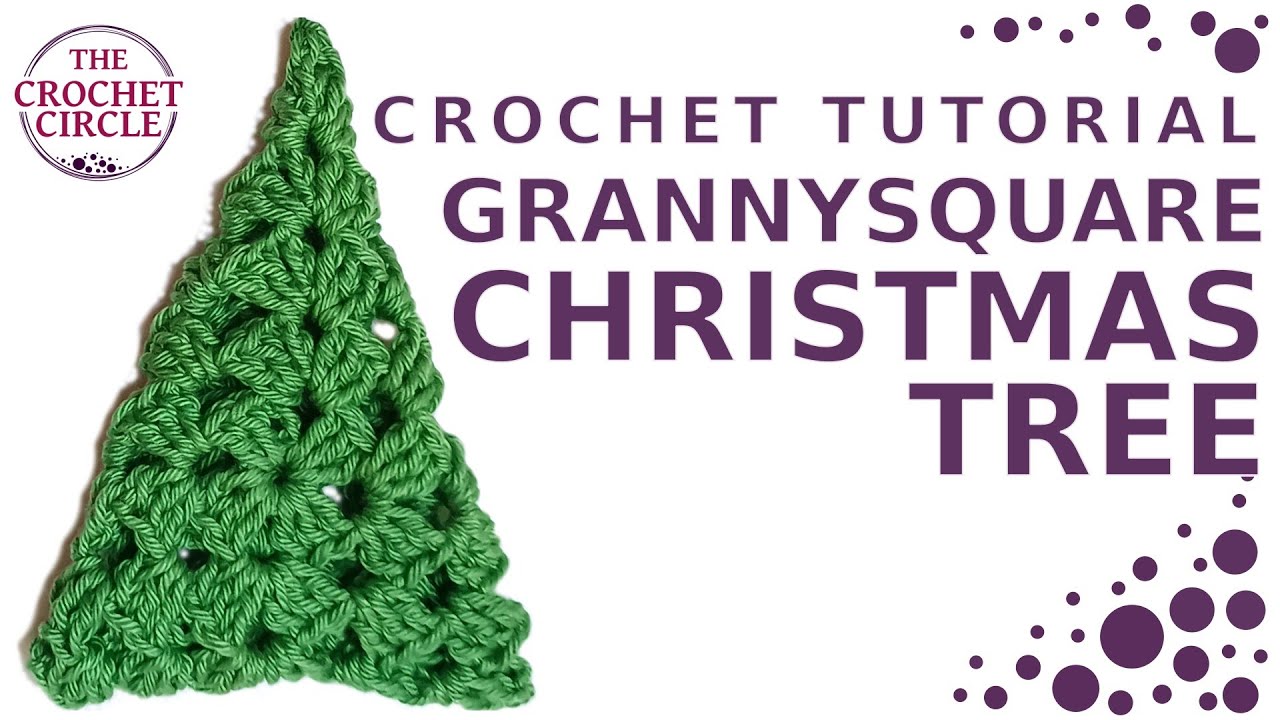
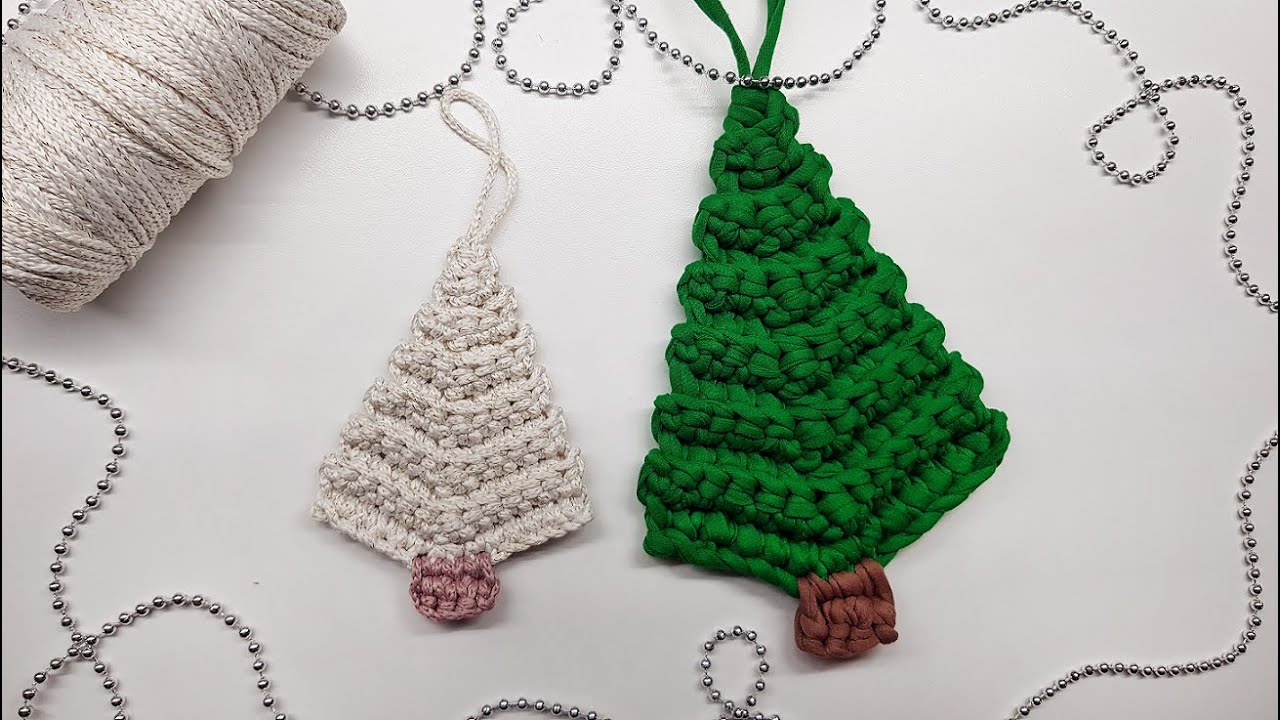
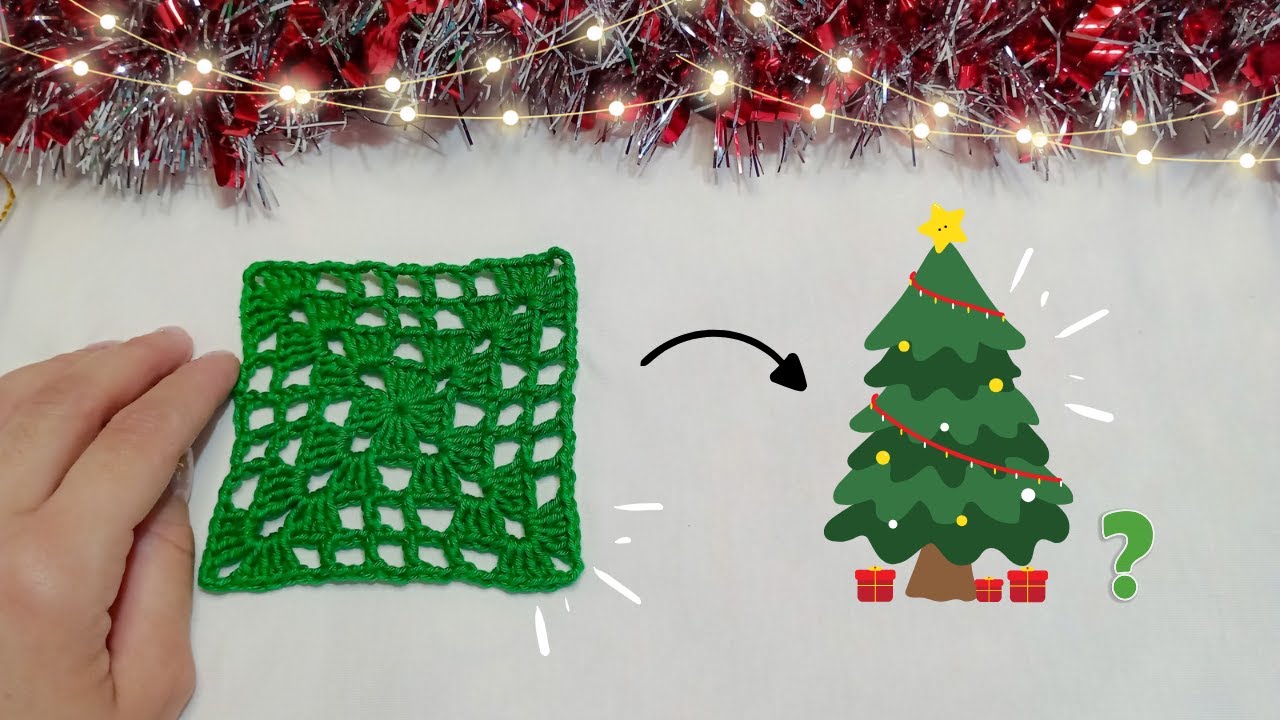
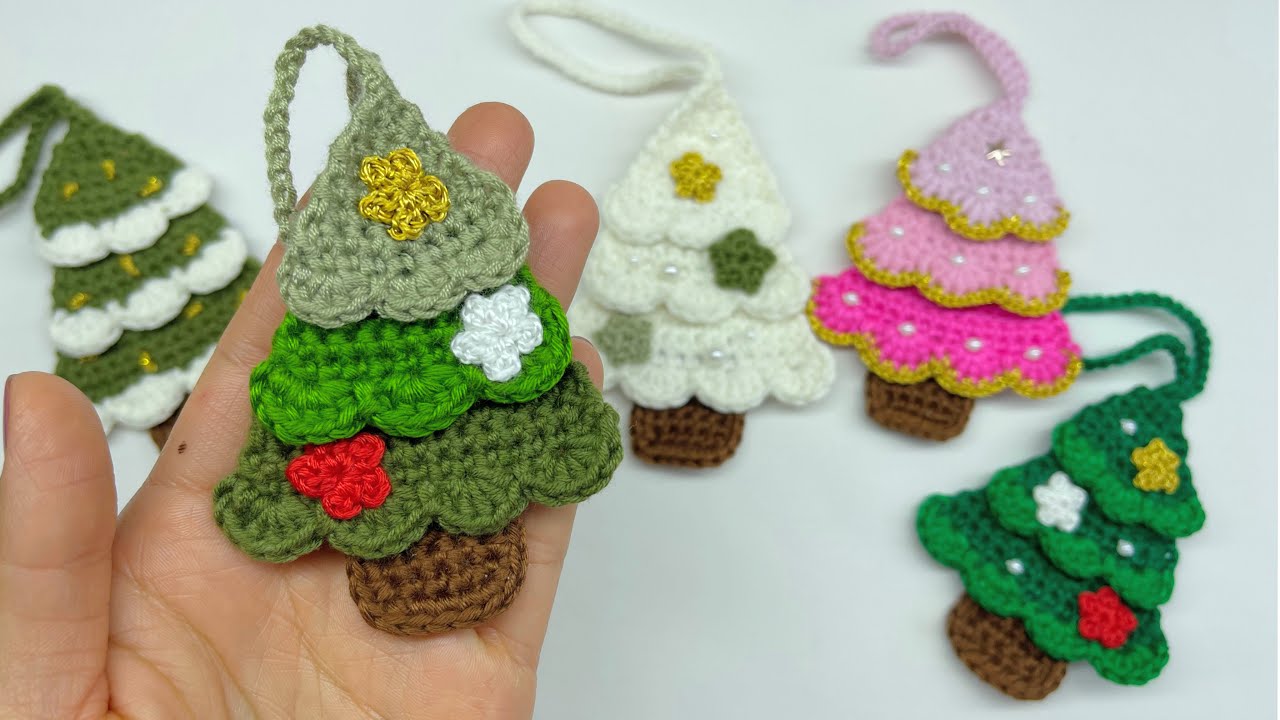
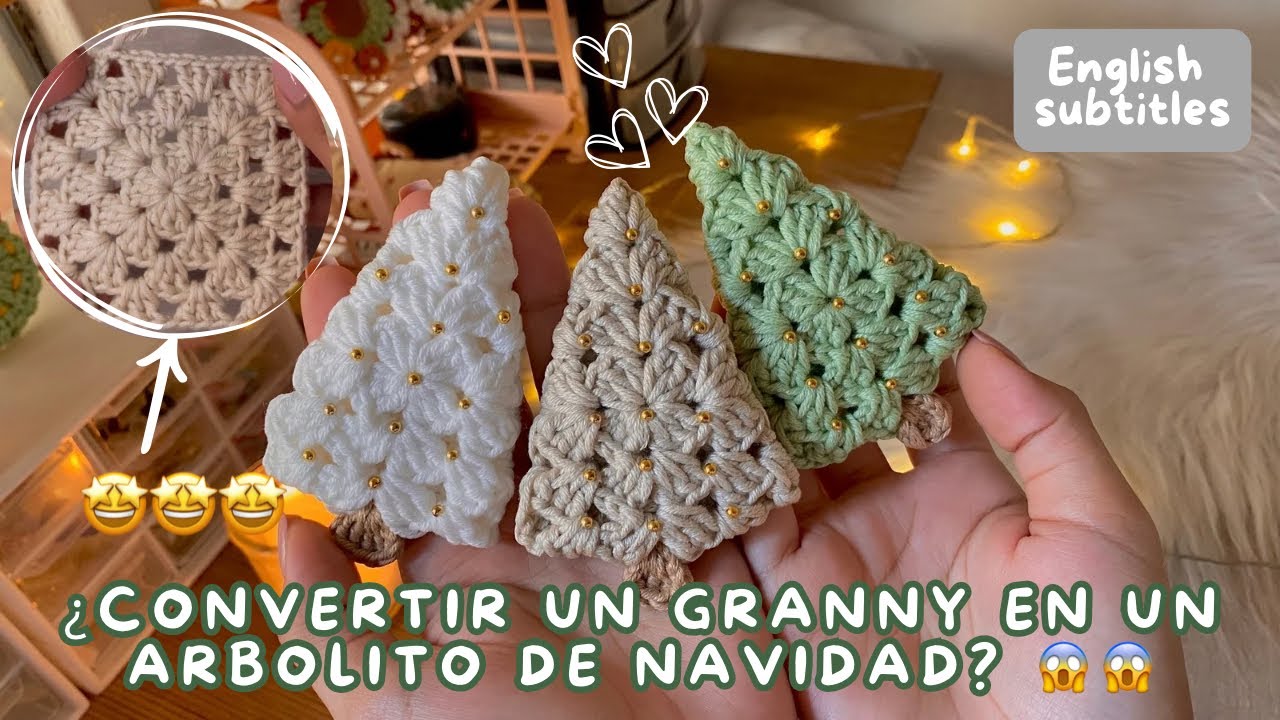
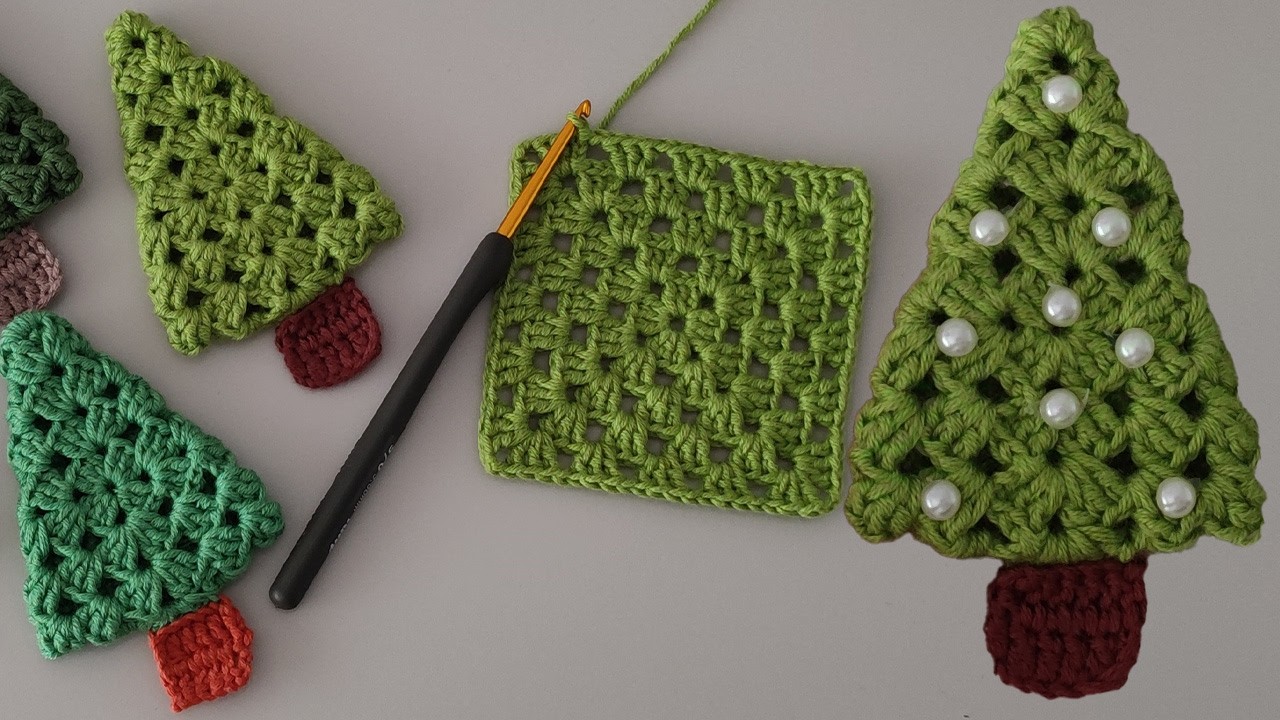
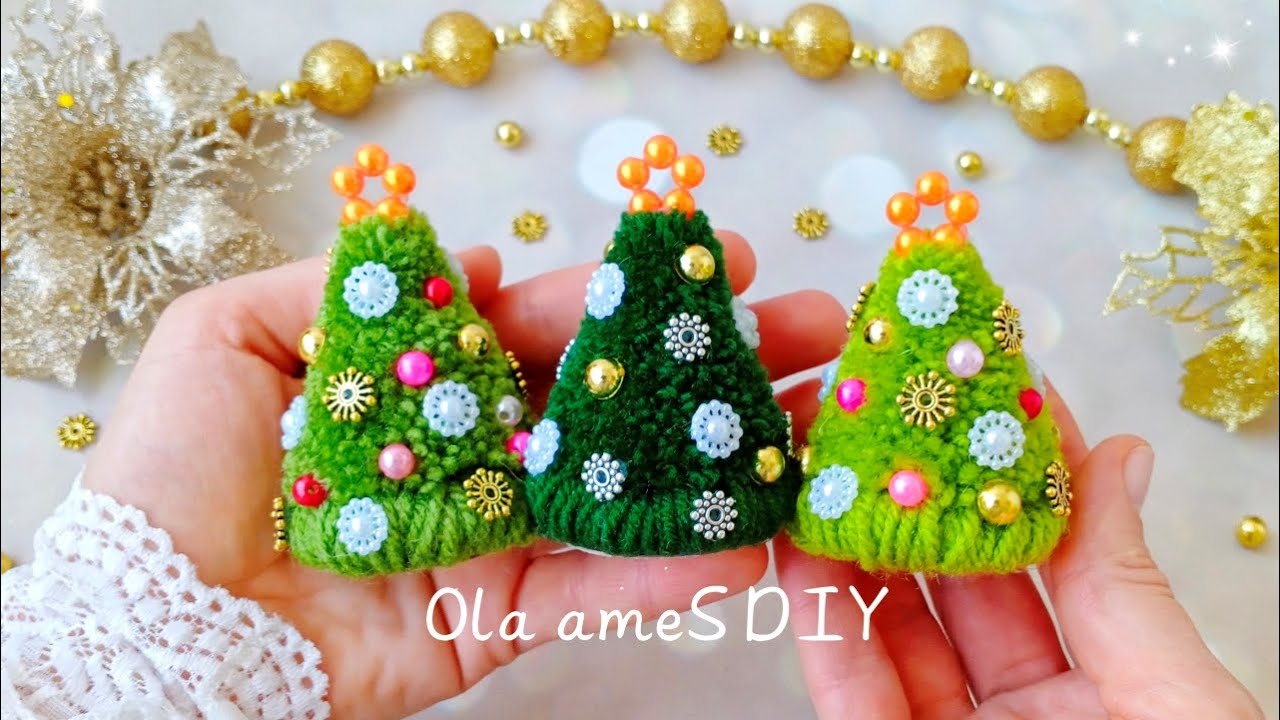
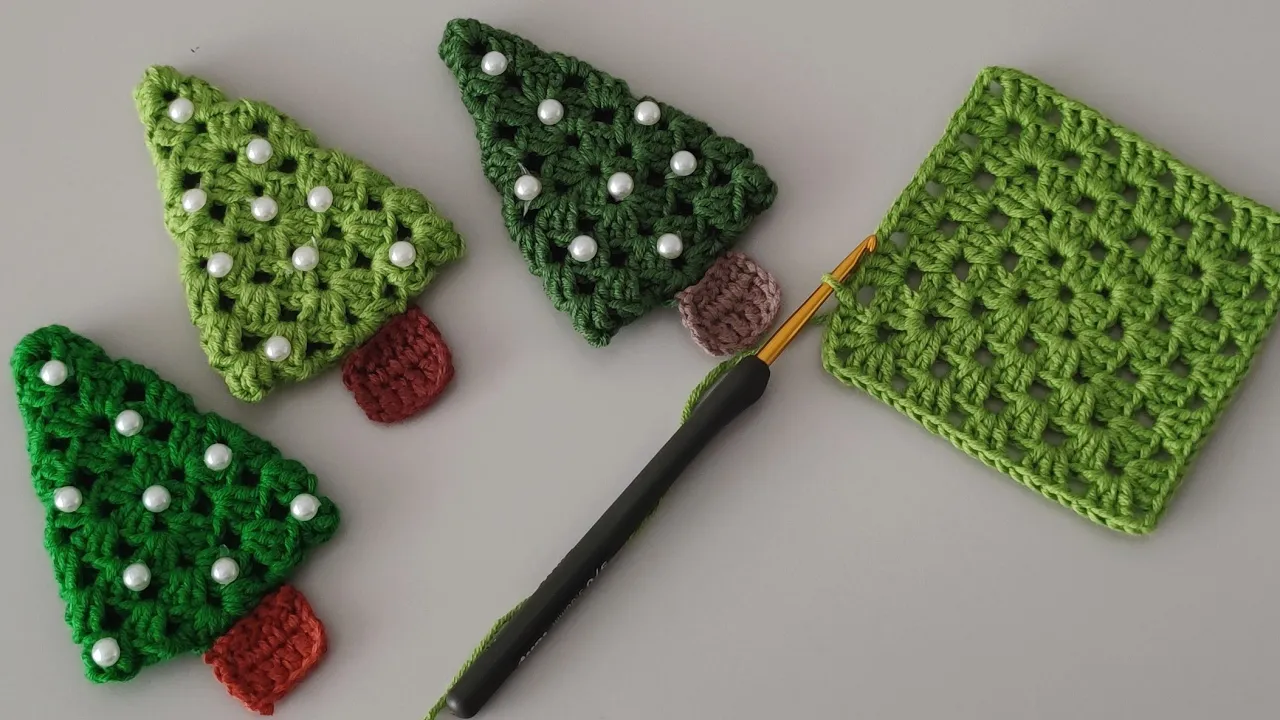
Hello friends welcome to my channel In today's video; for beginners I will tell you how to make a crocheted Christmas pine tree from an easy and quick square motif that you can use in Christmas decorations. If you would like the step by step written pattern and instructions please visit my website at https://crochetstrends. com.
You can enlarge the tree by increasing the number of rows of the square in the pine tree or you can make the tree smaller by decreasing the number of rows. You can use different shades of green when making a Christmas tree. The brand of yarn I will use in making the Christmas tree is Himalaya himagurumi cotton yarn.
crochet hook size 2. 50 mm Please don't forget to like my video and share it with your loved ones to show your support. If you are ready, let's get started without wasting any time.
Since we will start the pine tree by making a square motif, let's make a magic ring. 3 chains. 2 double crochets into the ring 2 chains.
3 double crochets into the ring 2 chains. 3 double crochets into the ring 2 chains. Let's make 3 double crochets into the ring for the last time.
2 chains. Starting from the top of the first chain, let's make a slip stitch including the 2 chain space. 3 chains.
Let's make 2 double crochets, 2 chains, 3 double crochets into the same space. 1 Chain. We will make 3 double crochet, 2 chain, 3 double crochet in all 2 chain spaces in the lower row until the end of the row Let's create a total of 4 corners and make 1 chain in the transition between the corners.
When we come to the end of the row; 1 chain. Starting from the top of the first chain, let's make a slip stitch including the 2 chain space. Let's repeat the process in the bottom row (3 chains.
Let's make 2 double crochets, 2 chains, 3 double crochets into the same space) 1 chain. Let's make 3 double crochets in the 1 chain space between the 2 corners. We will make 3 double crochet, 2 chain, 3 double crochet in all corners of the row until the end of the row.
We will make 3 double crochets in the 1 chain spaces between the corners (let's make 1 chain in the transition between the corners and between the groups) When we come to the end of the row; 1 chain. Starting from the top of the first chain, let's make a slip stitch including the 2 chain space. 3 chains.
Let's make 2 double crochets, 2 chains, 3 double crochets into the same space. Meanwhile; let's make 3 double crochets in the 1 chain spaces in the bottom row We will continue to make 3 double crochets, 2 chains, 3 double crochets in all corners until the end of the row. Let's make 2 chains in the corners and 1 chain in the transitions between groups.
When we come to the end of the row; 1 chain. Starting from the top of the first chain, let's make a slip stitch including the 2 chain space. 3 chains.
Let's make 2 double crochets, 2 chains, 3 double crochets into the same space. We will repeat the operations we did in the 4th row (3 double crochets in the 1 chain spaces in the bottom row. 3 double crochets in all corners, 2 chains, 3 double crochets) Let's make 2 chains in the corners and 1 chain in the transitions between groups.
When we reach the end of the 5th row; 1 chain. Let's make a slip stitch on the top of the first chain. 1 chain.
Let's cut the yarn. We will now sew to give this square the shape of a pine tree. Let's use the back loops when sewing This time let's use the loops on the inside while sewing the bottom point.
Now let's make the root part of the pine tree and tie it with brown rope. 6 chains Let's make double crochets side by side starting from the 4th chain until the end of the row. 3 chains.
Let's turn the pattern Let's make double crochet starting from the 2nd space until the end of the row. Let's plant it under the tree Finally, you can decorate the pine tree with beads or pearls. This is what I'm going to talk about in this video I hope it was a useful video for you.
until we meet in the next training video Please subscribe to my channel and don't forget to like my video.