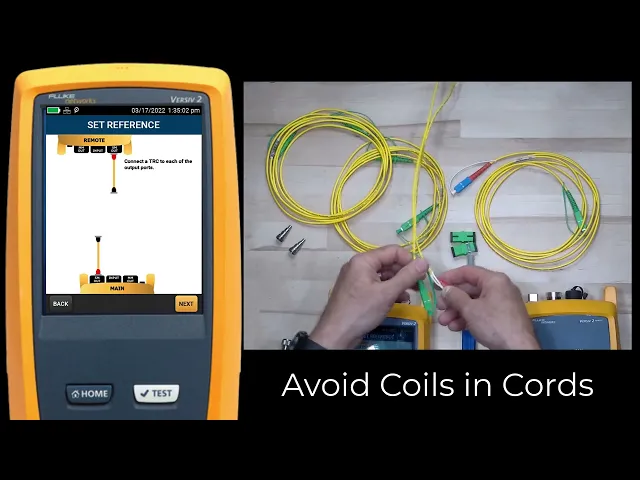
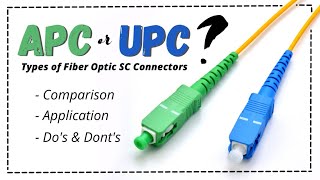
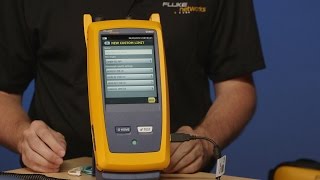
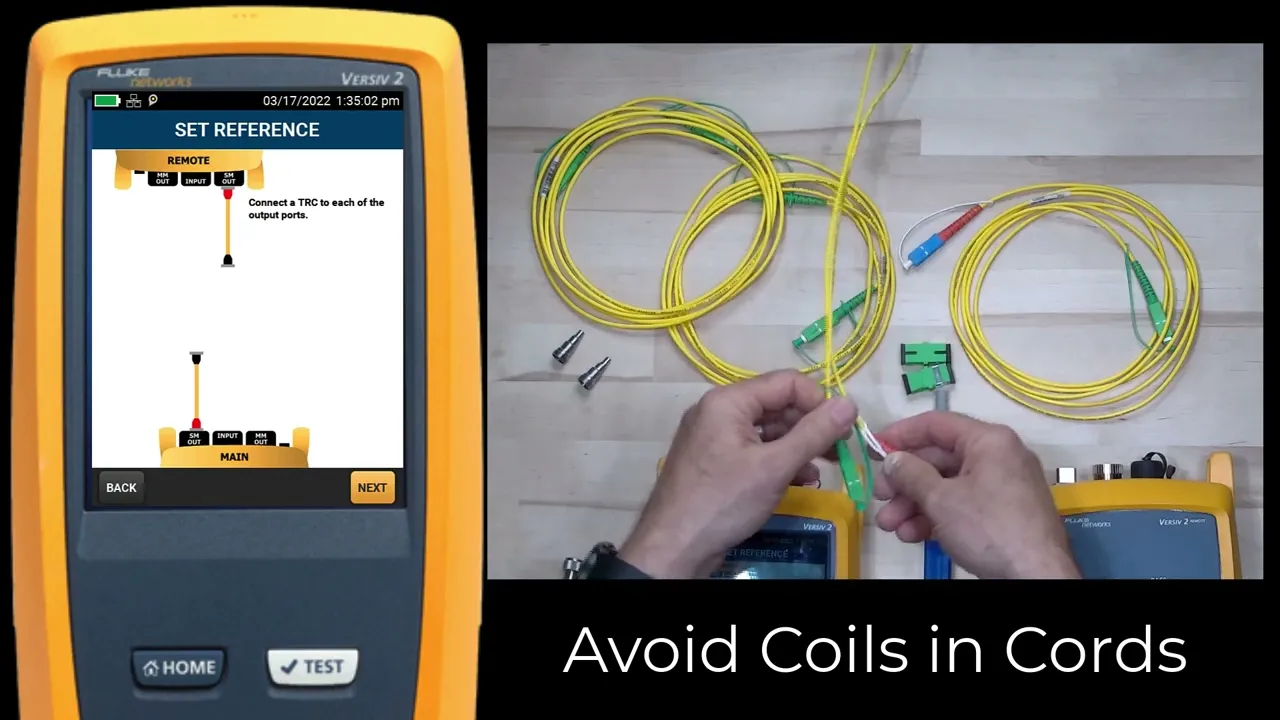
[Music] mike pinaki here and in this video we're going to take a look at how we can set reference on the fluke network certifiber pro using single mode apc test reference cords so right here i have my versiv2 main unit i have my versiv2 remote i've got the certifiber pro quad module installed in both of these if we come up here we've got our apc sc test reference cords so what we're going to see is that we have two cords that have upc connectors on one end and that have apc connectors on the other and it's very important that we use the upc connector right there when we connect to the output port of that certifiber pro module again anytime we connect to the output port of our certifiber pro module we want to make sure that we use a upc connector the other things that i have here that we'll be using are i have my 2. 5 millimeter click cleaner i have two apc sc bulkhead adapters i have my inspection tip for doing 2. 5 millimeter upc and my inspection tip for doing 2.
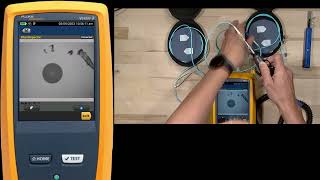
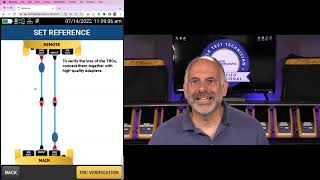
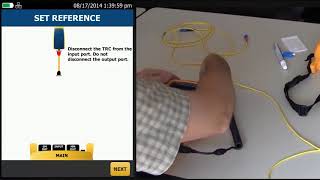
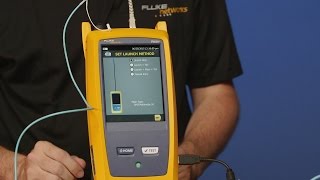
5 millimeter apc so let's go ahead and get started now over here on the screen i've set up a basic certifiber pro smart remote test for doing single mode fiber and i'm doing a one jumper reference so i'm going to tap set ref on the screen to bring up my set reference wizard i'll go ahead and hit run wizard so what it does is it tells me to connect my fiber to the output port of the main and the remote so one of the things that i like to do is i like to come into my main and my remote remove the dust caps make sure that that adapter is nice and snug on the meter port so we'll pull those dust caps off of there i'm going to take my click cleaner and i'm going to clean the output ports on both of these i'll give those a click i'll go ahead and click clean that meter port too make sure everything's nice and clean on my modules before i start connecting anything up next i'm going to come in here and i'm going to grab my first test reference cord that has an apc connector on one end and a upc connector on the other one of the things that we always want to make sure that we do when we're using single mode or even multi-mode when we're setting reference is lay these cords out so that there's no coils in them so i'm going to come over here and i'm going to first connect this one up to my remote so i'm going to pull off the dust cap and i am going to take and install the 2. 5 millimeter upc inspection tip on my camera i'll put it on the end of that fiber and i'm going to hit the secret button right here on the bottom of my camera and notice on my screen it takes me right over to my fiber inspection screen so there's the end face of my fiber that looks beautiful so i'm going to go ahead and plug that into the output port of the remote i'm going to repeat the same thing for the fiber that plugs into the output port of the main so we'll lay that fiber out making sure we don't have any coils in there i'm going to pull that dust cap off of there put my fiber inspection scope on that looks really good as well i'm going to plug that into the main now what i'm going to do is i'm going to hit the back button up here in the top left corner that takes me right back into my set reference screen and i'm going to hit next it says connect the other end to the input port of the main and the remote so before i do that i'm going to change the tip on my camera i'm going to change that to my apc 2. 5 millimeter inspection tip i'll come in here i'll hit my secret button i'll put that on the end and i'll rotate that until i have a nice clear view of that end phase i'll focus that that end face looks good so i'm going to take and plug that apc connector into my meter port now this is the neat thing with the meter port we can plug an apc or upc [Music] connector in there either one will work because it doesn't make direct contact with that meter port we'll come in here we'll inspect the fiber going in the other direction and that right there is why we inspect our fibers look at that goober right there on the end we're going to take our clip cleaner right here we're going to give that a click come in and inspect that oh that looks so much better we're going to plug that into the port there we hear the chirp on the main and the remote so i'm going to hit back and i'm going to hit set reference and we're going to hit view reference and what we're looking for here is we're looking for a value of negative 2.
5 decibel meters to negative 4 decibel meters we see that we're at 2. 82 2. 75 2.
77 2. 92 that is perfect we are right in that range where we want to be so i'll hit back i'll hit next so it says disconnect those fibers so i'm going to come in here i'm going to disconnect the fiber that comes from the remote and i'm going to plug that into one of my bulkhead adapters i'm going to take the fiber that comes from the main i'll bring that over here and i'll plug that into the other bulkhead adapter okay then we're going to hit next it says insert our additional test reference cords perfect so we're going to uncoil those i'm going to lay this one out we're going to run this one from the bulkhead adapter to the remote so i'll grab my inspection scope i'll give that a quick look there i'll rotate that until i see the end face that looks good so i'm going to plug that into my bulkhead adapter i'll take the other end i'll inspect that now we could be a little bit cleaner there let's give that a click remember inspecting and cleaning is the best way to to increase the life on your test reference cords that looks great so i'm going to plug that into the remote i'm going to repeat it this with the other test reference cord so we're going to inspect that end face now these are brand new and you see that even right out of the bag we can still end up with stuff on those i give that a clean that looks good and i'll do the last end face here that looks great so i'm going to plug that into the meter port on the main i should hear my chirp i do i'm going to hit next i've got those connected together i'm going to do my trc verification now what we're looking for here with single mode fiber is that we have a loss value of less than or equal to 0. 25 db at our connections so that we can see in one direction we have 0.
19 and the other in 0.