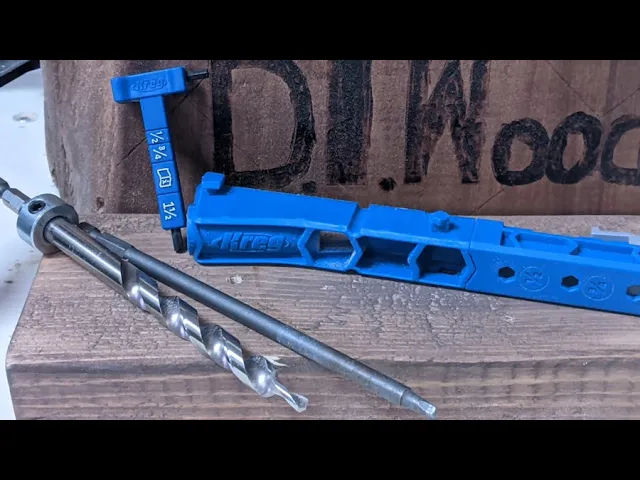
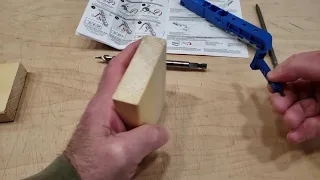
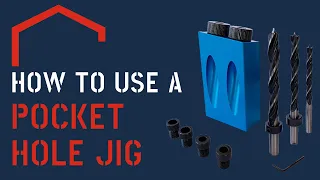
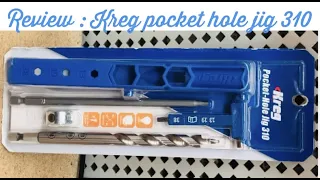
hello everyone i'm george and welcome back to a brand new diy wood video today i'm going to show you how to use the craig pocket hole jig 310 the 310 pocket hole jig from craig comes with the owner's manual of course a single drill guide a material thickness gauge which acts as a hex wrench a driver bit and a long drill bit with an adjustable stop collar [Music] the manual is really well detailed showing you how to adjust and use the jig [Music] [Music] the drill guide itself comes with three material thickness settings half an
inch three quarters of an inch and one and a half inch thickness settings the way to adjust these three settings is by pressing the back over the material thickness top at the bottom of the jig and lock it into the desired setting you have to remember that these thickness settings have to do with the thickness of the wood that you will drill the pocket hole the thickness gauge will help you measure the thickness of your piece now let's see how everything works take your piece and measure the thickness of it by placing your thickness gauge
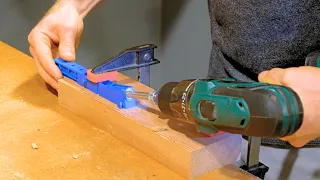
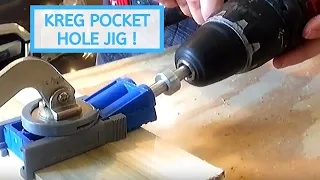
like so once you have determined the thickness go ahead and choose your jig setting by adjusting the thickness top at the bottom now use the hex wrench at the end of your thickness gauge to adjust the stop collar on your drill bit align the thickness top to the edge of your workpiece then take a clamp to secure the jig to your workpiece craig makes specific clamps for this jigs but if you don't have them any clamp will do [Music] now start drilling your hole easy stuff right let's see this again in a close-up non-cinematic frame
since i'm holding both the camera and the drill bit by myself pro tip don't drill the hole in one motion drive your bit back and forth [Music] that's it you just made your first perfect pocket haul thank you for watching guys if you found this video useful hit that thumbs up button leave your comments and don't forget to subscribe [Music] you