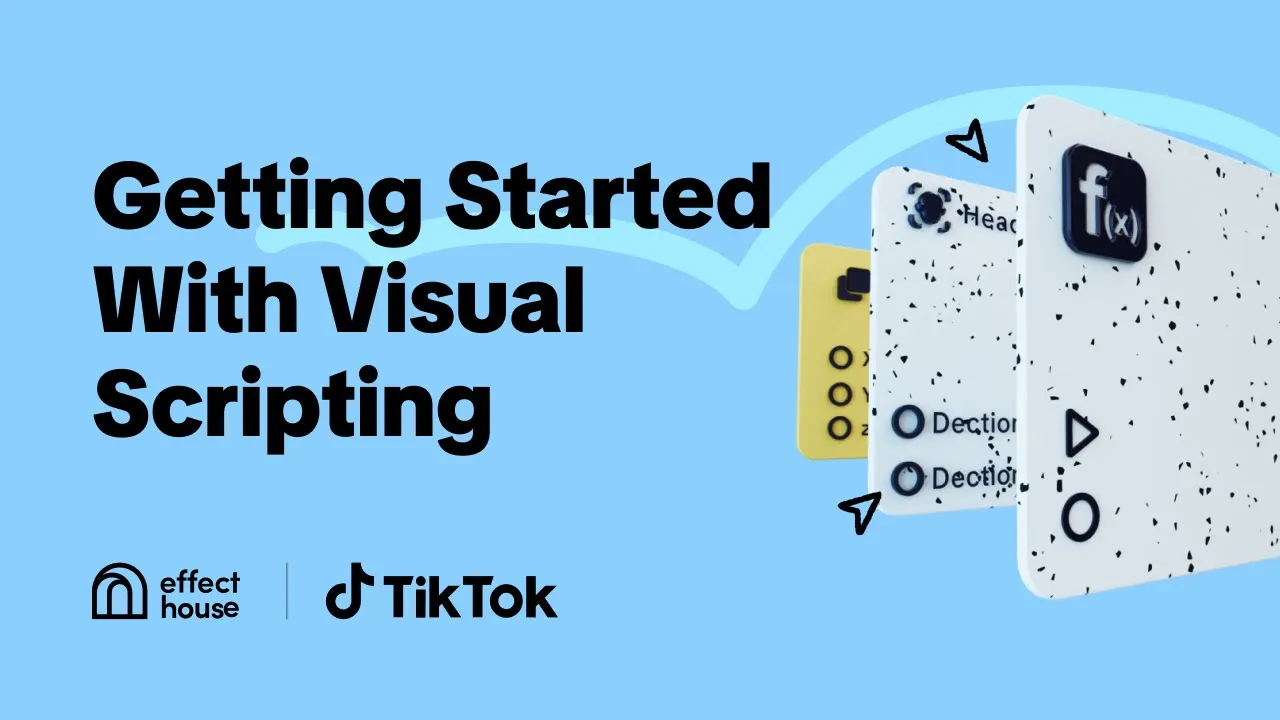
act like you know [Music] hey there and welcome to effect house today we're going to introduce you to visual scripting and how you can use it to bring your effects to life visual scripting is a graph based programming method that lets you create interactive effects without worrying about writing text-based code so instead of writing code from scratch you can just arrange and connect these little blocks called nodes to create flows of logic now nodes are the building blocks of the visual scripting language and they're essentially just little blocks that represent programming functions each node has
inputs and outputs which you can connect to other nodes to create more complex operations when you connect a node it will receive and pass information along the sequence this system of connections allows you to use visual scripting to add all sorts of things like triggers events and controllers to your effects let's do a mini tour of the visual scripting panel which is located here at the bottom you can hide the panel by clicking this button or you can undock it into an expandable window by clicking this button let's keep it docked for now you can
zoom in or out by using your touchpad or Mouse and you can move around by holding down the control button and clicking then dragging it around now sometimes visual scripting can get a little crazy and you'll have like a bajillion nodes to keep track of so you can use the minimap feature to navigate the panel which is especially helpful if you have lots of sprawling connections you can also use the search bar to identify and hone in on specific nodes you can also click on the reset graph view button to reset the view back to
default now that we're familiar with the visual scripting interface let's look at how you can add nodes in effect house you've probably noticed by now that there are two nodes that get automatically added to the visual scripting panel called start and update start is just an event that triggers the next node when the effect starts an update just means that the next note will be triggered continuously throughout each frame of the video another cool thing to note is that you can click on a node's information icon to access its definition inputs and outputs and you
can even click learn more to access a web page for more info to add a node you can either right-click anywhere on the visual scripting panel and select add node or click the add node button here which gives you a list of all the available nodes all the nodes are color coded by category which is super nice another cool organizational thing you can do is put nodes into groups called subgraphs by just selecting the ones you want right clicking and then selecting create subgraph if you want to access the nodes that make up the subgraph
you can just double click on it and then you can go back to the main graph by clicking on this breadcrumb you can also manage your sub graphs by clicking on this button over here and of course you can just as easily ungroup subgraphs back into their individual notes alright one more organizational tip you can comment around individual nodes groups of nodes or subgraphs by making a selection and then clicking on this comment button or by simply right-clicking and choosing comment around this is especially helpful if you have lots of different nodes or sub graphs
that you want to keep track of variables are another important part of visual scripting a variable is a term that is simply meant to store a quantity or an expression that might change this could be something like a timer a certain number of Taps on the screen or color to add a variable all you have to do is click this button and then hit add variable at the bottom then you can rename your variable select your variable type and choose whether you want it to be a single or an array container and then select the
value so to actually add the variable as a node in the visual scripting panel you can just click on this create node button which will give you two options get variable will retrieve the value for a property while set variable will assign the value to a property now I could talk all day about variables but instead of getting into the nitty-gritty I just wanted to show you the basics now let's put everything we learned together and make a basic effect with visual scripting we're going to see if we can make a cube appear and disappear
whenever a person opens their mouth to start add a 3D cube object to the scene by clicking the add button then 3D and then Q adjust the position parameters of the cube to place it to the desired position of your screen since we're using mouth open slash close actions as triggers we'll select a mouth open demonstration video from the drop down list in the preview panel to test the effect right click in the visual scripting panel select add node and then search for and select the facial movement detection set the facial movement property to mouth
open now I don't actually need to start and update default nodes for this demo so I'll just delete them to clean up my visual scripting panel a bit then I'll find and add the node set visibility to the panel in the node information check the required inputs since set visibility needs to take an object select the cube object from the hierarchy panel and drag it into the visual scripting panel this will create the cube object node automatically make sure you set the visibility value there is a check box next to the value of visibility on
select or deselect it to set the value to true or false respectively and now we're going to link the nodes together link the begin output of facial movement detection to the enter input of set visibility then link The Entity output of cube to the Target input of set visibility and then deselect the check box next to the visibility on input of set visibility now since the cube isn't appearing with the mouth movement I'll need to add a new set visibility node in order to make the queue visible when the mouth is closed do so I'll
simply duplicate my existing set visibility node by copy pasting it for this new set visibility node I'll tick the visibility on checkbox then I'll connect the Cube's entity output to the second set visibility notes Target and then I'll connect the facial movement detection nodes and output to the enter input of the second set visibility node and there you have it just created a new effect okay so there's one more thing I want to show you guys and it's really cool you can actually achieve similar effects with ready-made sub graphs called interactions all you got to
do is select the object you want to add the interaction to go to the inspector panel then click add interaction for example I can just select Tap Screen to cycle visibility which will make the object appear or disappear whenever I tap on the screen that's pretty neat right there's a lot more to interactions so be sure to check out our learning resources and separate video tutorial on the subject all right y'all I know that was a lot so pat yourself on the back for making it through this tutorial and be sure to stay tuned for
more educational content on visual scripting from the team at effect house we're confident that you'll be a visual scripting ninja in no time have a good one y'all peace out for more information about visual scripting be sure to check out our documentation at effecthouse.ticktock.com [Music]