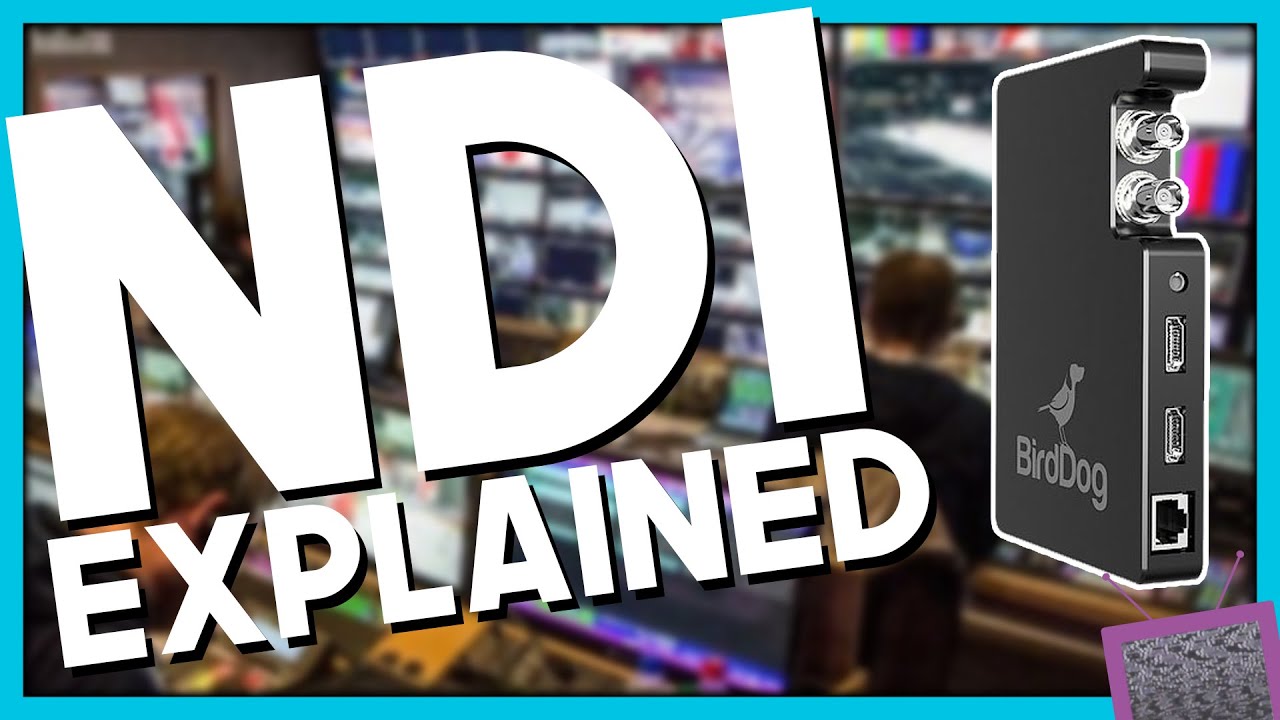
Today, we're going to talk about NDI and its capabilities with GrandMA3. What is NDI? NDI is a network device interface, which is like a standard protocol you can use across different manufacturers.
It transmits video on your local area network, and we can use the GrandMA3 to watch these transmissions. That is pretty cool and really helpful. The first thing you want to do is go into NDI Tools and download the NDI tool package for the operating system you use.
If you're a Mac user, you're going to use the Mac version, of course, and there's a Windows version as well. When you have downloaded the entire package, you want to start up this tool down here called NDI Screen Capture. There's a bit of configuration you can do on it.
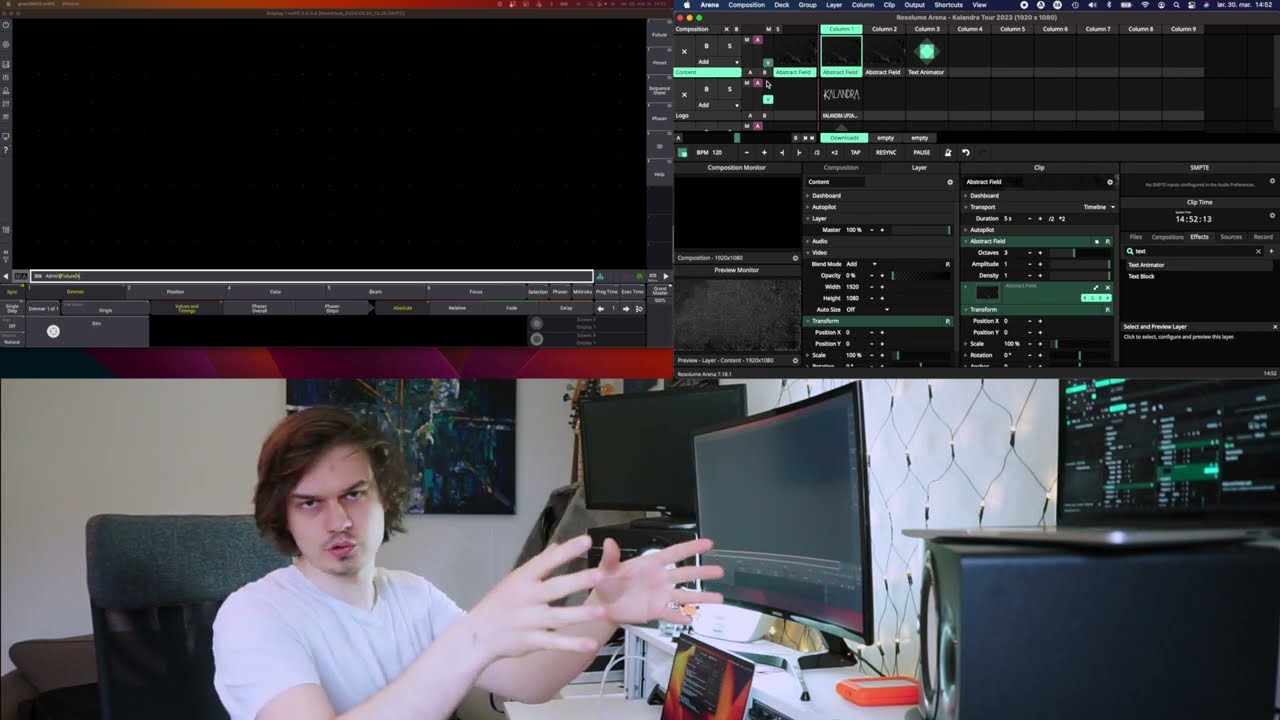
On my screen here in the background, you can see I have a video running, and I'm using NDI Tools, or NDI Screen Capture, to capture what's happening on my screen and to capture my webcam as well, so I can have that available on the network. Right now, I have that setup, and I also have a MacBook here next to me, which has the same NDI tool installed, and that's going to transmit an image as well. The next thing you want to do is go into your console and set up connector number two or connector number three to be part of your network.
In my case, I use connector number three. What you should keep in mind is to never use connector number one, or wherever your MA network is. My experience is that you can't use NDI on the same connector as your MA3-NET is using, and I think that has something to do with bandwidth; they are protecting MA3-NET to ensure it doesn't get congested.
NDI takes up quite a bit of bandwidth, so be careful when you're using it. You can easily use all the bandwidth available on any given connector. NDI signal is about 100 to 140 megabits per second, so if you have five or six of them, you have basically filled up your entire 1 GB connection.
So be aware of that. If you have downloaded NDI Tools and you have a laptop or computer next to you transmitting an NDI signal, we can go straight into MA3 now, and I'll show you how to set it up. The first thing we want to do is create a pool over here with our videos in it, so we say "Video" and create our video pool.
The next thing you want to do is have your appearances handy so you can assign videos to them. The last thing we need here is our layout pool, which gives us the option to switch between inputs of different sorts. Up here, the last thing is our layout view, which allows us to watch what's happening on our network.
So, we have our videos here. If you go into pool number one, use your swipy tool and say "Edit. " Up here under "Source," we can choose "NDI" instead of "File.
" Then, we go down to "Select Source," and we simply select our MSI computer. You can see that the image on the screen is the same image as you see in the background right now, so that's the first one. We can label it "MSI Screen.
" The next thing we could do is add the camera as well. We go into "Source" here and say "Camera," and that should be the camera from my laptop up here. We'll label that "MSI Camera.
" The last signal is our MacBook. We select "Source" and go to our MacBook down here, and that should give us the image coming straight from my MacBook. Now, this is essentially three images coming from two different computers into GrandMA3.
The next thing we want to do is find an empty appearance here somewhere. We simply go into the appearance and, instead of "Images," you want to choose "Video. " We just made three videos or input signals.
You can say "MSI Screen" as the first one, and we should get a preview down here. Once again, we need to label it. You don't have to label it, but I just find it really handy, especially when you need to assign them later on.
We'll assign the camera next and label that "MSI Camera," and the last one is our MacBook. We assign our MacBook to the last input and label that one as well "MacBook. " Now we are ready to assign our appearances, so it's really simple.
You say "MSI Screen," you say "Assign to Layout One," and that should give us our first image into MA3 from NDI. We can do the next with the camera. Oops!
We can do the next here with the camera and assign that into the next input. You can see, "Hello, the camera is here! " Then, we do the MacBook in the last one here, and we should be able to choose our MacBook like this.
Once again, I think I'll just label these to make sure we remember what is what. We label it "MSI Camera" and assign our MacBook as the last one. There we go!
So, this is basically how easy it is to set NDI up in GrandMA3. It is extremely easy, and it's really powerful if you want to use, for instance, cameras on stage and want a preview of these cameras. Can put it into, say, OBS, or you could put it into different sorts of equipment transmitting NDI signals.
You could basically just make a composition of different images and put that into GrandMA. I mean, there are so many different things you can use this for, and that's why it is so powerful to have that in your GrandMA3. Also, if you have a media server and you want to see if it's a Hippotizer, you have the Zoo Keeper, which tells you what's going on, what clips are selected, and stuff like that.
So you could transmit the Zoo Keeper signal to your console, so if there's something not working, you can go into your NDI input and see if it's reacting on stage. It might be you that is causing a problem somewhere. When you have done everything in your setup and it's ready to go, you can, as usual, just store this in a view somewhere and say, "This is our NDI sources," like this.
You can work with your console as you're used to, and when you need to see something, you simply just go into your NDI and have a look. Once you have made your view, it's pretty simple to go up to your console, copy it to another screen, and then we have it on both screens. I don't know if you can see it back here, but if I open screen number two here on my computer and drag it up, you can see I have the exact same thing going on here.
So you can move it across the screens like any other view. Another fun little feature you can use with your appearance and your videos: if you go into your user setup right here in your settings, user configuration, you can go into your current user. In my case, it's just the admin user, and you can assign the MSI screen, for instance, to your lock screen.
So if you lock your computer, you can see—if I lock this one as well—that basically our lock screen is now a video running of our NDI signal. So just be careful what you put on the screen. As you can see, there are so many different use cases where you can use NDI in your GrandMA3 system, and it's just really valuable to be able to do that.
So that's a really cool feature of GrandMA3. I hope you enjoyed this video, and if you did, you are more than welcome to give it a like. It's going to indicate to YouTube that you liked it, and it's going to spread it out to more people.
If you just can't get enough of MA3 tutorials, you can subscribe to the channel and make sure the little bell notification is left on. That's going to give you a notification every time we upload a new video here on the Event Lighting Channel. I hope you enjoyed this video, and I hope that you will get some really happy GrandMA3 programming moments out there.
See you next time! Bye-bye.

![grandMA3 | MA Tips [EN] | Generators](https://img.youtube.com/vi/TjGhKybt_4k/maxresdefault.jpg)
![grandMA3 | MA Tips [EN] | MA Startshow for Phasers](https://img.youtube.com/vi/7H75wylU4FI/maxresdefault.jpg)