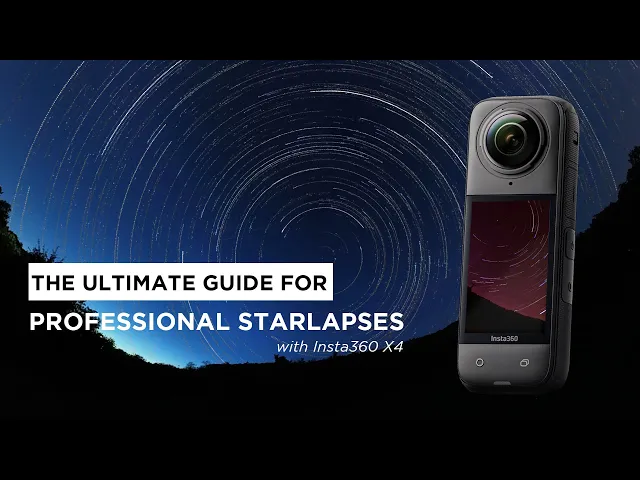
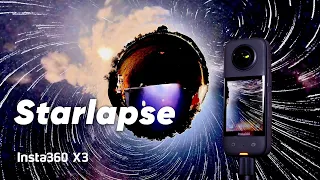
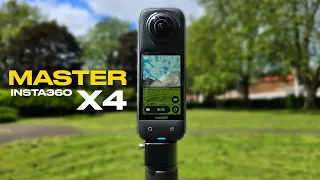
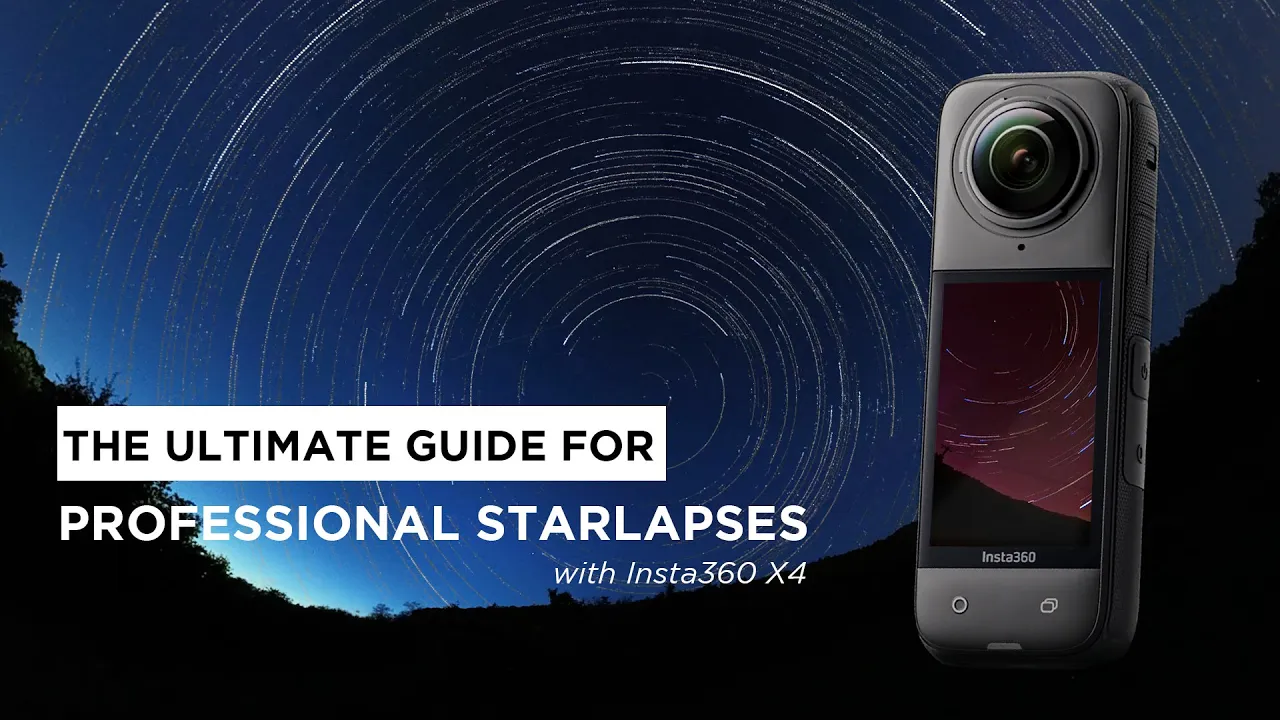
Starlapse, available with the new Insta360 X4, is an incredible feature. However, creating a nighttime timelapse with stunning star trails requires more than just applying an effect. It's a technique that demands careful consideration before and during shooting.
In this video guide you through the entire workflow step by step, demonstrating how to create high quality Starlapse content. The first step is selecting the best location for your Starlapse. One crucial question is whether to shoot in a city or in a remote area surrounded by nature.
Both options can lead you to great results. But keep in mind that light pollution increases closer to urban centers. For clearer views of the stars head away from the city where the night sky is more visible, and there are fewer distractions like passing airplanes.
While shooting in urban areas can produce captivating shots of buildings at night. And of course, there are some tricks to hide or enhance objects or buildings on the scene. By shooting from a low angle, you can conceal objects like cars or buildings, drawing more attention to the sky.
Conversely, the higher camera position can eliminate obstructions like bushes or small trees, resulting in a larger expanse of sky in your final photo or video. As we are talking about shooting the stars, it may sound obvious that you need to do it after dark, but depending on the season, it doesn't have to be necessarily at night. During winter, you can start shooting in the afternoon and capture longer videos.
While summer nights offer shorter shooting times. And as it's getting dark later, be prepared to venture out in the middle of the night for the best result. Additionally, keep an eye on the weather forecast, paying attention to wind clouds and rain.
Wind is very important, especially when you shoot in a higher camera position. As you will shoot with slow shutter speed, it’s very important that your camera must be still during that long exposure. Don't be afraid of using steady tripods instead monopods, which are more likely to move, doesn’t matter how stable they are.
There are some very steady ones which will never fall off. But even these ones will swing in the wind with the camera on the top While heavy and steady tripods will be the best for long exposure. Paying attention to clouds is very important, as a sky full of clouds will hide the stars.
On the other hand, some passing clouds look very cool and create a real 3-dimensional feel of your star lapse video. And of course, don't forget checking the weather for rain for a couple of reasons. First, raindrops can ruin your image as they fall on the lenses.
But what is more important that your camera won't be waterproof during shooting Starlapses. I will talk about it in more details soon, but for an all-night shooting you will have to connect a power source to your camera, opening up the cover over the USB connector. So you will definitely have to avoid shooting in rain.
And talking about timing, last but not least, I need to mention checking the moon calendar, too. Full moon is very bright, so less stars will be visible. While on the other hand it can lighten up the foreground, too.
So your environment will be more visible during the whole video and even on the Startrail Photo, too. So when the location or anything on the ground is also very important, it's better to shoot with the Moon on the sky. But focusing only on the stars, capturing them with a dark ground and some silhouettes at night, you should shoot without the Moon on the sky.
Anyhow it’s only the matter of taste, but it’s good to know what to expect, and checking the moon calendar to choose the best night for shooting. And besides good timing, we can affect the look of our Starlapses with the camera settings, too. You might think that setting up your camera in the forest before sunset and leaving it to capture the Starlapse overnight would be a simple solution.
However, it's not quite that straightforward in every situation. The Insta360 X4 comes with a factory preset for Starlapse, which starts shooting in manual mode. It's set to long exposure, which means if you start setting up your camera before dark, you won't see anything, while your image will be blown out.
So in such cases, turn your camera to normal photo or video mode for a proper preview during camera placement and then switch to Starlapse right before recording. But keep in mind that your shooting conditions can vary significantly depending on factors such as light pollution, humidity, clouds, moonlight and the visibility of stars. So it’s recommended to finetune in each shooting situation.
That's why you should set up your camera after dark. Anyhow, if you can’t go out at night, avoid Auto mode, or set anything to Auto. Despite its name, Auto mode doesn't adjust exposure for each shot individually; instead, it sets the exposure based on the conditions when you start the recording session.
It means if you start shooting before sunset, your nighttime shots will be too dark, or even totally black. You will only have your susnset and morning frames exposed properly, but your Starlaps will be unusable. Ideally, you should be present on-site at the right time to make adjustments as needed.
However, keep in mind that most Insta360 cameras, including the X4, do not offer a proper preview in low-light conditions, and the app will also show you a message about it. Therefore, you'll need to do some test shows to fine tune your settings. They can be single photos or you can start shooting the Starlapses and stop capturing after the first images are taken to check out the results.
That’s how you can finetune your settings to the current conditions. If you have enough experience and you're confident in your settings, you can even set up your camera in advance. So you can start capturing before sunset and leave the camera overnight, returning in the morning.
While the first and last frames may be overexposed due to daylight, the Starlapse portion will still produce stunning results. So after choosing the right time, location, camera angle and position and of course, the proper exposure settings, you can start shooting. Shooting with X4 Starlapse mode will be a perfect choice, as after capturing everything, the app will do most of the postproduction itself without having to merge our photos and create the effects manually.
There are several ways to control the camera: using the touchscreen, the Insta360 app or the brand new GPS Preview Remote. More or less you'll get the same result. But of course, in certain cases it has several advantages of using the phone or the remote controller.
First, you get better preview and of course you can still control the camera, even if it's very high on a pole. And of course, you'll need to charge the camera during such a low shooting session. The most obvious choice is using a power bank, which can provide enough power all night long.
However, since most power banks are not waterproof, you'll need to take precautions to protect them. As mentioned, I don't recommend to shoot in rain, but it can be a protection against the morning dew, too. Additionally, be sure to cover any indicator lights on the power bank to prevent them from affecting the image.
Similarly, disable the indicator lights on the camera, for the same reason. If you position the camera too high to attach the power bank nearby, consider using the Insta360 Power Selfie Stick. While it may not offer the same power capacity as larger power banks, it's often sufficient for an overnight timelapse.
And you can attach it to a longer selfie stick too, so you don’t need to bother with heavy power banks on a monopod, while even gaining extra length, too. Once everything is set up properly, you can begin shooting. With these preparations in place, you're ready to capture stunning Starlapse footage without any worries.
To process your starlapse footage, begin by opening the Insta360 app and navigating to the camera library. From there, just select the recent starlapse footage, and the app handles the merging of all the photos captured during the night. Once the footage is processed, you have 3 options for creating the final content: Starlapse option generates a timelapse video, drawing the movements of the stars on the sky, creating a nice star trail effect.
Of course, you can adjust the length of the star trails to your preference. In Timelapse mode, the focus is on creating a simple night timelapse video, without any additional effects or stars trails. While the Startrail Photo option produces a still image of the night sky, emphasizing the stars.
After selecting the desired outcome, you can explore the content in either 360 format or a Reframed version. Reframing allows you to adjust the composition by tapping on the preview window. For more customization, advanced options are available to add keyframes for changing camera angles, adjusting the field of view, or we can track specific objects, and finally get a perfectly customized Starlapse or Timelapse I hope you found these steps useful, and with the help of this “ultimate guide”, you will shoot amazing content of your own.
If you have any questions or further experiences to share on this topic, feel free to leave a comment below. If you found this tutorial valuable, please give a thumbs up. And for more 360 content then tutorials, subscribe to my channel.
See you next time.