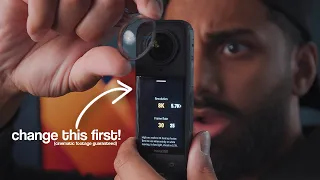
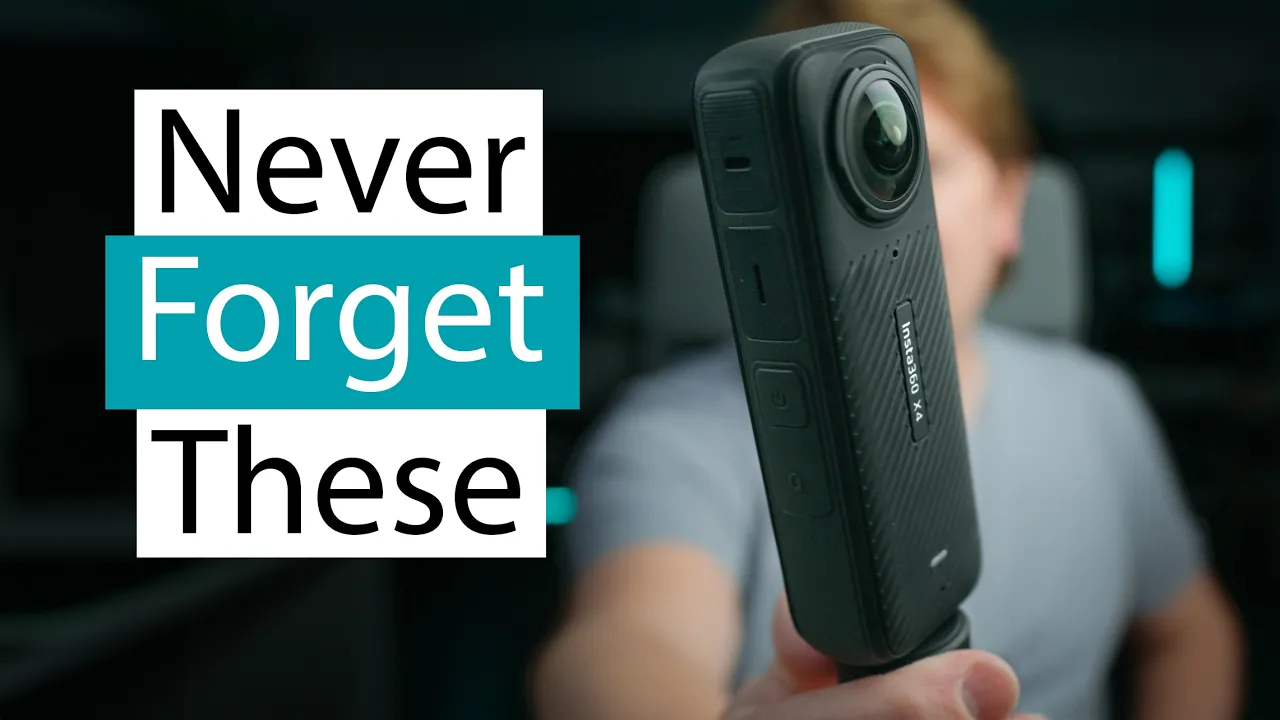
there's five settings you should never forget to change that professional X4 filmers will always check I filmed with the insta 360 X4 in loads of different conditions now and these five things are some of the most important things if you want to make better videos the first tip is to make sure you use the correct resolution for the situation you're filming in so the insta 360 X4 has a massive 8K recording resolution but you don't always want to use it you can change the resolution by tapping on the bottom here and then swiping across to
access all the resolutions but you should only use the 8K resolution in bright daylight conditions or if you're working inside in a brightly lit Studio environment if you're not filming in bright daylight conditions or a brightly lit Studio you're going to want to change this resolution from 8K down to 5.7k and not this 5.7k plus 5.7k using the 5.7k resolution when there's not bright light around is going to give you better looking video with less noise tip two is to make sure you set the correct bit rate in the camera to make sure you get
the absolute best quality video out of this thing to check your bit rate settings swipe down from the top to access the menu swipe across to the second set of menus and tap this little Cog to access the settings just scroll down until you see image settings tap on image settings tap on bit rate and make sure this is set to high just be aware that setting this to high will mean that your video files will be bigger in size so you might want to consider getting a bigger S SD card for your X4 if
you want help choosing an SD card I've got an entire video on that which I'll link to in the description tip three is to make sure you take control of the image sharpening that happens inside the camera to access the sharpness settings again swipe down from the top and swipe over to the second set and tap the little Cog icon scroll down and choose image settings and then choose video sharpness you can choose between high medium and low I'd suggest filming some test shots to get the exact look that you like the best but I
would suggest starting off with low sharpening if you've got people in the scene or you just want to create that cinematic softness or less digital look and I'd suggest trying medium if you've got Landscapes or scenes with no people in it just to get a little bit of extra crispness in the outdoor scene of course you could just film everything in low sharpness so everything looks kind of the same tip number four is to do with the fact that a 360 camera like the X4 has two lenses and two cameras so it's simultaneous filming from
two different lenses you can take control of this in specific situations when it comes to lighting to get access to these settings swipe across from the right and then you want to swipe across and choose this little icon here with a plus and minus and this gives you three options Auto standard and high for normal everyday use I suggest leaving this set to Auto just to let the camera figure out how to balance the exposure between the two lenses you might want to change this to standard if you've got heavily backlit seen for example someone
standing in front of a bright window you're going to want to set this to high when there's a big difference in the light levels between the two different lenses so for example say you're wearing this on a chest Mount one lens is going to be pointing at your body so it's going to be obviously really dark and the other lens is going to be pointing forwards into the bright daylight so you're going to want to set it to high cuz there's a big difference in light levels there and I also set this to high if
I'm filming in my car and I've got the X4 on the dashboard or on a suction Mount the light levels inside the car are a lot darker than the light levels through the front window on a bright Day by the way hello if this is the first time we're meeting I'm Jason and this channel is all about the journey to make better looking sounding and edited video and if that's something that you can get behind Please Subscribe because I'm trying to get this channel to 50,000 subscribers in the next 6 months and I would love
for you to be part of that Journey all right on to tip number five there's no point having really good looking footage if it sounds like garbage tip five is all about audio settings to get to these settings swipe down from the top swipe across to the second set of menus and then tap on this top middle icon here this lets you set the audio settings so you're going to want to set this to Auto wind noise reduction for general purpose everyday filming with the X4 where the camera is not moving quickly through the air
or there's not a lot of wind blowing on it you're going to want to choose stereo mode if you want to highlight voices so this this is a great choice if you're using the X4 for vlogging it's going to highlight your speaking you're going to want to choose active wind noise reduction if the camera is moving quickly through the air or there's a lot of wind around so for example if you've got this thing mounted on a bike and you're going really fast or perhaps you've got it attached to you when you're skiing and there's
a lot of wind moving across the camera the final mode Direction focus is actually really cool and what this will do is it will focus the sound on wherever you're reframing the image in the 360 Dee sphere with this mode turned on as I'm reframing this footage to look away from me you should hear my voice getting quieter and as I'm reframing it back towards me you should hear that my voice is getting louder wherever you reframe that's where it's going to focus the sound of the microphone pickup for the best audio quality with the
X4 you're probably going to want to use some kind of external microphone such as the DJI mik 2 transmitter check out this video next to learn more about how to set up and use it with the X4 I'm Jason Roberts and hopefully I'll see you in the next video