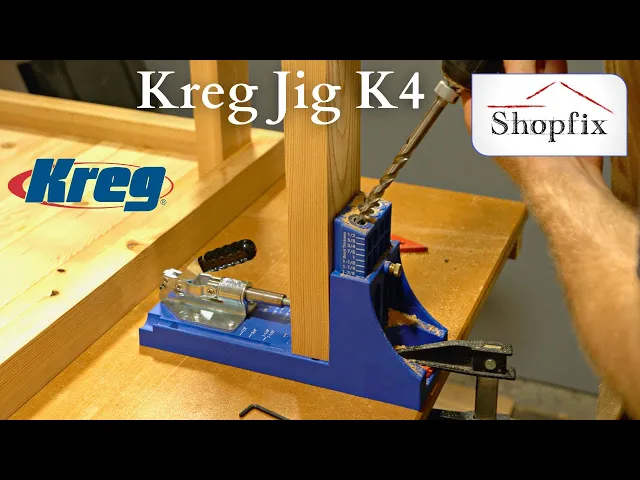
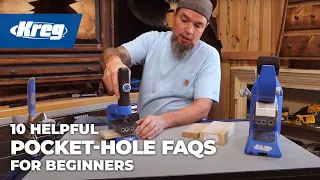
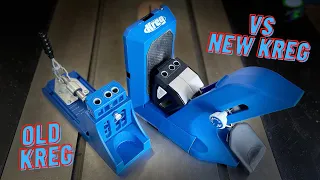
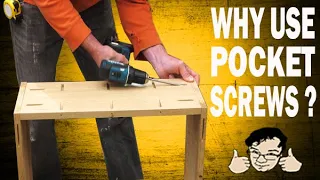
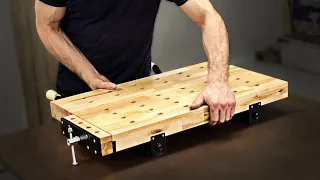
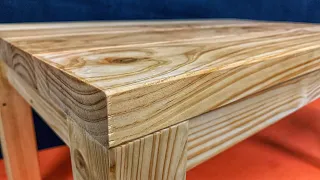
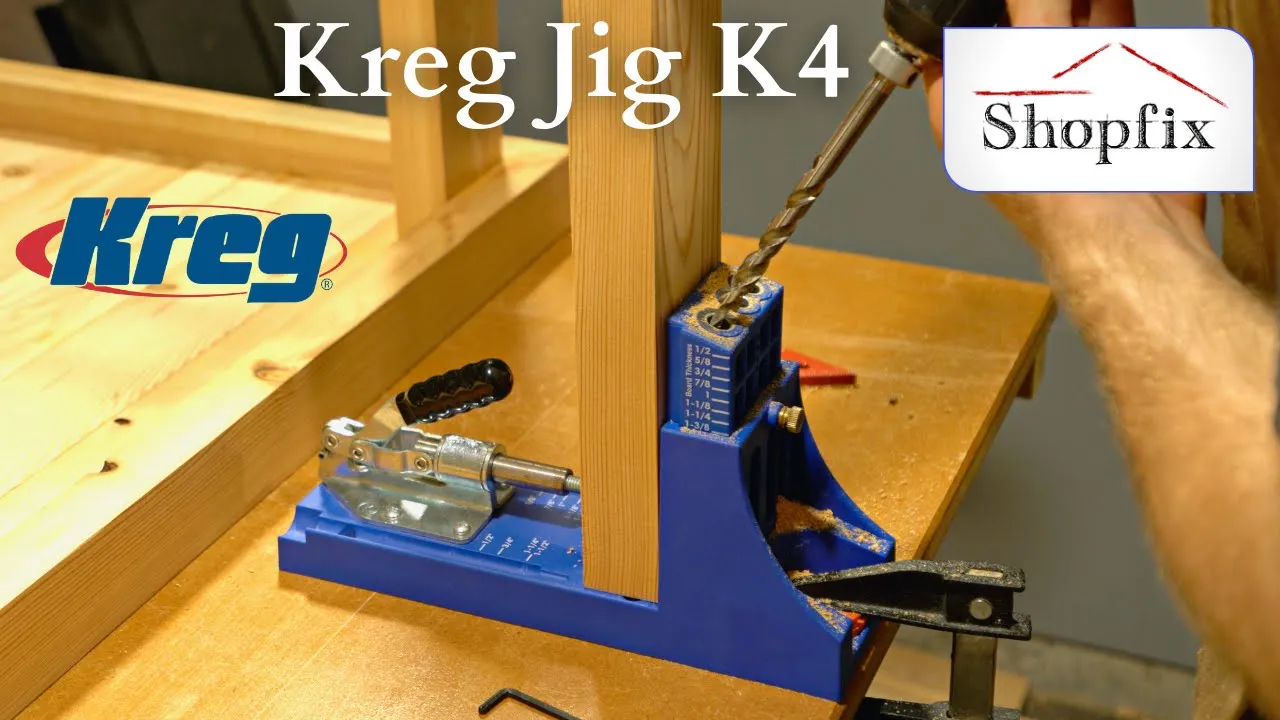
a community joined together for the love of woodworking in this episode I want to show you how you can utilize a Kreg Jig for pocket hole joinery in Woodworking and I'm going to be using this Kreg Jig K4 kit and I think this kit is the perfect size for all kinds of projects for this project I'm building a farmhouse coffee table and I'm going to be joining these two by fours together with the Kreg Jig regardless if you're working with two by fours like me or maybe some thinner three-fourths material this process is going to
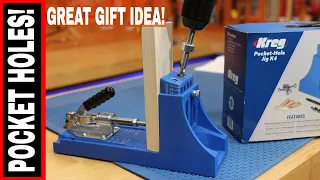
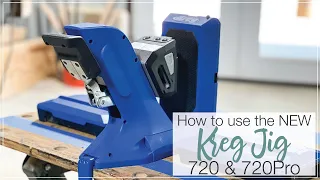
work for you so let's get right into this shop fix it's for the love of woodworking all right so let's take a look at the Kreg Jig K4 system so right off the bat you'll see that it has a really nice workpiece hold down clamp and I can tell you that it works really well you'll see that it has a nice metal drill bit guide so these last a really long time the rest of the material is a very durable plastic I have never had this jig crack or break onto me in any way now
one thing that you have to do with the Kreg Jig right off the bat is you're going to have to secure it to a work surface you'll see that it comes with this little slot right here and that's for a clamp now it also does come with four countersunk holes as you can see and that's so you can mount it to a workstation permanently or a bench and if you're going to be using a Kreg Jig a lot I would recommend just mounting it permanently so that you don't have to clamp it on a Surface
but I don't use it all too often so I'm going to Simply clamp it with a f-style clamp and so that's the first step is getting your Kreg Jig securely mounted to a flat work surface so I'm going to clamp this up here now that we have our Kreg Jig system securely clamped to our workstation now we can move on to the next step which is adjusting the drill bit guide block here to match the material thickness of whatever you're going to be drilling into and so I'm going to be drilling into this piece of
lumber and it's pretty close to a 2x4 the material thickness of this board is one and three eighths so we're going to be matching the drill bit guide block to one and three eighths okay so now we need to loosen the drill bit guide block right here and to do that we simply need to turn this brass screw to the left just enough to where this block slides up and down okay now you'll notice that there's markings on this side of the block and that is to match the board thickness in which you want to
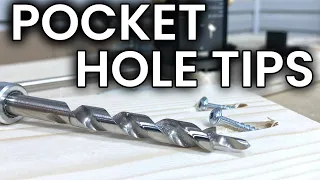
drill into so I measure my board and it's one and three eighths so we simply have to rest the block right on the one and three eighths marking there we go and we'll go ahead and tighten that by turning to the right and now we got our guide block set at the proper depth this is the drill bit in which Kreg Jig supplies in their K4 kit and in the next step we need to adjust the stop collar right here so we're going to take the Allen wrench that's supplied in the kit and loosen it
up until it can move freely up and down the drill bit then we'll place the drill bit with the stop collar in the guide on the Kreg Jig itself and you'll use the right side for eighth measurements and you'll use the left side for half and fourth measurements so we'll put it on the right side and we'll want the Allen Keyhole facing the top and then we're going to be moving the drill bit and what we need to do is we need to match the thickest part of the drill bit to the material thickness so
you don't want to measure at the very tip because that's just a pilot hole for the screw we need to match the thickest part of the drill bit to the material thickness so our material thickness is one and three eighths so we're going to move the drill bit down to write there then we're going to hold the drill bit in place while we tighten the Allen key there we go and then you can snug it up a bit more after you take it off now we're going to position our clamp and so we need to
actually get the work piece itself you want to position your clamp by first moving the clamp all the way back then putting pressure on the clamp until it's all the way down then you can move the clamping pad all the way to the material then you can move back give it a few more spins like three more spins and it should have a nice clamping pressure there you go you'll notice on the drill bit guide block there's marked holes at a B and C if you're working with material that's one to two inches in width
you'll be using the B and the C hole if you're working with a material that's two to three inches in width you'll be using the A and the B hole and finally if you're working with a material that's three to five inches in width you'll be using the A and the c-hole for this specific example my board is almost over three inches and I'm going to be using the A and the C hole so before we can begin drilling you're going to need to install the drill bit in some kind of drill and Kreg Jig
made it possible to install in an impact driver like that and you can also install it into a standard truck driver and just Chuck it right in there and you're ready to go all right so now we can begin Drilling and make sure that you're using the appropriate letter holes for your specific piece of wood you want to position the drill bit inside the drill guide and then you can start your drill all right so that's one pocket hole drilled at a and then we'll do another one at C so position the drill bit inside
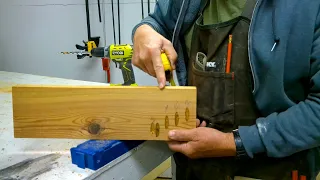
the drill guide then you can start your drill then you can unclamp your work piece and see how you did all right so now we have our pocket holes drilled out in these boards and they're ready to be mounted with screws and so I'm going to be using two inch screws because Kreg Jig recommends that based on a material thickness that I'm using and they have a chart that is included with the kit and so I'll be using these coarse threaded screws because I'm working with soft Pine if you're working with Hardwoods they also sell
fine threaded screws well with a couple of simple Craig jig joints I was able to get one step closer to finishing this Farmhouse coffee table build if you enjoyed the tips and tricks I share with you about Kreg Jig joints and how to use a crypt jig well smash that like button and if you haven't subscribed to the shop fix Channel consider subscribing today I wish you the best of luck with your future woodworking projects take care