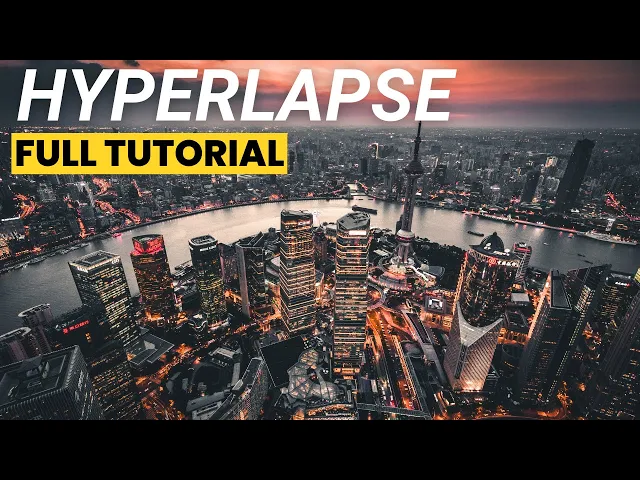
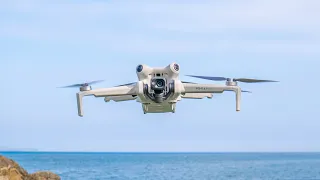
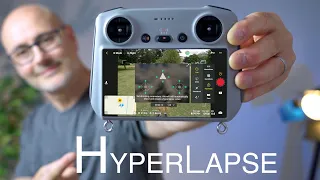
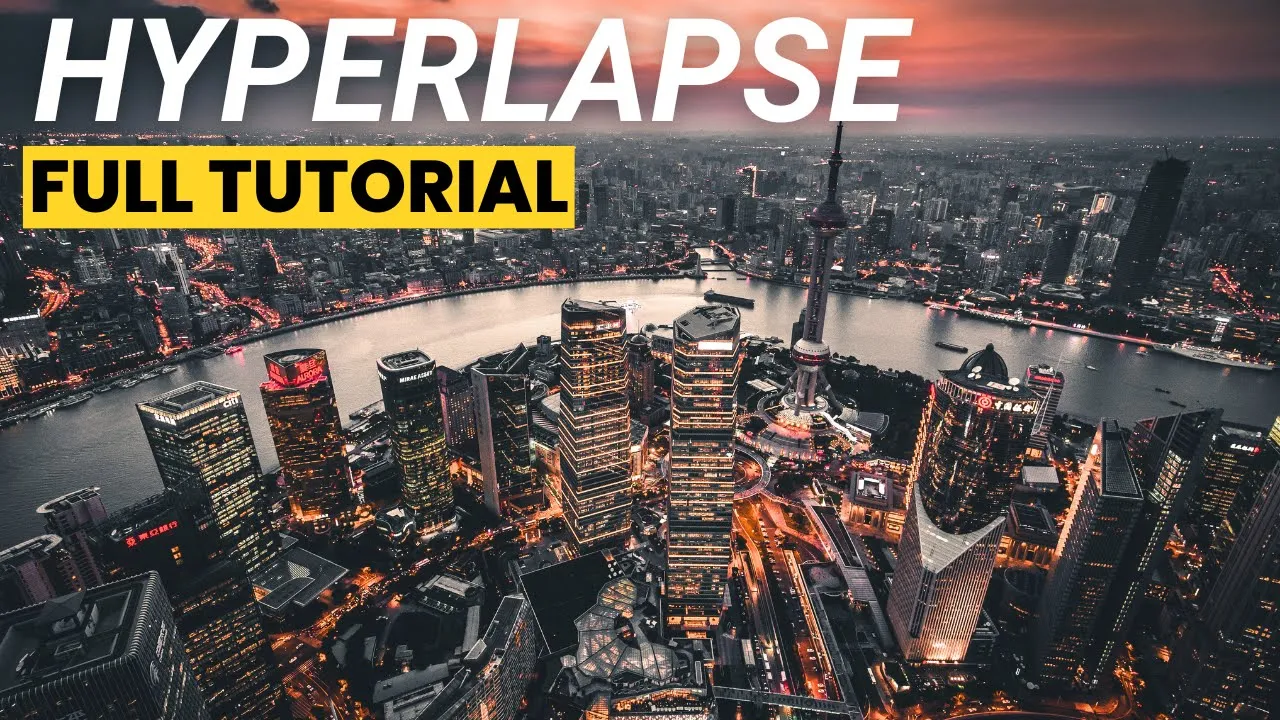
what's up guys it's Farhan here in this video I'm going to go over how to get epic drone hyperlapses from start to finish so this video is going to be in two parts one out here in the field and the next one is going to be at home where I'm going to show you how to edit these hyperlapses for those of you who aren't aware drone hyperlapses are a captivating and Innovative technique that combines the capabilities of a drone with time-lapse photography in a drone hyperlapse a drone captures a series of still images while flying
along a specific path and these images are later stitched together to create a dynamic and Visually stunning time-lapse video this technique allows for breathtaking aerial perspectives and unique storytelling opportunities making it a popular choice for videographers and photographers looking to add a new dimension to their creative work I personally create a lot of hyperlapses and use them for my projects whether personal or commercial I usually post a lot of them on Twitter and Instagram and if you're on those social platforms make sure to follow me there links are in the description below so there's actually
a lot of work that goes into hyperlapses and the first thing thing you want to start with is planning now this is the most important part because this is where you're going to decide what your Hy relapse is going to look like and that's what's going to decide the tone for the rest of the process so ideally you want to add a lot of motion in your hyperlapses whether it's a busy highway a busy intersection or somewhere where you can see the city skyline and there's a lot of clouds getting a lot of motion is
very important for hypas because it makes it look really really nice it makes it look interesting the more motion you have in your hyper the better it's going to look so once you've decided the spot that you want to go and fly and what your subject is it's time to get your drone up in the air before the Drone is up in the air you got to make sure of a few things now this includes ND filters now when you're filming cars for example you want to add a little bit of motion blur in them
so what you want to do is add an ND filter on top to get your shutter speed down to 1/5th to 1/4 of a second which is what I recommend get some motion blur in your hyperlapse the next thing you want want to do is make sure that your setting is set to 4K Raw photos so what the drone's going to do is take a series of images and store the raw files but also create its own hyperlapse as well so you want to make sure that it saves the 4K raw files for you to
edit later in post you don't want to use the video the hyperlapse that the Drone created for you okay now that the Drone has taken off and I'm in the air next thing I'm going to do is hit that icon there and go down to hyperlapse like I mention men before make sure that they're set to 4K raw and if they're not make sure to change it to 4K raw I don't want to save the jpack I don't want to turn it off I want the Raw photos there now like I said the Drone is
also going to create one for you so you can choose if you want it to be in MP4 orov formats now when you're in the hyperlapse you've got four options the free Circle course lock and Waypoint so I'm going to start with my favorite first which is the Waypoint hyperlapse so I'm going to select way points and so what happens in way points is you set up the points where you want the Drone to fly and it'll fly in that path depending on the altitude you want and the directions you wanted to fly and it'll
fly in that path on its own and it's amazing and I'll tell you why it is my favorite one to use so what I'm going to do here is change the shutter speed because I didn't put ND filters on and I forgot it as usual I I tend to forget something or the other so I'll set it to 100 of a second that seems fine so what I want to do is I'm going to start from somewhere here I'm going to select this as a waypoint and then I'm going to move somewhere here I'm going
to set this as my second Waypoint and then I'm going to move here and set this as my third Waypoint now you have a list icon over there and if you hit that list icon you can change this the name for this Waypoint and you can save it now this has a lot of benefits now just for this video sake I'll save it as YouTube and save so what this does is the next time you come to the same spot you can take off and use the same way points to create another hyperlapse now this
is really good when you want to create those Daya night or night to-day transitions or you know from one season to another you can come take off and it'll come back to the same exact spots and flying that way in in those directions so now that I'm ready I'm going to hit that icon over there and choose the sequence I want now you can hit it in reverse so it will start from the last Waypoint and go to the first Waypoint and if you go to normal it'll fly back to the first Waypoint and come
to the last Waypoint now you can choose intervals over here this determines how now this determines how long it takes for the Drone to shoot photos it'll take a photo every 2 seconds or you can set it up for every 7even or 8 seconds that's up to you I generally do 2 seconds and if it's a cloudy day I do 3 or 4 seconds um the longer intervals will obviously take longer time so just keep that in mind especially when it comes to battery so just for this video I'm going to choose 6 seconds and
I will hit the Go Button now the Drone is flying to the first Waypoint and it's going to take 150 photos and Take 5 minutes to create this hyperlapse now for the next Waypoint which is my second favorite one is the course lock now with course lock what you do is you set a certain direction and flying that path now what's interesting is you can set a point of interest in as well in this so for example I'm going to set this as my direction and I will choose this building here as a point of
Interest so what the Drone is going to do is move in that direction and get this as the point of interest and move along this path now the next mode is the circle hyperlapse so what you do in this one is it's pretty similar to course lock but obviously Moves In A Circle you just draw a box around your subject and you choose the direction you wanted to fly in you choose your speed and your rotation clockwise or counterclockwise up to you and the Drone will move in that path shooting hyperlapse photos now generally I
don't use the free option but if you want a still time lapse where the Drone is just standing in one place or in a certain position and you want to just take time-lapse photos it'll just shoot photos for you to edit in a time lapse so it free is pretty similar you choose your interval and your length and your speed and you know you could either fly the Drone manually or just leave it in one place to shoot photos now that I've taken hyperlapse photos out here in the field the next part is to go
home and edit these Raw hyperlapse photos but before that I'm going to fly my friend's custom build fpv and uh get some interesting shots so let's hope that goes well and I don't crash now I'm going to show you how I edit these Raw photos and then merge them into a hyperlapse now for this example I'm using Lightroom not Lightroom classic you could use either it's fine I usually use Lightroom classic but just for this example I'm using Lightroom it's got the same user interface um on your iPad and your phone as well so I'm
just going to be using this as my example it pretty much works the same and on life from classic so the first thing I'm going to do is add the photos so I'm going to so I'm going to add all these 300 photos once all of them are imported I'm going to start editing one of the photos unfortunately I didn't have any filters when I was filming this hyper laap so there's no motion blur also I apologize if you hear this tiny fan making noise it's just my lipo charger charging some LiPO batteries because I'm
going to go fly the fpv in a bit and um now that all the photos have been imported I'm going to choose any one of these photos and start editing them now you can edit them to make it look however you want however I recommend giving it a natural look so you can match it with the rest of your footage so you can add some grading in your video editing app so over here you can either choose to do it uh using the sliders or you can choose one of the presets now I have some
presets that give this a more natural look so I can choose any one of those and just go with it I think I might go with this so just basic adjustments such as like you know giving it exposure adjusting the exposure a little bit maybe adding some contrast depending on your taste Bringing Down the highlights increasing the shadows and temperature I wouldn't generally add too much uh saturation in fact I always usually desaturated and then when it comes to Clarity if you want to give it the sharp look you increase the slider toward the right
if you want to give it a more dreamy look you bring it toward the left so it's all just preference now for me this looks pretty nice and I can do the rest of grading in my video editing app so just a quick before after before after now what I'm going to do is copy settings from here and select all the photos and paste settings once all the settings have been applied to all the photos I will now export them so come to file export and make sure in your settings you have it in JPEG
and the dimensions are in full size and quality is 100% now that all the photos have been exported from Lightroom I've opened up my choice of editing app which is Final Cut Pro this is what I use to edit my videos and my hyperlapses so the first thing I'm going to do is show you that when you create a library you create a new project and this is what your property should look like so you name the project hyperlapse for example and then when you come into video instead of choosing 1080P or 4K you choose
custom and enter this resolution over here now this is a resolution of all your Raw hyperlapse photos depending on the type of camera you've used for example if you use a mini 3 Pro the resolution will be different I've shot this with the mavic 3 Pro so this is the resolution for the photos shot on the mavic 3 Pro so I'm going to enter that resolution over here in order to get the entire resolution to work with over here so make sure you enter custom and enter the resolution which is applicable to the camera that
you've used and I'm going to um change this to 30 frames now that all the photos are here in Final Cut Pro they're all individual photos so the next thing you want to do is change them to a compound clip what this does is take all the photos and merge them into one entire video file the next thing I'm going to do is change the duration of this clip now this was initially shot as a 12se second hyperlapse so I'm going to change the speed here I'm going to increase the speed and bring it down
to 12 seconds now there's many ways you can do this in fut Pro you just hit command R and drag it from the top that way the speed keeps increasing and the clip basically gets shorter I'm almost at 12 seconds there we go perfect so now it's a 12 second clip I think I might have increased the exposure a little too much but that's fine this is just an example video anyway anyway now unfortunately we cannot stabilize compound Clips in Final Cut Pro now the next thing I'm going to do is export this video so
I'm going to come to export file and I'm going to choose settings and make sure it's video only and then CH because I wanted to export in this particular resolution which is the same resolution of the photo so I want to bring it back have the I want to bring it back have the entire resolution and then crop in and adjust the way I wanted to so I have all that resolution to work with so you can choose whichever codec you want you can go with h264 uncompress 422 now obviously prz will give you bigger
file sizes now as you can tell this is not really stabilized and we're going to have to stabilize this more but the good thing is that it has all the resolution from the original photos so that is a very good thing now brought back the same clip that I exported and I'm just going to hit stabilization and wait for it to stabilize once that's done I'm going to export the file again but I will name it hyperlapse one and when I play this expor a clip it looks pretty good and I'm happy with this amount
of stabilization maybe you could put it one more time and do it so if your clip is not stabilized and you're not happy with that stabilization what you want to do is bring it back again and hit stabilization exported bring that file back again and hit stabilization again till you're satisfied or what you could do is get apps like adobe's after effects which allows you to stabilize your hyperlapses and it does an amazing amazing job at it phut pro has inbuild stabilization it has gotten better but it's still not there yet now I want to
use this to export it to Instagram so what I'm going to do is bring the stabilized hyperlapse that I just exported into my res project now over here you can zoom in and crop in the way you want to crop in because you're not going to lose quality you have a lot of resolution to do this so what I usually do is just come down to type under spatial conform and hit fill and you can pull it up you can zoom in more you can you can do as you wish so you've got all the
resolution to play with make sure you do so and what I'm going to do is move it a little bit to the left and what I can do is add music and Export it now earlier I was mentioning that you should keep your um photo editing As Natural as possible and you know you could add a lot in your video editing app you know to master rest of your footage so here what I can do is I can just choose any one of the ls that I have and just apply it change the intensity and
see how that looks if I like it I'll keep it if I don't I'll make other adjustments to it so there you have it the complete guide on how to create hyperlapses using your drone from start to finish out there in the field and when you come back to edit the cap lapse photos merge them into a video and edit them as well to give it a more stylized look now I just want you to know that a lot of the things I mentioned are subjective they're personal opinions you can choose to FM a hyperlapse
the way you you see fit the way you want to do it and you can edit the hyperlapse photos the way you want to edit them so if you want to add some heavy edits in live room you can do that if you want to add just a touch you can do that as well it's totally up to you all I did was show you how I edit them what my workflow is and now you have it and I really really hope it helps you out and hope you create some really awesome hyperlapses I just
want to say a big thank you to all of you who've been watching my videos and supporting my channel it means so much to me to a small Creator like me it means the world and I look forward to putting out even better content I really hope you found this video helpful and you include it in your workflow as well so please hit the like button as it helps out this video and my channel and don't forget to subscribe so you don't miss out on future videos I'll make sure to see you in the next
one