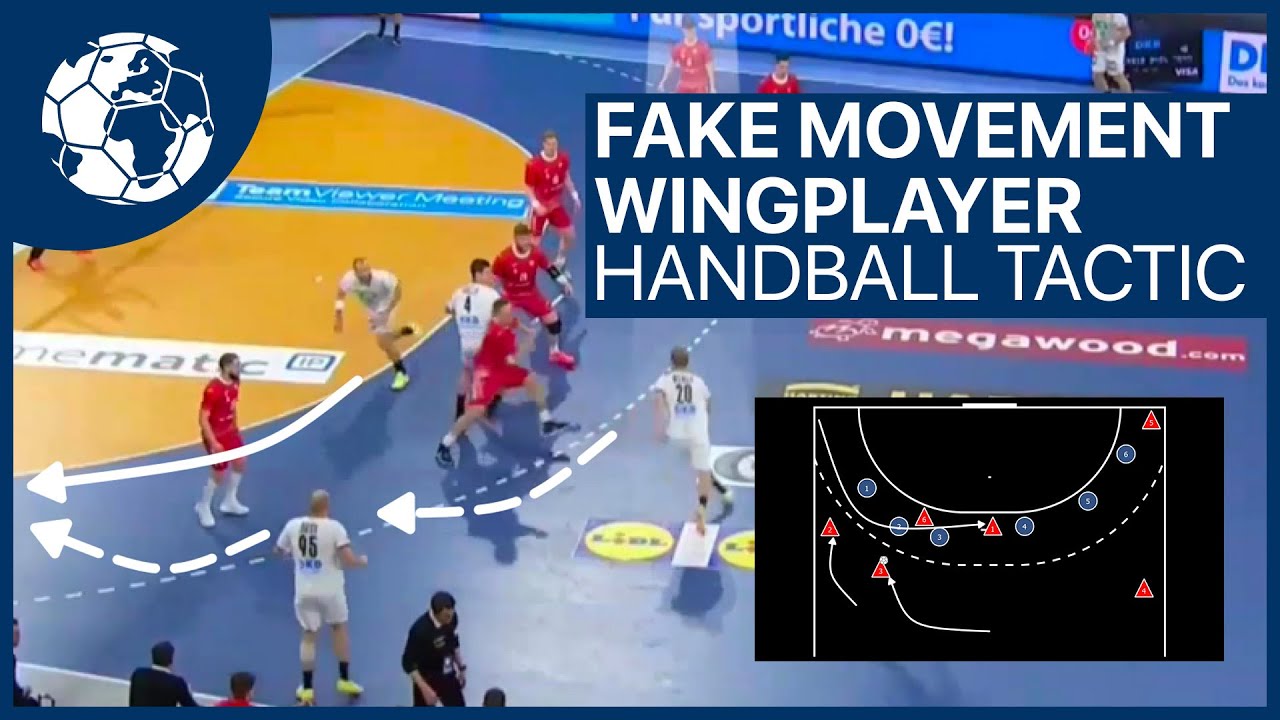
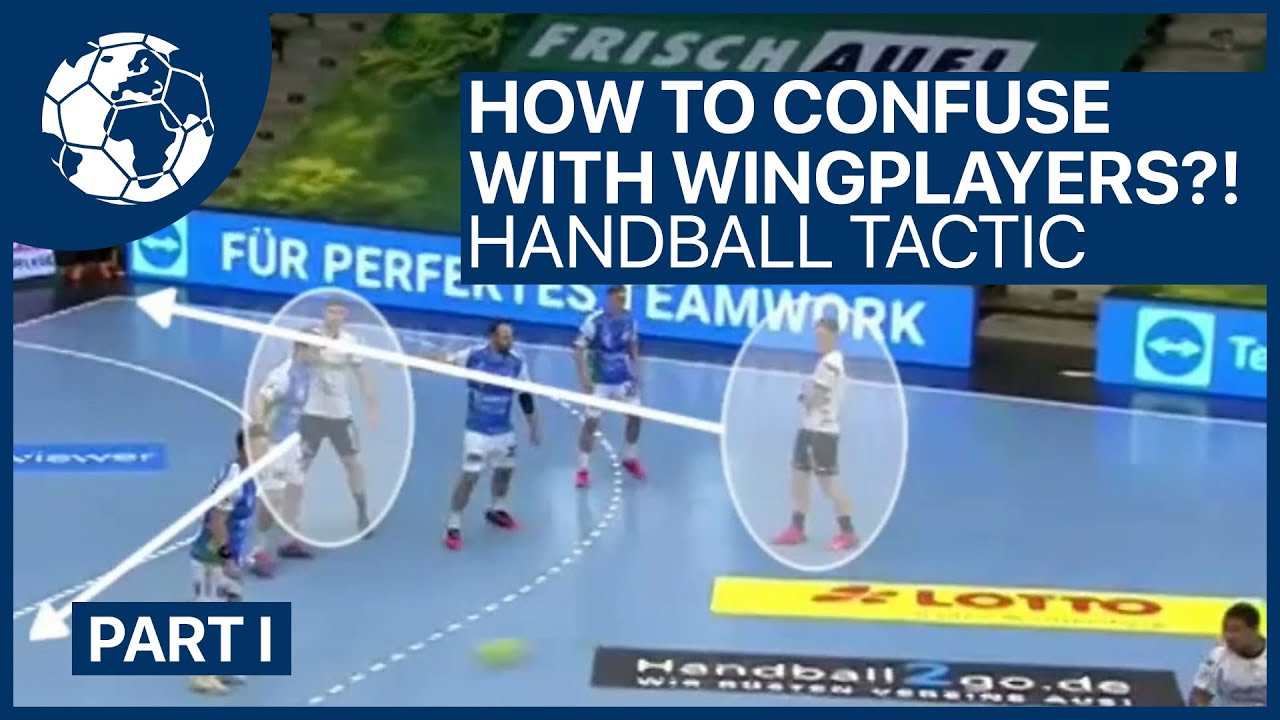
Hey dear handball inspirer, This is Oli again. In the next two episodes, we will analyse what is probably the most common trigger action from the Bundesliga to the Low Level: It's all about pivots movements and the various possibilities that can be created from them. Have fun with #Tactic Express!
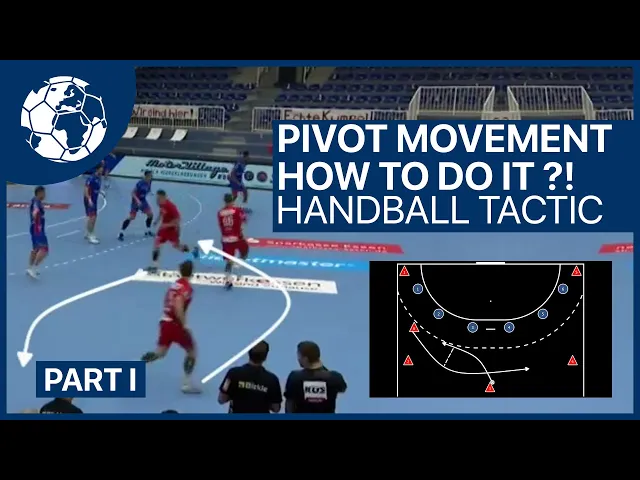
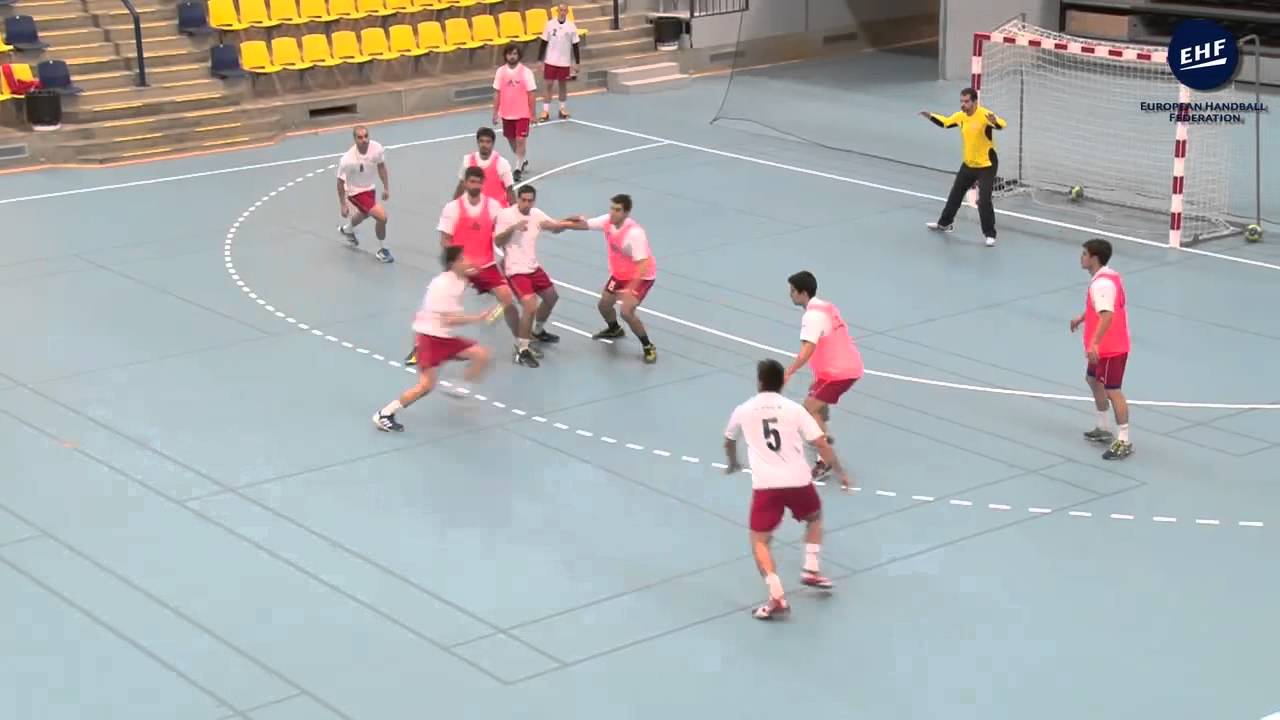
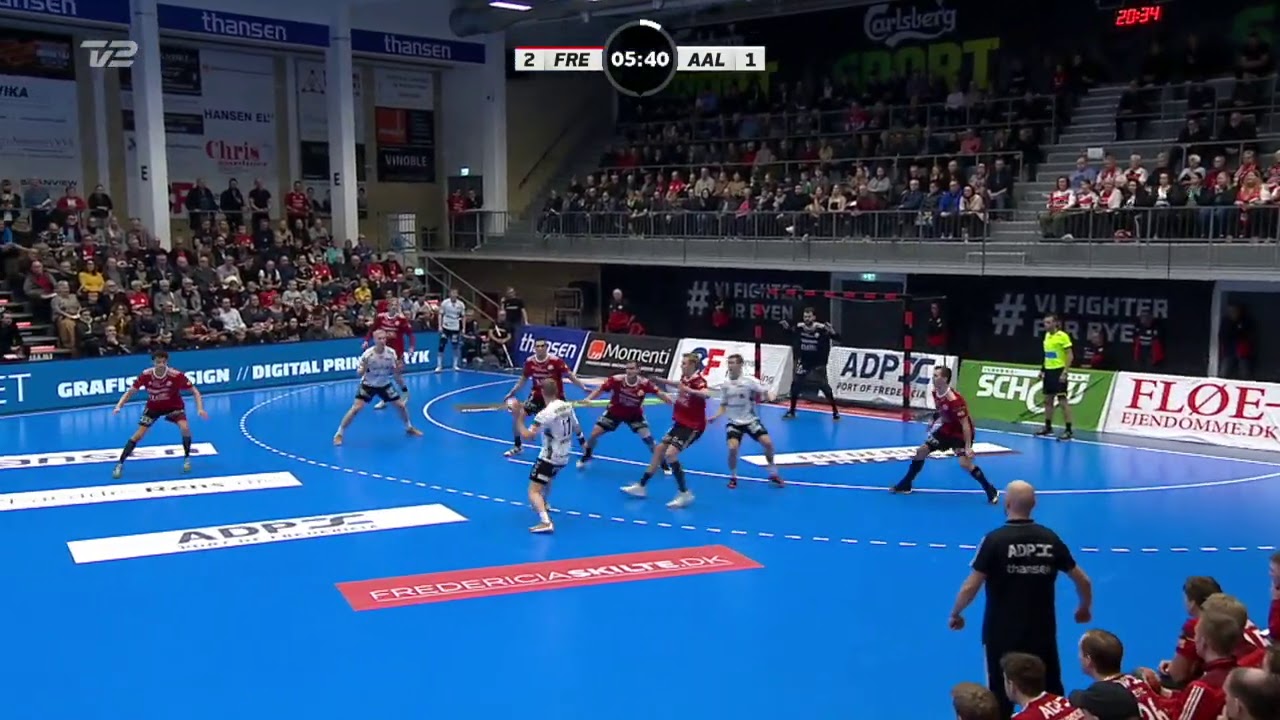
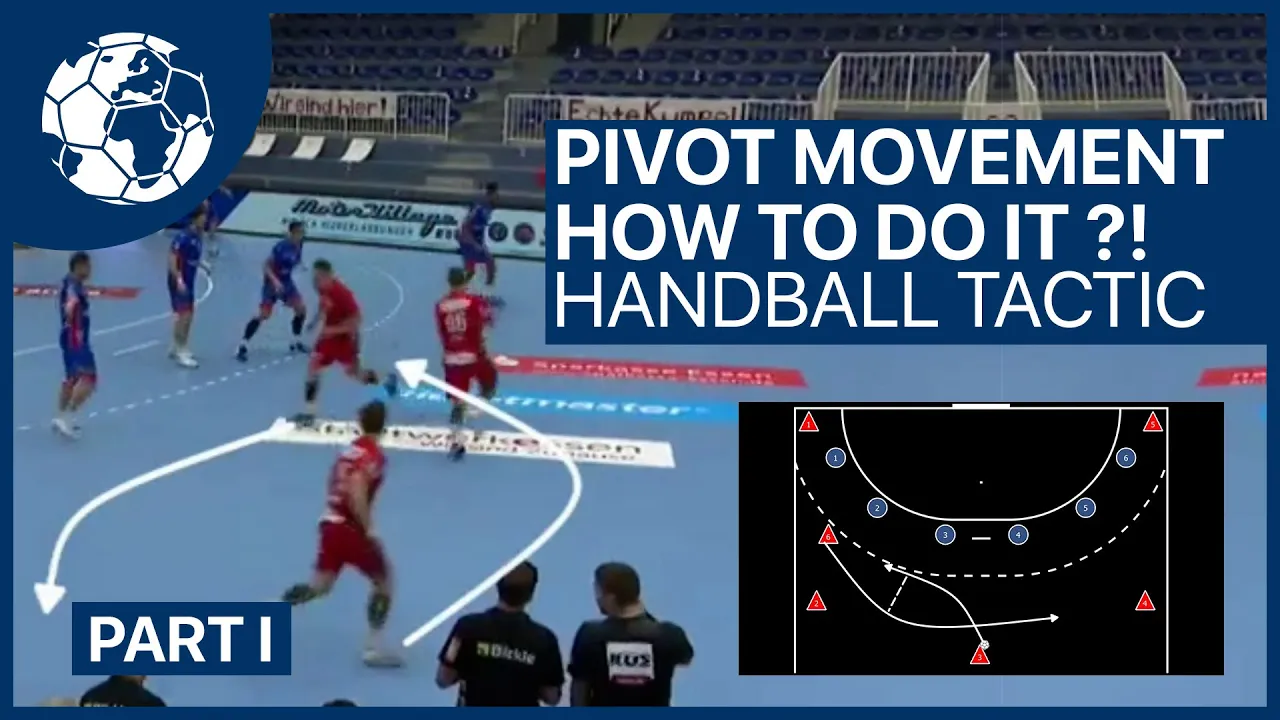
Our pivot starts in a wide position for the opener and is taken by the CB without applying much pressure. After the pass to the circle, the CB retreats to RB. The RB again comes in a wide arc towards the centre and targets the 4th defender.
As a result, the Lineplayer plays the ball to the LB, who waits in a wide position and then tries to get between the 2nd and 3rd defenders. In its basic form, Pivot should create a great 3-on-3 on the far side of the circle. In this scene, RB Zachrisson came arcing over the middle through Pivot and, as a smaller player, can play a big 1:1 against the rather immobile centre-back.
The big spaces also increase the paths for the defence to help, so the parallel play is very promising. Typically, pivot is played for the left side because often the goal is to isolate one's agile CB against a centre-back and the run-up path from the left is easier for a right-handed player. Instead of taking the first 1:1, however, a variation can be to open up the breakthrough space further against the hand for the CB.
To do this, CB plays an extra pass to LB, who pulls the defence apart with a wide push and thus further opens up the space between the 2nd and 3rd defender. We note: With Pivot we want to isolate one of the centre-backs and play 3:3 in a big space. We can take the first 1:1 if the ball comes from the circle side.
But it's worth noting here that the defence will go with the direction of the ball, making it easier to run towards our big spaces that we want to attack So it becomes more difficult for the attack to play the big 3:3 we have created. Of course, CB could also go to the hand. We'll look at the possible follow-ups later, but especially at youth level we want to create and play big spaces, so we stay on the left side of the attack.
This is where the extra pass comes in and shows how situations can change with just one pass. So our new CB, who we want to send into the 1:1, plays the extra pass to the wide attacking LB. The 2nd defender has to close the breakthrough space 1/2.
In the video, the 3rd defender has only gone a little with to the ball side, but of course looks to the ball holder to help if necessary. In this way a large space opens up against the hand for the CB to attack. Our big 3:3 situation remains despite the extra pass.
But the big difference comes from the direction of movement of the defence. It again goes with the direction of the ball and is confronted with problems by the CB's counter-movement. We have now seen how we can isolate one of the centre-backs through Pivot.
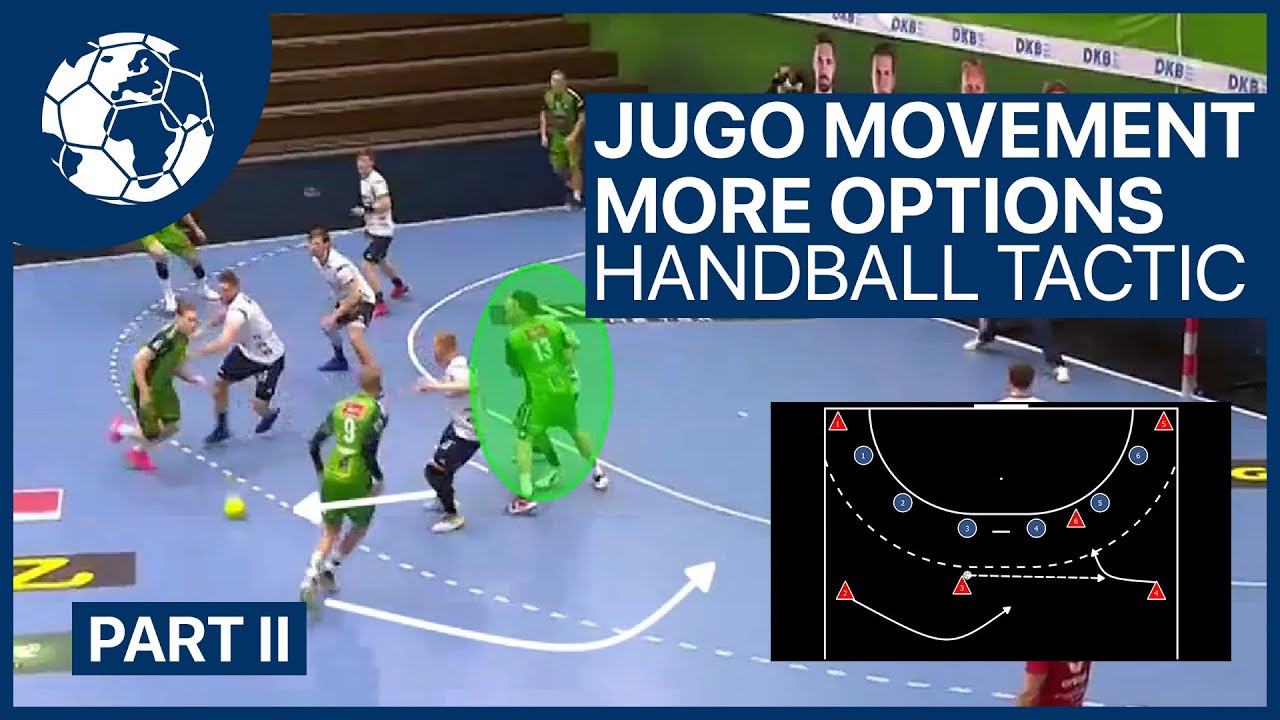
If the opponent now adapts to our style of play from Pivot, then we can present them with new tasks with another variation. Instead of attacking AFTER the extra pass, the LB attacks the half-back directly, so that we can prepare our finish on the right side of the attack. The LB manages to tie up both the 2nd and 3rd defenders, creating a short surplus on the right.
By helping the 3rd defender, the 4th defender has to divert his attention to the CB so that he cannot throw or break through undisturbed. This in turn brings our lineplayer onto the scene, who places a block on the 4th defender, opening up space for CB to the right, where a 3:2 superiority is created. An alternative positioning for the lineplayer is the 5th defender, so CB can use the indirect block, play parallel or directly to the outside.
The whole thing becomes clearer on the tactics board. After our LB takes the one-on-one against the half-back, our CB gets the ball in front of the gap between the 3rd and 4th defender. With the ball reception, the LP goes into a blocking position against the 4th defender, whom our CB can run over and run towards a 3:2 superior situation.
If the LP stays on the 5th defender and takes up a blocking position there, then the CB fully attacks the gap between the 3rd and 4th defender in order to keep the space on the right side as open as possible. Now, depending on the defensive behaviour, he decides whether to pass to the outside, pass into the indirect screen if the half-defender does not work around or parallel pass if the half-defender manages to run around the screen. Let's return to the possibility of the new CB taking the 1:1 to hand.
The effect and the possibilities for the CB to decide remain the same, but the space is reduced. So if we play the extra pass to LB and let him go into the 1:1, the space on the right opens up much more. So far we have only looked at ways to attack on the far side of the pivot.
Let's look at what is possible if we play the first 2-2 with Lineplayer directly. Attention: Pivot is played here for the right side. In this situation the attack reacts to Mamic, who wants to take the run-up away from the RB Magnusson, who is coming around.
The LB perceives the offensive position of Mamic and tries to go directly into the 2:2 with his pivot. By going over the middle, Mamic sinks back into the defensive formation, so that the new CB Magnusson can go into the 1:1 as usual. Here he manages to tie up both Mamic and the 3rd defender, creating a 3:2 superior situation on the left.
Alright, the centre-back won't always go that high to take away the run-up of the half-back coming around. Let's look at what else can come out of the 2:2 with the LP. Attention: we are looking at options for pivot on the left.
The LP plays the ball to the RB positioned wide and goes between the 4th and 5th defenders. The RB moves wide to the centre so that the 4th defender is responsible for him and the 5th for the LP. Usually the 4th defender will step out to make contact against RB.
The space behind the defender is crucial. The Lineplayer can receive the pass there from the pick and roll or occupy the space to cause problems for the defence and open up space on the right. If the CB receives the ball and his opponent only concentrates on him, then he can play the LP in the space behind the 4th defender.
But what happens now if the 3rd defender closes the defensive triangle and the LP thus cannot receive the ball? CB must exploit this positional advantage and run into the gap between the 2nd and 3rd defender to create a 3:2 superior situation on the left. Of course, these moves won't always work out because the timing has to be right and the defence will find solutions at some point.
So now when the RB comes over the middle and there are no spaces, it is important to keep an eye on the rebound. The RB must therefore immediately return to his wide starting position after his pass. The CB now either plays the additional pass to the left, attacks the gap between the 2nd and 3rd defender or initiates the back kick.
He could play to the LP, play the ball directly parallel to the RR again or make a space-grabbing movement to the right and take the block from the LP, which he places with the 4th defender. This results in an outnumbered situation, which we created again. In the first part on pivoting, we saw how many options are available to the back to create a successful chance from the basic form of the release.
In addition, an extra pass out wide can increase the spaces that we want to attack anyway. In the second part, we will look at follow-up actions that present themselves, such as crossing or transition. If you have any questions, suggestions or wishes, feel free to post them in the comments.
Did you like this video? Then come with us on a handball world tour!