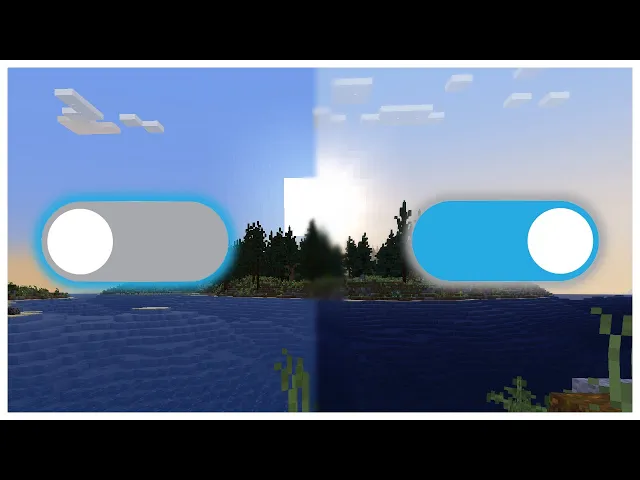
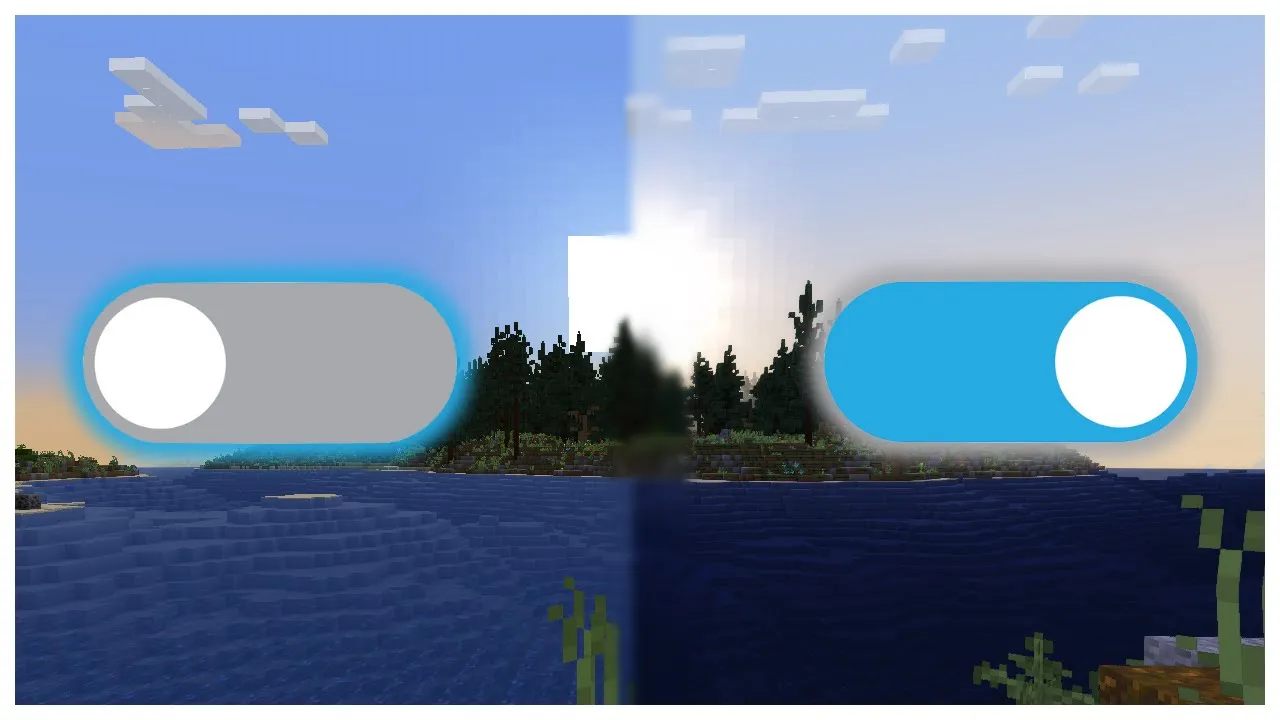
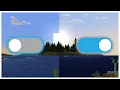
so let's say you have a really cool flashlight shader that you figured out how to implement using vanilla shaders and you want to turn this thing on and off well this resource pack essentially makes it so you can toggle the shader on and off using just one command there you go just that command there just turn it off and this command here just turned it on that's really all it takes very simple and today we are going to go over this is essentially the second version of this shader selector pack but this is kind of
the final and ultimate best version for flexibility multiplayer compatibility and all of the above this is just overall the best so we're going to go over how to implement and use this shader pack as well as all the nuances behind it so as i said before it really is just one command and what command is that it is actually just a particle command so this is a variation of the shader pack that i did before but this one has a lot of code used from disco hunt which i will link his original github in the
description but i essentially took it applied my kind of generalized version to it so that it looks a lot cleaner in terms of implementation and trying to add things on it's a little bit more user friendly in the naming conventions so i'm going to go through it and show you how it works so in the description there will be a github link and in the github link it will link you to releases and the latest release will have a zip for the flashlight example resource pack and data pack the data pack is just some logic
behind it and the resource pack is everything you need so let's take a look at the resource pack and see exactly what it's doing so all we have is just shaders and a couple textures that will be useful later uh so the shaders essentially go to the particles they go to every particle in your world and what they do this is from disco hunt i did not write any of this code myself but this is from him so essentially what it does is it looks for particles that have a red color of 255 okay and
a green color of 253 or 252 so if you have that two color combination which will almost never happen naturally unless you have some kind of specific command doing it then if you have that two color combination then that color is considered a marker or something that the system will analyze and what it does is it moves it to position zero one so the bottom left hand corner of your screen down there okay so it moves it down there to be used later and evaluated by the shader system so then let's pull out of core
and let's take a look at post so in transparency you have a color and a color swap these are just buffers that will actually hold the colors for the different channels and various things that you will save for later so this is how you toggle and not just tell it to turn on in that sense so this actually lets you kind of change states toggle turn on off change values so the way that happens is you copy the previous buffers value onto the copy of the buffer so you copy the buffer onto another copy of
it and then you process that the current frames color system and the copy is the input so we can look at the inputs and compare it and then put it on the output and then you use this special shader which will remove any colors in the bottom left corner of your screen that were done from that shifting uh and then finally a transparency pass which is just something vanilla something happens normal then after the transparency pass this is when we apply our shader which is what you really have to care about in terms of how
to use this and in this case i also passed flashlight sampler which references a texture called flashlight in the effects folder so that's how you do overlays you basically put a texture in the effect folder and this name will be the name of the texture that you can reference like this to use as an overlay okay so then let's go and look at these programs so i'm just going to basically jump through these other ones that you don't have to worry about i'll just go through them very quickly so the way find color works this
is one that this is how it figures out uh which color you're using for which channel essentially it is going through that buffer which is has three rows and if you are on row zero it actually adds a time variable that it keeps track of which this is useful for if you have kind of like you want a timer and you want something to have like an animation and i left it in here it was useful for his use case not really useful for stuff that i work on but it can be useful for you
in the future so you can use this time variable if you need to but we're really focusing on row one and row two so row one is if the color matches 253 for green and there's 254 for red it's not 255. i said 255 earlier it's 254. and then the row two is if it's 254 for red and 252 for green so these are your two different channels and the output location is to row one and row two okay so if they match then it's going to set the color if they don't match then it
will just set the color to whatever the last value was which is why you need that duplicate buffer essentially okay and then remove we're not going to look at but it basically removes those textures of the shifted things now this is the thought part that you need to care about this is the shader folder so the core is not going to have this flashlight pass it's not going to have some of these uniforms but you can add them if you need to uh so essentially it'll run a vertex and a fragment shader on the screen
at the very end and this is where you can apply your special effects so here essentially there is a lot of code to look at but you just need to focus on the fact and i will go over what the core let me open up what the core one looks like because it's a lot cleaner the dev it is a lot less to look at uh so we're gonna open that one just as a comparison so this is really essentially what is happening so we have channel one where we fetch the texel do you do
a texel fetch which grabs the pixel that is at position zero one in the buffer for your control buffer so your control buffer is the control sampler here that you passed and it has three rows so you fetch whatever color is at that location and then you use a switch statement on whatever the blue channel is so uh channel one we will pick to do stuff depending on what its blue color is so if the blue is the value of 1 out of 255 then the in the dev version it just shades the screen then
for channel 2 you do the same thing but to the green channel which is channel 2 and likewise if you wanted to you could have more channels just by basically parallelizing this i will leave that up to you to figure out how to add more channels two was enough for me but you basically would just copy this make another and you would have to go to all the other locations where it says row one row two with row one and row two and you'd have to add a row three option uh then also there's this
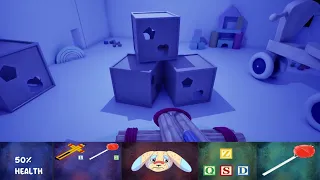
overlay which is if you want to use overlays it will mix the overlay variable which is you can think of as like a pixel and it'll mix that with the screen so this is if you actually use overlays so in this example over here we actually use overlays so basically what i did for the use case is if the color blue is one then run the apply the flashlight shader which basically figures out how far away the pixel is that you are looking at or coloring in this pass and it applies some brightness to it
depending on the depth and distance from the center of your screen then channel number two is the overlay so this is the control of the battery in the top left and let me show you actually what that looks like so when i have the flashlight on it kind of deteriorates until i run out of flashlight and it turns off so you can just run function ss refresh just so i have all my battery left and i can right click you see it turns on the battery in the top left counts down to zero and then
when it's zero it takes it off okay so essentially the way that that works is it sets a value for the battery value based on the blue value i really could have made this less code if i just said battery equals blue channel but i want it to be more explicit in this case statement structure so you can understand that so if the blue channel is one then battery is one if blue channels two batteries two if blue channels three batteries three if blue channel is four batteries four okay so then the overlay basically shows
you a window of this texture based on the height of the battery uh based on the battery value so uh if i go back back back back back back back back back and then i go to minecraft textures effect you can see that this oh and this is fireplace this is this has every single option uh and they're all the equal size but it picks a different y value to use or a different height to use depending on the value of your battery okay so that's pretty much it that's how you use it you make
it put a new case statement with whatever or modify previous statements with whatever logic you want to apply to your colors in your shaders you can also pass the control sampler to a different shader if you want better organization if you don't want to do it all in one shader file you want some organization going on so it doesn't get as messy you could just do another pass so the way that i would do that is i would essentially go into shader post transparency and i would go here where it says toggle shader i would
just add another one make sure that you instead of passing from swap to final you do swap to well you can do swap to final and then in your own other shader it would go final to swap and then you would need another blitz that goes swap to final and or to go from swap to main but in the end you have to output at main and main needs to be outputted at the very end otherwise the depth sampler will not work and some things get buggy so just make sure you're passing to some intermediate
variable in this case i passed the final and then i copy domain you can pass to something else and then pass that something else to something else you can't make the input the same as the output otherwise it breaks all these kind of things i have a lot of videos with tutorials on how to do shaders if you're interested in getting into them if you're not as experienced i have some stuff where i go in depth on how the flashlight shader works and other shader stuff works uh okay so that's pretty much it if you
guys have any questions let me know i'll be sure to answer them as soon as possible the github is linked in the description and have fun using this i mean it's a very powerful tool one caveat though is you have to have um your graphics on fabulous otherwise the transparency shader doesn't even run so there is that disadvantage you have to tell your users turn on fabulous but other than that everything works perfectly it's multiplayer friendly why is it multiplayer friendly because i can play this particle over here while it's anywhere in my rendered chunks
this is some stuff i did not discuss as long as it is in my rendered chunks it will affect the shader you saw it effect there the other reason why it's multiplayer friendly is because with particles you can specify certain players so i can do force at s and then it will only display this particle for me and not other people so that is why it's multiplayer friendly uh another thing that is interesting to note is if you try and toggle uh both channels at the same time well you have to play two particles and
since you play two particles they overlay each other and they just don't work which is why in my implementation inside the data pack which i will just go over briefly here we go into here data packs here my implementation in the data pack is a ticking so every tick if you don't have the flashlight on it tells the shader do not have the flashlight on just to ensure that it has it you could add some kind of artificial delay but it's hard to know the timing on that so i just spam it and it's a
particle it's a single particle it's not that inefficient anyways that was it guys pretty great system only caveats you gotta play particles on repeat at different times but other than that it works perfectly perfectly multiplier and i'm really happy with this i don't think that there's any changes i would make or improvements unless they add a slash shader command so other than that guys i will see you next time peace