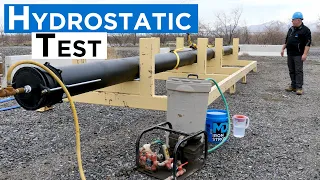
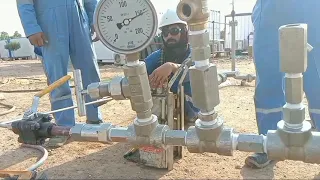
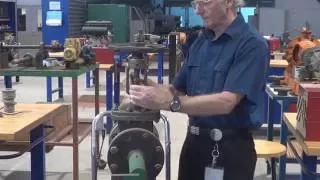
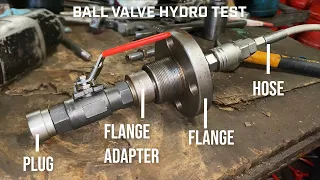
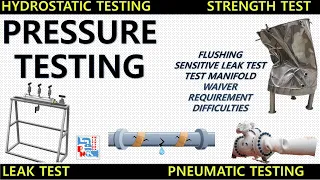
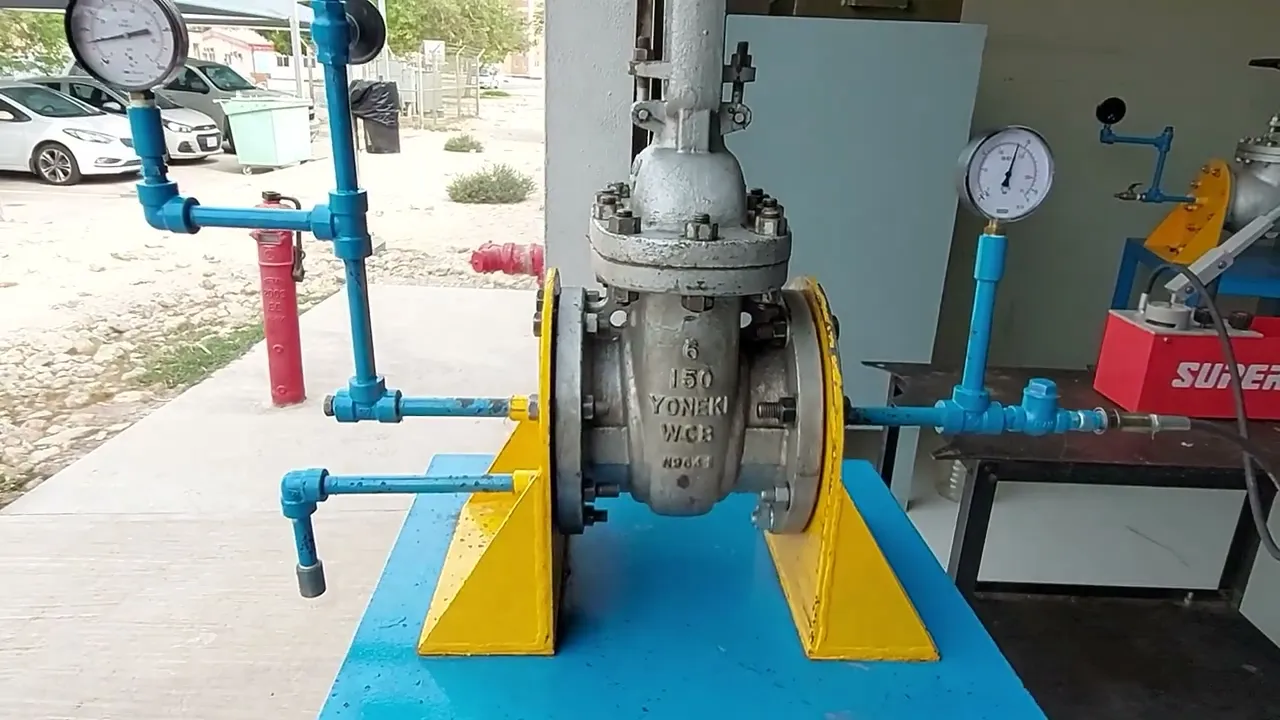
so what are we doing today hydrostatic testing this is the test treasure test pump in your filling it with water so this is the pressure test pump it's a little bit water and you have two valves well one and one two and you have pressure gauge which gives you reading in PSI and Bar this is the set needle for you to know that up to which pressure you want to test is for reference comes with quick coupling so that you can attach to the vessel valve heat exchanger or pipe anything which you want to test
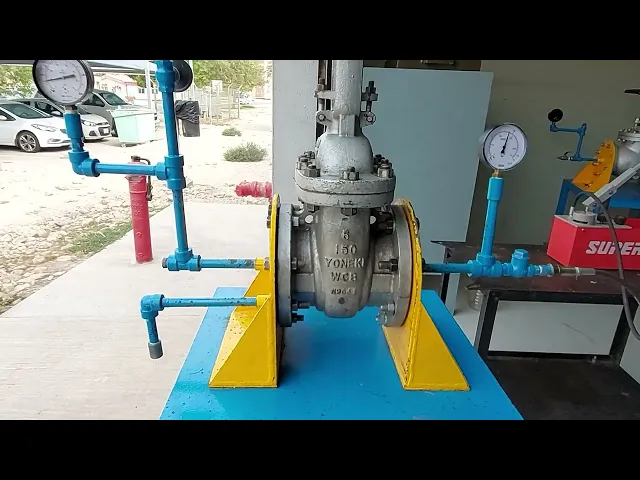
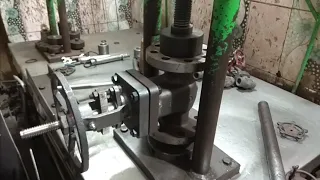
so you have to follow the procedure huh valve one and valve two what's the procedure see here for testing V1 open V2 close it's written on the test pump so uh we won V2 open and close and then you have to pump and then you have to raise to the pressure as per the recommended class for each class that is recommended treasure up so you put water inside this one and connects the hydro test bundle to the test rig this is in-house build test rig now we connected okay once you connect the quick coupling then
you increase the pressure the pressure as per the recommended class and the size of the valve and the material cast irons stainless steel or carbon there is different pressure limits for this 1 6 inch 150 glass cast iron will have a different limit okay now First Once you install the valve into the testing rig for the hydrostatic testing you have to tight the bolts in the Crossway there is a proper procedure for both torquing or tightening okay once you if you don't tight it properly what will happen once you increase the pressure you will see
the water leaking from the bolts even though if you have gasket properly seated if the bolts are not properly tightened to the torque recommended torque you will see the leak so you need to tight the bolts so you need to find which bolt it's leaking it's here it's there you need to fix yours okay the gentleman fixed the issue and there is no leak but still a small drop just well just a small drop just fell down we will wait for three to five minutes to make sure there is no leak so there is no
leak and the gasket is properly seated and the bolts are properly torqued and we adjust it to the recommended pressure on both sides the same pressure is there let's see if that drop comes back okay it's almost like no leak so perfectly tight end and talked okay and there is no leak so there we have three tests one is partial marginal official disc so partially open and you will increase the pressure through the pressure test pump and then you will wait three to five minutes so that make sure that your flanges are properly sealed now
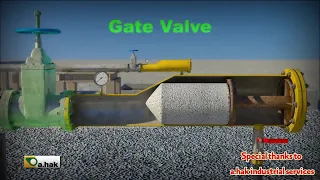
we will go for the other test which is fully open test so that is also called a fully open or it is a body Test full body test okay so what we will do open the valve and then the pressure will decrease so you have to again go to the test pump and increase the pressure I will tell you now we fixed our leaks now there is no leak and then now increase the pressure to the recommended value of trust pressure we open the valve fully okay another way of knowing gate valve is open by
the stem it's it will come out of the handle increase the pressure okay wait finished increased okay now we will wait for three to five minutes so that there is no leak oh we finished a partial uh open test then we finished fully open test and there was no leak and we waited for the time recommended time and there is no changes in the pressure on both sides the pressure depends upon the class of the valve as once again um I will repeat and in Hydro test uh it is 1.5 times you will increase the
pressure and test it the valve for example if the valve is having a pressure maximum pressure 300 PSI you will increase it 1.5 times and you will test it in Hydro test so now we finished two tests now is disk test right this now this test will do this test so you will close the valve drain the half side and then now the valve is fully closed once you get well fully closed you can open the uh release the pressure from here the water will go away and it will become zero and it should remain
zero during the whole test because we are testing the disc now disc is Seated on the uh we stop for the refilling of the test pump I'll refill the test pump then we'll continue again to build up the pressure and why do we need hydrostatic testing usually and shutdowns and shutdowns or repairs once you fix the valve do shut down or repair the fixed valve before replacing it back or before fixing it back you will do the hydro test to make sure that valve is uh repaired or fitted correctly or assembled correctly okay once you
build up the pressure to the recommended value your disk is open seated disk is completely Seated on the seat so the valve will prevent the water going out from the out away from the discs that means the valve is half of the half of the valve is filled with water other half is empty and we should drain it from here we keep it open so that it drains and you see the pressure here it should be zero and it must be zero if the disc is completely Seated on the its seeds okay and there should
be no change in the pressure and this pressure should remain zero and there is a no leak will wait for the recommended time whatever recommended time given in the standard sop we will follow that and we'll wait and there is a no leak hence your repair or work is tested like this it's called hydrostatic testing so we finish the test so we need to drain the water a quick tip will come out all the build up pressure will release once you open the water this is how you hydro test so after every repair and maintenance
you need to test your valve before to replace it and after that we'll do the housekeeping the remaining water we need to throw it for the trees give it to the trees please give it to the trees this is in-house testing rig for the valves especially for gate valves so now you will remove the valve and then that's it