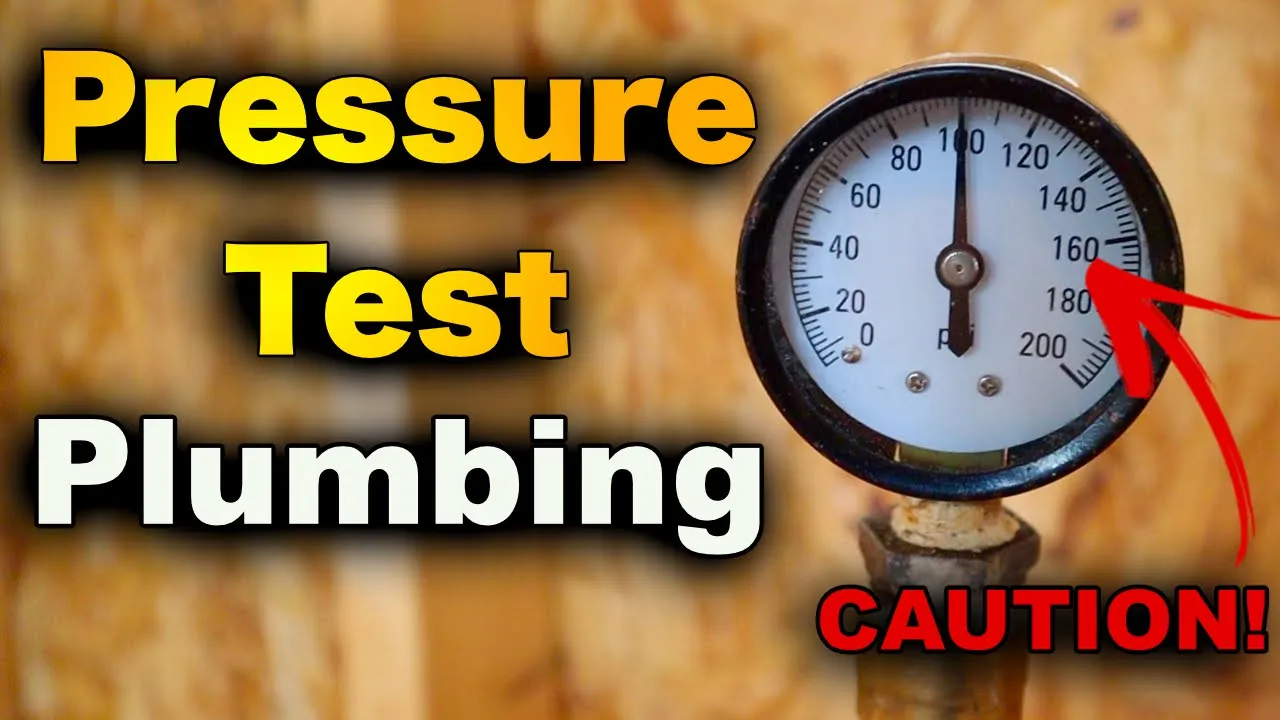
in this video i'm going to be pressure testing my plumbing and i'm going to be hydrostatic testing my drain lines and if you've been following this channel you know i've installed pecs throughout this whole house and you see me install drain lines in the bathroom and if you're new to this channel my name is josh this channel is all about building your own house saving ton of money so be sure to subscribe ring that bell so you get a notification every time i release a new video and hammer that like button for me that's all
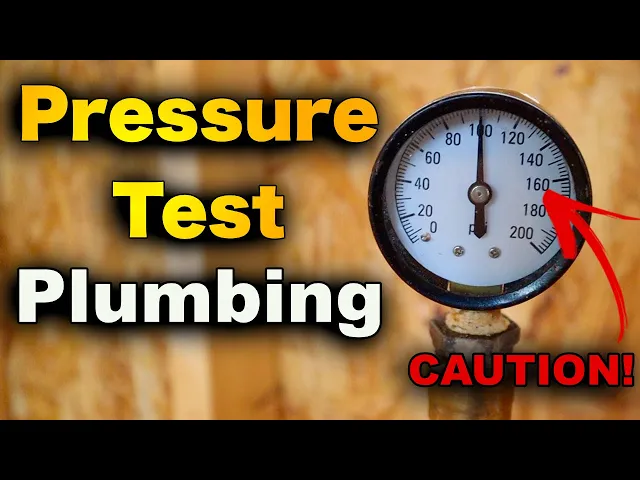
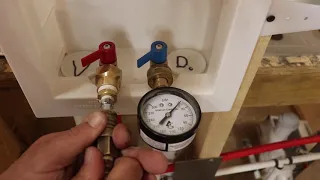
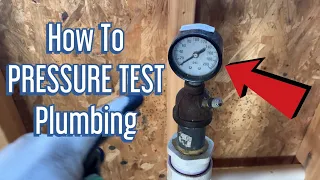
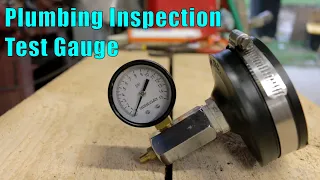
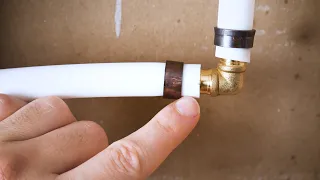
i ask for return for making this video so the first thing i want to do is show you the parts you're going to need to make your pressure gauge and your valve stem come to life let's get started here's the pressure gauge i made and to make one of these all i got to do is get a gauge that will connect into a quarter inch female adapter which in return will connect to the sharkbite adapter which will slide on a half inch pipe so whether you're using c pvc or pex it'll slide up in here
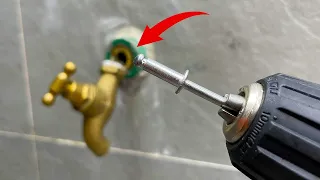
and it'll give you a good airtight seal and then for this valve stem piece all you got to do is get a valve stem that's going to attach from a male valve stem into a female adapter which in return could have been hooked into a shark bite adapter just like this one but i had an old piece of pvc pipe that i already had this glued into so i just went ahead and slid this shark bite connector onto it so this is going to go onto our half inch pipe for the actual pressure test so
you might be wondering how am i going to hook to two different pipes and pressure test well the key to doing that is is you need to connect your hot water tank hot and cold lines together so that way the hot and cold water lines are all connected throughout the whole house i'll put a link in the description below to my amazon store and there you'll be able to find all the parts i just mentioned in making this gauge and valve stem so i wanted to show you before we actually pump the system full of
air you need to make sure you cap off each of your pressure lines are stubbed up through the floor going to your sinks or anything that needs kept off because if you don't you're not gonna be able to build pressure clearly i typically do my pressure testing in the kitchen it's just a convenient location for the inspector to come check it out without having to look for it throughout the whole house so all you gotta do is simply put one on the hot side and then we put one on the cold side and now all
we got to do is just pump it up as if you're going to pump up a car tire and i like to put about 100 pounds of pressure in the system to get a good test [Music] all right we got 100 pounds of pressure in here now and something else i wanted to mention make sure you wear safety glasses this stuff is rated for pressure but you just never know if something would fail and pop off and hit you in the eye you don't want that so you can also pressure test your drain lines i
made a video of this before if you can check out this card up above you just put five pounds of pressure in it using the similar method and this glues right into any of these stub outs that you have for your sinks or anything in the same method you would pump this full of air here's a pressure gauge but don't put any more than five pounds in it if you do we prefer to do hydrostatic testing so while we're waiting is to see if this sits for several hours and doesn't have a leak we're going
to go ahead and do that and if you're not familiar with hydrostatic testing that's where you just take water and put it in your drain lines and if it holds over a period of time it passes your inspection so the first thing you got to do before you perform your hydrostatic test is make sure you cap off the main drain coming out of the house and you can buy these plugs and i'll demonstrate how these work here in just a moment plug the ends off and you're good to go for that so for everything else
in the house you got a couple options so this is for the master bath sink i just simply glued a cap on the end to cap this off but there's a couple other options i could have done they make the plug that i just showed you it looks like this and how these plugs work is if this was stubbed out of the wall you'd simply pop that in the end and then just twist the little wing nut on top of it until it's snug and then we're water tight and we're ready for testing or they
also make one of these little balloons that these fit universal sizes this one's from like inch and a quarter up to i think inch and a half or two inches but long story short they're expensive so i would not recommend buying these they're about 30 just for this little thing these plugs are about 10 if that then they just go into the pipe and you just pump air into it to seal it off so if you got to seal off your pipes there's your three options when i buy toilet flanges i make sure i get
these capped off so after your water test you to smash these out and then we're good to go so if not you got to find a way to seal this hole so at this point i have everything capped off i got toilets capped off sinks are capped off everything from four foot below is capped off clearly the vent going through the roof does not need to be capped off for this so now all we got to do turn the water on and start filling up this whole pipe system full of water clear up to four
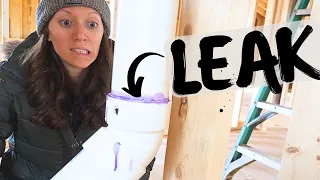
foot and it's going to take several gallons go ahead and turn the water on gary all right we're getting about full on our drain line here so if you find a leak like this this is nine times out of 10 because you forgot to glue it because this is a pretty significant leak so check this out i pushed on it and it's moving so it definitely was forgot to be glued so that's just something that happens when you do your testing so all you got to do is drain your water out and we're going to
have to re-glue that now that i got that leak fixed as you can see we are topped off here so we're gonna let this sit overnight and let the air sit in the pressure lines overnight and see what they look like in the morning all right so air has been sitting in these pressure lines for about 18 hours so let's take a look here what we got and we are still at a hundred psi awesome got lucky no leaks no typically you don't have any problems with pressure lines this drain line so let's go check
out our water situation over here here's our laundry room outlet box now and let's see what we got awesome looks like we held water fine just had that one leak i had to fix and i am good to go now something i wanted to mention is after you put air in those pressure lines initially just listen out for any hissing sounds or if you notice a pressure dropping pretty quick and then go through and check all your joints or try to locate that hissing sound because that's probably an air leak so if you don't have
any of those things then you let it sit overnight and then check but if you came back in the morning and it's leaked down half pressure or more or even less if it's leaked down any pressure really just go through with soapy water and check each joint and as soon as that water hits that joint it's going to start bubbling up very noticeable all right guys that's all i wanted to show you be sure to subscribe check out my amazon store for anything that was mentioned in this video and i'll see you in the next
video have a good one i'll put a link into this amazon store where i'll seal off all recommended installed i'll put a link in that might leak this up and um i'm gonna so after everything's capped off in your shower place i like to perform the pressure test is in the kitchen it's just a nice convenient area for the inspector to come i'm here so at this point i got every drain this laundry room washing machine sink drain [Music]