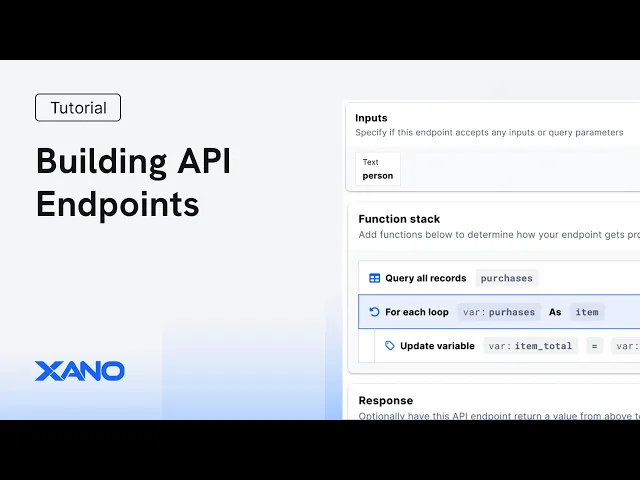
Hey everybody, it's Chris from Zano and today I'm going to talk about what an API is and how you can build API endpoints inside of Zano. So first very quickly we will dive into what an API endpoint even is. When you're building an application and Zano is the backend for your application, your front end which is your website or your mobile application, whatever your users are actually interacting with, it doesn't just call Zano and say, "Hey Zano, I want to do this thing.
" thing and Zano says, "Here you go. " It it kind of does at a very high level, but it does get a little bit more specific than that. Your app is actually calling specific API endpoints inside of Zano.
Your API endpoints can be anything from logging in to signing up to updating or getting data, creating new data. Basically, any task that your application needs to perform will typically have a separate API endpoint. API endpoints have several different components to them.
The first is the method or verb. You will see that term used interchangeably. These can be get, post, patch, put, or delete.
There are other verbs available, but these are the five that you will typically be building in Zano. Get is typically used to retrieve data. Post is used to add new data.
Patch is used to update data selectively, such as only updating the email in a user record. Put replaces the entire record with a new version and delete is there to delete data. When your application makes an API request, this consists of two separate sections.
The first is your headers, which is just information that this API actually needs to run and to understand the request that's being made. This could include things like authentication information or information about the type of data being sent just to tell your Zano backend, hey, I'm sending text or I'm sending an image, things like that. Your request will include a request body or parameters.
Now, these are kind of the same thing in the sense that they all encapsulate the inputs that are being sent to the API, but the format is different depending on the verb that your API is using. So for parameters, it might look something like this. You have your API URL and we're sending a request to the delete endpoint and then we have a question mark in the URL and we can see we're specifying a record ID of one.
So that would be something that you would typically see for a get or a delete. For a request body, these are formatted in JSON. If you need an explainer on what JSON is, we'll link that in the description as well as right here in the video so you can take a look at that.
The request body will look something like this. A request body would typically be used for a post or a put or a patch endpoint. Now once the request is made and the API is sending a response, this is also split into two separate sections.
The first is again headers and the response headers will contain information like a unique response ID, information about where the response is coming from like an IP address or information about the user's device or the browser that they are using. The response will contain the data that the API responds with. This could be file data or text, but it's most often going to be represented as JSON, very similar to the request body that we just took a look at.
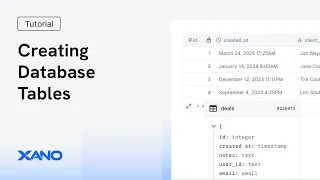
Your front end, which is your website or application, will then take that JSON and present it in a way that the user expects. When you're working in Zano, you are given the opportunity to create these endpoints automatically to get you started very quickly. The first place you'll be able to do that is when you are adding new database tables.
So, if we go to create a new table here, we'll just call this my new table. We go to our APIs and we look at the API group that we created those endpoints in. Here are our new API endpoints for that table.
We have a git that retrieves all of the records. We have a post that adds new records, a delete to delete a single record. We have another git that will retrieve a single record.
And then we have a patch to selectively update data inside of existing records. If you did not choose to generate the default API endpoints when creating your table, you can still do so by clicking add API endpoint and choosing CRUD database operations. Choose your table and then choose the endpoint that you would like to create.
Zeno offers additional default API endpoints for you such as endpoints for authentication. This is for logging in, signing up and verifying an authenticated user's information. We have content upload API endpoints for uploading files.
And finally, we have an option for you to build an API endpoint from scratch. Let's go ahead and create a new API endpoint. We'll choose our verb from here.
I'm just going to leave this as get just for the sake of the demo. You can add a description and tags. This is just for you so you can visually get a quick understanding of what each of your API endpoints does as you're working in Zano.
And finally, we can choose whether or not authentication is enabled on this endpoint. We have a whole separate resource on authentication which we will link here in the video and down below in the description. But this is essentially going to determine whether or not this endpoint requires an authentication token from a loggedin user before that user can make a call to this endpoint.
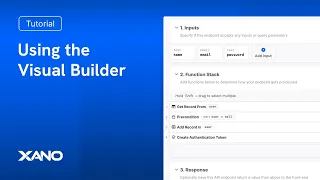
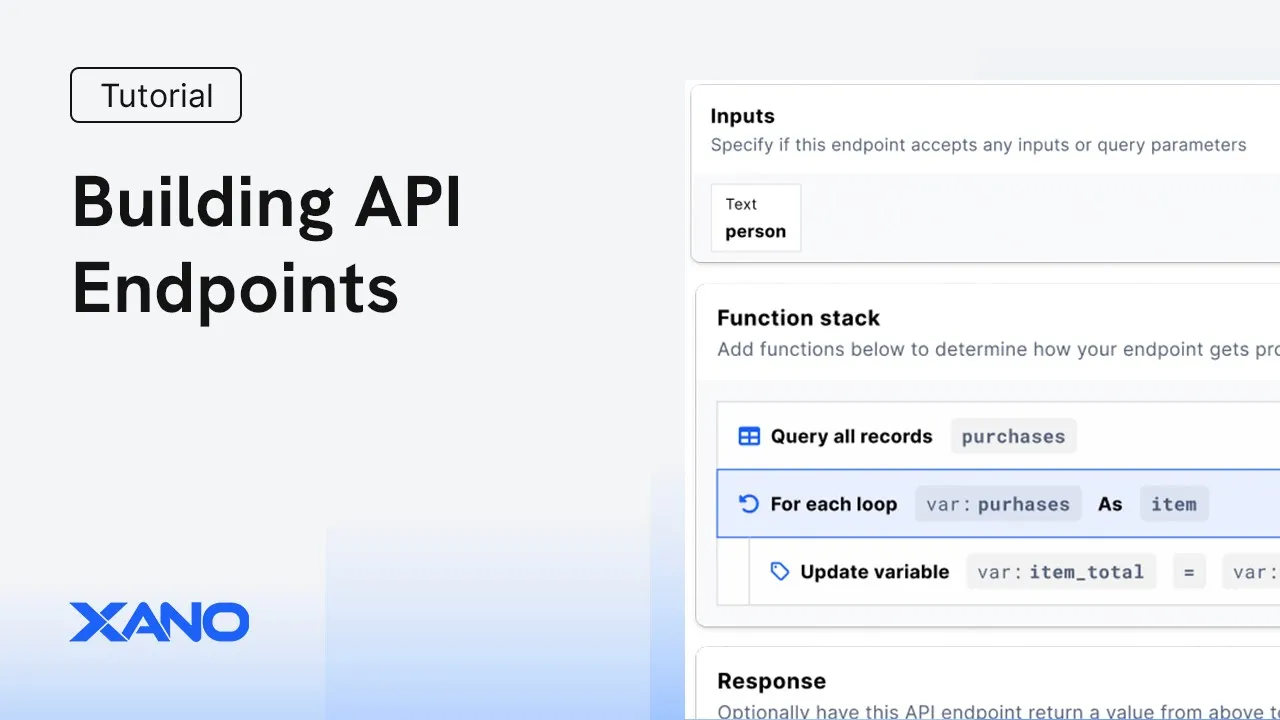
Your API endpoints in Zano are comprised of three separate sections. Your inputs are any data that this API endpoint needs to run. So, for example, if we were building a login endpoint, we would probably have a username input and then another input for a password.
If we were signing up a user, we would probably want something like their email address as well and maybe we would want their phone number. When you're creating an input, you have several different options available to choose from to configure how you want that input to behave. These are things like data structure.
So, does this input accept a single value or a list of values? Does this input have a default value? Does it allow nullable values?
And null is just a specific value that represents no data. You can choose whether or not this input is required or it contains sensitive data, which hides this field value from your request history. And you can add custom rules and filters such as enforcing minimum and maximum length.
We can click here to add a function to our function stack. For this example, we'll do something very basic. We are just going to add a record to our user table.
When you're using these database operations, Zano will try to look at your inputs and kind of determine what probably fits in each of these values. But you may need to tweak that a little bit yourself just based on what you're building. Once we've built our function stack, we can move on to the response.
And the response is the information that this API endpoint returns once it has completed executing all of the logic in the function stack. When you're just getting started building APIs in Zano, it will autopop populate the first step that you put in your function stack in the response as long as that step contains an output. So we can see Zano added our user one variable that the add record is outputting to in our response.
We can run this and see what the result looks like. So, we've received a success and in our response, we can see the data from that record that we just added. And we can go over to our database and we can also see that reflected here.
As you saw a little bit earlier, when you're building APIs in Zeno, you can test them by clicking run here. You'll provide your inputs if they're required, and when you're ready, just click run, and you can see the result. You can see here we're getting an error that the record we're trying to add already exists.
So all we'd have to do is change something in our inputs here. Our email is being checked at the database table level to ensure uniqueness. So if we just change that, we can run it again and a new record is added.
If you are running into issues or you just want to dive a little bit deeper into what each step is doing, you can activate the debugger. And the debugger will allow you to stop, restart, or step through each function in your function stack. And you can view the outputs of all of your variables as they change throughout execution.
If you need to roll back any changes, you can do so from here. We'll click on this latest change here. You can page through each change to see what was modified and roll back to exactly where you need.
And when you're ready to push your changes live, so API calls to this endpoint will respond with what you have built here. We just click publish and we're done. There are some additional settings here when you're building API endpoints.
If you want to modify the name, the description, the verb, if you want to add tags, APIs will maintain request history. Typically, uh you have a couple of options here to either disable, enable that, or inherit settings at the workspace level. So that is defined over here in your dashboard.
If we go to the branch defaults, you can choose whether or not request history is retained for your APIs and how much of it is retained. This is really good for troubleshooting. If you have a user that comes to you and says, "Hey, I ran into an error.
Can you look into it and see what's up? " You can go back and look at their request history. Take that request history, run it yourself, and step through that with the debugger to see what happened.
The last thing that I want to show you before we wrap up, again, this is just a very high-level overview. There are additional concepts that you're probably going to want to look into as you continue to build in Zano, but this should get you started for today. I want to talk about custom functions really quickly.
Custom functions are just like APIs, but they are reusable across multiple APIs. So, the process is largely the same to create them. The structure is the same.
So, you have inputs, your function stack, and your response. But the cool thing is we can go to our APIs or even to other custom functions and we can add that custom function. So if we have logic that we want to reuse in multiple places, we just put it in a custom function and then we only have to maintain it in that function.
But any changes we make will immediately populate to all of the other function stacks where we are calling it. That can be super handy, especially when you're just starting out and you know that you're building things that you're going to reuse. You can get the URL for this API endpoint by clicking here.
Let's go ahead and send a request to our API endpoint. And we can see that test data returned right here. If we make a change to this API endpoint, such as nesting the response under another key, we'll just call this my test data and publish our changes.
And we make the same request again. We can see that my test data key right there. So all we had to do was make that super quick change, publish our changes, and they are immediately live when the endpoint is called outside of Zano.
That's just a super highle overview of how building API endpoints works in Zano. If you have any questions, please let us know down in the comments below. You can also reach out to us via support chat inside of Zeno or on the Zeno community.
There are a lot of other resources that you can dive into as you continue your building journey, but we hope that these introduction videos will get you started right away. Thanks so much for watching and we'll see you in the next one.