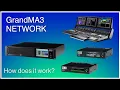
Hi, and welcome back to the Event Lighting Channel! Welcome back to our GrandMA3 tutorial series, where we try all kinds of different things on the GrandMA3 console and the GrandMA3 system. This tutorial is all about networking this time.
Sorry about the break we had on the channel; it's been a while since I uploaded a video last time. But sometimes life happens, and there’s a lot of work and stuff that needs to be done. So now we're back, and we're going to look at networking GrandMA3 equipment into a network so we can take advantage of what GrandMA3 is really, really good at: networking, expanding your system, connecting multiple consoles, and running OnPC into your system, along with all kinds of stuff that has a lot of benefits.
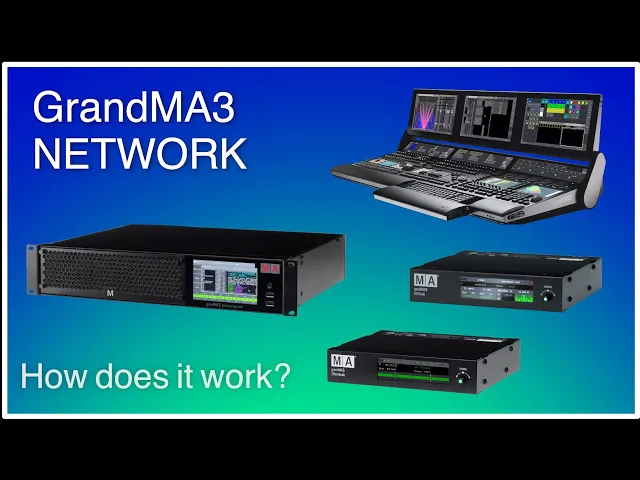
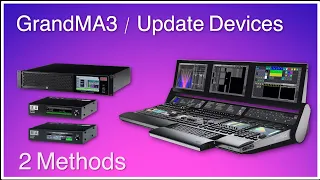
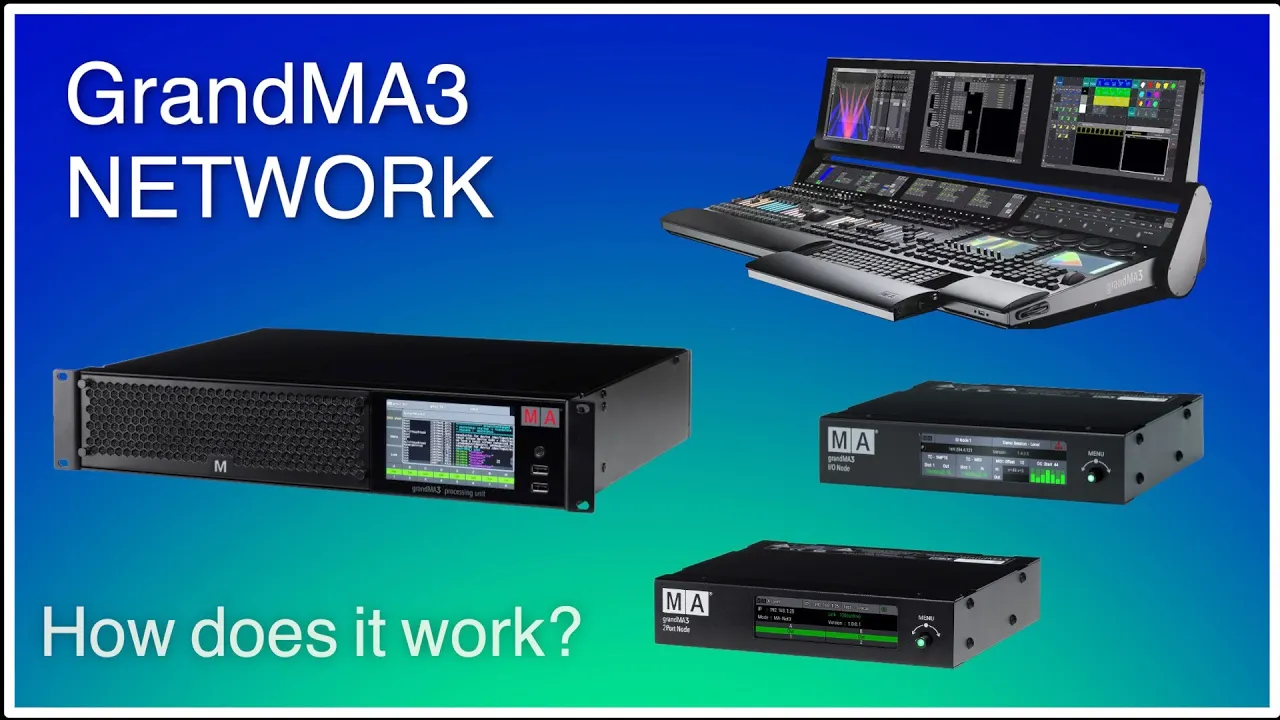
Today, I'm just going to show you how to connect an OnPC to a real console. We have a GrandMA3 light over here, I have a 2-port node, which we're going to connect as well, and I have a processing unit. I also have an input/output node, which is like a new timecode thing that you can use if you are running a studio, tour production, or something else.
But this is what today's tutorial is all about, so let’s just get into it. Let's start over here. We want to make our network.
Today, we have a switch, a Luminex switch, over here and some different equipment. We need to connect everything together, and I'm going to show you how to do that. But the first thing you want to do when you work with networking is to make absolutely sure that you have full control over your IP addresses.
If you don't have control over your IP addresses, something is going to go wrong because you have the option of having an IP conflict, and you don't want that. So, you want to make sure that you have different addresses for everything. Now, let's look at the Excel sheet over here.
As you can see, I have my switch at the . 1 address, I have my light planned out to be at 192. 168.
1. 11, my processing unit at . 21, my network node at .
31, and my OnPC, which I'm working on right now, is at . 41. The reason why I leave a gap between everything here is that if I have another GrandMA3 console, I would give that the address of .
12. If I have another processing unit, I would give that the address of . 22, so all my GrandMA3 consoles are next to each other, all my processing units are next to each other, and so on.
This just helps you remember better because sometimes, if you're running festivals and larger systems, you may have to introduce guests into your network. You want to make absolutely sure that the address you give them is actually not occupied by something else because that's going to get you into a lot of trouble, I promise you. So, let’s start by taking a look at the OnPC right here.
We go into the settings, we go into networking, and you can see my OnPC is just alone on the network. We have a session running, but there are no other stations in the session. If we go over here, you can see the real console.
I set up a small camera here so you can see what I'm doing. I'm just going to press the menu button and go into the network settings here because we want to make sure that we set up the correct IP address. You can see up here there's no cable connected, but this is where you set your IP address.
If you press and hold this one, it's going to open up this box where you can see the different addresses. You have three different connectors on the back of any GrandMA3 console, or the larger ones anyway, and we want to change it. You can also go up to my interfaces up here; it's going to give you the same box.
Keeping the lights on here in my small little studio is definitely not free, and that’s why I am really proud to present you today's sponsor for this episode: Martin Professional. We are going to talk a little bit about the XIP. You can see it back here.
The MAC XIP is an outdoor-capable washlight with zero compromise to indoor use. It's innovative; its smart indoor/outdoor proofing technology makes the MAC Aura XIP fully waterproof for weather conditions such as rain, snow, sand, and ice, with close to zero impact on the fixture size, weight, output, noise, and aesthetics. This makes it a truly versatile workhorse that can avoid indoor-only and outdoor-only labels.
The MAC XIP is lightweight, compact, and silent enough for most demanding indoor applications such as theater, television, and corporate events. It also integrates a robust and waterproof design for festivals, concerts, and other outdoor events. So, thank you, Martin, for sponsoring this episode, and let’s continue with our tutorial.
And as far as I remember, you can go down here somewhere; if you kill the session, you can switch which different connector you want to connect your GrandMA3 NET to. But let's just go up to my interface, and you can see this one is 192. 168.
3. 11. If we go back into our Excel sheet over here, you can see I want it at a different address.
So, if I press and hold this box here, it's going to open up a small little numeric keypad. Here, you can say backspace, and we wanted a . 1, .
11. We say please, and it's going to give you a warning. We're just going to say keep it anyway, and you can see right now the IP address changed up here, but we haven't connected the console yet, which we are going to do right now.
So, we just apply the change here, and you can see down here, the address is. . .
Changed its right down here, which means it's not connected to anything. So let's just put in a cable. Here we are on the back of the console; you can see our three different connectors here.
Let's just take number one, put in our cable here, and we go over and connect it to the switch on the other side. So here we are on the other side, and we have our switch. We just plug it into the same network, and this should connect it to the same network with the right IP address.
Now let's go over and have a look at the console over here. So now you can see our session. We had our on PC running here.
Just to explain sessions, we have the option of running different sessions on the GrandMA3 Network. You can see my session down here; if I just close the session, I can change it to anything, any name I want. Right now, I just call it "Network Tutorial.
" This is session number one, and the cool thing about sessions is that on the same network—everything is networked together—you can have two or more shows running that are completely separate from each other. It's only sharing the same network. If you run like a double stage or something, you can have all your processing units or your network nodes connected to one session.
Then, when it's time for the other stage to play, you can move the nodes to the other session, and you can connect different consoles to different sessions. But basically, everything in the same session is going to be the same show. So again, if you run multiple sessions, you have multiple shows—multiple completely separate show files on the same network.
It's pretty cool, and it's actually really simple. Right now, we just keep the "Network Tutorial. " We create the session again, and you can see this line goes green up here.
Before we change the IP address of the GrandMA3 light over here, you can see it's now introduced itself on the network. It's not connected yet because it's not green like this one down here. And the only thing you need to do if you want to invite this station into our network is to say "invite station.
" You can see it's warning us that your station has a higher priority. That means that if I connect this one over here and this one has a higher priority, this one will be the master. What is the master and not the master in the show is really important on different levels.
For instance, if you're using Art-Net, Art-Net only comes out of the master console. So you have to be aware all the time of which station is your master station. That's really important.
In this case, we can just cancel this and say, "How would we change that? " You can see the GrandMA3 light; the priority over here is high, while our on PC is normal. If you want to change it, you can simply just close it down here and go down to see which priority you want this station to have.
It's different for all stations, and this basically only applies if you connect multiple consoles. If you have like two or three different consoles at your front house doing a massive show, you want to make sure which one is the master and which one is going to be the master if the first one drops off the network and stuff like that. It gives you security in running your show, and it's quite simple.
In this case, we're just going to keep this station at normal, which means if the master console at some point goes off the network, the on PC is going to take over and be the master until this station comes back. So let's just create our session again; this should be green up here. We take the GrandMA3 light and say "invite station.
" We ignore the warning, and this should connect our GrandMA3 light to our network. Now it's going to give us a warning. You can see the countdown here; it's going to cancel in a minute.
If you want to stop this countdown—and this goes for everything in GrandMA3—you simply just click it, and it's going to stop the countdown. You can see the connecting side has new timestamps, and its effective data is seven presets. There are seven changes; in this case, we don't really care; we're just going to keep the master data, which is the console over here.
So we click the master data, and everything is connected. If you go back into the network, you can see we now have the console and the on PC on the same system. But we also have the network node, the option of a network node, and a processing unit.
So let's try to connect that into our system as well. Now let's go over here; we have our network node. You notice immediately that the IP address up here is wrong.
We need to change that to whatever we put in our Excel sheet. If we look in our Excel sheet, you can see the network node is going to be 192. 168.
1. 31. So what you want to do is press the button here, go into our network, go into our interfaces, and go down to the IP address down here, which is the wrong one.
Press this one and just set the right one. I'm just going to speed up the video just a little bit because it takes a little time to set IP addresses in this system here. So just a second.
Now we set the IP address; we go down to please down here, if we can find it, and we say apply changes. That should change our network settings. If we go all the way out, you can see.
. . Right now, it says "no cable," so let's just put a cable into the system and make sure that everything is up and running.
So here we are on the back of the network node. We take our small network cable and plug it in here, and we go back to the other side to put it into the switch. So here we are on the switch; let's just plug it into the network system right here.
We go all the way up here and see if there are any changes, and there aren't right now. Yeah, you can see the IP address popped up, but it's not connected to our network just yet. We need to go back to our system to connect to the entire network.
So here we are back at the OnPC system. Let's just see what popped up in our network settings. We go into Network, and you can see the OnPC Port 2 Port node popped up here, and you can see the IP address, and the IP address is correct.
So let's just invite this station as we did with the console. You can see it connects to the session; it's connected, and it turned green, which means everything is up and running, and we can continue connecting our processing unit right over here. So here we are at our Processing Unit.
You can see it's starting up right now, and what we want to do with our processing unit is basically the same thing as we did with our small network node. We want to connect it to the network, and first of all, we want to make sure that it's on the right IP address. In this case, we want it at 192.
168. 1. 21.
And let's see, you can see the IP address up here; it's completely wrong; it's a different address. So what we want to do now is click this little icon up here, which is the network settings, and we go into the IP up here, press and hold it, and simply backspace a little bit. We set it to 1.
21 like this, and we say "please. " Now, as you can see over here, the IP address has changed to 1. 21, and we need to connect a cable to it just as we did at the network node.
So let's just go to the back of the processing unit. Here we are on the back of the processing unit, and the only thing we need to do here is to plug in a cable like this. We go to the other side and connect it to the switch.
So here we are back on the other side. We simply want to connect this one into our system, and you can see the network activity starts running up here. Everything is connected, and we need to go back to our OnPC or to our console and connect this to our system.
So here we are back on the OnPC system. It doesn't matter where you connect everything as long as you're running the same session. It doesn't matter if you connect the other units to your OnPC or to your console; it does the same thing—it's the same session.
But here on the OnPC, we simply press the settings, go into Network, and you can see the processing unit turned up here. Same thing as before; we simply just invite the station. It's going to send all the show data to the station.
It has a computer inside and is going to share the workload of your show with the processing unit. The more processing units you add to your network, the more power your system has because everything on a GrandMA3 is always real-time. So when you push your button, everything happens instantly.
That's basically what the processing units are doing for your network or for your system; it's keeping everything real-time. This is probably the reason why the really large shows use GrandMA3 or GrandMA2 for that matter. It works the same way.
If you have a very large quantity of lights, it keeps everything real-time; there's no delay, nothing happens if you run your network—everything works as expected. This is basically how you connect different items, processing units, and nodes into your system as long as you're using MA3. The cool thing about this is if you go into the session, sorry, into the settings, and into your connector, you can see all your different items up here.
You can simply say, "Okay, on my GrandMA3 Lite, I'm right now outputting Universe one, two, three, four, five, six, seven. . .
" or five, six. Anyway, this is an input, but down here you can say, "Okay, I'll just continue here with the even," and you can say, "I want this to be eight," and so on and so forth. You can configure the outputs to whatever you want.
Let's just, for the fun of it, as the last thing, connect an input/output node into our system. Right now, we don't have any input/output node up here, so we can simply just make another one. We say I/O node, we call it 192.
168. 1. , let's just say 51, and we go back over here and power up our node.
Make sure it has the correct IP address. You can see now the node is powered up. What we want to do is go in once again, as we did last time.
We want to go in and set the correct IP address before we connect it to the network, so we configure the interface. We go all the way down here and change this address to 192. 168.
1. 51. Once again, I'm just going to speed up the video a little bit to make sure that you don’t have to wait for me scrolling through all these numbers.
We've done that, and we can go all the way down to… please, down here, and we can say "please," and we can apply our settings. Changes, and we can actually exit all these settings here, and we go all the way back. You can see it's red up here, which means it's not connected to anything.
I'll just plug in my network down here, as we did the last time you saw. The last time, it's going to change to the IP address up here, and it's going to be still red because we haven't invited it into our session. So, let's go do that.
Once again, it's like every other time: you go into the network settings, and you will see the I/O node pop up here. We simply check the IP address, and the IP address is correct compared to what we want to do. We simply invite the station, and it should be connecting into our system.
So, this is a very quick run-through of the network settings you have on GrandMA3. I hope you enjoyed this episode, and of course, you are more than welcome to ask questions down in the comment section. I hope you enjoyed this episode, and I hope I'll see you next time on the event lighting channel.
So, until I see you next time, I hope you have some happy GrandMA3 programming moments out there. See you later - bye!