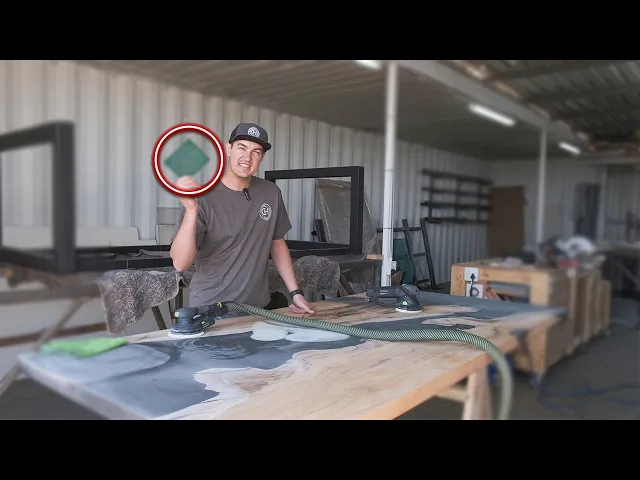
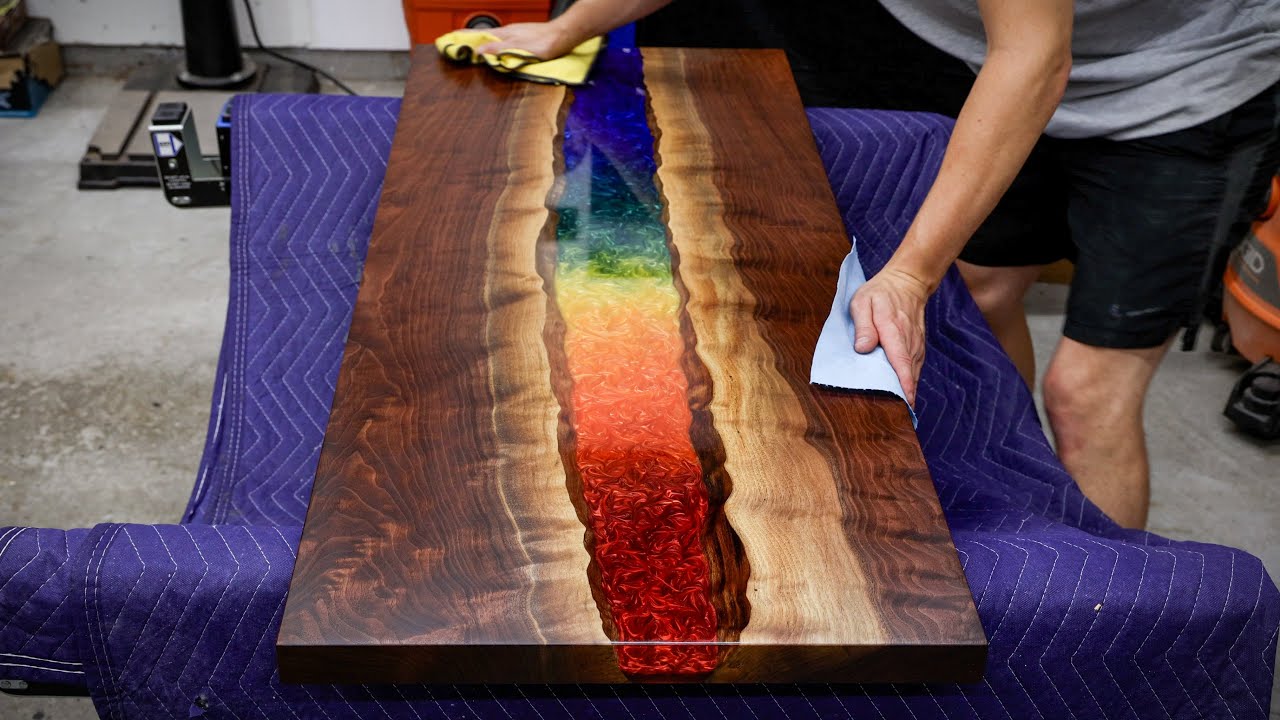
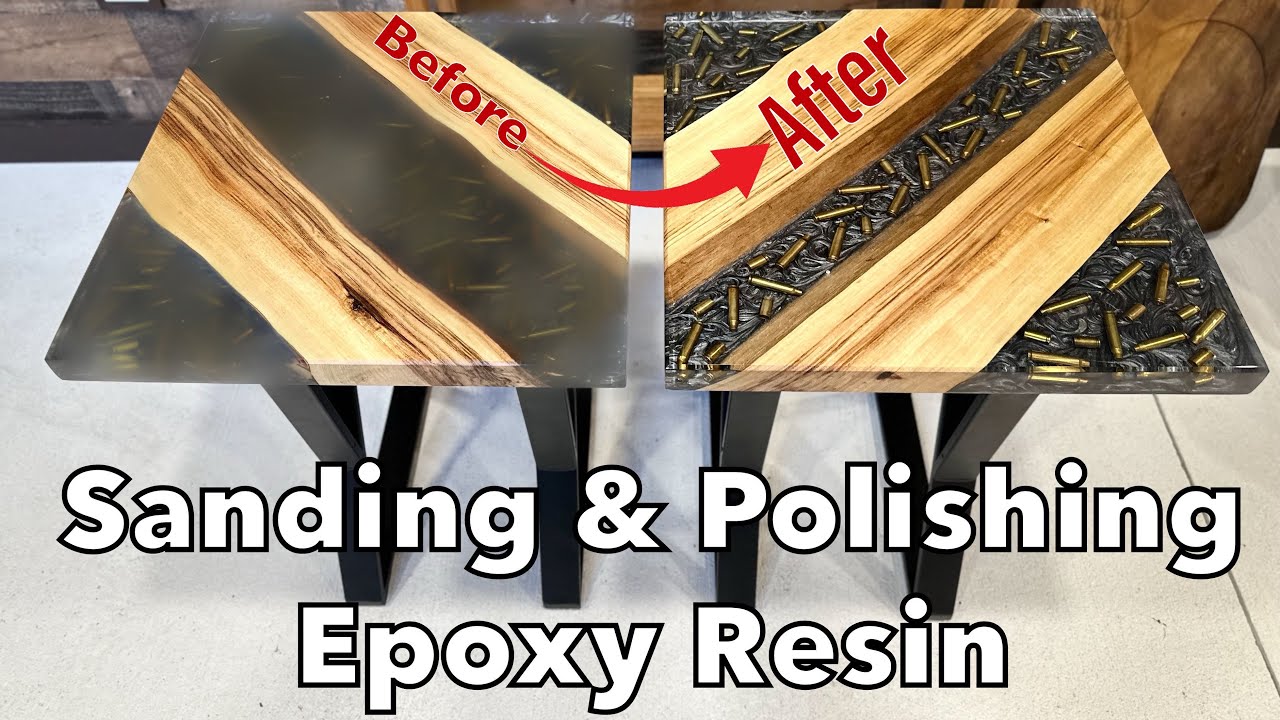
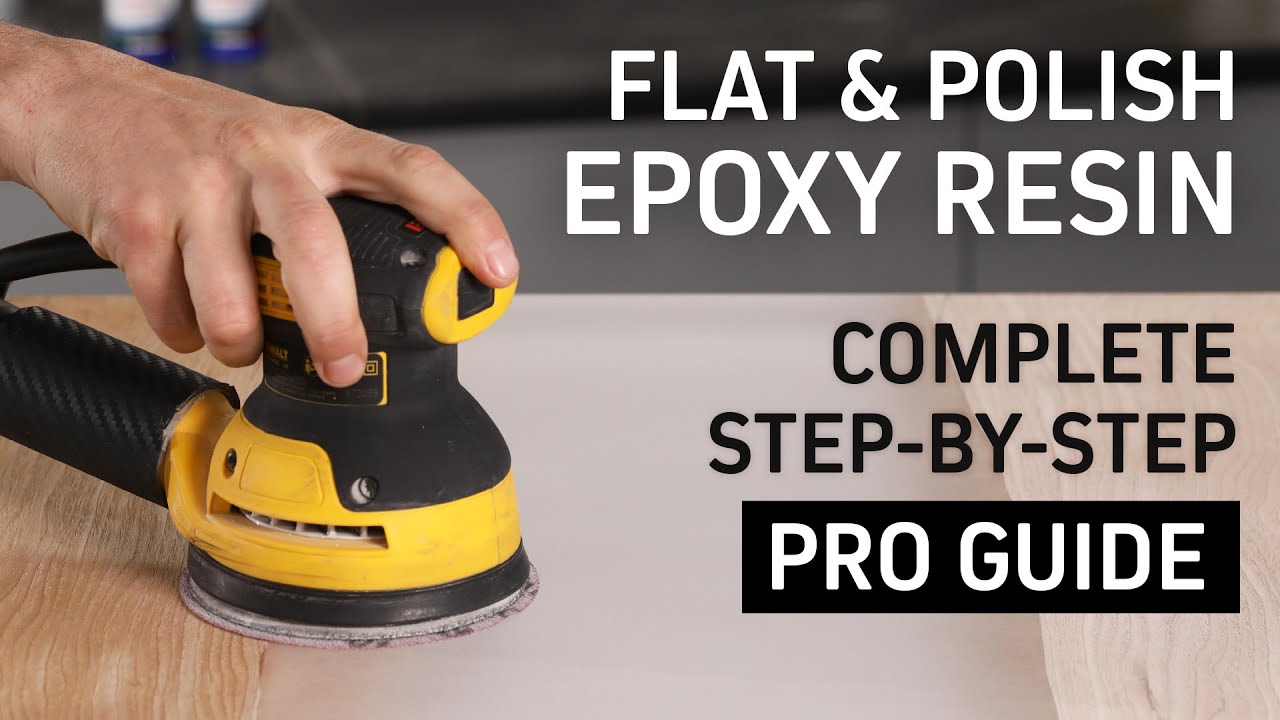
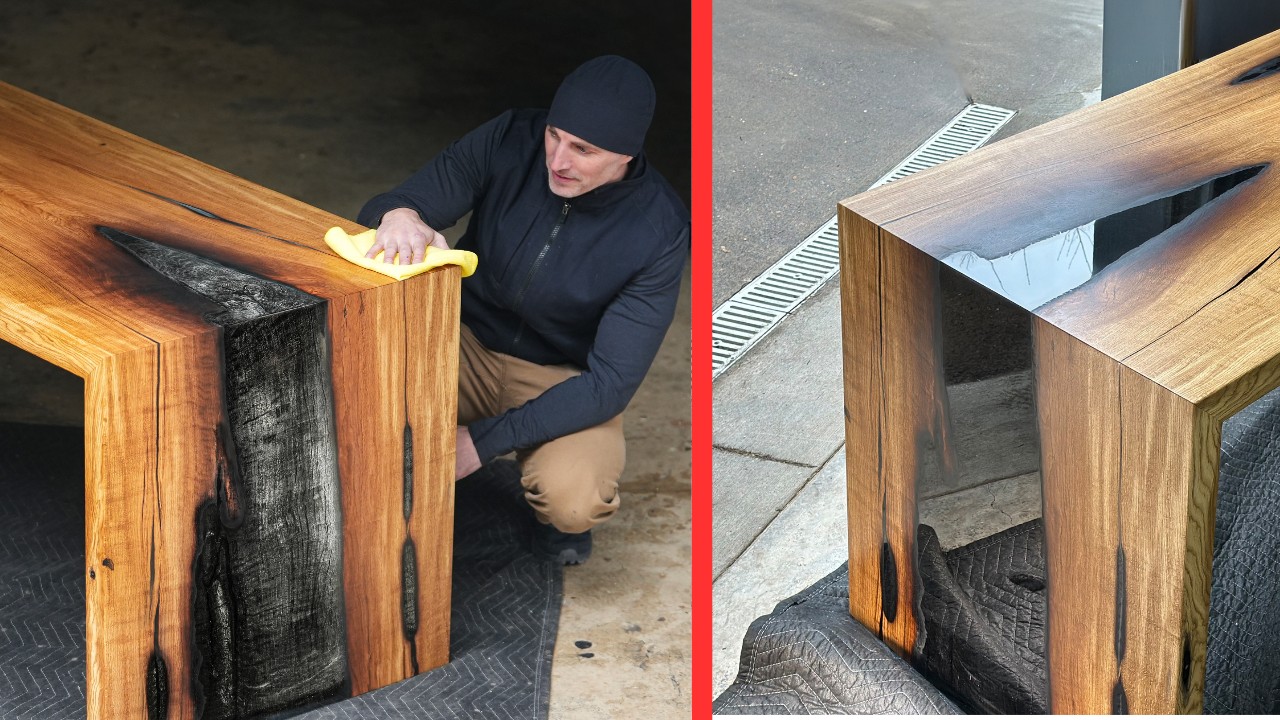
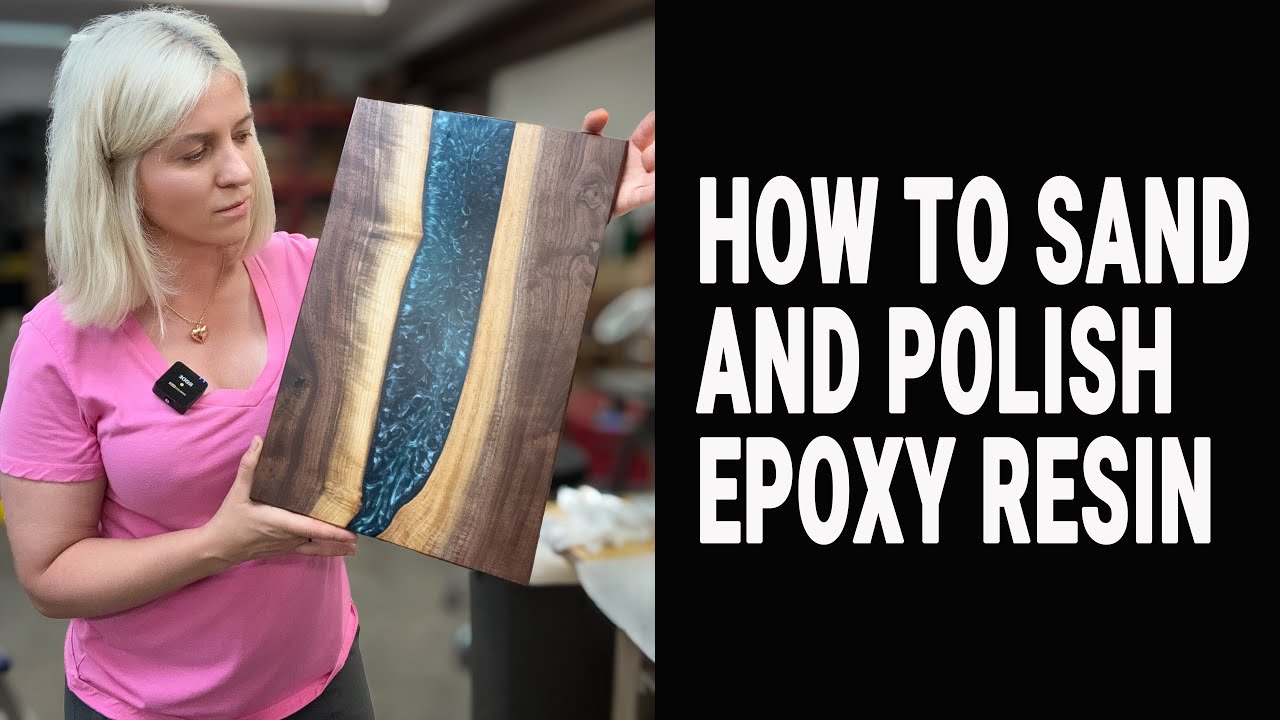
so in today's project i'm going to show you exactly our sanding techniques and methods to get a perfect finish for all our tables let's go hey what's up everyone my name is greg and welcome back to the channel in today's project i'm going to show you exactly how we send all our epoxy projects and how we get the perfect finish for all our tables we've got an absolutely beautiful river in front of us which i'm going to do some demonstrations now before we start you need to understand that there's two different types of epoxy finishes
the first finish is a high gloss see-through finish which is basically like a glass that you can see through which i will not be demonstrating today that video i will be doing separately when we are going to do a table that requires that specification now for this project i am going to show you the second finish which is a semi see-through finish which is smoky and solid color epoxy also requires the same techniques i'm going to show you today on this beautiful table now you need to understand that we are using two different sanders when
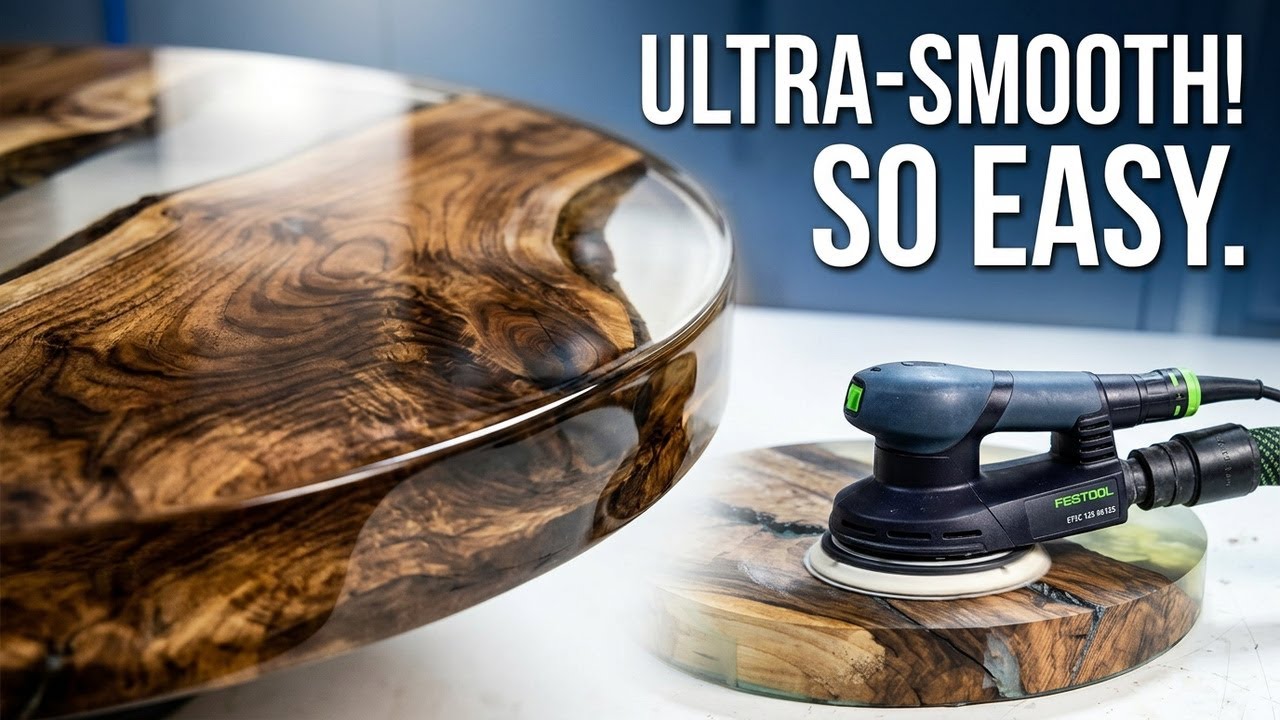
it comes to sanding out epoxy tables now we like to start with the festool rotex machine if you didn't know the rotex machine has got two different settings it's got the rotex setting which is a very aggressive sanding setting and then you get your normal orbital sander setting now if you manually flatten your slab or if you have your own cnc machine or like in our case we like using a supplier that's flattening all our slabs for us if you get your slab back into your shop so the cnc machine or the router sled obviously
made a lot of lines on your table while it was flattening the table now when you get your table back into your shop we like to start with the festool rotex machine on the rotex setting with the 80 grit sandpaper and applying a medium to hard pressure to our machine so once we are done with our 80 grit sandpaper then we move to our finishing sander now believe me this is the most critical part in getting the perfect finish for your tables believe me i have went through a lot of tables where i struggled to
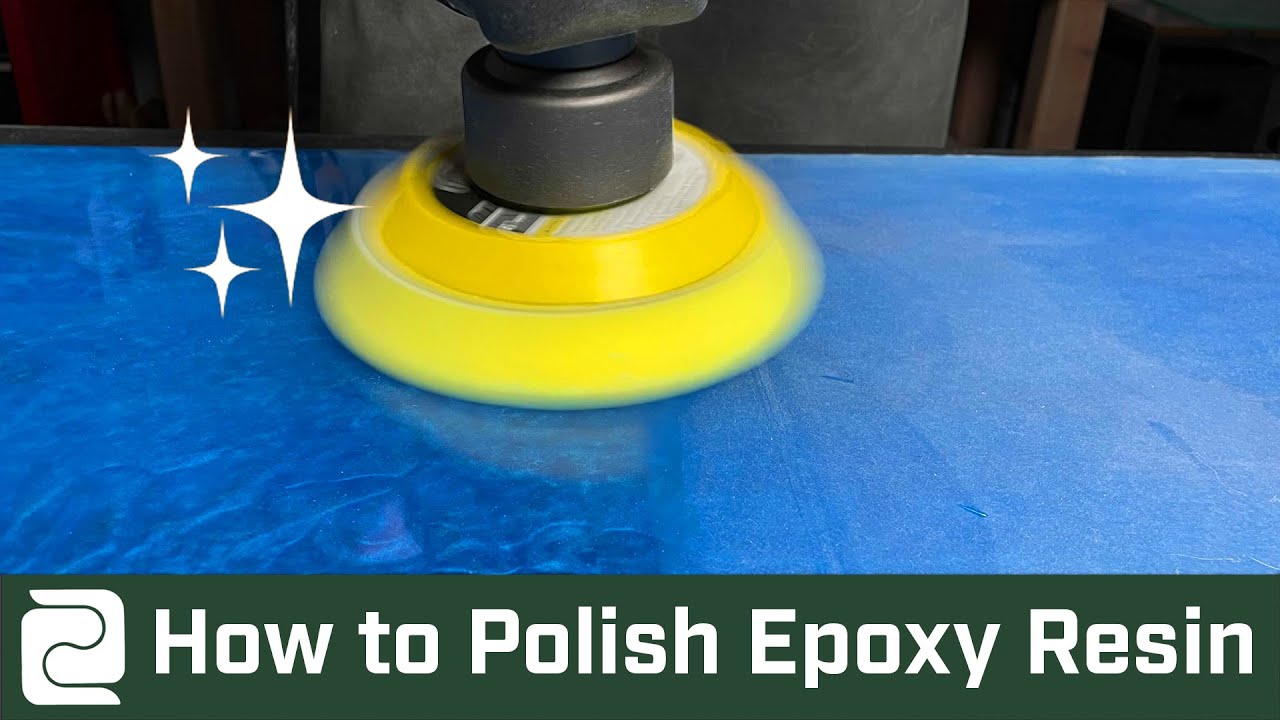
get the perfect finish you need to invest in a finishing sander now we like using the festool ets 5 it's a very stable sanding machine it's got a very stable shaft and overall this will definitely be a big start for you in getting the perfect finish for all your tables now we are done sanding with the 80 grit then we are moving to 120 grit sandpaper so when you're starting sanding with 120 grit you need to apply medium amount of pressure to your machine and a massive tip i want to give you in helping you
to remove swirl marks is when you start sanding do not put your machine on your epoxy and start your sander because when you're going to start to sand the machine obviously starting and there's not really any balance in your hand when you start sanding even when you are done sanding don't stop on the epoxy this is the way we like using it we will start on the wood section of our epoxy table then we will move our machine to the epoxy section when we are done we will move it back to the wood section that's
very critical in getting the perfect finish now also a big tip i want to share with you if you're going to start to sand your table don't sand the wood and the epoxy together start with the epoxy sections i'm going to show you exactly how you do that but start with the epoxy sections when that step is done then you do the wood section of your table now it's going to look something like this you're going to start on the wood and then you're going to move to the epoxy section once you're done you're going
to bring it back to the hood and then you're going to stop your machine so that's the method you need to use all the time when you start sanding from 120 grit now when you move to 220 grit sandpaper you can apply medium to soft amount of pressure when you are moving to 320 grit you can apply soft amount of pressure and from 400 grit onwards you need to apply no pressure at all on your sanding machine that is very critical it's going to look something like this i'm literally only going to hold my hand
there to keep the machine stable there's literally no pressure on the machine at all so that's very critical in sanding your epoxy tables and the underside of your table we normally finish to about 320 grit and the top side of your table we normally finish about between 400 and 800 grit it depends on the table and the requirements of the client so when you start sending your epoxy we like sanding in sections so we would for instance take a section not all section we will take this section and it's basically going to look something like
this we're going to go in vertical lines and then we're going in horizontal lines and then we are finishing in a circular motion i did make a video a few weeks ago on sanding tips you might want to go and check that out i am going to leave a link somewhere here where you can go and check out you will definitely pick up some tips from there but it's going to look something like this [Music] going vertical once your vertical is done obviously not this fast then you're going horizontal and then when you're done you're
going in a circular motion [Applause] and then so that's basically the direction you need to send in and another big big tip i want to share with you and a definite must to get the perfect finish and this is where you need to have a lot of patience and this is why we take so long with these tables is when you start sanding i would say from 220 grit oh you think this is going to be funny but this is the this is the way to get the perfect finish so say for instance we're going
to start the sandia with a 220 grit we're going to sand for roughly about 15 to 20 seconds then we are going to stop say for instance i sanded this for about 20 seconds i'm stopping now then you need to clean this with your arrows then you need to wipe it with a cloth very critical you need to air hose the bottom side of your sander also the small little particles the epoxy make is clogging up underneath your sander and that's causing swirl marks so you need to clean every 15 to 20 seconds you need
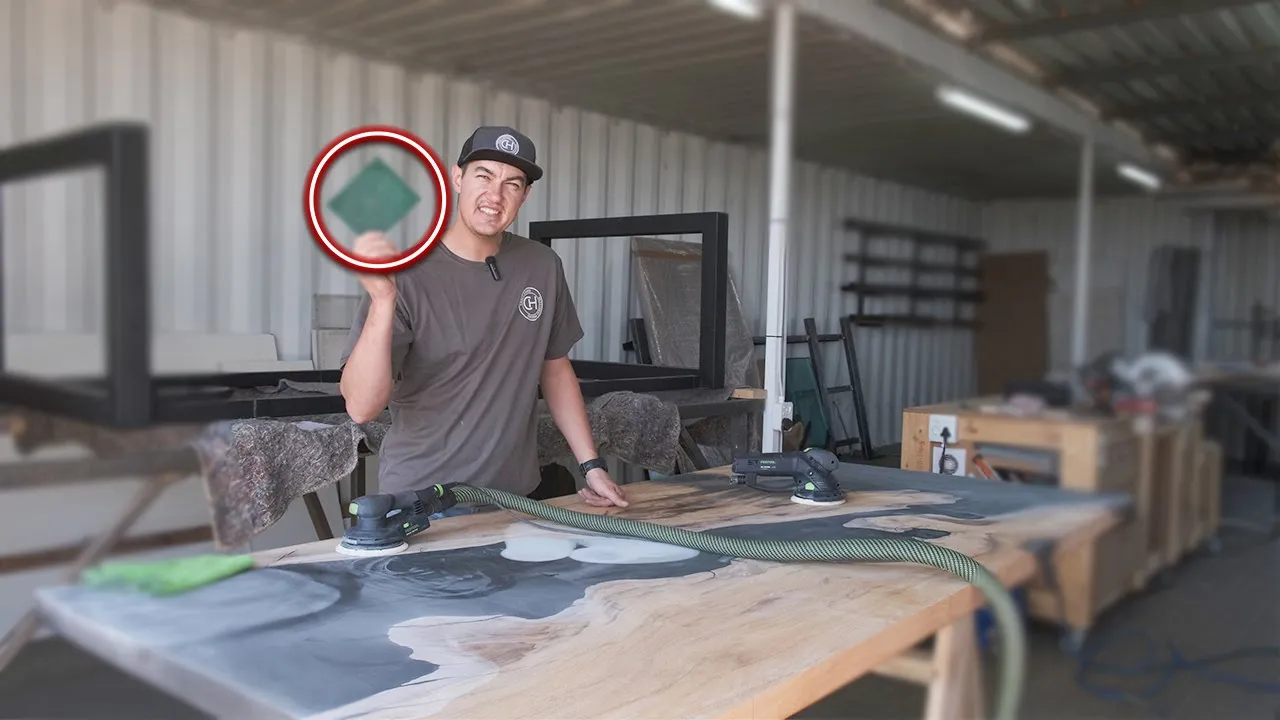
to clean your machine and that's going to help you to give you the perfect finish for all your epoxy projects so hopefully i covered all no wait there's one more thing i want to show you and this is a trade secret and you will not believe me let me just look for for that thing i've got it here so a massive massive straight secret when you are done sending your last grid say for instance 400 or 600 to 800 grit finish with a scorch pad yes this is the magic trick to get the perfect finish
first of all it's got a little bit of cushion and i would say it's roughly about the same as a 700 or 800 grit sandpaper because it's so cushiony it's not going to give you that swirl mark so yes this is our trade secret and this is going to help you to remove swirl marks from your table and that's basically how we send all our tables if you have any questions please leave me a comment down below ask me anything you need we are not perfect we are also learning as we go but we've got
some really exciting news i want to share with you the last 365 days i have literally documented every single step we take in building our tables putting everything on paper going into intense detail of how we build our tables this document is finished and our website will be going live within the next two weeks where i will be putting this document up for you to download where i will be sharing all my knowledge and all our experience it's like the sixth score that paused here the last five minutes oh my gosh anyway um where was
i yes website okay cool we are busy with the website and we will most probably go live within the next two weeks where i will be putting up the document for you to download there will obviously be a small fee i mean it's literally all our experience and our knowledge going into intense detail it's not a two-pager or summary i think we are standing on 17 pages now where we are going into detail and well we'll be sharing all my knowledge and you can literally in the flick of a switch i have every single thing
i know about building these tables that literally took us years and years of research and building fails replacing tables going through all that stuff for you to download so yes that's exciting and i'm going to stop this video now so thank you for watching make sure before you go you like this video subscribe and i'll see you next week for the next project thanks guys cheers