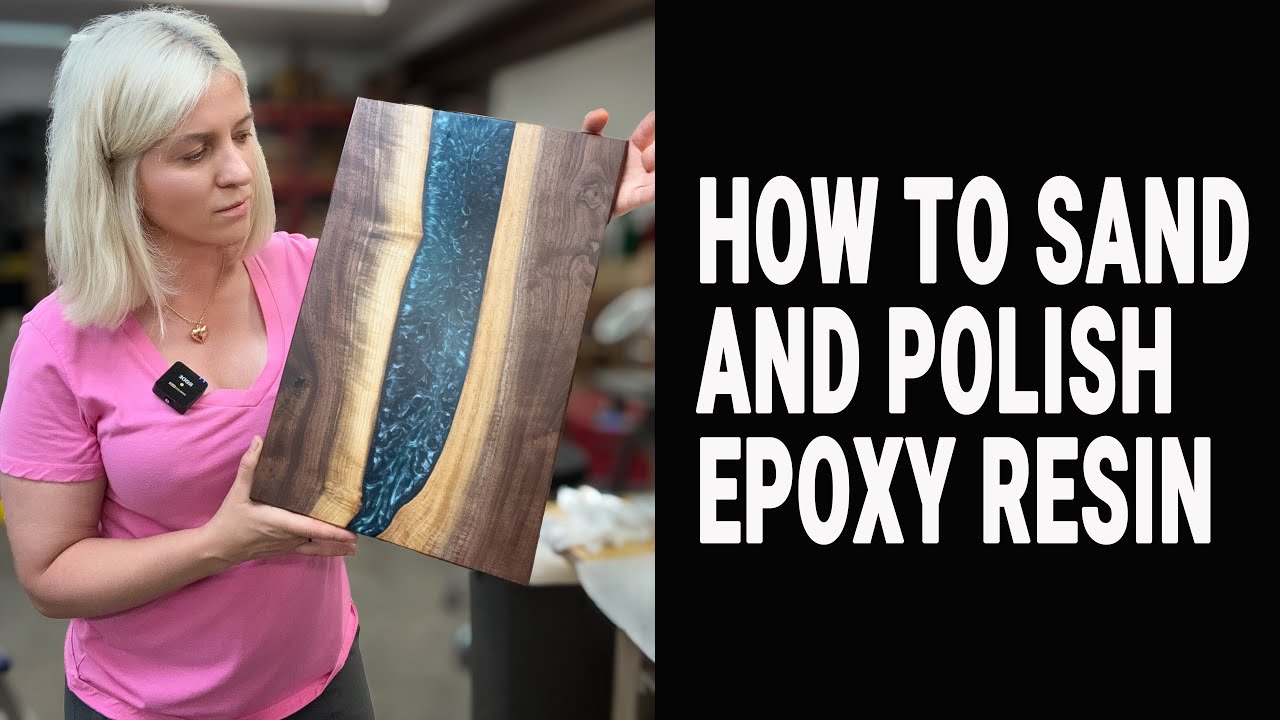
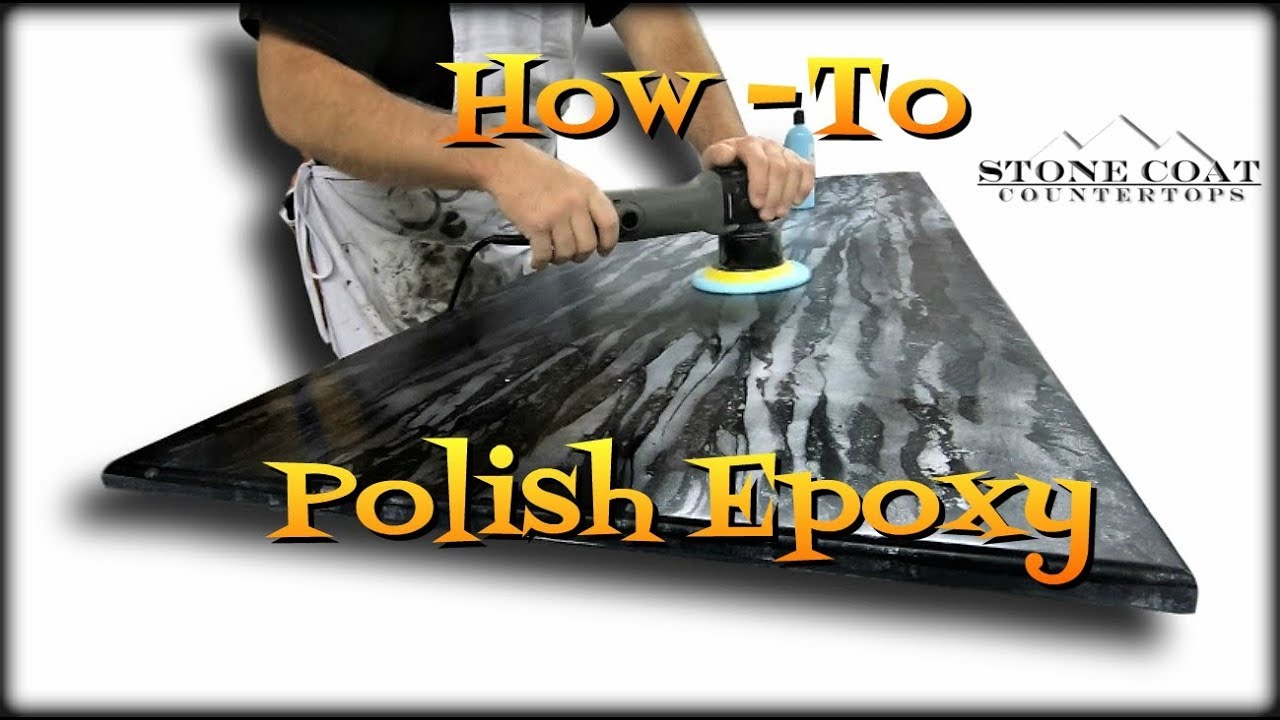
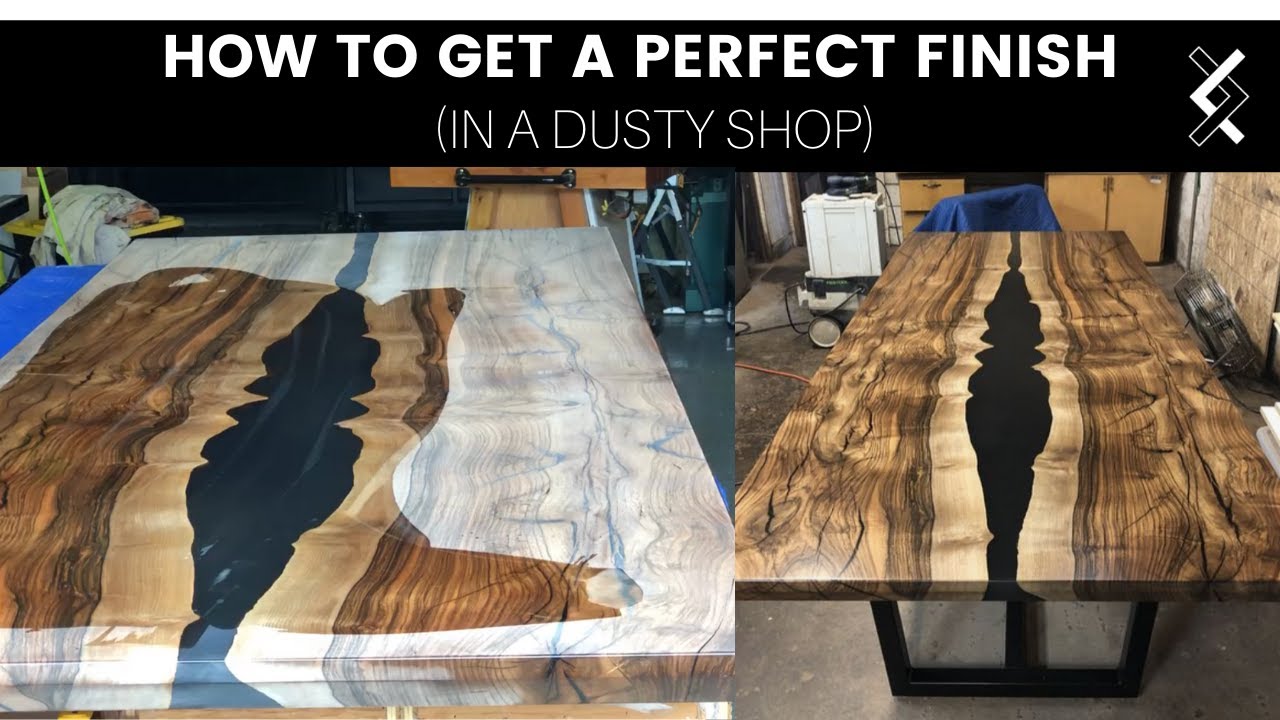
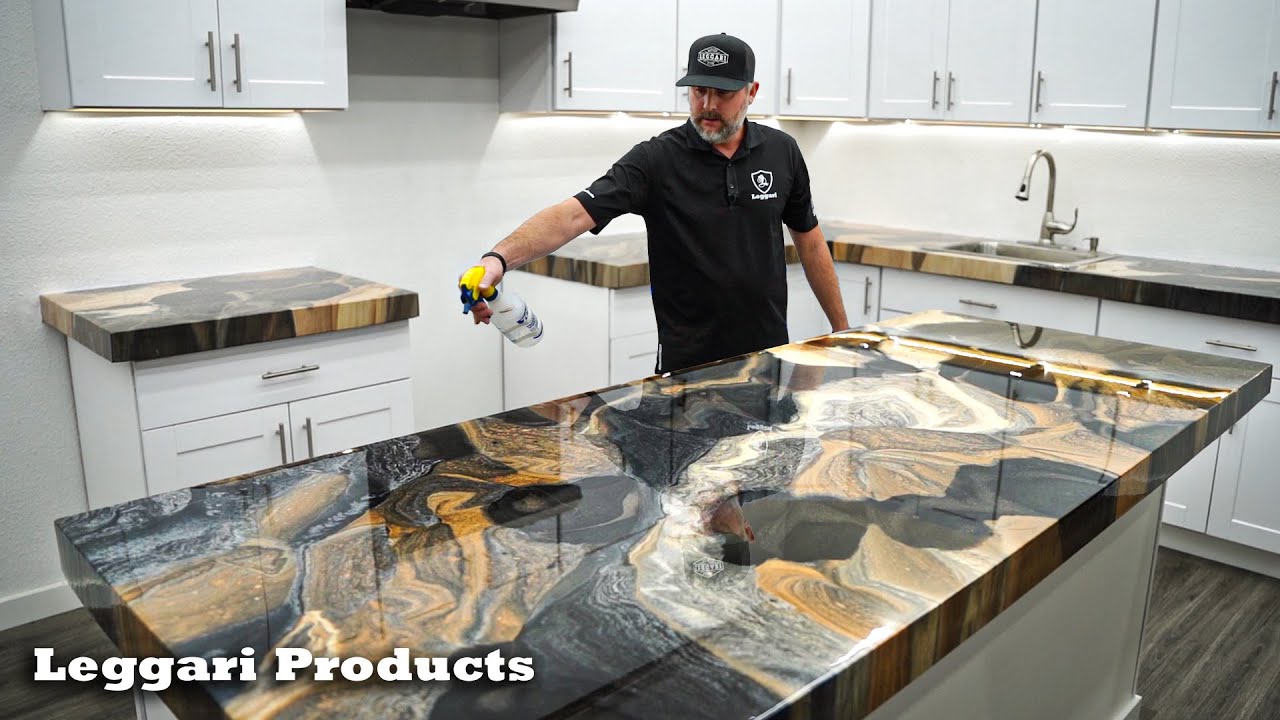
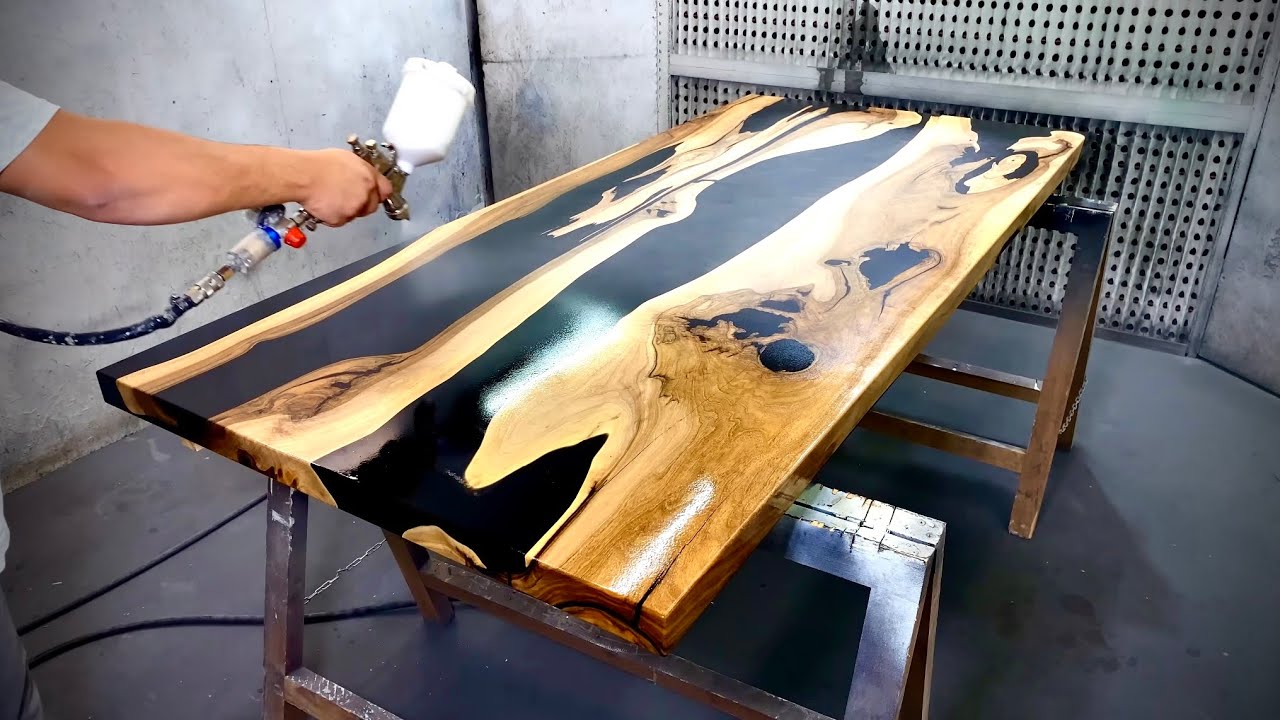
Hey I'm Kyle from GlassCast and today I'm going to be going through the entire process of how to flat and polish epoxy to a mirror like finish. Flatting and polishing just about anything takes patience, the right tools and a little bit of skill. But polishing epoxy, simply because of how tough it is, is particularly hard.
And I know how many people struggle with it just by how many customers we speak to in our technical support, and so in this video I'm going to be taking you through the whole process step-by-step. We'll be looking at the tools, the materials and the technique to overcome classic problems like a dull finish or that shiny finish that still shows swirls and scratches. Whether you're trying to get that perfect finish on a river table, a countertop, a casting or a jewellery piece the information in this video is for you.
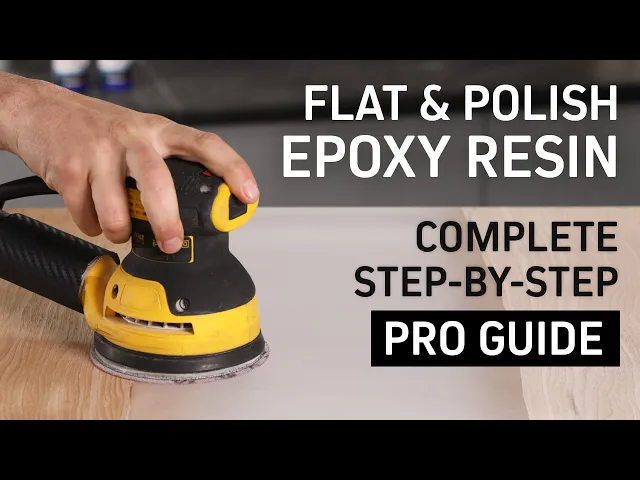
I'll be starting from a rough machine part just like this and begin sanding with a 120 grit abrasive, then progressively work through the grades right the way up to 1200 before moving on to buffing with a polishing compound and along the way I'm going to be showing you loads of tips and tricks to help you get over your problems and transform your results. But before we begin let's first take a look at the tools and materials that we're going to need. So in this process we are going to be doing a lot of sanding and unless your project is very small like a jewellery piece, an orbital sander is going to save you a huge amount of time.
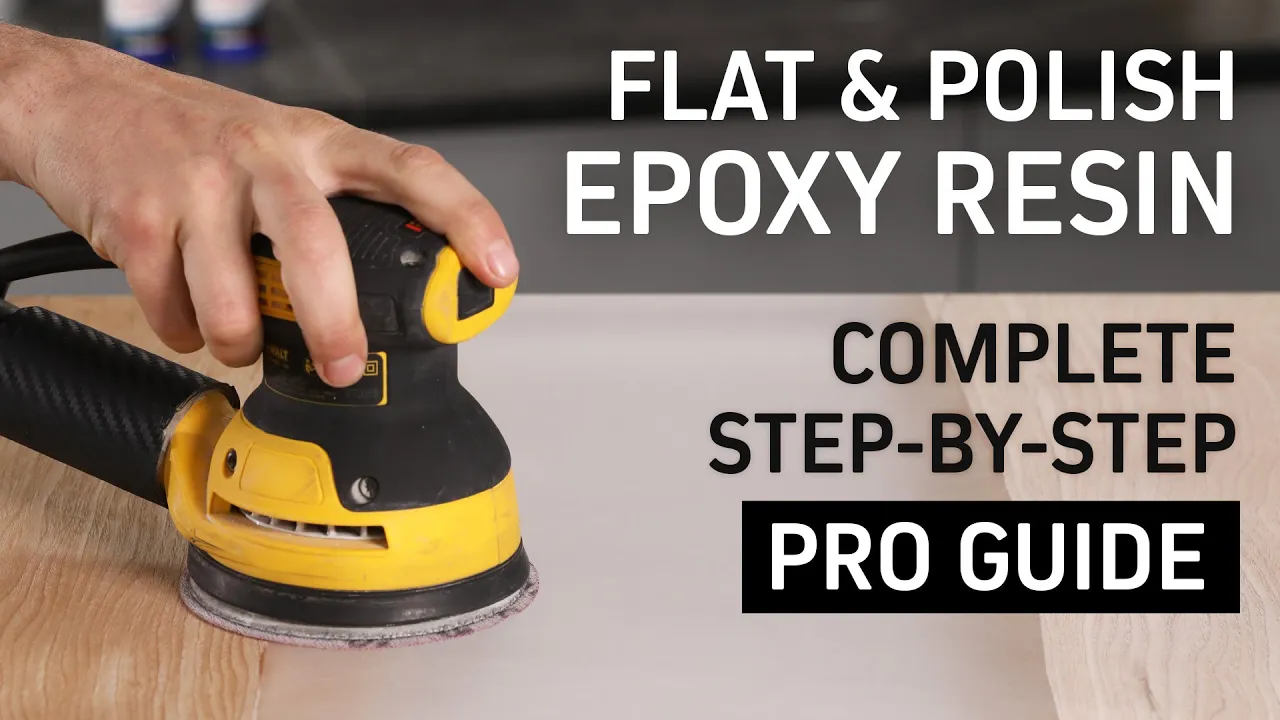
Random orbital sanders often referred to as DAs generally come in two different sizes, 125mm and 150mm. In both cases sanding discs are attached to the machine using this hook and loop interface, meaning that if they are the right size most pads will fit most machines. Both of these machines are more than capable of getting you perfect results and are going to be far more effective than hand sanding.
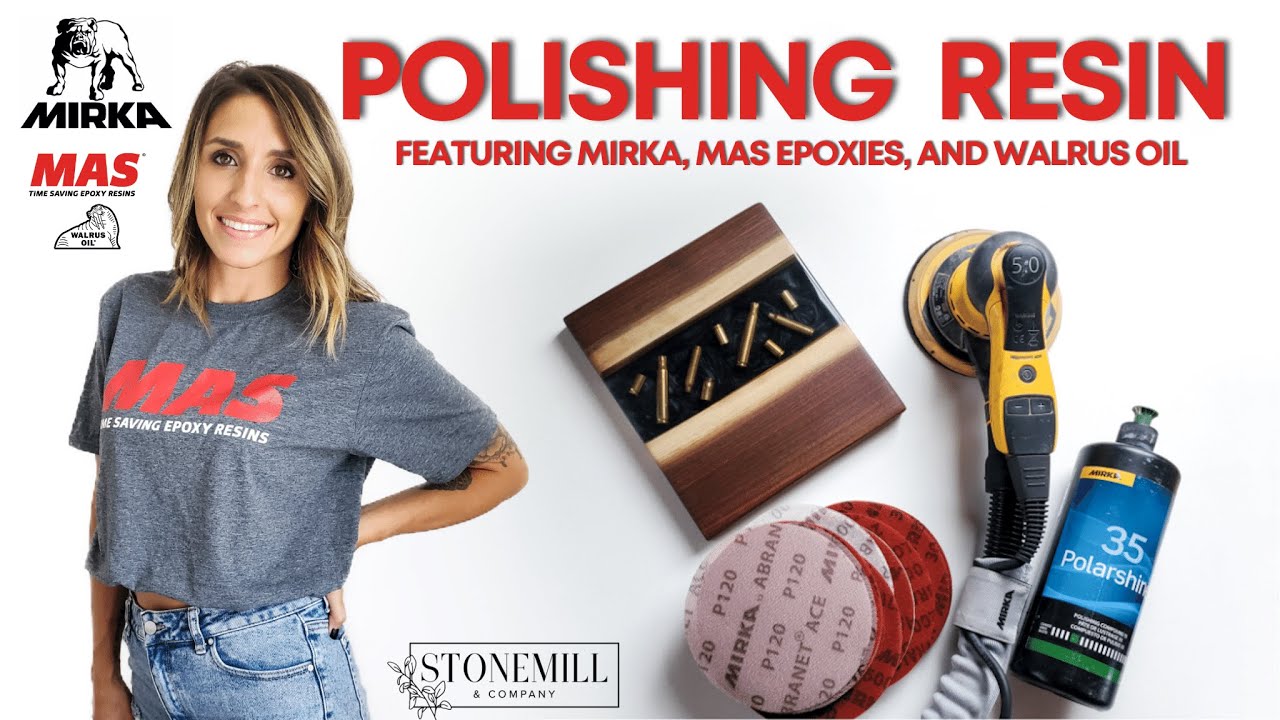
In terms of features the ability to connect both of these machines to dust extraction is incredibly useful, and allows you to sand almost completely dust free. Throughout the video I am going to be using the Mirka sanding discs. These are the types of discs that you'll find in a lot of professional workshops and that is for a very good reason.
I'll be using the Abranet disc, as you can see these have a mesh construction which stops them from clogging. These are also the special ace versions of the disc which is specifically designed for hard materials just like epoxy. We'll use 120, 180 , 240, 400 and 800 grit in the Abranet before switching to Mirka Galaxy for the 1200 grit.
We then have a polishing machine for the compounding stage. Entry level polishes are fairly inexpensive the only features to look out for are variable speed control and a standard 150mm backing plate. With the polisher we'll be using a hard and a soft foam pad and these compounds.
Again the NW1 that we're using here is a special grade of compound that it is specifically designed for hard materials just like epoxy. I also have a marker pen and a spray bottle filled with water and I'll explain their use to you shortly. As well as the right tools and materials the other secret to achieving a perfect, mirror-like finish on your project is to follow a methodical process.
And I do hate to say but also spending a lot more time on each stage than you would otherwise imagine. Now you it might be tempting to skip a step or work faster through the process than I am, but if you do you'll just defeat the point of this tutorial. If you want the results follow these steps to the letter.
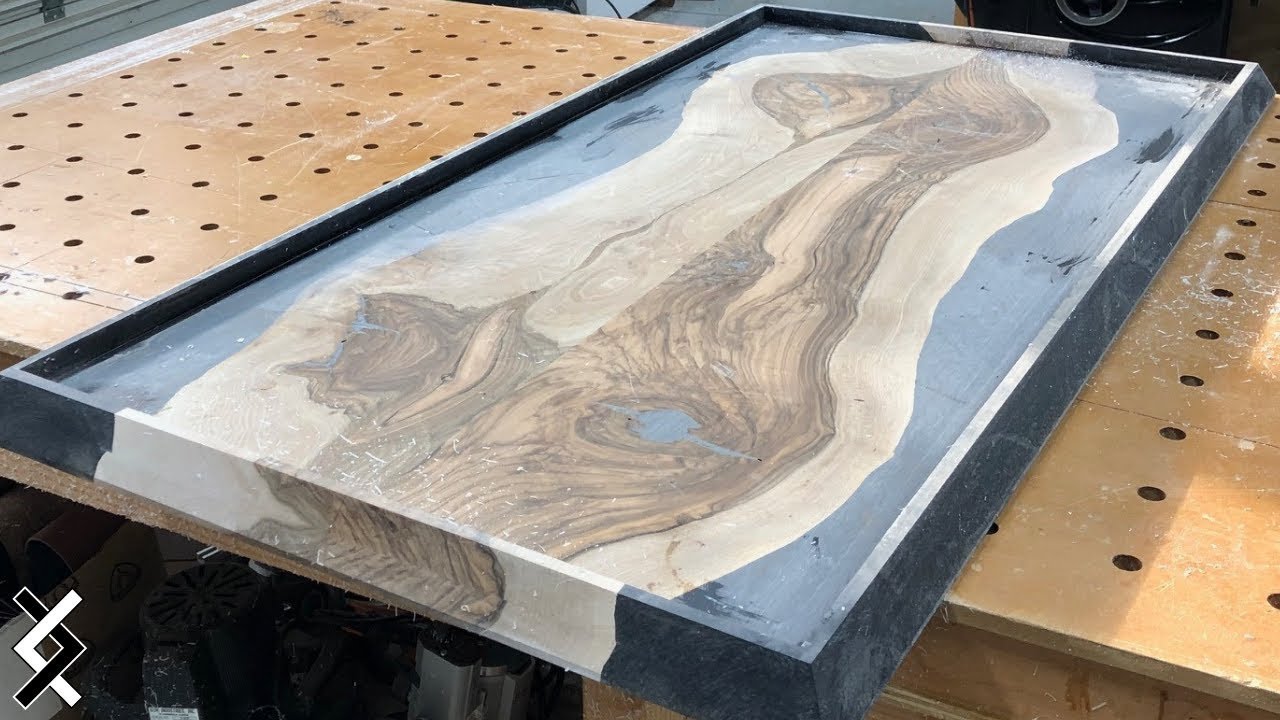
Right let's get started. So I've got here an example section of a river table, but as I said earlier the principles are exactly the same every time you need to flat and polish epoxy. The only thing that might change if how coarse you need to start.
In this case here we have coarse machine marks left by the router so we need to start right down at 120. But if you're just flatting out light scratches in an epoxy counter then you might want to start out at 800. To get these lines out I'm going to do at least 5 passes with the 120 grit.
For obvious reason I'm going to speed the footage up for each step but to give you an idea of timescales on this sample piece which is about 1/4 sqm each step is going to take around 10 minutes. Sanding from right to left, overlapping the previous line we will systematically sand the whole piece. Then we'll sand perpendicular to this direction to ensure that the whole area is evenly sanded.
We are going to call this right to left, top to bottom action a single pass and as I say, to ensure that we remove all of the lines left by the router we're going to do at least 5 passes. As you can see all of the lines have been completely removed and the surface is perfectly flat, so we're going to repeat this method of right to left, up to down several times for each grit, with the addition that in-between each pass we'll mist and wipe away any dust then draw on the epoxy with the marker pen. This will help to identify when each pass has removed enough material and it will help to keep the whole process methodical.
So onto the 180 grit. To make sure that we get rid of all of the scratches from the 120 grit we're going to do at least 5 passes with 180. You can see that I'm not only sanding the epoxy but also the wood sections too.
It is important that you do sand over the whole area on a project like this, otherwise you'll end up sanding a dip into the resin section. On the flip side of that, also be mindful that the wood will sand faster than the epoxy so you could move a little faster over the wood sections or apply a little less pressure on the wood. If you find that on any pass you're not removing the pen lines it means that you're not removing enough material.
This could be because you're either moving the sander too fast over the epoxy. Or that you need to apply a little more downward pressure to the sander. For the 240 again we'll do 5 passes which should be more than enough to remove the scratches from the previous grit.
Although the Abranet discs are incredible at not clogging they can still occasional clog. If you see swirly pigtails like this stop sanding immediately. Clean the pad by folding and rolling between your fingers.
If you were to proceed sanding with a clogged disc, you could undo all the work you've done with many of the previous grits. However, if your disc is excessively clogged it would be worth replacing it with a fresh one. Also on a point of how many discs you will need for this sample piece I've used one disc from each grit, but if you're working on a larger river table for example you can expect to use multiple discs from each grit.
Moving on now to 400 grit and for this step we are going to be doing 7 passes. The reason that we're doing 7 passes instead of 5 here is that we're technically missing out the 320g grit. However in my experience it isn't always necessary to include the 320 grit, and additional few passes with 400 should achieve the same results, saving you time and avoiding having to buy more sanding pads than necessary.
Before moving on to the next steps now is a really good time to inspect the surface. Between the coarser 240 and 400 grit it should be easy to identify if you've removed the deeper scratches from the previous grits. If you can still see large swirly scratches in the surface you may need to go back and repeat a step.
As I can't see any I'm going to move forward on to the 800 grit. Again while we are making a big step from 400 to 800, and while it's perfectly fine to double up on the grits, we'll do 7 passes to make sure all the scratches from the 400 are removed. Although we are doing 7 passes it is still taking me about 10 minutes to complete this step on this piece.
Now on to our finest grit, we're going to switch to our 1200 Mirka Galaxy. To help prevent clogging we are going to wet sand, so lightly mist with water in between each pass. Four passes should be more than enough to remove the scratches from the previous grit.
Also you'll notice that I'm not marking the resin for this step. That's because the ink and the water could mixing and unintentionally stain the wood. At this point before we do proceed polishing, if your project is a mix of both resin and wood, it's best to seal your wood to prevent it from being stained by the polishing compound.
On my sample piece I'll apply a couple of coats of Danish oil. So to recap at this point we've taken our epoxy surface from a machine finish right the way up to 1200 with the sander and abrasives. And if you've got the right polishing compound 1200 is as far as you need to go with the sander.
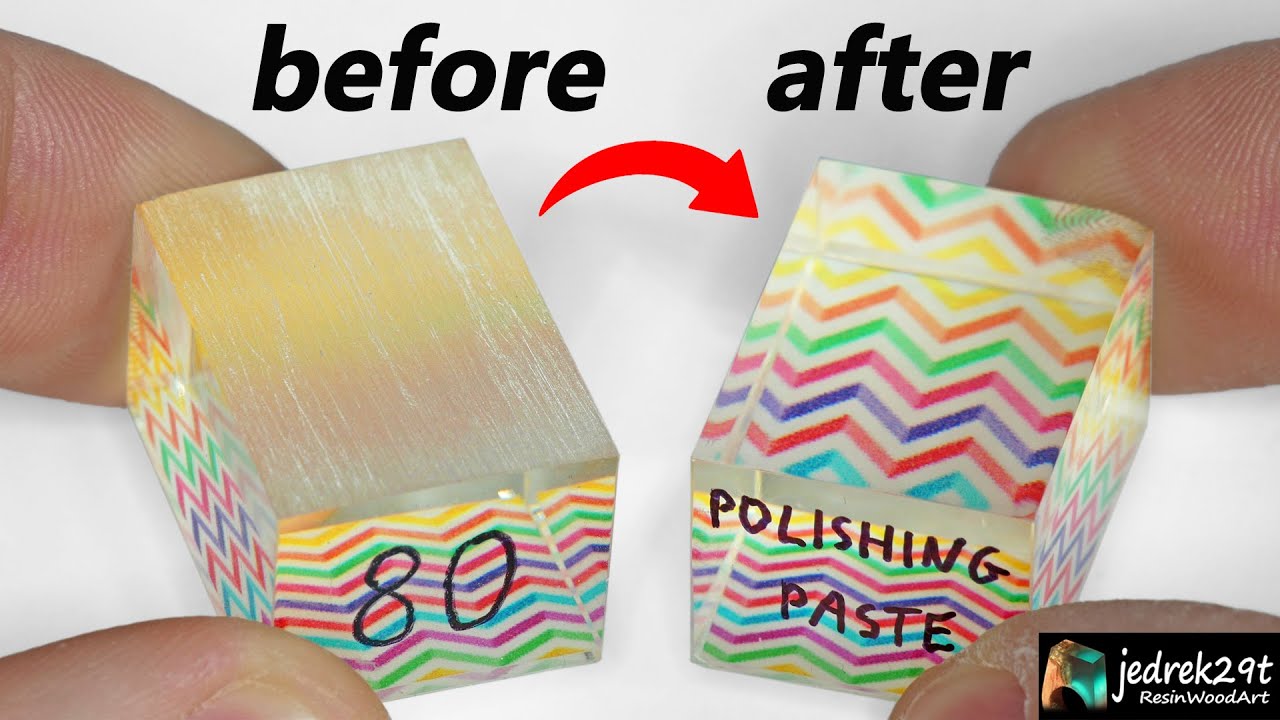
As I mentioned we're going to be using two polishing compounds, the NW1 and the TopFinish 2. The NW1 is specifically designed for hard plastics just like epoxy and is quite capable of going from a 1200 grit to a good level of gloss. The TopFinish 2 is optional but it will take that gloss to a mirror finish.
So we are going to being with the NW1 and for this coarser compound we're going to use the medium/hard pad. Begin by applying a small amount of the compound onto the surface and then spread this around with the pad. For this step we're going to be doing three passes.
I like to start off with the polisher on a slower setting while applying a bit of pressure to work the compound into the epoxy. NW1 is self diminishing meaning that the more it is worked the finer it gets. One thing to keep in mind is to avoid overheating the resin.
If you keep the polisher moving you should be fine. Being warm to the touch is okay but if it does feel hot then you should stop. Allow the epoxy and the pad to fully cool down before you proceed.
Once the compound has fully diminished I'll apply a little more and steadily increase the speed while being a little lighter with the pressure. As the NW1 is self diminishing every time that we add more compound we effectively start again from its most coarse state. So to correctly use it we need to make sure that for each pass we completely work the compound to diminish it down until it's so fine it has pretty much disappeared.
We'll wipe away any leftover residue from the NW1 before we proceed on to that final finish. For the TopFinish 2 we'll now switch to the soft pad. Same as before we'll apply a few blobs and spread this around with the pad.
Starting at our lowest speed with light pressure we'll again work the TopFinish 2 into the epoxy, then increasing the speed to buff. After the compound has completely disappeared we'll add a little bit more and repeat. Finally we'll wipe off any residue, buff it with a microfibre and reveal our perfectly polished epoxy.
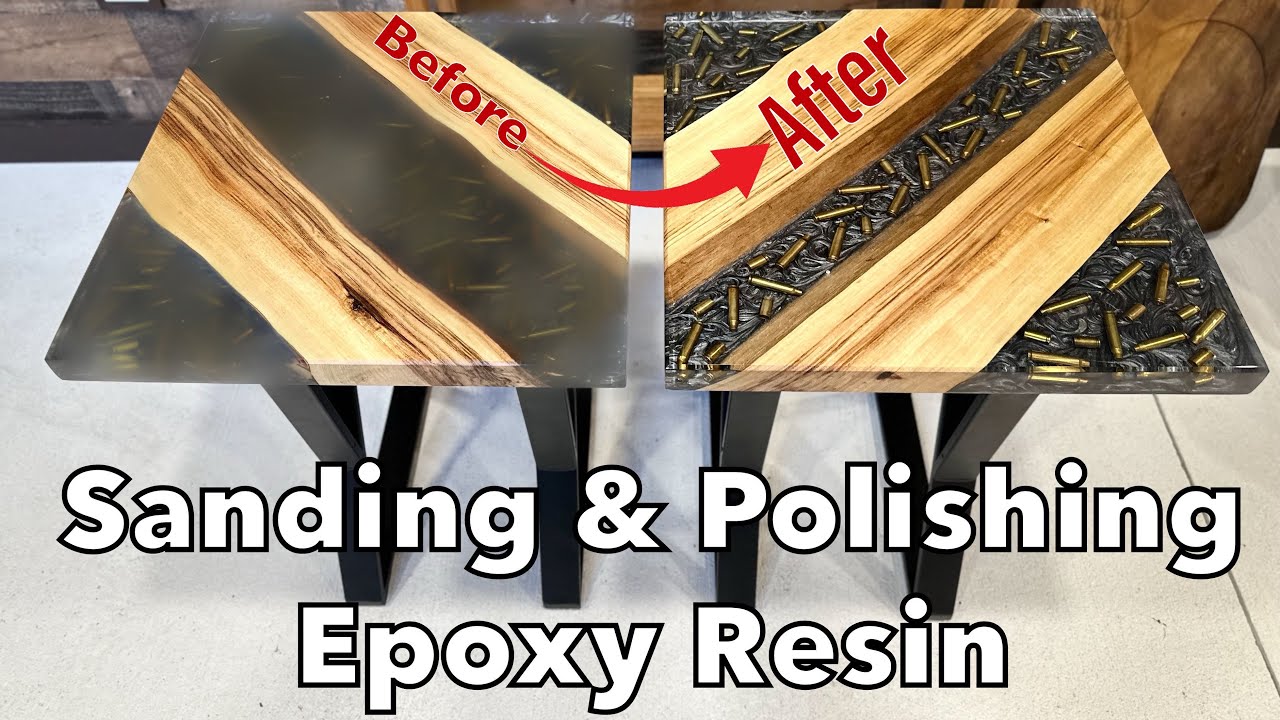
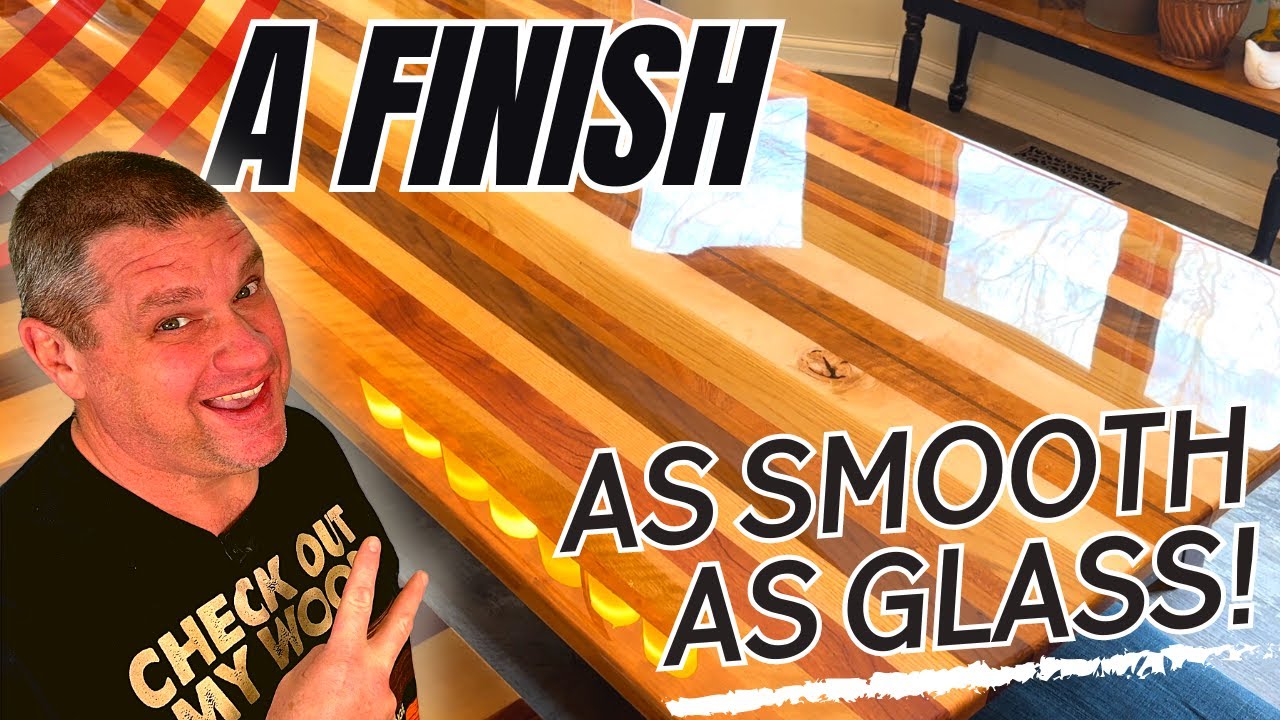
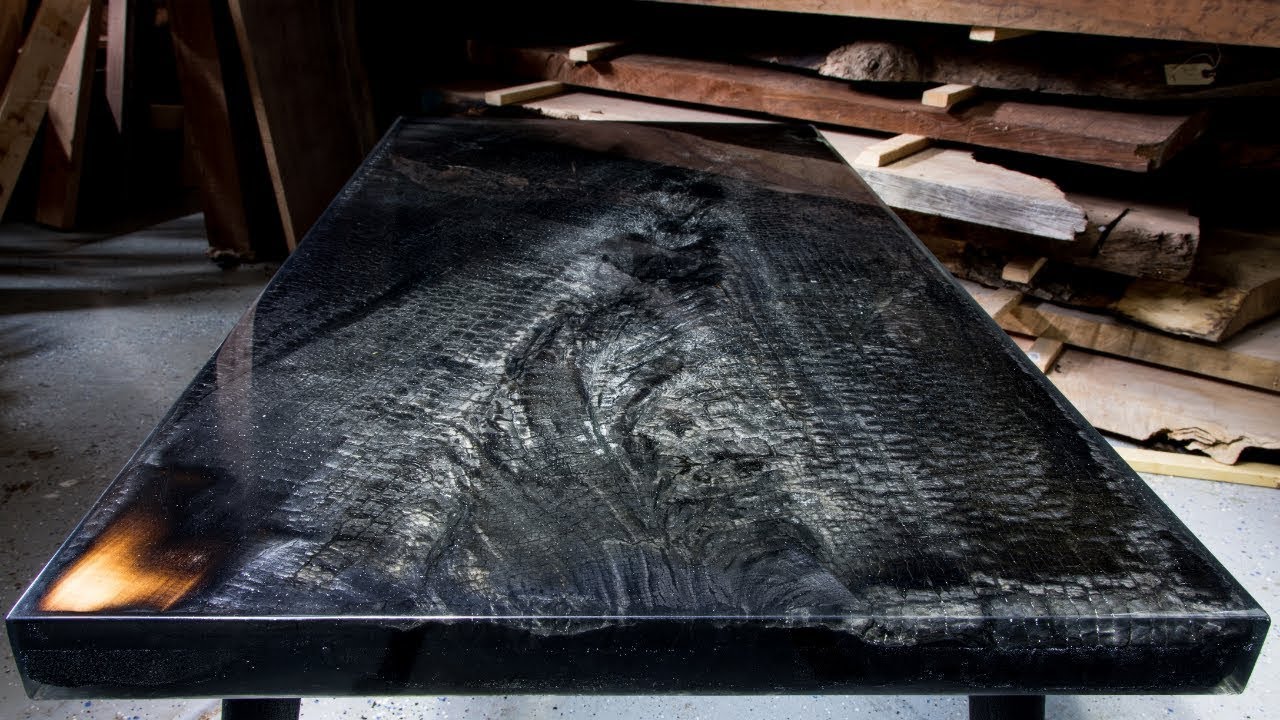
So there we go, we have successfully flatted and polished this epoxy. All of the hard work and attention to detail has really paid off and we've been left with this glasslike surface free of any ripples swirls and scratches. As I mentioned earlier having the right products and materials really does make all of the difference and so if you need any of the abrasives, compounds or other products that I've used in this guide they're available to buy from the GlassCast Resin website.
if you have any questions or feedback please leave a comment below. I do always try and answer every question that we get and of course if you have enjoyed this video please subscribe and you'll get lots and lots of resin tutorials as we release them. Thank you very much for watching and I will see you next time.