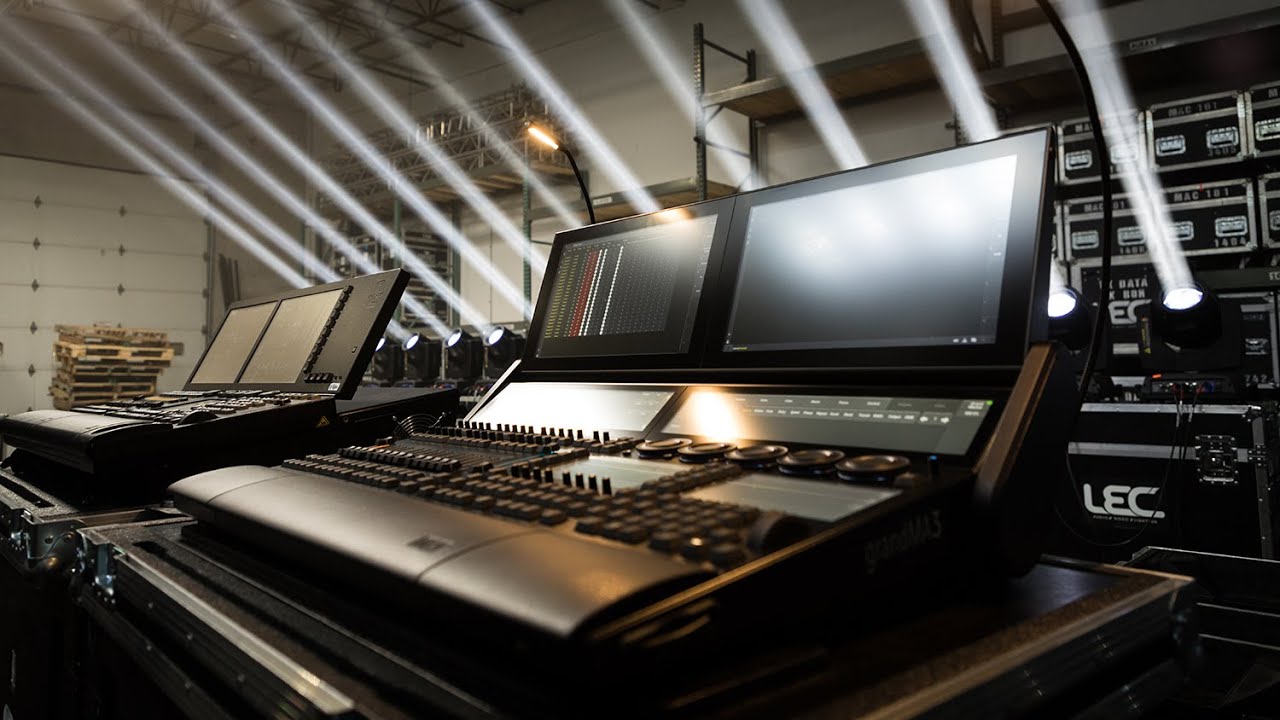
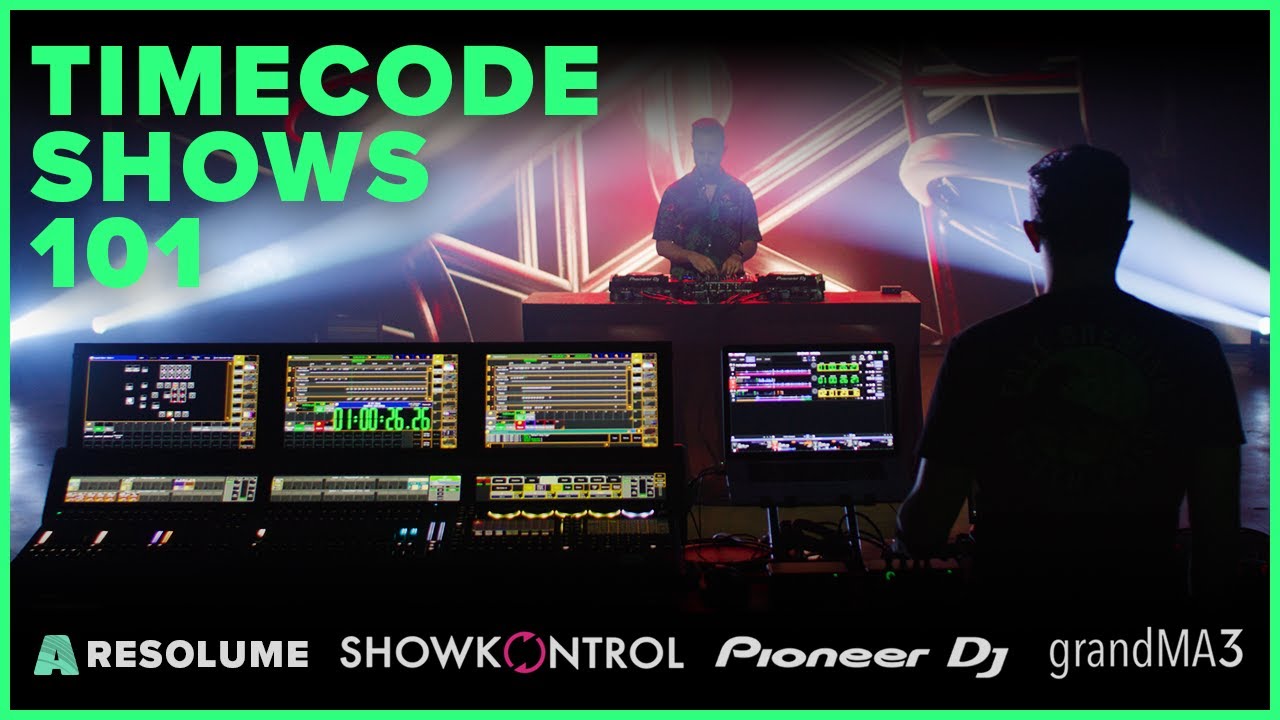
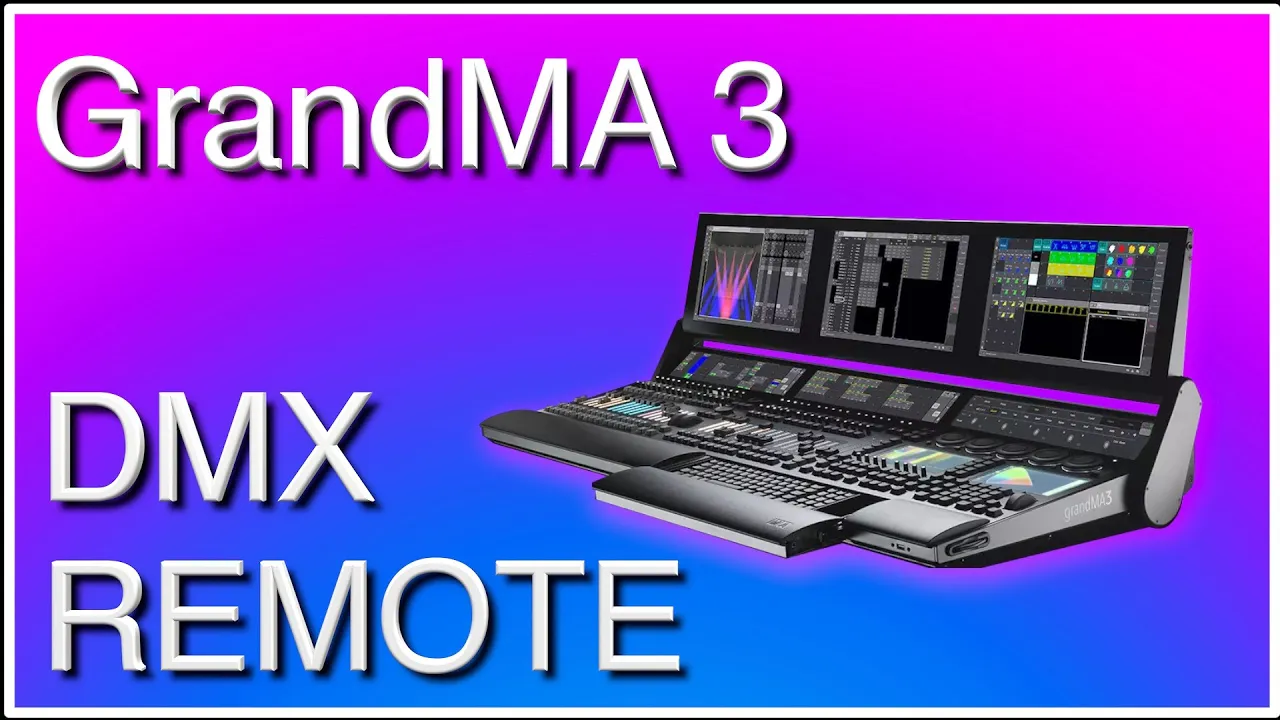
Today, we're going to try something fun. We're going to not transmit DMX out into moving lights media servers as we have done so many times before. Today is about putting DMX into the console and utilizing that to trigger different things inside the GrandMA3.
Putting DMX into a console is really valuable; you can use cheap control surfaces and small, inexpensive DMX boards to trigger different things. So, it's a way of getting the most out of your setup. It will be more powerful if you want to extend your use of faders and stuff like that.
You can use DMX in and have an extra board next to you with a lot of additional faders. Today's video is about DMX into the GrandMA3. We start here on the screen; you can see our universes.
I have patched something on 9, 10, 11, 12, and 13. There's nothing on 1, 2, 3, 4, 5, 6, 7, and 8, and we want to try to put some DMX into the console. The way we do that is we first go up and check if there's anything on the DMX line, which there isn't in this case.
Then, we go into our settings, and from there, we go into our connector configuration. We see the different colors; if you have Ports A through F that are green, it means they are outputs. You can configure any DMX socket on a GrandMA3 to be an input, an output, or to be RDM compatible.
There are many different things you can do. So, if we want to change Port F here to an input, we can simply right-click it. We can right-click the mode here, and then you can see we can turn it off; it could be an output, it could be RDM, or it could be an input.
In this case, we just close this one down because Port number seven right now is configured as an input. So, we need to put a DMX line into Port number seven, as we do right here. Then, we need some sort of device that can transmit DMX.
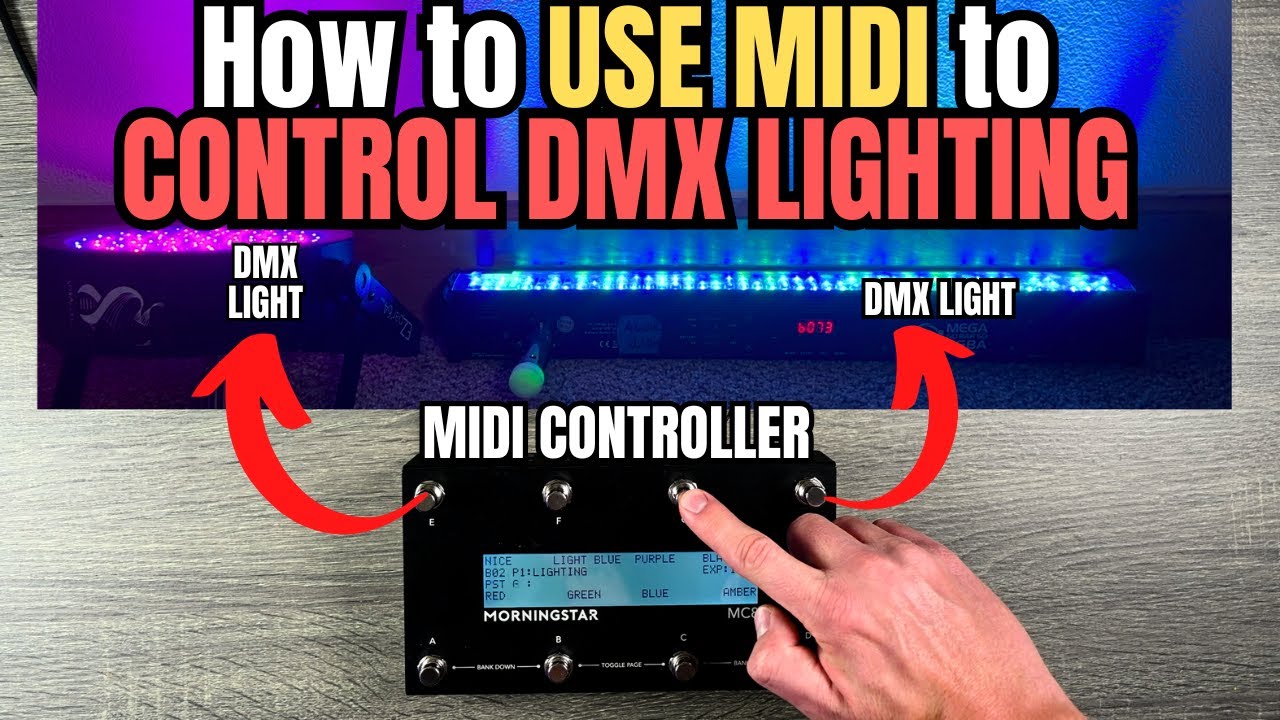
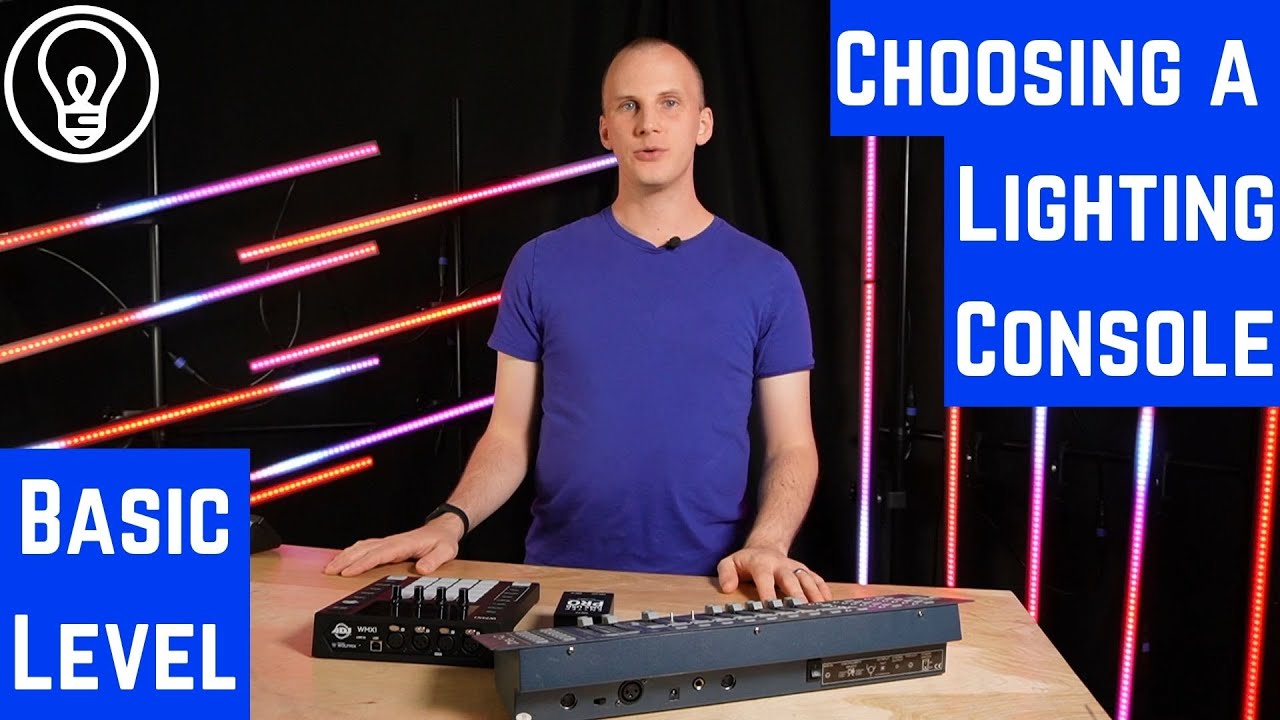
In my case, I have this small little DMX tester here; this is what we are going to use. I also have a small camera set up here so we can see exactly what's going on. We power up the transmitter right here; you can see our little camera, the PROLIGHT DATA MASTER, which is a pretty simple tool to use.
We go into send DMX, like this, and then we simply take Channel number one and put it all the way up to 255. So now, we are transmitting a DMX signal on Channel number one from the outlet on the DATA MASTER. We need to go into the console now and set up some different things to receive DMX.
The first thing you want to do is enable the input like this, and then we can go back into our universes over here. We can use our swipe feature to edit, and you can see right now the merge mode is set to "off. " If you click on it, it's set to "prio," and in this case, I just want to do some HTP merging.
Right now, it's closed down, and we set our DMX Universe number one to merge DMX, but you can see right here there's nothing coming in on DMX Channel number one, which is the one we are transmitting. So, we need to go back into the connector configuration and go up into Port number seven. We right-click and set it to, instead of putting in Universe number seven, Universe number one.
As you can see when we apply it, suddenly we are receiving DMX over here. What I can do now is change from percent to decimal, and that is going to give us the exact reading of the DMX signal being received by the console. Now we know that if we take our DATA MASTER again and start to take the DMX Channel up or down, you can see it goes to zero.
If you follow the decimals over here, you can see I am in complete control of what's coming in on this channel right now. So, on Universe number one, Channel number one, we are in control of the DMX signal. Now we need to figure out what to do with it because now that we are putting a signal into the GrandMA, it doesn't do anything right now.
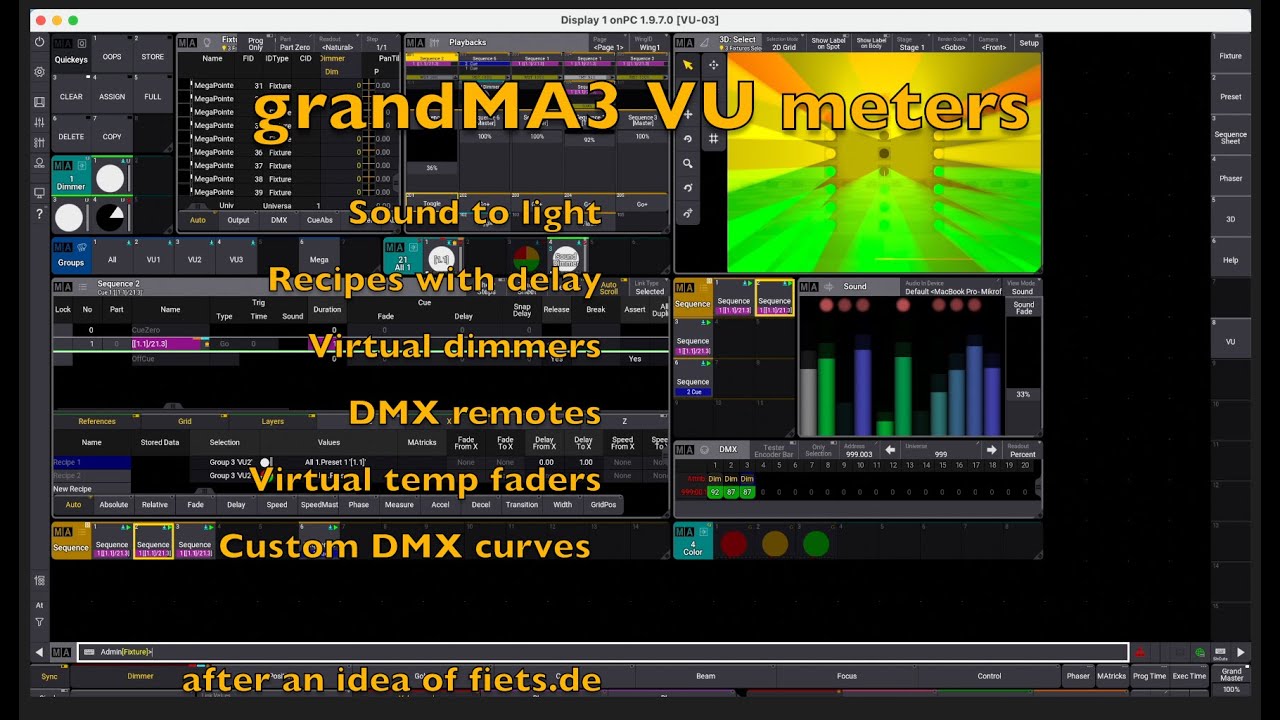
So we need to configure some sort of action the console can take when we put DMX signals into it. To do that, we need to go back into our settings here and go down to this one called "In and Out. " You can see all the different options you have: DC remotes, media remotes, DMX, OSC, and PSN.
We want to work here with DMX remotes, and we want to enable the input so we can work with it. So, we enable that, and now we need to configure some sort of action down here. We can insert a new DMX remote, enable it, and specify, "Okay, what address do you want to listen to?
Where do you want to take your information from? " In our case, we right-click and say "Universe 1, Address number 1. " So now we have configured it to listen to the address we are inputting right now.
Next, we need to tell it what to do. We can simply take one of our existing sequences here; in my case, we could take the blinders. We have a sequence here called "Blinder ODD," which is just half of the blinders.
And we can say we need the fader to be Master. We need it to trigger on zero, and we need to trigger it all the way up to 255. So basically, this is all we need to do.
So now, if we go over here to our blind ODD and our blind EVEN, we should be able to do some sort of control. Here, you can see now the fader jumped up, and if you look at the 3D, I'm actually starting to turn on our blinders right here. So this is basically working.
So what we could do now, if we go all the way above 255, you will see it turns off, and if I go all the way back to 100, it turns back on. So now, DMX channel number one is in complete control of this fader. So what we could do now is we could copy this line here, and we could set this one to be our EVEN blinders, and we can set this one to Master as well.
Everything here is the same. So as soon as I once again take the DMX remote and I start wiggling the numbers, you can see now I control both of the faders. So you could imagine having a small DMX console, and then you could simply just put some of your HTP faders on the console.
That just gives you extra room to work with, especially if you're working with a command Wing or something with limited faders. Another fun thing we could do is we could insert a new DMX remote, and we can say on a different channel, on Universe one, channel number two, we could do something different. We can say, what do we want to do?
We want to target a sequence, for instance. And what do I have selected right now? I could go down to one of my songs here, this one, and then I could select nothing for the fader, but I could say, "Okay, I want to trigger an action on this fader.
" So I could go down to a GO+, for instance, and I can say now the trigger could be from 10% all the way up to 25%. So what happens when we start increasing the DMX value on channel number two? You can see nothing happens until we hit, I think, 25%.
Then it starts to activate that cue. And again, we can use this trigger for many, many different things. Let's say, for instance, we need to trigger a macro.
We can say on channel number three on Universe one, we put in our target here, and we go into macro, and we could just maybe switch the page, and we could do that. We just leave this one here, and we can say "Go. " As soon as I hit 191%, it should trigger a macro that's going to go to the next page.
So let's see what happens when we start turning this one up. As soon as we hit 191%, we should trigger a macro that is going to cue into the next page. And to be able to see what's happening, I'm just going to put in down here.
You can see there's a specific song going right now, and if I go past 191, it triggered to the next song. So that's the power of DMX into the GrandMA3 console. You can easily extend your user interface with buttons and faders from different, maybe cheaper, manufacturers—just simple DMX consoles.
As long as you can transmit an HTP DMX signal, you're fine. Then you can have maybe house lights, or maybe you could have some extra faders for your HTP things on the console if you're using a command Wing or something with fewer faders. So that's the power of DMX into the GrandMA3.
If you enjoyed the video, give it a like; otherwise, I hope to see you next time. And if you like this content, be sure to subscribe to the channel and click the little bell notification. That way, you're going to get notified every time I upload a new video.
So until next time, see you! Bye-bye.