I asked you guys what video topic you wanted to see and the votes are in today I'm bringing you 20 mind-blowing Premier Pro editing tricks to level up your editing skills let's open up Premier no wait first let me know what video topic you want to see next and now we can open up Premiere trick number one select a clip in the timeline and go to the program monitor in here on the bottom left you can toggle the direct manipulation button to enable the transform properties this way you can adjust the SC scale position and
rotation from the selected clip without going to the effect controls trick number two if you expand the direction manipulation menu you will see the crop effect here once it's selected you can again adjust and crop your selected video in the program monitor without adding the crop effect speaking of crop trick number three you now have a crop effect built in in the effect controls so no need to find the crop effect in the effect browser trick four scrolling in the program monitor will now allow you to zoom in and out on your clip if you
hold the scroll button on your mouse you will be able to click and drag the video to a position you need just like in After Effects trick five navigating while masking since you can scroll to zoom in and out you can't move forward in time anymore using the scroll wheel while masking but they actually fixed this all you need to do is move your cursor to the little timeline on the bottom of your program Monitor and if you then use the scroll wheel it will navigate forward and time instead of zooming in and out number
six changing skin tones if you look at yourself and think I look like I'm dying you might just need a little more color to do that go to the hsl tab inry and find the Color Picker go to the program Monitor and click your skin tones this will select them you can of course adjust the color selection of your skin tones to create a better and more accurate selection then use the blur slider to smoothen the selection and by using the color wheels or the temperature slider you can push a little more orange into your
skin tones trick number seven creating a simple flip animation for your social icons first put your socials next to each other in the timeline make sure they're the same length Now find the basic 3d effect and drag it on your first icon then in the effect controls set the swivel to minus 90 then set a swivel key frame and then move forward in time and adjust the swivel to zero now go to somewhere at the end of the clip and set another swivel key frame move to the last FR of the clip and set the
swivel to 90° of course don't forget to ease your key frames now right click the effect and copy it then in the timeline select the other icons and hit control+v on your keyboard to paste the basic 3d effect there you go trick eight create a beautiful background for your animations to do that go to the project panel and click the new item button then choose new color mat set the color to something light this can be white or perhaps a baby tint once that's done done drag it into the timeline now with that clip selected
go to the eletric color panel and all the way at the bottom go to vignette then decrease the amount that looks beautiful trick number nine essential Graphics is gone instead you must use the graphics templates panel for your templates and then to make the adjustments you have to use the properties panel everything like graphic layers can be adjusted in here trick number 10 use story blocks a plugin to download unlimited stock assets without leaving Premiere all you need to do is click the download button and boom your Clips will appear in the project panel from
here you can just drag them in the timeline story blocks thank you so much for sponsoring this video story bloock is Q rated stock library has everything you need to create high quality video in one place with over a million 4K in HD footage templates music sound effects images and more you can download unlimited highquality assets for just one predictable subscription sub subscription cost you can say goodbye to expensive paperclip pricing you will enhance your social media videos by accessing exclusive story blocks labeled music tracks directly in Tik Tok Instagram YouTube and Facebook at the
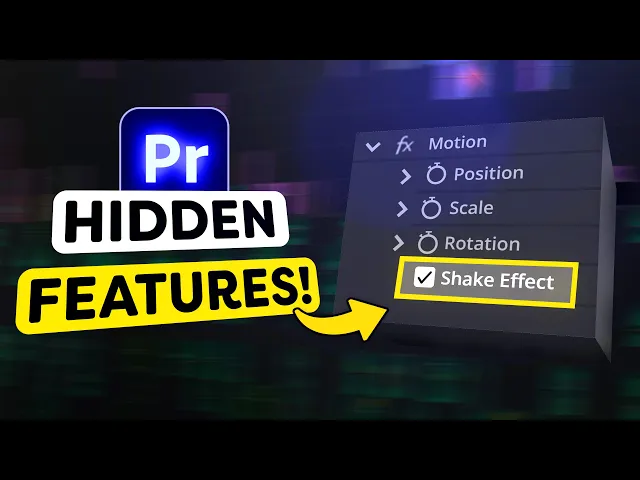
meantime story blocks will fully protect you from copyrights claims and all that stuff so that you can focus on what matters most creating creating creating besides that you can save hours of your time with pre-made Motion Graphics templates for After Effects premere Pro Apple motion and denture resolve to get started with unlimited stock media downloads at one set price head over to story blogs.com / Premier Basics or just click the link down below and now it's time for trick number 11 creating a camera shake this is extremely simple all you need to do is apply
the transform effect to your video and then head over to the effect controls make sure the play it is on the first frame of the clip and then set a position key frame move forward in time and just a position randomly keep doing that until you're at the end of the clip to get rid of the black edges simply scale your clip up a little lastly increase the shutter angle and there you go looks like an earthquake number 12 instead of creating animations in Premiere select all your assets you need for your animations and right
click them then choose replace with After Effects composition this will open up an After Effects project oh and by the way after effects Basics is almost at 100K subscribers so go check it out in the description down below 13 close all the gaps in your project at once to do that find the sequence menu on top and look for Clos gaps and that's actually all to it it's that simple number 14 using the source panel if you double click a clip in your project panel The Source panel opens up this is the entire Source clip
you can make a selection using the in and out keys to choose the in andout points next you can drag the clip into the timeline if you want you can also choose to drag the video or the Audio Only by clicking and dragging one of these icons number 15 upgraded cross fades in between two audio clips hit shift plus d these audio Fades can be adjusted Ed by pulling the sides you can also drag up and down to choose how the cross fat will ease super super awesome trick number 16 using the warp stabilizer if
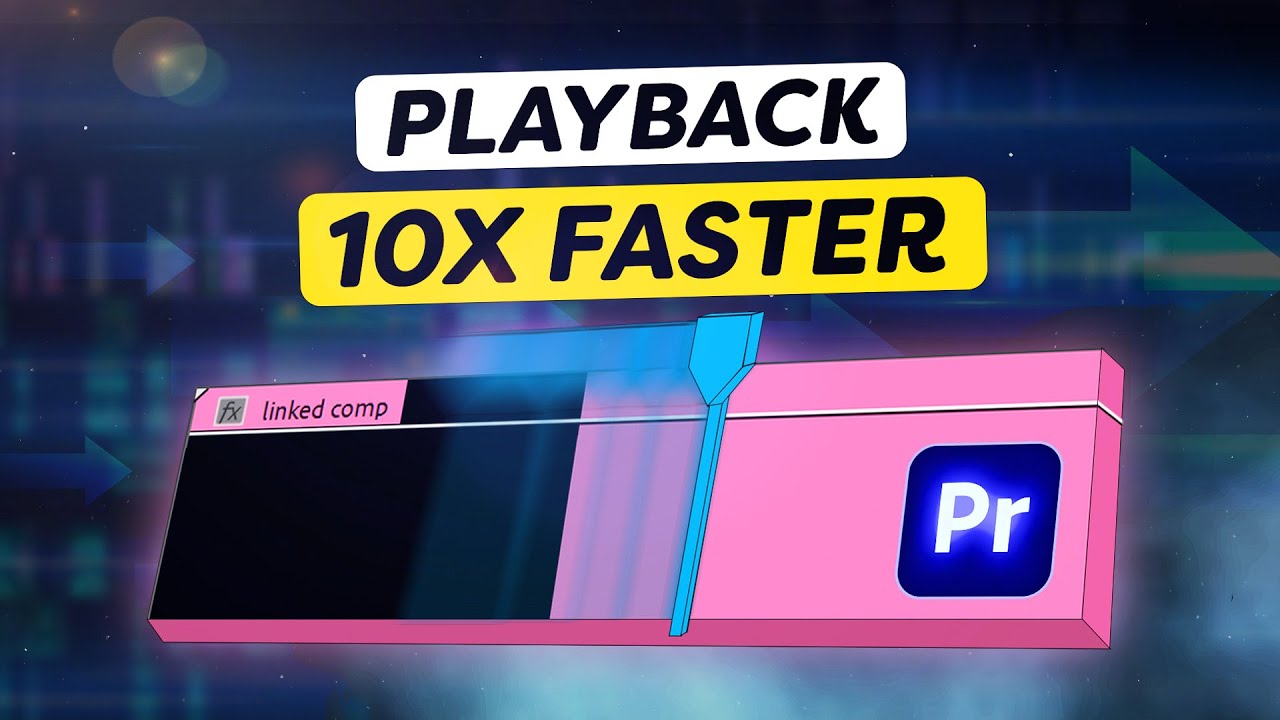
you have a shaky hand and you forgot to take a second shot warp stabilizer can be your savior just apply it to your Clips wait for a few seconds and boom your shot will look like it's made by a gimbal number 17 if your linked compositions are playing back slowly right click them and choose render and replace this will turn your clips into a regular video file which makes it easy to play back in Premiere but what if you want to adjust your clip in After Effects after rendering it that's where trick number 18 comes
in all you need to do to fix that is right click the link composition and choose restore unrendered there you go you can now edit the composition in After Effects trick number 19 you should already know this one but when you're having trouble playing back your footage try adjusting the preview resolution in the program monitor this will lower the quality which makes it easier to play back trick number 20 generative extend you can use AI in Premiere to extend your Clips by using the generative extend tool to continue the lesson and learn everything about that
click the video right here on my left thank you guys so much for watching