Before we get into the tutorial, let's watch a short Zootopia 2 clip. >> First call of the day. >> Let me guess it won't be boring.
>> Not if we do it right. >> You still [music] think every case changes the city. >> Doesn't it?
>> Sometimes. Same team, >> same rules. >> Think today goes smoothly.
>> If it does, we're doing something wrong. >> Whatever happens, we handle it >> together. Can you believe this?
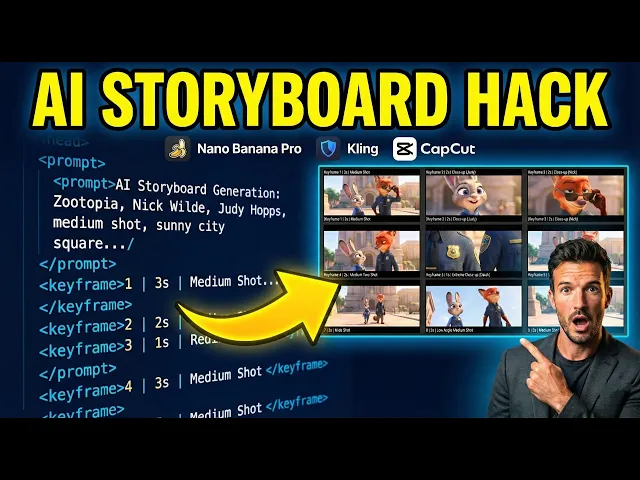
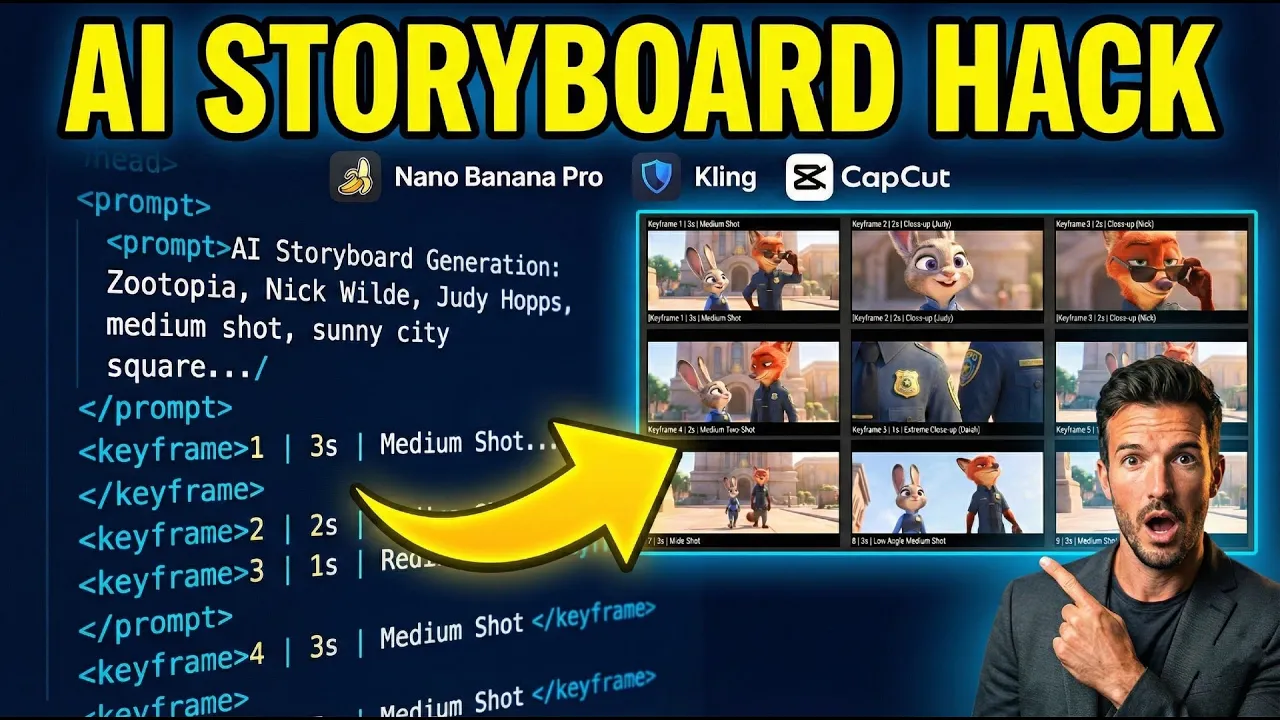
That entire video came from this one image. It's just a simple nineframe story board [music] generated right inside Nano Banana Pro. One image, one grid, a full video.
These storyboard grids have been blowing up lately on platforms like X. In this video, I'll show you how to take any reference image you like and turn it into the exact kind of video you just saw, step by step, in four simple stages. I'll also show you how to customize the number of frames.
You're not stuck with nine. You can do six, 16, or even more. All right, let's dive in.
Step one, generating the storyboard. I'm going to show you two ways to do this. The first one is the standard most reliable method.
You take this magic prompt, pair it with any reference image you like, and drop it into Nano Banana Pro. That reference image can be a frame from a movie you love or an image you generated yourself with AI. Just make sure the main subject is clear and easy to read.
Once that's set, click generate and wait for the final result. By default, this prompt creates a nine-frame storyboard. If you want more or fewer frames, you only need to change this one number.
But a single storyboard works best with nine frames. Try going up to 16 or 20, and you're really pushing the AI. Chances are it might fail to generate the image or the style won't be consistent across the frames.
And sometimes if the prompt only gives you all the text but doesn't actually generate the image, here's a quick fix. Just a scroll down in Nano Banana Pro and type. Generate the 3x3 grid image here based on the above key frames.
That usually kicks the image generation back in. All right, that's the first method to generate a nine-frame storyboard. Next, I'm going to show you an even easier [music] way to generate a 9-frame storyboard.
You can head over to higsfield. ai. They've got this whole workflow built right into the site.
Once you're there, click on the apps menu, scroll down until you see the feature called shots. Click on it, then hit upload image. Click generate, and just like that, it generates your nine-frame storyboard.
Super simple, right? All right. And now that we have our storyboard, it's time to move on to step two.
The goal here is simple. We want to turn each frame in the storyboard into its own standalone shot. At this stage, you've got two options.
One option is to keep working inside Nano Banana Pro and generate each shot one by one. The other option is to simply crop the frames out of the storyboard image. Both technically work, but in this tutorial, I'm going to show you the first method.
It's the one I personally [music] recommend because it delivers higher quality visuals and a much more polished film grade look. All right, now let's jump back into Nano Banana Pro. Upload the storyboard grid you just generated.
Once it's in, copy the prompt below, paste it in, and hit generate. Then just wait for the result. When the image is done, you'll see that single shot rendered as its own standalone frame.
For the next frame, all you need to do is change the key frame number. then generate again. Keep going until you've generated every single shot.
By the end, you'll have a full set of clean, consistent frames, one image per shot, ready for video generation. Before we move to the next step, there is something you really need to know. This is where 90% of people get it wrong.
When you ask Nano Banana Pro to isolate that single panel, [music] it's not just cropping the image for you. The AI is not a photocopier. It's actually acting like a restoration artist.
It looks at that tiny blurry square, understands the context. [music] It knows, hey, this is the Night King from Game of Thrones, and then it completely repaints it in high resolution. It's hallucinating new details that weren't there before.
So, the result, most of [music] the time you'll get a shot that's almost identical to your storyboard, just way more cinematic. But full disclosure, because the AI is reimagining the scene, it might go a little rogue sometimes. Maybe a detail is slightly off or the expression changes a bit.
If you're not feeling the vibe, don't sweat it. You can either hit regenerate to let the AI take another shot. Or if you want that exact original look, just manually crop the panel yourself.
At the end of the day, you are the director. The AI is just your lead artist. After we have all our images ready, it's time to move to the next step, bringing them to life.
Head over to Cling AI, click on AI video generator, and make sure you've toggled on the latest video 2. 6 model. Then switch to image to video and upload your first panel.
Now for the prompt, and this is where my magic prompt saves you hours of work. Remember section D in our nano banana output, the key frame list? It didn't just give us a description.
It actually scripted the movement for every single shot. Just go back, copy the prompt for frame one, and paste it into Cling. You can delete the duration part.
Cling will handle the timing. Set the duration to 5 seconds. Hit generate and let the magic happen.
Now, just rinse and repeat for the rest of your panels until your movie is ready. Now that you've got all your cinematic panels rendered out, it's time for the final touch. Jump into your favorite editing software.
We're using Cap Cut for this one because it's fast and intuitive. Import all your video clips and drop them onto the timeline in the correct order. And just like that, your AI generated cinematic masterpiece is ready to go viral.
The result is absolutely insane. See for yourself. Here's the final video.
Man, that looks incredible. It's hard to believe we just did that in an hour. Once you master this workflow, the possibilities are endless.
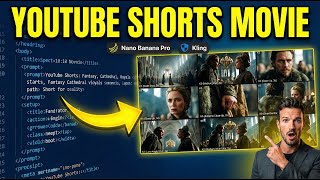
You can start creating highquality viral short films for YouTube shorts or Tik Tok and and actually turn this into a side hustle. To get you started, I've dropped all the magic prompts I used today in the description or the pin comment below. If you run into any issues during the process, just drop a comment.
I'm here to help you guys out. I'll be dropping more cutting edge AI workflows and the latest tool reviews every week. So, make sure to smash that like button, leave a comment, and subscribe so you don't miss out.
Thanks for watching, and I'll see you in the next one. Peace.