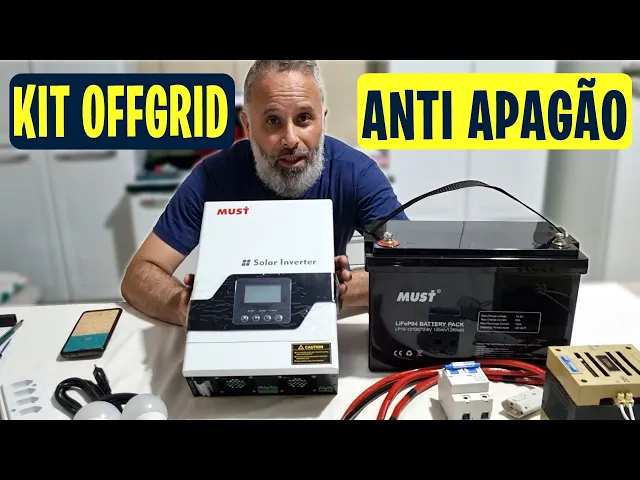
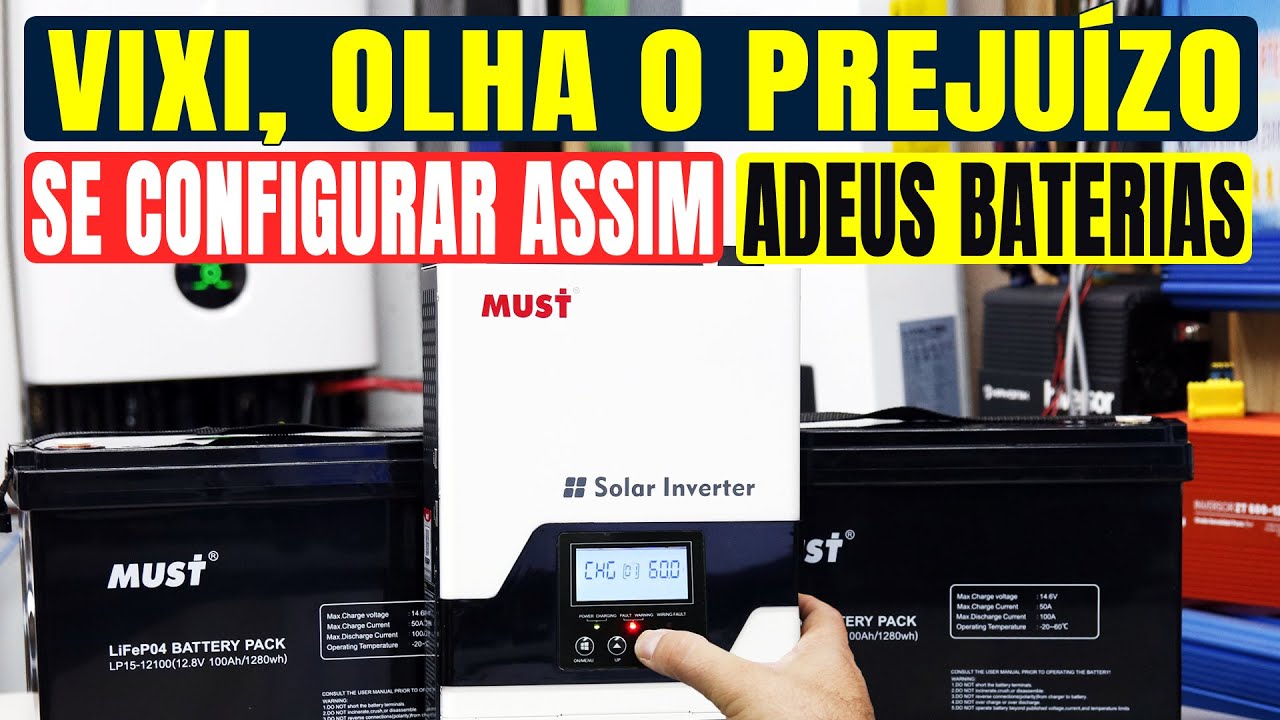
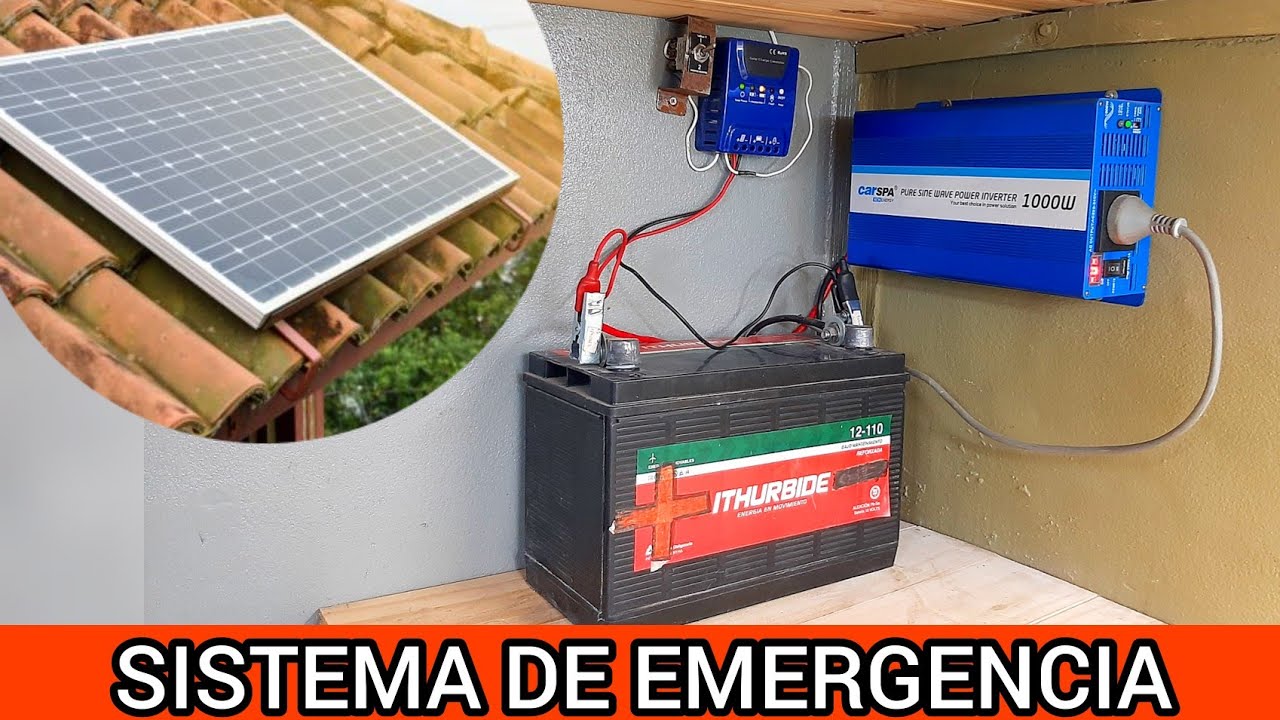
I'm going to show you here now how you're going to assemble this off grid anti-blackout kit. I showed you a few days ago here on the channel this kit with LiFePO4 batteries and inverters from MUST and I said I was going to show you how to connect and configure the inverter to use this kit here and remembering you won't even need a photovoltaic plate the objective here is a backup kit where you will use the dealership's own electrical network with this hybrid inverter here to keep the LiFePO4 battery charged, ok? So when there is a power outage, you will use this kit here with the battery, with the inverter, plus some accessories that are here that we will show you to use energy for some priority things in your home, such as a fan, lighting or even a refrigerator if necessary.
That's what we're going to show you too, ok? Today I'm in a slightly different environment here, right? I'm here at my parents' house, showing you in practice in a real scenario the use of this kit here and we're going to put it together here to leave it here with them because when there is a power outage, at least for the refrigerator and lighting so as not to be left in the dark, we will have an autonomy of about 18 to 24 hours, more or less, if you ration a little, it can last a little more.
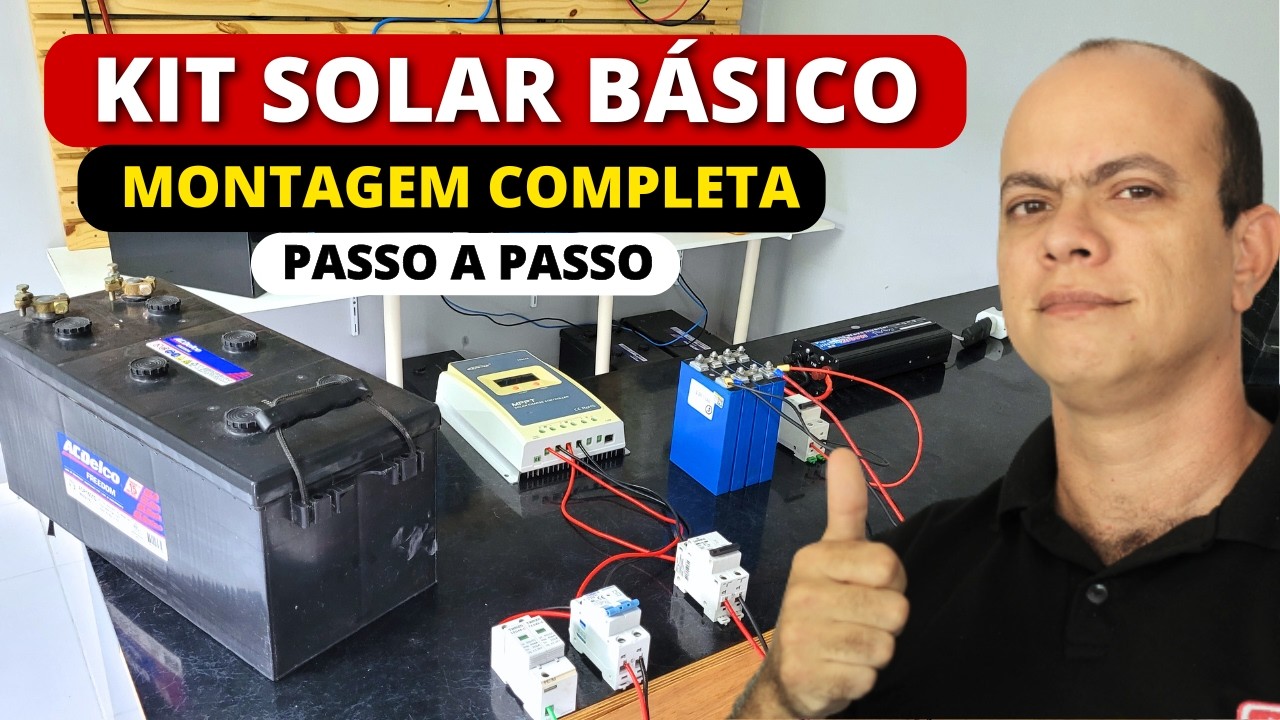
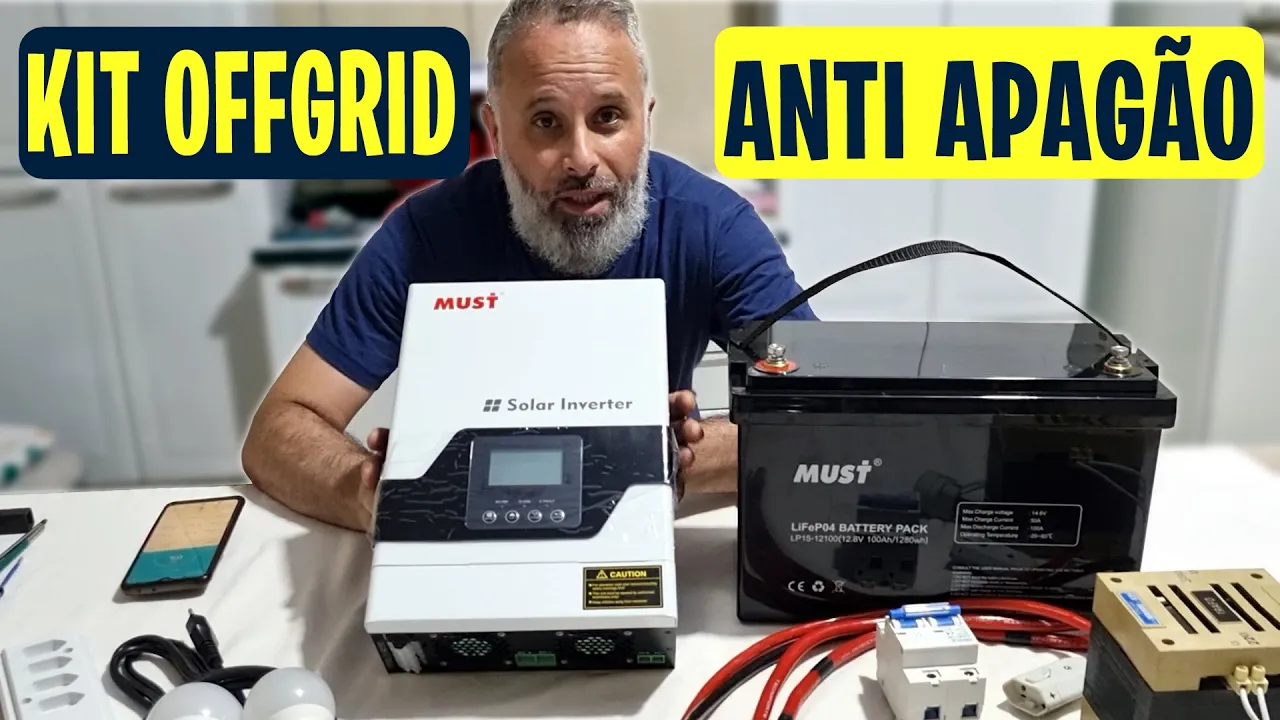
Look, very cool, and you will see in detail, I'm going to present the kit that is here for you now, it's good for you to see what we are going to use, we have a 100Ah MUST battery, look, it's a 100Ah battery here is 12. 8V 100Ah or 1280Wh and here are the technical characteristics of this battery, ok? In 12V we have here the inverter MUST 1000W 12V 230V in the AC output, ok?
If you have 127V loads like this is the case here, my mother's refrigerator is 127 volts, so we're going to use a step-down transformer like the one here, it's a little one, 300 volts, it's enough for us to use it here in her refrigerator, okay, it's a transformer that will input 220 and 127 will come out, ok? We will also need a 100A bipolar direct current circuit breaker here we will need 25 MM cables so we can connect between the inverter and the battery and don't worry, I will show you the installation here in practice in this video, including connecting it to the refrigerator so we can get an idea of autonomy and see how it works, okay? I'll even show you how it works too, okay, stay in the video until the end, you'll definitely enjoy it.
Okay, we'll need it here also a piece of PP cable, it can be PP, it can be parallel or whatever you think is best there. In this case here I used this one, it has one. .
. it has four. four 1.
5 wires so I connected two in parallel, two in parallel, but 2. 5 here is enough, okay, don't worry. An extension strip here, I put it for four sockets, it's enough for an emergency, okay, we'll also need a cable, ok?
PP also here three-way with grounding because this cable here we're gonna connect to the inverter's AC input to connect to the electrical grid and use its source to charge the battery bank, ok? And then for us to have lighting too, I'm here with two LED lamps, one of 12W and the other of 10W with this socket here, E27 socket for male plug, so we can connect and maintain the lighting in the environment, remember, our main focus here is an emergency kit, an anti-blackout power backup kit so that you don't suffer from power outages if it happens in your house, alright? So that's our focus, that's why I 'm going to set it up here completely as if it were portable because no, it's not heavy, look at this battery here, it's light, we can hold it with just one hand, very easy, very light.
The inverter is also very light so you can take it wherever you need or even to a campsite. If you need it at home, take it to a specific room if you want, so the sky is the limit for your imagination according to what you need to use this kit, cool? So as the focus is backup We won't leave it fixed anywhere, but if you want to install it fixed to a wall, fix it in a hack on something like that, then it's up to you too, ok?
Then with all this in hand, here we go now, start making the connections here, great, you'll see that it's very cool, it's very easy, okay, there's not much of a secret, no, we're going to start by connecting the AC cables here first and I need to remind you that there's also something Lucas, I was going to comment there's a coupon I was going to say exactly this right now, exactly something very important that I need to give a message for you is also the following, this video is made possible thanks to the great partnership with MUST in China and with Panda Energia Solar which is a MUST distributor here in Brazil and Panda Energia Solar is providing a 5% discount coupon for you, it is appearing here on the screen the coupon is AQUINO5 and there you go, there and you can use this discount coupon for a kit like this if you want, ok. Remembering that at Panda Energia Solar they don't have transformers to sell, ok. And they also don't have lamps and sockets to sell here, these things, you'll find them here at home with electrical material in your region and the transformer you can find it on the internet too, but the inverter and I think cables you will also find there, the battery and circuit breaker the DC AC, right?
DC circuit breaker you can find it in the Panda Energia Solar and everything with 5% discount with this coupon it's not just for the kit, no, and if you decide to pay in cash, via pix, on bank slip, bank transfer, you have another 5% discount totaling 10%, ok? Message given, now we'll make the connection below, It's very important that you pay close attention, okay, so we have here, from the bottom to the top, the ac input, then the line, which is the phase, the neutral or phase, phase 220. In the middle, grounding and here the output, neutral and phase, so we're going to connect the input part here now.
Let's connect everyone here, okay, and now we're going to tighten it here to give the proper torque, right? Perfect, good, so we've already managed to give the right torque here, now we 're going to connect this part here, which is the output part. Ok, let's connect the output part here, perfect, we connect everything here, okay, you must be wondering, Eduardo, isn't there a need for a circuit breaker here on the AC part so we can have security, something like that?
I'm telling you here that no for two reasons, look at this. The input DC you're going to plug it into your house's socket, the current that this guy here consumes is a very low current, as if it were any UPS that you're going to plug in there, 1000W to 1500W maximum, right? So you already have the circuit breaker of protection of your home, In this case specifically for backup there is no need for backup specifically, if it is for continuous use, set up a separate network, then you need these protections.
On the AC output side we also don't need it because it already has a circuit break device here, depending on what happens, it activates Then you press it here it will start working again so it already has this protection here but remembering again it is in this case solely and exclusively for backup which is what we are showing you here now. permanent daily use you have to make the protections properly yes for a dedicated network there even to facilitate handling and installations too Alright so now we are going to connect the direct current part here positive beauty negative find out how to put it here here, great, and then we're going to give the appropriate torque here, ok, great, now we're going to come here to the circuit breaker Remembering that this is a bipolar direct current circuit breaker, okay, And it supports working with current in both directions, okay, so when we need it from the battery the current is coming from the battery passing through the circuit breaker going to the inverter when I am charging the battery it is coming from the inverter passing through the circuit breaker going to the battery and this circuit breaker supports working this way okay perfect now let's connect these other cables here perfect and now connect here to the battery we just connected to the battery everything is fine Ready and Here we have our backup kit and look how interesting remember I told you that it is portable that you can carry it of course here we have the transformer I won't be able to take everything at once but hey I'll go take it here, hold it here, everything, look how cool, you see, I can carry it wherever I want and then we'll put it here, so we can do the test here in the fridge here, so it's logical, right? I'm going to leave it here on the floor, okay?
you will organize it in the way that is most interesting for you in your home, if you want to organize it on a piece of furniture, do an installation on a piece of furniture there, don't worry, that's up to you, fine, now we're going to take the transformer here, which is on the table, leave the transformer here you will need to turn on the light there Lucas Ah, can you turn it on, let me turn it on there so wait a minute guys, turn on a light here to make it clearer Wonderful, perfect, now we're going to get the light bulbs here, we're going to cover them there too o o I decided to bring this assembly like this here For you, let me even sit on the floor here and relax here, ah, make me more comfortable, the refrigerator just left, but via the power grid, in a little while, we'll connect it to the backup system here, okay, and I decided to bring it like this here. for you, because it's taking it outside the laboratory, you know, we're very used to showing these things in the laboratory, explaining it properly, assembling everything there, but it's in a laboratory environment, you know, where everything is controlled, it's all pretty, and people sometimes get confused. a little bit of doubt, right?
If it's real, even though we're showing it and so on, so for that reason I decided to bring it here to my mother's house, which is below the laboratory, okay, here, where I'm in her kitchen, my laboratory is right above, okay? I decided to bring it here like this to show you in more detail, in practice, a real scenario so that you can see that it is completely possible, outside the laboratory environment, for us to use a kit like this one, okay, now I'm going to access the Lucas's cell phone, put it to me, Lucas, so we can also see the monitoring via Bluetooth. This battery here has monitoring via Bluetooth and let's see if it lets me see it.
It's not going, let me see where it is . batteries that are up here in the laboratory, he already recognizes them here for us here. So let's wait for him to connect here to the battery.
OK, he's already connected and look at the battery with 100% capacity. OK, and now we're going to start doing the process. of battery discharge, what you see here is that Cell over protection is that I ended up charging it with more voltage than it actually supports to do a test to see if the protection would work and it worked, you see.
Disabled the charging and enabled the protection when we turn it on here it starts discharging we will see the autonomy here this is very cool this application here like this bms it shows us the percentage of how many amphora there are it will show us here also how much current I'm getting how much power I'm getting the current voltage here shows us how the cells are, it's also the temperature, it shows a series of things and here on the side it will put us a counter based on the current As long as we have extracted how long it will last, let's go so call here now the inverter has connected here don't worry, in a little while I'll show you the configuration you're going to do on this inverter, ok, it'll be more towards the end, now we'll show you the test here for you, look at the way it is here, with the invading consumption of the inverter, let me see here In fact, it hasn't even armed yet, wait for it to arm, just the fan there, look, it already armed, it has armed the inverter, so I'm going to turn it off the transformer here, and let's leave the consumption at no load just from the inverter, look at 1. 85 amps at no load, it's showing well there Lucas uhm good 1. 69 2 2.
04 1. 85 oscillating a little bit, you see, this way here we have more or less 50 hours of autonomy OK, the cooler has stopped now, so it will reduce, OK, 1. 51 a is consuming 20 W, the sign is negative, it indicates that I'm taking it from the battery 59 hours I would have autonomy, let's see the consumption of this transformer here alone, let's put the 300-vaa transformer Look, with the 300-vaa transformer it has already gone up to 2.
54 aamp, practically 1 aamp more and reduced to 45 hours more or less 42 hours, okay, what if I plug in a lamp here, hey, let's leave the trafo here, let's put a lamp, let's imagine it's in the dark without power, right, look, I just plugged in a lamp here, let me take out the lamp so we can analyze, let's see, Oh 41 . 59 I put a 12 w bulb Look, it only dropped to 30. 56, the consumption increased here to 3.
23, so with this app you can already get an idea of the autonomy that your battery will have, this is really cool, man, you know why you're going to give it take a look here you already know but it's practically the same as the car you don't have it in the car where it shows if the tank is full What is the fuel level in the tank and there are these newer cars it shows you the range that the car has they are also making electric cars like this so he said to you on the display Look if you keep driving like this you have more x km with this fuel which is the same thing here look how cool if you are he is telling us this, if you continue consuming this battery you have this autonomy here Oh you can use it for another 27 hours it's really cool, right man this app is a lot of fun and now we're going to unplug the refrigerator and we're going to plug it in here Our inverter's network is so we can see how the behavior will be and how much autonomy we will have. Look how it is here, we've even lowered one, I think it's lowered a little there, right? Lucas, it's lowered 1% there.
right, but look at the 29:1 the way it is here with the empty consumption of the inverter and the empty consumption of the transformer, right, and now we're going to connect the refrigerator here. Maybe it won't start exactly at this moment now if I turn it on and it doesn't start, what am I going to do, I'm going to pause the video, when the refrigerator starts, then we'll come and show you what the consumption of this refrigerator is and the autonomy we would have with it turned on and I I'll explain a few more things to you, it's fine if she leaves immediately, fine, but generally she won't leave, that's fine, we've already called here, no, she's not going to leave, look, you see, why does it take a while after you call for her to actually leave? Right, because it's already cold in there, so when the temperature drops, the engine will start.
So we're going to pause the video here in a little while, I 'll be back with you, it's really quick, okay, now the fridge has just left. Okay, I'm going. show you here on the screen here what is the most important thing for us is the autonomy so now we are here with 13.
20 v on the battery, right 13. 2 98% still of soc right of charge on the battery we are draining the battery 18. 70 more or minus 8.
56 is giving 24499 w with the lamp, right? And in this scenario that is here now, it is 5:17 of there 5:13 more or less of autonomy that we have with this kit that is here, you must be thinking like this, okay? but it's not worth it, so Eduardo F, your energy only has 5 hours of autonomy, man, it's not enough, but here are some interesting explanations for you, first of all, the refrigerator doesn't stay on all the time, it's this refrigerator right here that my mother has It's a refrigerator here, it's a little old, if I'm not mistaken, it's about 260 liters, more or less, okay, and it consumes an average of 130 W, okay, and its peak is more or less 1700 W, it's usually on, mind you.
for about half an hour then it turns off, this will depend of course on what the temperature is like in your house, what the temperature is like here, how many times you opened the refrigerator, what's inside that isn't there and so on, but it's more or less 20 minutes to half an hour that it stays on without turning it off, which means that in half an hour it will turn off, this consumption will drop to that low consumption that we saw with the 3 or so bulb and this autonomy will increase so I I take as an average here an autonomy that we would have for this system here of more or less Look, I dare to say that we can get there in this scenario that is here for 24 hours Why when there is a power outage in your house you will also have than to ration a a little bit, so you won't leave the lamp on all the time during the day, you won't need to keep the lights on because there's daylight, the fridge will avoid opening it all the time, you know, so we end up being able to extend this autonomy when we get to At night you will need the lamp turned on, you can put an extension cord here, pull a lamp wherever you need to place it to charge a cell phone, for example, take the charger from the cell phone for me Lucas, I will put my charger here on your cell phone so we can see how much would the autonomy be? Look, just suppose that I'm going to charge the cell phone, ok, it's night, I'm going to charge the cell phone now, just so we can see more or less what the autonomy would be like . 5 hours _ The cell phone charger went up again to 5:8, right?
Of course, as I use it, the autonomy decreases, I'm using energy from the battery, right? However, when you arrive at night, you'll also try to save a little and you won't stay the night. with the lamps on your refrigerator will not stay on all night there will come a time when you go to sleep and you will automatically turn off the lamps you will leave the fridge closed all night so it will turn on much less often but you may If you want to suddenly turn on a fan, a fan of about 30 W, then you don't need to leave it at maximum power, that is, there are some ways you can use a kit like this to maximize the autonomy of this kit as much as possible, that's how it works .
you and then if you suddenly think that this is not enough, you can put together kits with greater autonomy, you just need to put together a bigger kit. Add another battery like this here in parallel to double this autonomy and so on, remember, this is a kit offgrid, we are going to use a hybrid inverter without a photovoltaic plate, you still have the possibility, if you want, of putting a photovoltaic plate here, too, if you want, the objective here is a no break so that you can use it during a power outage without worrying about a photovoltaic plate But if you want, you can also put it in because this inverter has an input for a photovoltaic board, cool, so now we've seen here more or less the autonomy, right? of turning it off there it increased to 20 7 hours 28.
32 it's normal to give these oscillator is on in a little while the cooler turns off it increases this autonomy even more so we can maximize it right here and look Tell it to you easy easy that it reaches 24 hours of autonomy in a kit like this one, well, you must be asking yourself the same question, well, but here in my region, sometimes when there is a power outage, there are 2 TR days without power, if I don't have one, I have a photovoltaic plate, how am I going to charge this battery since It took 24 hours for the battery to run out and how do I charge it, in a scenario like this there will be no alternative, it really has to be a photovoltaic plate or you go to a neighbor who might have power, a colleague, a friend, call me leave it charging when it charges you come back, ok, at least you won't stay there for two, three, four days without power straight, ok, however, you can also extend the autonomy, as I said, if in your area there's no power for longer, just add more batteries. in parallel so you have greater autonomy Okay , so everything will depend on your demand and your needs OK now As I said, we're going to show you what the inverter settings here are like, okay Let me turn off this lamp here and I think it will stay It's easier, right, Lucas, for us to show it. Maybe, right, let's see here, see if you can get close here so we can show it to the people.
configuration menu for this inverter press the enter button here and hold down look Then press enter again We go to menu 01 you will leave it here as UTI which would be utility electrical network in menu 02 you will configure it as APS menu not program 02 right as APS it is like in the break there in 03 I left 225 V here but you can leave 220 230 will depend a lot on your region, the size of the extension cord you put in and such, but 225 V is a good setting. So, we'll leave it here at 60 hz. Ok, generally it is set to 60 hz, but sometimes it can be set to 50 hz.
So you change to change here, we just click on the little arrow here, there's the arrow up, the arrow down, it will change and then you press ent to have it validates the information o 0. 5 we don't change 06 doesn't change either 07 doesn't change either 0. 8 also not 10 we will leave snu what does this mean solar and utility that is if it has solar energy it uses it to charge the battery along with the electricity grid as there is no solar it will only use the electricity grid ok in program 11 we will leave 60 amp here but this 60 aamp here is the current that it will use to charge with the PPT as there is no solar.
So we will move on to the next menu which is the menu that will show us here the maximum of current to charge with the mains, ok, right, utility, ok, and 20, the maximum of this inverter here is 20, and is it 10 or 20, ok, one of the two ? here enter then I will select here in 14 that I want it to use the program for the lithium battery which is this battery that we are using here ok And then in program 17 it will default to 13. 8 the previous program itself When you select lithium, this is already configured here for us, we don't change it, which is the voltage that would be fluctuation, these batteries don't have fluctuation, 13.
2 in fact and in fact here the charge voltage is actually 13. 8 charge voltage it already sets automatic for us it's fluctuation 13. 2 cut-off voltage 10.
5 here we can change Then I recommend we go up here to 12 V here we leave 12 V here so as not to discharge the battery too deeply But as it's an emergency we can get here up to 11 P up to 11.