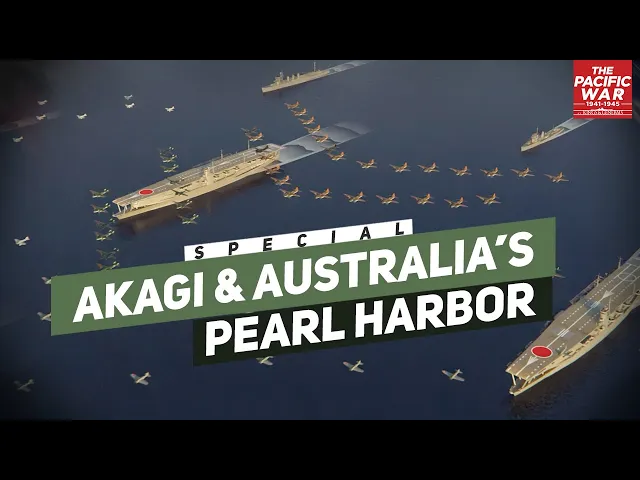
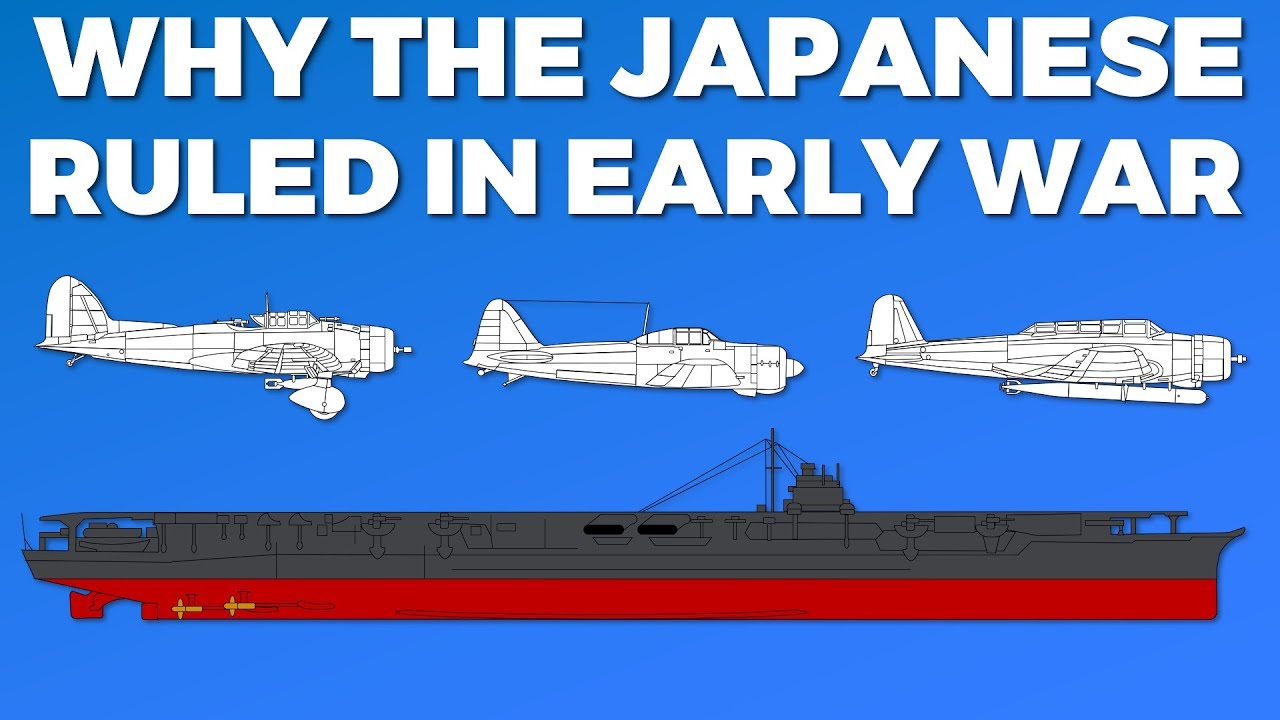
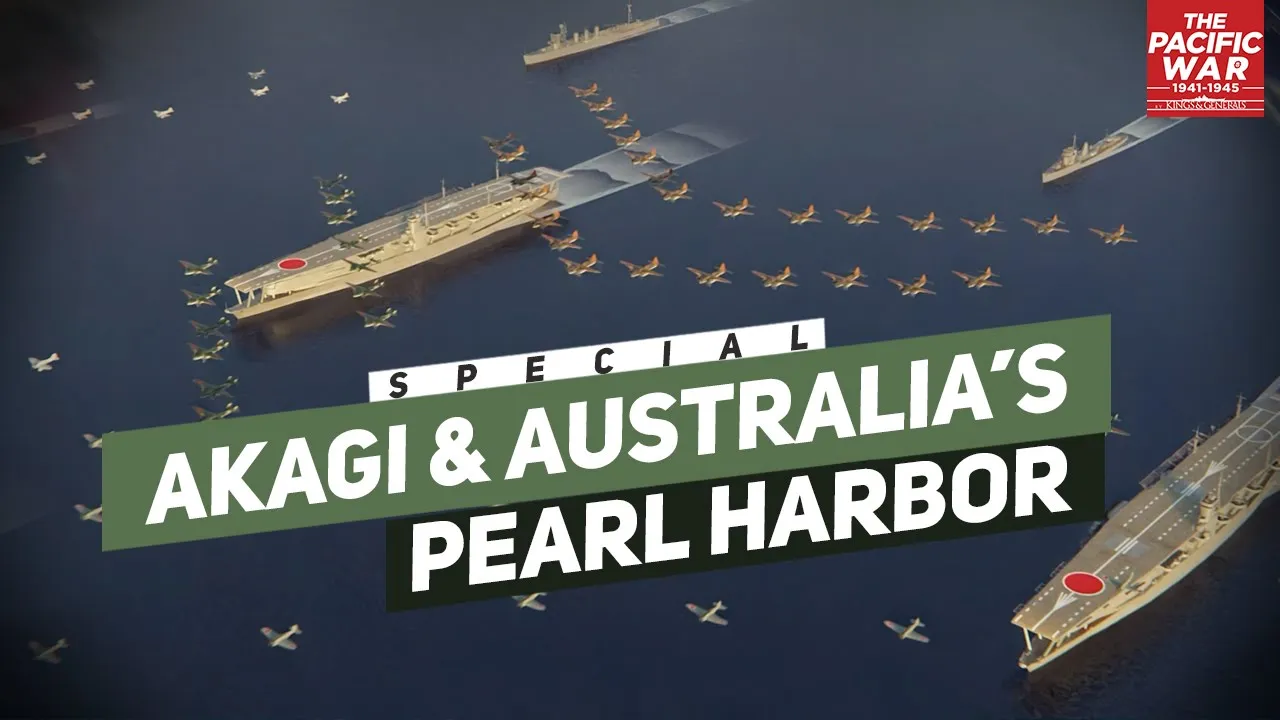
The Imperial Japanese Navy shocked the world when it consolidated most of its aircraft carriers into a striking force in 1941 and surprise-attacked Pearl Harbor. Something that is not as well known is that the surprise attack on Pearl Harbor would be replicated against Darwin, Australia by most of the same warships and aviators. This was the dawn of the aircraft carrier as the pinnacle of modern warfare, and the IJN were making full use of their carrier fleet.
Out of all their carriers to rain terror upon the allies, one began the war as a flagship. This episode is about the IJN carrier Akagi. You’ve probably got a grip of the basics of strategy after all this coverage of these campaigns, so we invite you to try your skills out for free with our sponsor, Call of War.
It’s a free PVP strategy game, in which your own world war 2 plays out in real time over the course of weeks, and you are tasked with managing your economy, technology, diplomacy, and of course warfare. Make real allies and enemies with up to one hundred other players, use loads of world war two units and secret weapons, and compose a grand strategy to conquer the world. It’s a great game to dip in and out of since it happens over a long period, and you can adjust your empire any time on PC or mobile.
See yourself by joining our special game of Call of War, details at the end of this video. In the meantime get the game for free via our link in the description, and you’ll get an exclusive gift: thirteen thousand gold, and one month of premium subscription for free, but only for the next thirty days so don’t waste time. The Akagi, meaning “Red Castle” , was named after Mount Akagi, a dormant volcano in the Gunma Prefecture.
Akagi was laid down as an Amagi-class battlecruiser at Kure, Japan on December 6th, 1920. Her construction was halted, however, when Japan was forced to sign the Washington Naval Treaty on February 6th, 1922. The treaty was signed amongst the major allies of World War One, who agreed to prevent an arms race by limiting naval construction.
The treaty limited the construction of battleships, battlecruisers and aircraft carriers by all signatories. It heavily favored nations such as the United States and Great Britain, whose industrial power would allow them to win longer wars, while a nation like Japan was disadvantaged. Regardless, the treaty authorized conversion of two battleships or battlecruiser hulls into aircraft carriers of up to 33,000 long tons displacement.
The IJN decided, following the launch of its first aircraft carrier, Hōshō, to construct two larger and faster carriers for operations with major fleet units. The incomplete hulls of Amagi and Akagi were selected to undergo such conversion, and over 90 million Yen from the Diet was given for the task. The construction of Akagi as an aircraft carrier began on November 19th, 1923 and was the second carrier to enter the service of the IJN.
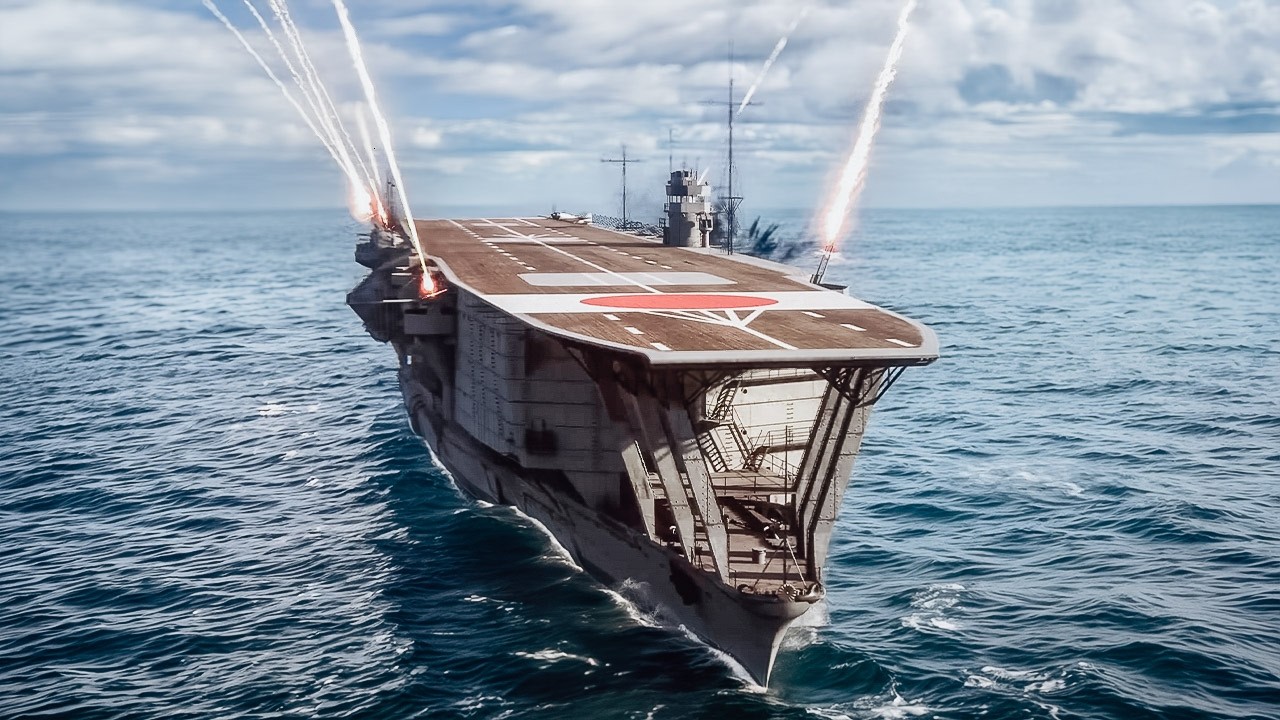
The Akagi had three superimposed flight decks , a very unique feature only found in the Akagi and the Kaga. Her second flight deck’s use was questionable as it was so short that it could only load some light aircraft. Its upper flight deck sloped slightly from amidship toward the bow and stern to assist landings and takeoffs for underpowered aircraft of the 1920s.
Her total capacity was sixty aircraft. She carried dedicated anti-aircraft armaments of six twin 45 caliber 12 cm 10th Year Type guns , three mounts per side. Her waterline armored belt was 152 mm and the upper part of her torpedo bulge was 102mm of armor.
Her deck armor was 79 mm and all of her armor was done in a way to help stabilize her increased topside-heavy weight. She had four Gihon geared steam turbines that produced a total of 131,000 shaft horsepower. She underwent expensive refitting from 1935-1938 at the Sasebo Naval Arsenal.
Her three flight decks were consolidated into a single enlarged flight deck. This extended the hangars forward, removed the flying off decks and increased aircraft capacity. She also boasted an island superstructure on her port side.
This made the Akagi the first Japanese carrier with a modern large flight deck and the operational experience aboard her forged Japanese naval airpower doctrine. Her modernization process would be completed on August 21st, 1938. The Akagi had a complement totaling 1630 crewmembers The Akagi joined the Combined Fleet in August 1927, assigned to the First Carrier Division upon its formation on April 1st, 1928, serving as the division's flagship under Read Admiral Sankichi Takahashi.
From December 10th, 1928 to November 1st, 1929 the ship was captained by Isoroku Yamamoto. In 1938, after being modernized she embarked for Southern Chinese waters carrying 12 Mitsubishi A5M “Claudes”, 19 Aichi D1A “Susies” and 35 Yokosuka B4Y “Jeanes”. From January 30th to February 19th, 1939 she supported ground operations, including attacks on Guilin and Liuzhou.
She also provided air cover for the invasion force landing on Samah Bay and went on to support operations in Central China between March 27th and April 2nd, 1940. The Japanese experiences in China helped develop the IJN’s carrier doctrine. One lesson learnt in China was the importance of concentration and mass in projecting naval air power ashore.
This led to the formation of the First Air Fleet or “Kido Butai” in April of 1941, which combined all of its fleet carriers under a single command. The Akagi and the Kaga were assigned to the First Carrier Division of the new carrier fleet. When multiple carrier divisions operated together, the divisions' air groups combined.
This doctrine of combined, massed, carrier-based air attack groups was the most advanced of its kind in the world. While this was a revolutionary offensive carrier concept, it also severed from what Mark Peattie described as a “glass jaw”, it could throw a punch but couldn't take one. This was because Japanese carrier anti-aircraft guns and associated fire-control systems had significant design flaws that limited their effectiveness.
The Akagi’s anti-aircraft guns were older, fired slowly and were positioned very poorly on the port and starboard sides of the ship, twenty or so feet below the flight deck. Therefore, they could only fire at targets on the same side of the ship. This was all coupled with too few combat air patrol fighters and an inadequate early warning system.
The Akagi’s first major moment would be the attack on Pearl Harbor. She assembled with the rest of the First Air Fleet at Hitokappu Bay in the Kuril Islands departed on November 26th for Hawaii. Commanded by Captain Kiichi Hasegawa, the Akagi was Vice Admiral Chuici Nagumo’s flagship for the operation.
From a position of 230 nautical miles North of Oahu, the Akagi launched two waves of aircraft on the morning of December 7th, 1941. Her first wave of 27 Kates torpedoed battleships Oklahoma, West Virginia and California while 9 of her Zeros attacked Hickam Field. During her second wave, 18 Vals bombed battleships Maryland and Pennsylvania, the light cruiser Raleigh, the destroyer Shaw and fleet oiler Neosho while 9 Zeros attacked U.
S. airfields. The Akagi lost 1 Zero and 4 Vals during the attack.
After the attack on Pearl Harbor, the Akagi made her way to Truk on January 14th. She, along with the First and Fifth Carrier divisions, was assigned to Operation R alongside 7 cruisers, 14 destroyers and numerous submarines and auxiliary vessels. Under the Command of Vice Admiral Shigeyoshi Inoue, Operation R targeted New Britain and New Ireland.
This included the invasion of Rabaul, which was important to the Japanese because of its proximity to Truk base in the Caroline Islands. The capture of New Britain would offer the Japanese a deep water harbour and airfields to provide protection for Truk and thwart allied lines of communication between the U. S.
and Australia. On January 20th, the Akagi contributed 20 Kates and 9 Zeros for the initial 100 carrier aircraft attack on Rabaul. Her aircraft landed three bombs on the Norwegian cargo vessel Herstein, causing a fire and drift.
The intense air attacks destroyed the Australian coastal artillery. On January 21st, the Akagi contributed 9 Zeros and 18 Vals the carrier aircraft began to attack allied positions on Kavieng. On January 22nd, the Akagi contributed 18 Vals and 6 zeros to a combined force of 45 aircraft to attack Rabaul again.
Once the aircraft had departed, the wounded Australian forces quickly destroyed their remaining airfields and began a withdrawal. The carrier force supported Japanese landings of three to four thousand troops just off New Ireland, quickly capturing the main town of Kavieng, unopposed. The following night, the invasion force sent 5000 troops of the 144th Infantry to New Britain.
Rabaul was captured and the carriers provided air cover throughout the invasion until January 27th, when they departed for Truk. Rabaul became the largest Japanese base in New Guinea and their lynchpin defense for the region. The Akagi, Kaga and Zuikaku sortied in search of U.
S. naval forces raiding the Marshall and Gilbert Islands on February 1st, 1942. Task Force 17, commanded by Rear Admiral Frank Jack Fletcher, attacked Jaluit, Mili and Makin islands.
They inflicted moderate damage to Japanese naval installations on the islands and destroyed three aircraft. Task Force 8, commanded by William Halsey Jr, attacked Kwajalein, Wotje and Taroa. They inflicted light to moderate damage on the naval garrisons on the islands, sank three small warships, including the light cruiser Katroi, and over fifteen japanese aircraft.
The IJN carriers were unable to track the U. S. task forces and were quickly recalled for a new mission.
By mid-February 1942, the Japanese had captured Ambon, Celebes and Borneo. Landings on Timor were scheduled for February 20th, and an invasion of Java was planned to take place shortly after. In order to protect these landings from allied interference, the Japanese needed to neutralize Darwin.
Darwin, Australia, was the key to the South Pacific air ferry routes. During the outbreak of the Pacific War, several Australian Army and RAAF units stationed in Darwin were sent to strengthen defenses in the Dutch East Indies such as at Ambon and Timor. By mid-February 1942, Darwin had become an important Allied base for the defense of the Dutch East Indies.
Yet, despite its strategic importance, the city was poorly defended. It held 16 QF 3. 7-inch AA guns and 2 3-inch AA guns to counter high altitude aircraft.
It also had Lewis Guns for use against low-flying aircraft. The air forces stationed there comprised the No. 12 Squadron , equipped with CAC Wirraway advanced trainers, and the No.
13 Squadron , which had LockHeed Hudson light bombers . They were also backed up by 9 Lockheed Hudsons arriving from the No. 2 and No.
13 Squadrons on February 19th after the evacuation of Timor. In addition to the Australian forces, 10 USAAF Curtiss P-40 Warhawks were passing through Darwin en route to Java the day she would be attacked. A total of 65 allied warships and merchant vessels were in Darwin harbor.
The Japanese fleet was commanded by Vice Admiral Chuichi Nagumo and led by the Kido Butai. The force comprised 188 aircraft from the Akagi, Kaga, Hiryu and Soryu, which all had participated in the attack on Pearl Harbor. In addition to their aircraft were 54 land-based bombers, 27 Nells from Ambon and 27 Bettys from Celebes.
The fleet was supported by 2 heavy cruisers, 1 light cruiser, 7 destroyers and 3 submarines. This would be the first enemy attack on Australian soil in the history of the Commonwealth of Australia, and is often described as “Australia’s Pearl Harbor”. The IJN carriers launched 188 aircraft at 8:45am on february 19th, including 81 Kates, 71 Vals and 36 Zeros.
The Akagi contributed 18 Kates, 18 Vals and 9 Zeros. The first wave was led by Commander Mitsuo Fuchida, who had commanded the first wave of the Pearl Harbor attack. There was no functional radar to provide Darwin early warning, but at 9:35am, an Australian coastwatcher, Father McGrath of the Sacred Heart Mission on Bathurst Island, saw the aircraft and sent a pedal radio signal to Darwin.
The message was relayed to the RAAF by 9:37am, but no general alarm was raised until 10am as the RAAF officers assumed it was just USAAF P-40s returning to Darwin. Petty officer Yoshikazu Nagahama was flying a Zero when he was separated from his squadron; he arrived over Darwin early and alone. He engaged five P-40s, single handedly shooting down four of them.
At 9:58am, the Japanese aircraft began to arrive over Darwin and the HMAS Gunbar was the first ship to be attacked, strafed by several Zeros. The air raid sirens began as the Japanese bombers commenced dive bombing and level bombing attacks on the ships in the harbor. In 30 minutes, the first wave of Japanese bombers sank three warships and six merchant ships, and damaged ten other vessels.
The U. S. destroyer Peary sank in minutes, killing 80 of her crew.
The large U. S. transport Meigs sank, killing 2 people, and the Australian ship Neptuna, loaded with explosives, was hit, causing a terrible explosion killing 45 of her crew and the ship's captain William Michie.
Just before the attack, 70 waterside workers had been unloading the Neptuna and Barossa on the long pier that was hit, blowing many of them into the water and burning oil. 21 of these workers are known to have died from the bombs or in the water. The town's post office was hit, killing nine civilians.
All but one of the remaining P-40s were destroyed on the ground at RAAF Darwin. The remaining P-40, flown by 1st Lt Robert Oestreicher, was airborne throughout the first attack, and managed to shoot down one Val and damage another. The Japanese bombed and strafed the base and civil airfield alongside the town's army barracks and oil store, causing severe damage.
The first wave lost up to 5 aircraft and 3 crewmembers, while 34 aircraft were damaged. At 10:10am, the bombers began to make their return to their carriers when they noticed two Philippine-registered freighters lying outside the port: the Florence D and the Don Isidro. The second wave was made up of 54 land-based bombers, consisting of 27 Mitsubishi G3Ms and 27 G4Ms, which arrived over Darwin as its sirens rang again at 11:58am upon sight of the bombers.
The second wave separated into two groups flying at 18,000 feet. One bombed the RAAF base from South-West, while the other approached from the North-East. They both arrived over the base simultaneously, dropping their bombs, turning around and bombing a second time.
Due to defective fuses, the Australian heavy anti-aircraft flak guns were unable to score any significant hits on the high-flying aircraft. All the bombers made a clean getaway around 12:20pm. The damage inflicted on the RAAF base was extensive, but casualties were light.
6 Lockheed Hudsons, 2 P-40s and a B-24 were destroyed, and six RAAF personnel were killed at the RAAF base. The IJN carriers launched a small number of Vals during the afternoon to attack the Florence D and Don Isidro, which had been noticed by the first wave coming back. The Don Isidro was rapidly sunk North of Melville Island, with 11 of her 84 crew killed.
The dive bombers sank Florence D off Bathurst Island, killing 4 of her crew. The bombing of Darwin caused the available surface shipment support efforts to Java and the Philippines to be effectively sealed off for the Allies. 7 out of 11 above ground oil storage tanks, located on Stokes Hill were destroyed.
Up to an estimated 236 people were killed with 300-400 wounded. 30 aircraft were destroyed, with 11 ships sunk, 3 run aground and 25 damaged. Over 681 bombs weighting a total of 251,500 lb were dropped by 205 bombers, which exceeded the tonnage dropped on Pearl Harbor .
The Japanese lost as few as 5 aircraft, with 34 aircraft damaged. The loss of life at Pearl Harbor was greater, at around 2400 deaths compared to the estimated 236 for Darwin. As the attack leader, Commander Mistuo Fuchida, said about using such an overwhelming force against such a soft target, “It was hardly worthy of us.
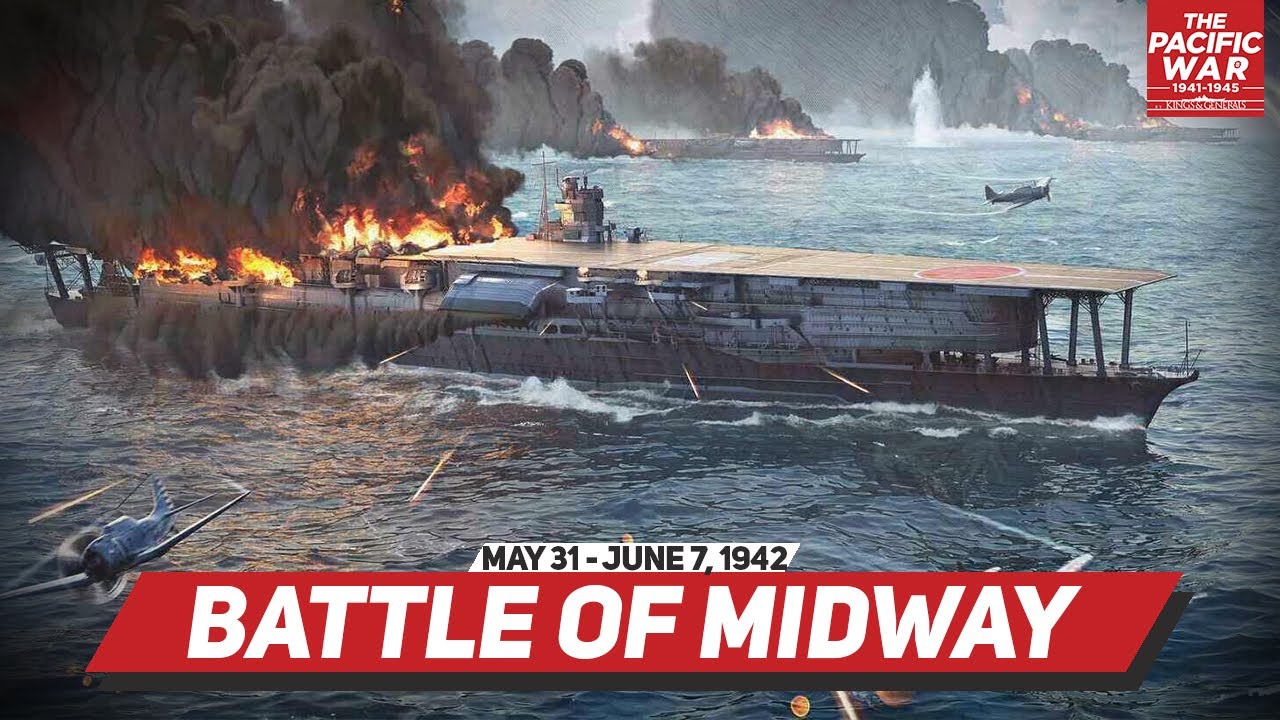
If ever a sledgehammer was used to crack an egg, it was then”. The IJN scored another major victory, but these victories would contribute to what many historians called “victory disease”, and the outcome will be seen later on in the Battle of Midway. Thanks to Call of War for sponsoring this video.
Click our link in the description to get an exclusive gift: thirteen thousand gold and one month of premium subscription for free, only for the next thirty days. We hope you enjoyed this episode and please join us for more Pacific War content released every week. If you don’t want to miss any episodes, so make sure you are subscribed and have pressed the bell button to see them.
Please, consider liking, commenting, and sharing - it helps immensely. Our videos would be impossible without our kind patrons and youtube channel members, whose ranks you can join via the links in the description to know our schedule, get early access to our videos, access our discord, and much more. This is the Kings and Generals channel, and we will catch you on the next one.