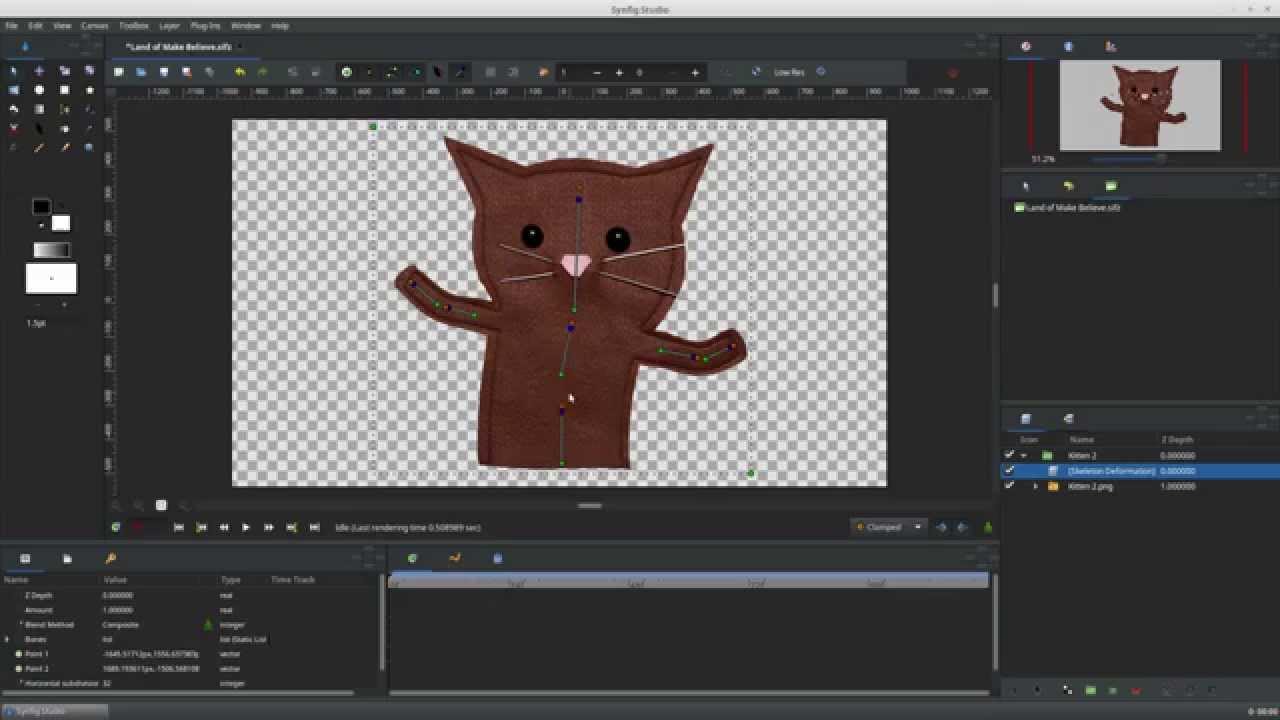
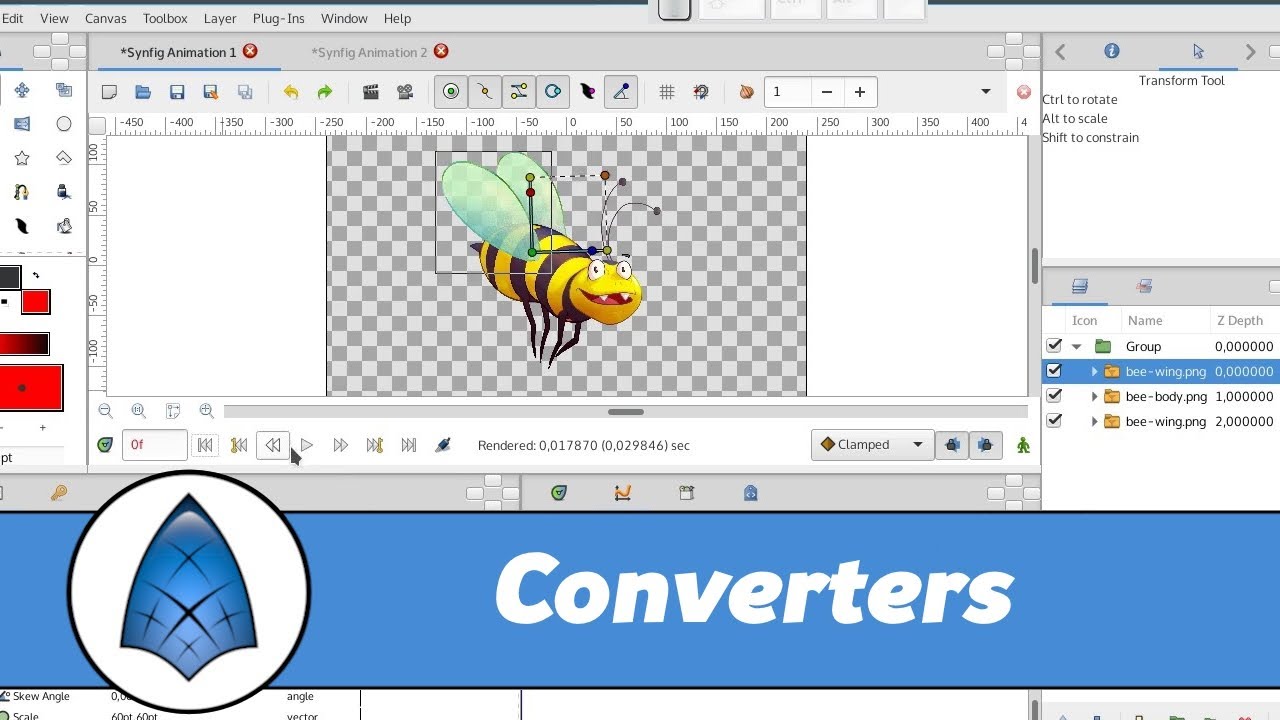
our character is ready and now we are going to create a simple animation here he is raising his left arm and then the right one looks simple let's take a try suppose our character lifts his right arm in 10 frames and then the left arm in another 10 frames it would be more convenient to change the scale of the time track move the mouse cursor over the gray Rule and scroll the wheel like this now let's switch to the animation mode next set the time cursor to the moment when the character should have his left
arm raised 10 frames and rotate the arm after that the second arm should start moving move the time cursor by another 10 frames and now rotate his right arm let's check the result oops it looks like something is wrong both hands start moving simultaneously from the zero frame while we need the movements to happen one after the other this happens because the position of the second hand in frame 10 isn't fixed that's why it starts moving right from the beginning this is easy to fix just move this Waypoint to frame 10. now it works since
the character is very simple the problem was easy to fix but in a more General case we have to work with much more complex characters constructed from dozens of layers and each scene could have several of them and each layer can have many parameters we need to keep an eye on obviously we need some functionality to manage animation on a higher level for this purpose we have keyframes keyframes are often confused with waypoints but in synfig they're not the same thing waypoints remember the value of a particular parameter at a particular point in time while
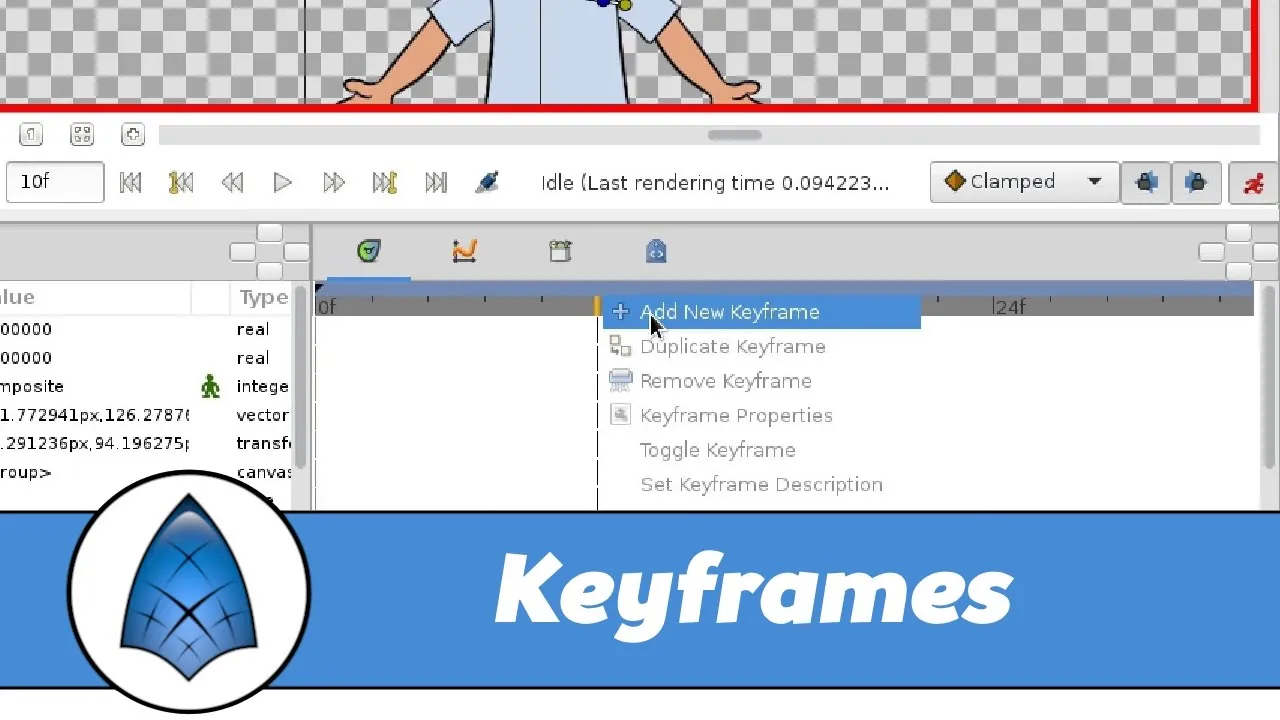
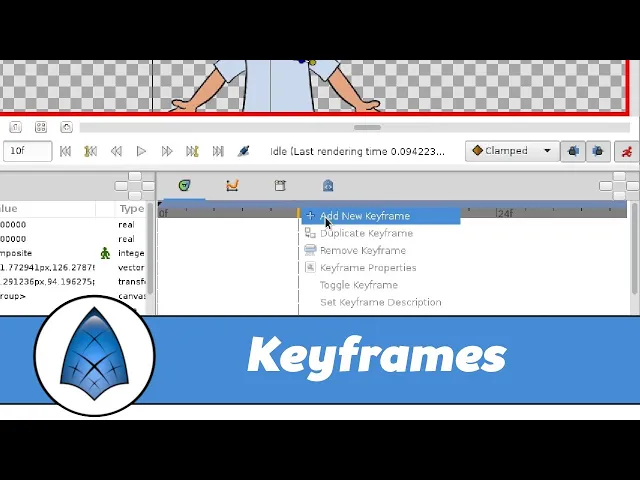
keyframes are also linked to a particular moment but remember the state of all layers at once let's see how it works let's try to recreate our animation from scratch first we have to remove the animation of both arms we already know how to delete waypoints one by one you can also remove all waypoints for a parameter just right click on the parameter and choose disconnect this method is especially useful when we have many waypoints okay we have all the animation removed so let's start keyframes are located on the blue strip right here every synfig animation
has a first keyframe created automatically here it is our character stands at the initial position let's make sure that the animation mode is enabled and go to the 10th Frame by the way you can use a special key combination control period to move the time cursor one frame ahead now create a new keyframe right click here we have a keyframe let's rotate the left arm done now let's go 10 frames ahead and create a new keyframe and rotate the second arm note that synfig has added an extra Waypoint to preserve the object's state of the
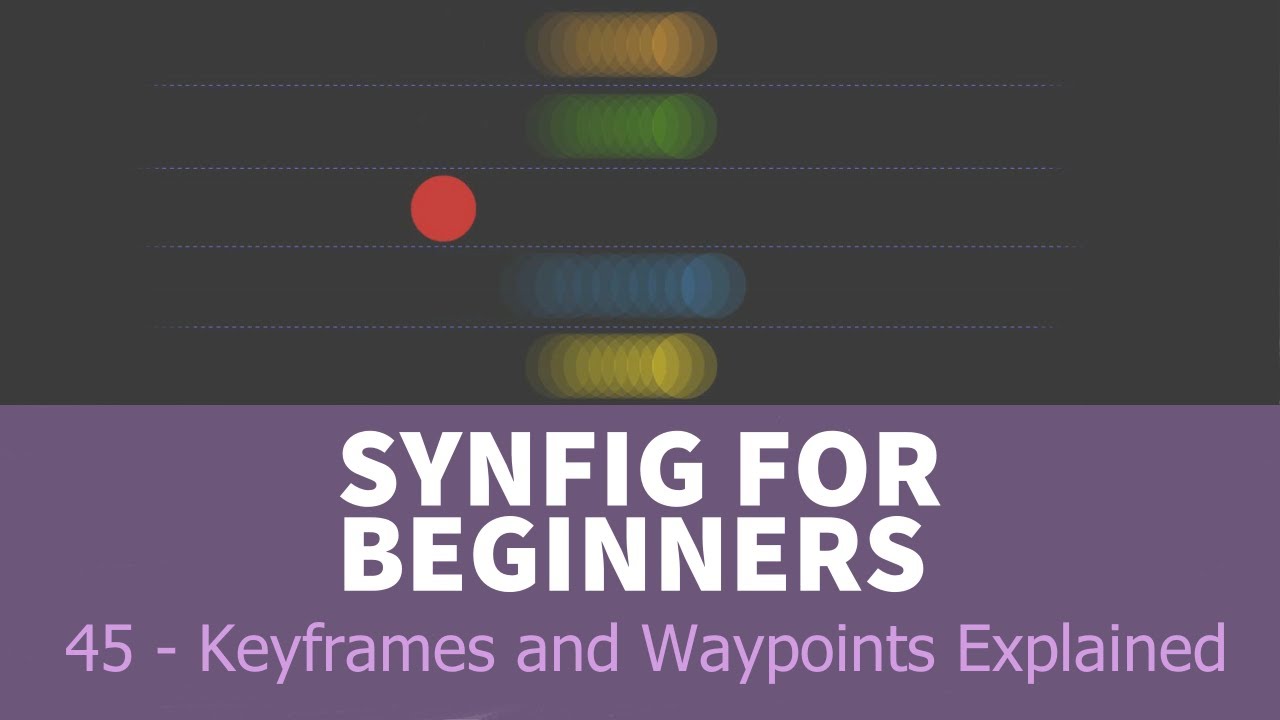
previous keyframe now the animation looks as expected without any additional fixes let's take a look at one more example of how keyframes work let's create a new file this will be animation of a ball moving up and then back down we already have one keyframe by default it's used to remember the state of objects in the very beginning create two more keyframes go to the second keyframe enable animation mode and move the ball upwards now three waypoints have appeared the middle Waypoint was created because we set a new position of the ball in animation mode
the other two were automatically created to save the ball's keyframed positions so the ball jumps upwards and falls back down synfig also has a special panel with a list of keyframes here you can name each keyframe and quickly jump from one keyframe to another just click the jump label here it's very similar to a link in web browser now I'd like to illustrate how keyframes help to manipulate waypoints let's get back to our character here we have two objects animated one arm and the other arm if we move a keyframe all waypoints at this time
location are moved as well we don't even need to select the objects sometimes you might need to move a keyframe together with all its subsequent keyframes in this case just hold alt and shift Keys when you move it like this we can copy keyframes from one moment to another just as we could with waypoints for example let's make our character return to his initial pose at frame 40. go to frame 40. right click the first keyframe and choose duplicate as you can see synfig has created all the required waypoints to put our character in the
same pose as he was on frame zero also it's not necessary to have animation mode enabled when we manipulate keyframes and one more thing to consider when we delete a keyframe all its waypoints would also be deleted take a look finally I would like to show you one more powerful trick that we can do with keyframes after frame number 40 let's make our character wave his hand foreign but in this case I won't place a keyframe for each position instead I will put one keyframe at the start of the action and one at the end
done now I've got two events two keyframes the character started waving his hand and he stopped waving now let's try to move the last keyframe and here's the trick moving keyframes automatically scales the waypoints between them thank you look how easily I can change the duration of the whole action


![Synfig moving [CAR] making on a road](https://img.youtube.com/vi/ESxbDOFJrQg/maxresdefault.jpg)