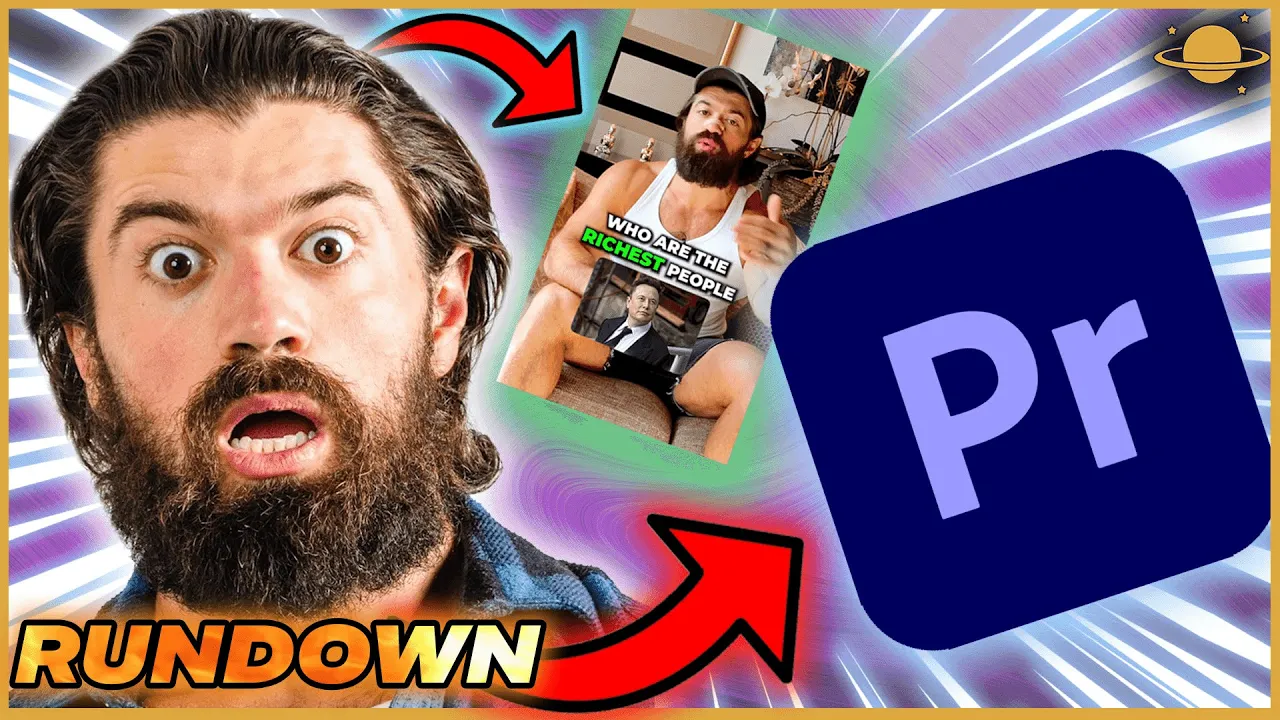
feel free to follow along with the rest of the video with the assets provided before you start your project search up adobe fonts log in and search Montserrat you'll want to download the black font type so now let's burn through these first few steps of the walkthrough to get to our captions import your clip make your initial Cuts copy your timeline Ctrl n reformat from 16x9 to 9x16 1080 by 1920. paste your cut up clip in the effects panel search auto reframe and apply it to one of your Clips in the timeline if you don't like the position you can adjust them here with these horizontal and vertical axes position points once you get it to where you like it click the effect right click to copy highlight the rest of your clips and press Ctrl V this should duplicate the frame settings across your timeline and here's a bonus if you're recording good dialogue audio go to the effects panel search multi-band compressor and apply it to one of your pieces of audio select the effect on the timeline and navigate to the effects control panel click the edit button next to the custom setup Tab and once the compressor pops up click the drop down on the top of the mixer and select the broadcast preset and close the effect copy the effect and spread it across your remaining dialog tracks one note just make sure to not apply it on the clip that you already have the effect on but you might notice the start difference if that happens now on this walkthrough through we are not using the captions or transcription tool to create the subtitles in Premiere you suck you still cannot add any effects to the captions for whatever reason so we're going to have to make our subtitles or captions whatever you want to call them with text layers so this is where our friend finzar with his presets come in handy so let's go ahead and import those so after you downloaded and extracted my preset file to a place you can get to in Premiere navigate to the effects Tab and right click and select import preset find the finsar preset and Bam in the presets tab you now have all of these beautiful animations for your text layers and you can also use them for your graphics now let's get started on your subtitles press T and hover over your video and type in a word hit Ctrl a to select the word and navigate to the effects control panel and the effects control panel click the drop down arrow on your text graphic once that's open select monocerat your black font enable the center align and enable all caps by clicking on the two Capital T's I'll keep my fill white my stroke black and when you're on the stroke setting make sure you select outer make the point about 15 and enable the Shadow and also make that black use these shadow settings 92 percent for the opacity 90 degrees 4. 8 for your distance 12.
4 for the size and 44 these softness is this starting to look familiar select the move tool and select the text on your video and hold Ctrl to lock your text and drag it in the middle of the video you should see these dotted lines come up so now you've basically created your template so let's save it so we could keep using it over and over again go into your timeline select your text layer go to the text in the effects controls panel select it right click save preset and I'm just going to name it Alex or Mosey text and make sure you toggle anchor to endpoint and click ok so say that we're going to start this from scratch I'm going to press t on my keyboard and I'm going to hover over my video click it and don't type anything now I just go into my effects panel go into my presets and there it is Alex from ozitex drag it onset graphic and there it is like nothing ever happened we didn't have to mess with any of those settings again because we made this preset now you have your text templates so going forward as you do these projects for different clients you can save the font types for each of your clients so there's no guessing or use for you to go back and look in them up and recreating them over and over again kind of like those captions disgusting but now since they're presets they're always going to be there all right drag severe text layers to the length of your clip and start typing out your clip every two to three words once that is finished you can now apply some of your finzar presets what I like about these is that you have some options and just keep in mind where they land in your frame and as you go through these you can rotate the text under transform if you do it under Vector motion it's going to move in an arc so just a note if you want to get there make sure that you're under transform just like the captions you can select specific words and letters and fill in different colors and change the size is as you need them and don't be afraid to get creative with it you can change the the font type or whatever like you have full capability and you shouldn't have any real Hang-Ups with this method let me know your thoughts on something and send me your questions down below if you have them if you want to hire us to make these clips for you please contact us at saturnsring. biz gmail.