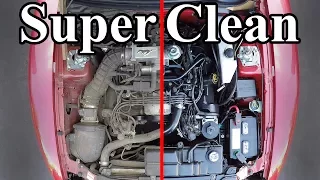
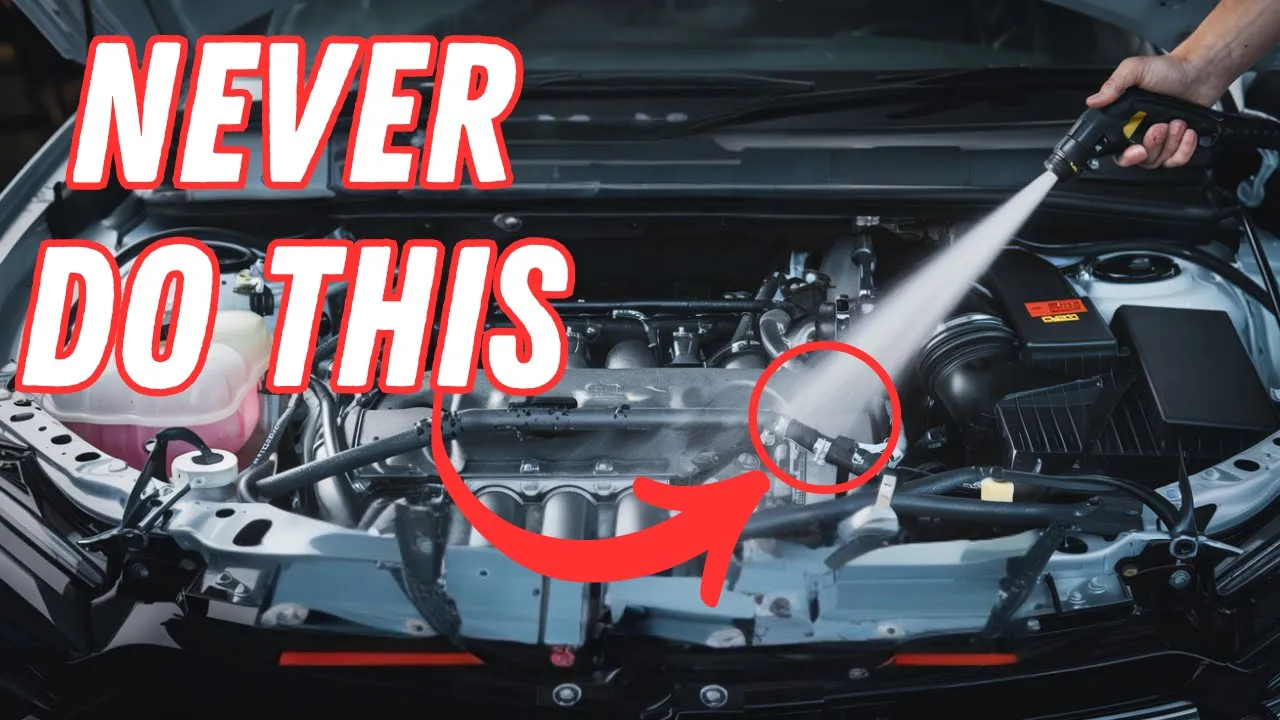
did you know that a clean engine bay can actually improve your vehicle's performance and Longevity but here's the catch most people clean it the wrong way and end up damaging critical components like the alternator ignition coils or even the electrical system in this video I'm going to break down the biggest mistakes people make when cleaning their engine bay and more importantly show you the right way to do it safely and effectively whether you're a DIY car Enthusiast or just want to keep your vehicle in top shape you don't want to miss this stick around because
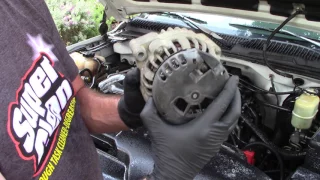
by the end of this video you'll know exactly how to keep your engine bay looking spotless without causing costly damage let's get started number one spraying water directly on the alternator one of the worst things you can do when cleaning your engine bay is spraying water directly on the alternator why because your alternator is not waterproof most alternators are air cooled and have open vents meaning if you soak it with water that moisture seeps inside and stays there leading to internal corrosion short circuits or even a completely fried charging system a few weeks later and
the worst part you won't even notice the damage right away your car might start fine today but a few weeks down the road you'll start hearing a high-pitched whine from your alternator or Worse your battery won't charge properly and suddenly your car won't start so what should you do instead if you're cleaning your engine bay come cover the alternator with a plastic bag or aluminum foil before rinsing anything down it takes 10 seconds and could save you hundreds of dollars in repairs if you really need to clean the alternator itself use a dry brush or
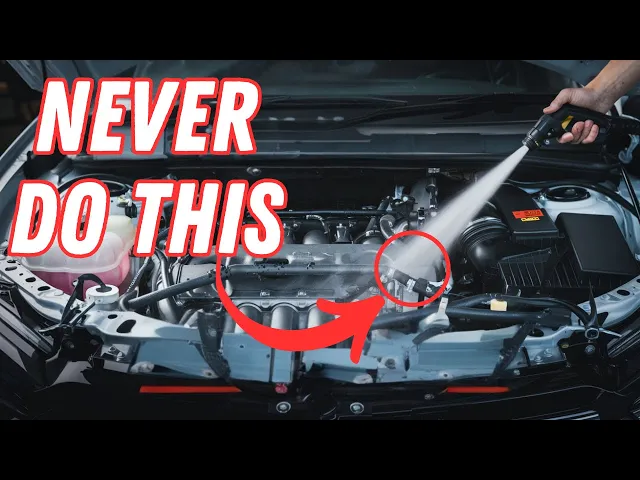
compressed air to remove dust and debris number two using a pressure washer on electrical connectors modern electrical connectors are waterresistant not waterproof that means they can handle a little moisture from rain or humidity but when you hit them with a high press jet of water you're basically forcing water inside the connector and that's where the nightmare begins at first you won't notice anything wrong the car starts fine everything seems normal but over the next few weeks or months that hidden water inside the connector starts causing corrosion the metal contacts inside slowly degrade and suddenly your
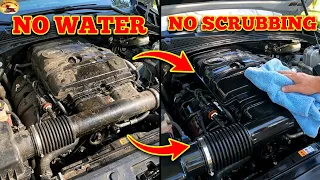
car develops mysterious electrical Gremlins maybe it won't start one day maybe your check engine light comes on for no reason maybe you lose power to critical sensors and now now you're stuck diagnosing an electrical nightmare that all started with a simple wash so what's the right way to clean your engine bit instead of pressure washing use a damp microfiber towel and a detailing spray to wipe down surfaces if connectors look Dusty use compressed air to blow away debris and if you absolutely need to clean an area with water cover the connectors with plastic bags and
only use a gentle Mist never high pressure number three cleaning a hot Engine with water when a scorching hot engine suddenly gets drenched in cold water the rapid temperature change causes metal and plastic parts to contract too quickly leading to cracks and critical components like the radiator exhaust manifold or even the cylinder head and that's not all O2 sensors and air fuel ratio sensors are extremely sensitive to sudden Cooling and this temperature shock can fry them instantly one wash could cost you hundreds even thousands of dollars in repairs what should you do instead always let
your engine cool down for at least 30 to 60 minutes before cleaning A good rule of thumb if you can touch the engine comfortably it's safe to clean use a microfiber towel and a detailing spray to wipe down dust and grime instead of soaking everything with water if you must use water only use a light mist and never spray directly on sensitive areas like sensors coil packs or the alternator number four allowing water to pool in ignition coil Wells you might not see it happening but water cooling around your ignition coils and spark plugs can
silently destroy your engine's performance when water seeps into these Wells it leads to misfires corrosion and even permanent damage to the ignition system and the worst part you won't realize there's a problem until your engine starts running rough or won't start at all how to avoid this never spray water directly near ignition coils or spark plug Wells use compressed air or a microfiber towel to dry any moisture that collects if cleaning with water cover ignition components with plastic bags to keep them dry a little Caution now can save you from expensive ignition coil Replacements later
number five spraying harsh chemicals on plastic and rubber components using strong degreasers or brake cleaners might seem like the easiest way to remove Grime but these chemicals can dry out discolor or even crack plastic and rubber Parts under your hood engine covers hoses and wiring insulation can become brittle over time leading to expensive repairs or premature wear what should you do use a mild engine safe Degreaser and always test on a small area first avoid using brake cleaner on plastic or rubber it can weaken them instantly for best results use a microfiber towel and a
plastic safe cleaner to wipe down surfaces a clean engine bay is great but ruining key components with harsh chemicals number six not covering the intake and electrical components one of the biggest mistakes people make is for getting to cover critical components like the air intake fuse box alternator and exposed wiring water in these areas can lead to hydrolocking short circuits or complete engine failure and that's a repair bill you do not want to deal with your air intake feeds air directly into the engine so if water gets inside it can mix with fuel and cause
serious internal damage likewise electrical components like fuse boxes and wiring harnesses aren't designed to handle direct water exposure leading to mysterious electrical issues that could take months to show up what should you do before spraying anything cover sensitive components with plastic bags or waterproof tape use a damp microfiber towel or compressed air to clean around delicate areas instead of soaking them avoid spraying water directly into any openings especially near the intake battery and sensors number seven using the wrong type of water for rinsing you might think it's just water what's the big deal but using
hard tap water to rinse your engine bay can lead to Mineral buildup corrosion and ugly water spots on metal and plastic surfaces hard water contains minerals like calcium and magnesium which over time can leave behind stubborn deposits that degrade engine components and electrical connections what should you do instead if possible use distilled or deionized water for a spot-free rinse and to prevent mineral buildup if only tap water is available wipe surfaces dry immediately to avoid water stains use compressed air to blow out trapped water in connectors and crevices to prevent corrosion number eight not drying
the engine bay properly after cleaning you finished cleaning your engine bay and it looks spotless but if you don't dry it properly you could be setting yourself up for rust corrosion and electrical issues down the line leftover moisture can seep into connectors sensors and metal components leading to slow corrosion that won't show symptoms until months later worse trapped water in electrical connections can cause intermittent faults misfires or even prevent your car from starting when you least expect it how to dry your engine bay the right way use compressed air to blow out water from tight
spaces connectors and crevices wipe down all surfaces with a dry microfiber towel to remove standing moisture let the hood stay open for 30 to 60 Minutes to allow any remaining water to evaporate if possible start the engine and let it run for a few minutes engine heat will help dry out hidden moisture number nine overusing shine or dressings on engine components everyone loves a clean showroom fresh engine bay but applying too much shine or dressing can actually do more harm than good many commercial engine bay dressings contain silicone based ingredients which leave surfaces looking glossy
but also attract dust and grime making your engine get dirty faster over time these products can build up on rubber hoses plastic covers and wiring insulation leading to premature drying cracking or even making belts slippery which can cause performance issues how to safely enhance your engine Baye appearance use a light water-based dressing that won't leave a sticky residue applying dressing sparingly a small amount on a microfiber towel is enough avoid getting dressed on belts and pulleys as this can cause slipping or squeaking number 10 forgetting to check for leaks after cleaning you just finished cleaning
your engine bay everything looks spotless and you're feeling great but if you forget to check for leaks afterward you might be masking serious mechanical problems a clean engine makes it easier to spot leaks but if you washed away oil stains coolant residue or power steering fluid marks without checking where they came from you could be ignoring early warning signs of a bigger issue leaks are often slow and gradual meaning you may not notice a problem until it's too late like an overheating engine low oil levels or a failing transmission if you clean without inspecting first
you lose valuable clues that could have helped catch a problem early and save you hundreds what should you do instead before cleaning inspect the engine bay for any signs of leaks look for oil spots dried coolant residue or damp areas near hoses and gaskets take a photo of any potential leak areas so you can recheck them after cleaning after cleaning start the engine and let it run for a few minutes then check again for any fresh leaks if you notice a leak after cleaning don't ignore it identify the source and fix it before it turns
into a bigger problem that's all for today if you found these tips helpful then do not forget to like subscribe and share the video with your friends