In this tutorial, we'll explore how Manim handles the external files including images and svgs. And in addition to that, we'll also dive into how we can render equations or expressions in Manim. [MUSIC] So, without further ado, let's jump right in.
[MUSIC] In Manim, what we've learned so far is to create Mobjects, it involves assigning points at specific locations. But, this becomes challenging when dealing with complex figures. Fortunately, ImageMobject simplifies this process by allowing us to easily incorporate images into our scenes.
Before we start using ImageMobject, we need to tell Manim where to look for the images. . for the files.
By setting a custom configuration, we can ensure that Manim can easily find image, svg or sound files that we might use in the future. Let's go through the steps to setup a custom configuration. To start with, you need to open the terminal and head on to the directory of your Manim projects, and type the command `manimgl --config`.
Follow the on screen instructions about the relative paths of the raster and vector (svg) images. If you are unsure of anything, you can press Enter which set the path to 'None' for now which you can change it later. According to the official documentation of ManimGL, this should be the structure of your Manim directory.
Notice the location of 'config. yml' The advantage of this approach of setting the custom configuration is that you can set different configurations for each project. .
for each of your folder(s). [MUSIC] After completing this basic setup, Manim will know exactly where to look for the specified images. Let's head back to the editor and instantiate a variable `img` to `ImageMobject` and provide the name of the image file.
One of the interesting aspects is that `ImageMobject` is a subclass of `Mobject`, which means we can modify it just like any other `Mobject`. We can move it, rotate it or even scale it. Essentially, any method we apply to an `Mobject` can also be applied to `ImageMobject`.
Isn't it simple? ? The disadvantage of using such an approach is that we can't modify the individual parts of the image.
For instance, consider an image of this car. If we want to rotate its wheels or just try to change its color, it's not possible to achieve such functions. To enable those features, we can convert this image into an SVG file and use the class `SVGMobject`.
This class takes the svg file and transforms all the curves into Mobject data points. Basically, SVGMobject gives you the feasibility to assign every part of this figure into its own variable. .
into its own subparts. This way, we can choose how to dissociate any svg into its subparts and set the color or even rotate any of its subparts to make them more expressive. Moving on, SVGMobject has a subclass `StringMobject`, and as the name says, the role is to display the text or strings on the Canvas.
Just as we saw earlier, the CoordinateSystem is an abstract class, so is this one i. e. , StringMobject acts as a base class for all its subclasses: Tex and MarkupText.
If you are familiar with the LaTeX format, you might know that Tex renders as an SVG which, in Manim, can be modified by SVGMobject. `Tex` is used to express mathematical equations or expressions in LaTeX format, and the `MarkupText` is designed for the non-LaTeX strings to be displayed on the Canvas. MarkupText is completely based on PangoMarkup, which the ManimCommunity documentation describes as "a small markup language like html.
" [MUSIC] Here's a basic example of using MarkupText. In line 4, we see a basic markup format to render MarkupText. If you surround any word with the i-tag, it will render it in italic style as shown in line 5, and to make the text bold, we can surround the word with the b- tag as demonstrated in line 6.
Although we rarely use `MarkupText` class but its subclasses Text and Code. . they are very useful, and that's what I am most interested in.
With the `Text` class, we can choose our preferred font, we can use ligatures in the Code, and we can style the text bold or italic, or even emphasis it. In a Nutshell, we'll be using these main classes to display text in Manim. We have the `Tex` which is for the mathematical expressions or equations.
and then we have a subclass of `Tex`, which is TexText, that is for displaying normal text in LaTeX format and the last, we have the `Text` class which is for easily using any font to render the text or the strings on the Canvas. In addition to this, Manim also provides the functionality to colorize the strings. For the LaTeX format strings i.
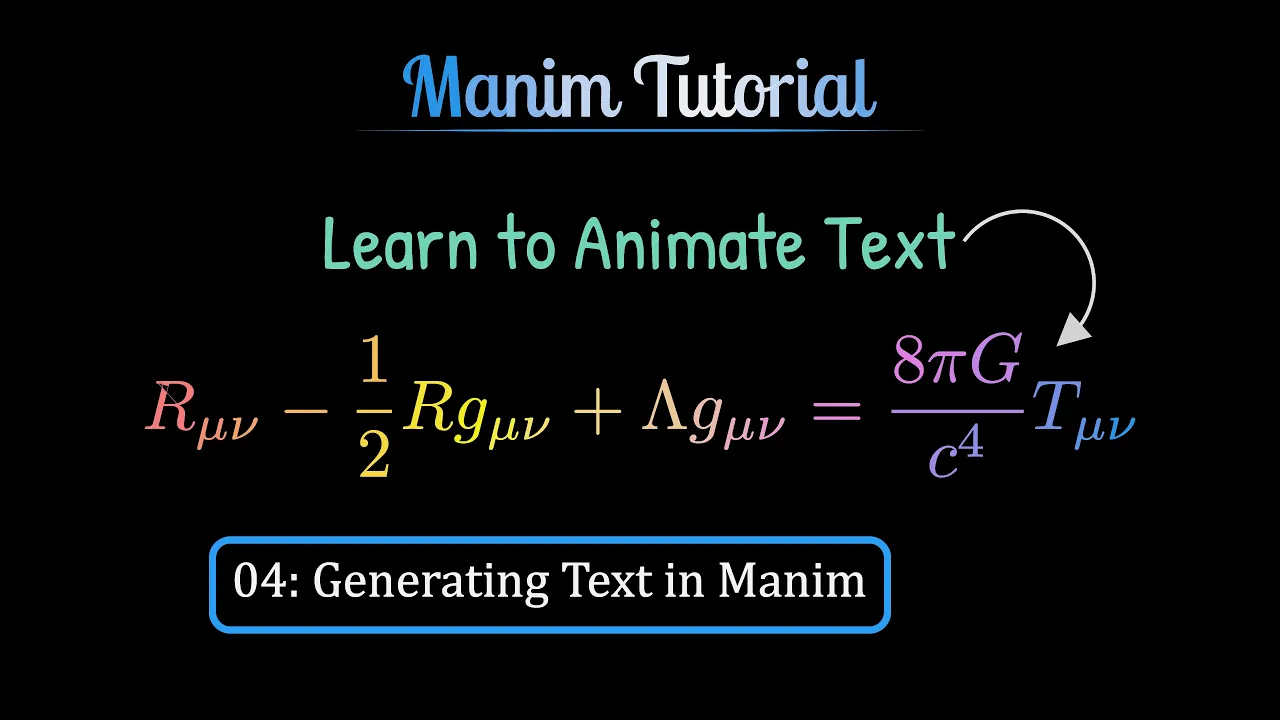
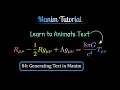
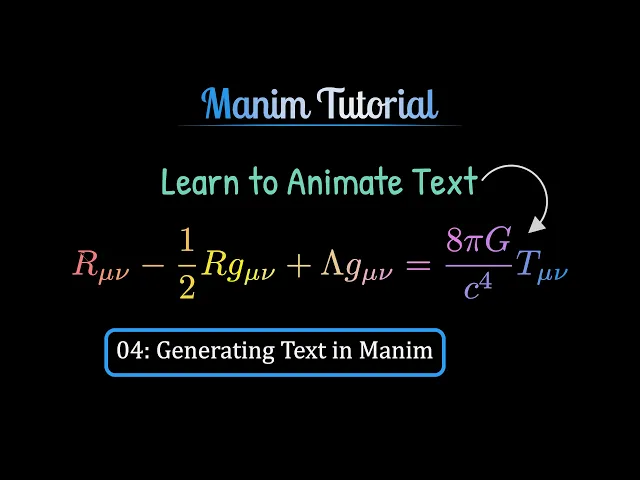
e. , for Tex and TexText classes, `tex_to_color_map` allows us to colorize each character. Take this Space-Time curvature expression, for instance.
One way to set color is by passing the specified symbol with the color as dictionary items. Just as we can see in the highlighted line, the argument `tex_to_color_map` specifies the PINK color to the symbol 'G'. Another way to animate the dynamic color property is by indexing the string.
Imagine, I want to change the color of Ricci Tensor, which is this one. Well, in this case the index is 0, that is pretty straight forward. However, counting the index of symbol like the cosmological constant, lambda here, can be very cumbersome.
A better approach is to isolate the characters using the argument `isolate` and passing the array of the characters we need to isolate them like lambda, the ricci tensor or maybe more. Just as I can isolate the cosmological constant (lambda) and highlight it with BLUE color and even I can emphasis it on the Canvas. Would you like to try setting the color of this symbol, the energy-momentum tensor?
? We can even set the gradient of colors to the whole string, by using the method `set_color_by_gradient` and pass an array of colors as argument. Now, moving on to the non-latex category of string: `Text`.
It provides a wide range of parameters to modify the strings. Besides coloring with the argument `t2c`, we can make some of the words slant with the argument `t2s`, or we can even change their weight. .
their font weight with `t2w` argument, and moreover, we can even assign different fonts to different words with `t2f` argument. Isn't it amazing? [MUSIC] And I'd like to take a moment to Thank You for watching this video.
I hope you learned something unique today, something new maybe, and if you did, do not forget to hit that like button. And I'll see you in the next video.


![Learn Manim - Full Course for Beginners [Tutorial]](https://img.youtube.com/vi/KHGoFDB-raE/maxresdefault.jpg)