when it comes to DIY one of the most useful versatile and let's face it satisfying tools to use is the brad nailer from attaching trim or crown molding to securing baseboards and so many DIY projects this tool has tons of uses but at the same time some beginners run into issues that can be easily avoided with just a little knoow I'm Shannon and in today's video we're going to talk about five tips and tricks to get the most out of your bread na every time you pull this out of your tool bag Welcome to The
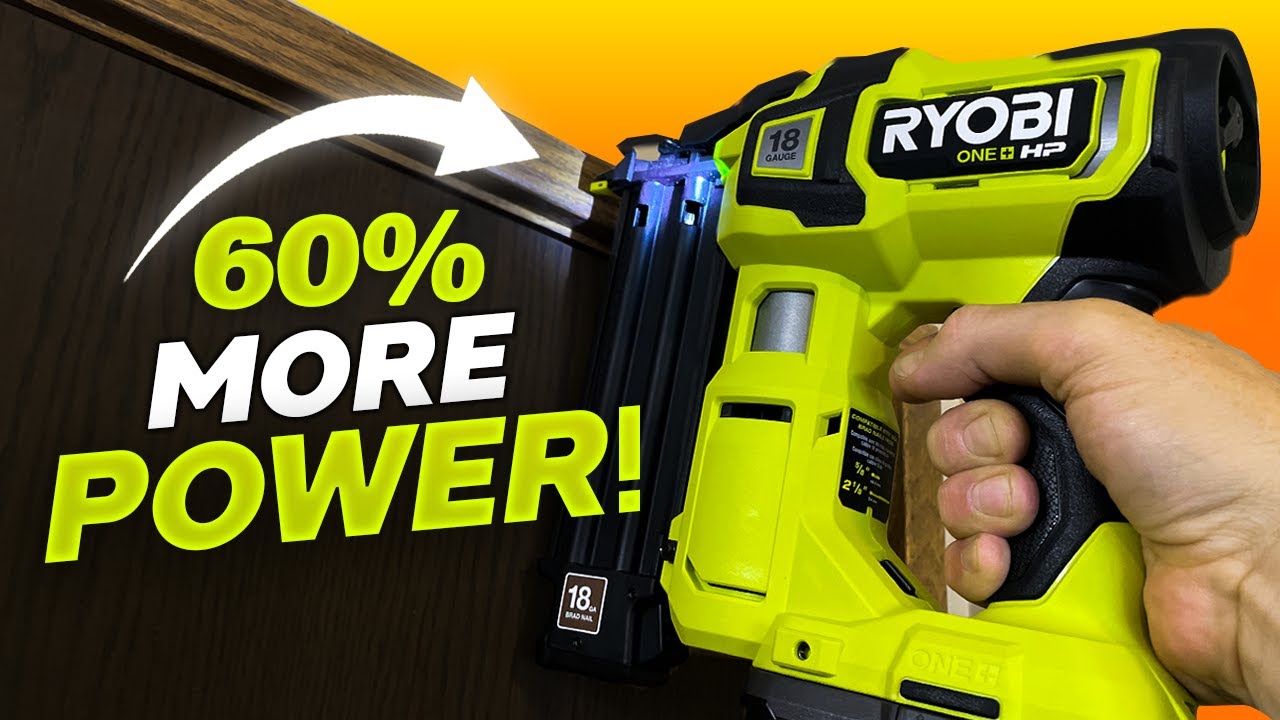
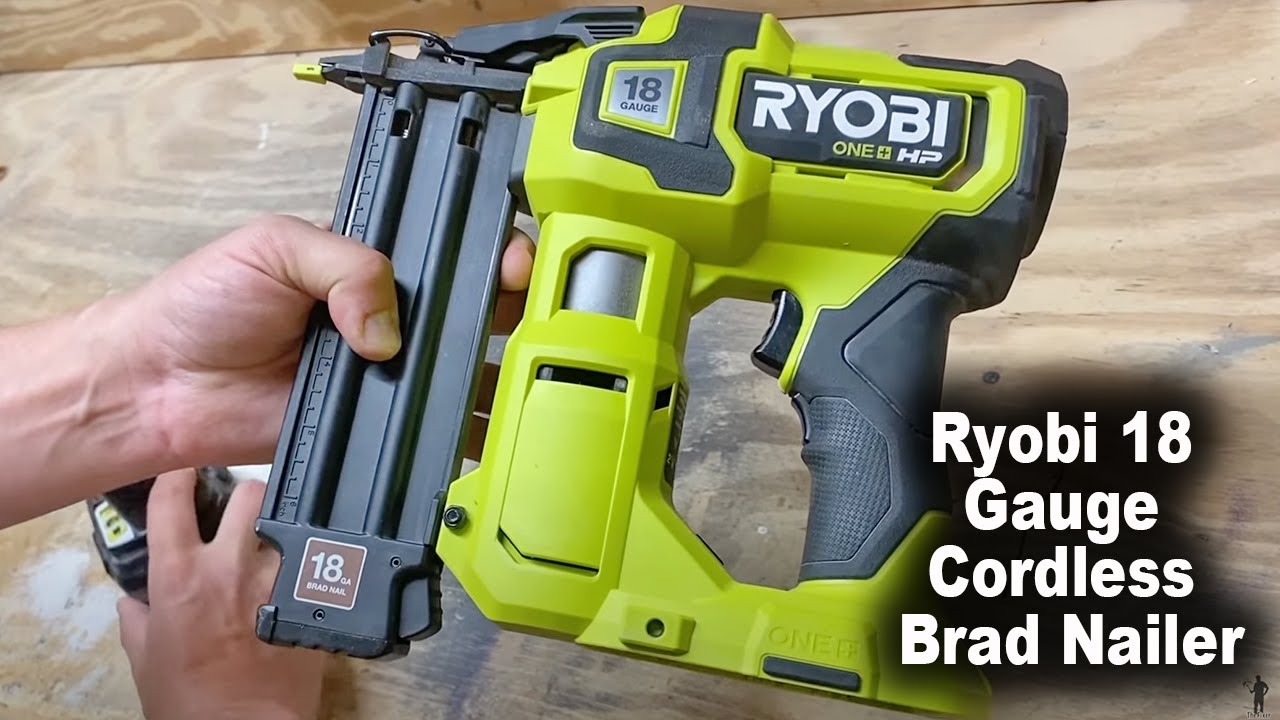
Beginner's Guide before we get started be sure to subscribe and hit that notification Bell so you can be the first to hear about new product announcements DIY projects how-to videos and so much more the first tip is the importance of understanding gauges and what exactly that means your brad nailer is an 18 gauge which is in reference to the thickness of the nail as the gauge of the nail increases the diameter of the nail decreases this is important to know because when you're shopping for nails at the Home Depot you're going to come across all
sorts of different nails and to the untrained eye something like a 16 gauge nail and a 18 gauge nail don't look all that different but in practice the wrong gauge will damage your nailer and cause all sorts of problems that you want to avoid tip number two is to make sure you're using the correct length nail for your project 18 gauge brad nails come in/ in to 2 and 1/2 in in length using a nail that's too short won't give you a secure hold between two pieces and on the flip side using a nail that's
too long could result in your nail blowing out the back of your material A good rule of thumb is to use a nail that's about a/ qu inch shorter than the thickness of the two pieces you're securing for example if you're attaching two 1/ in pieces together that gives you a total of 1 in so your nail length should be 3/4 in Long the third tip is to always clamp your material together when attaching two individual pieces this would apply for something like a DIY project rather than attaching trim or baseboard this is important for
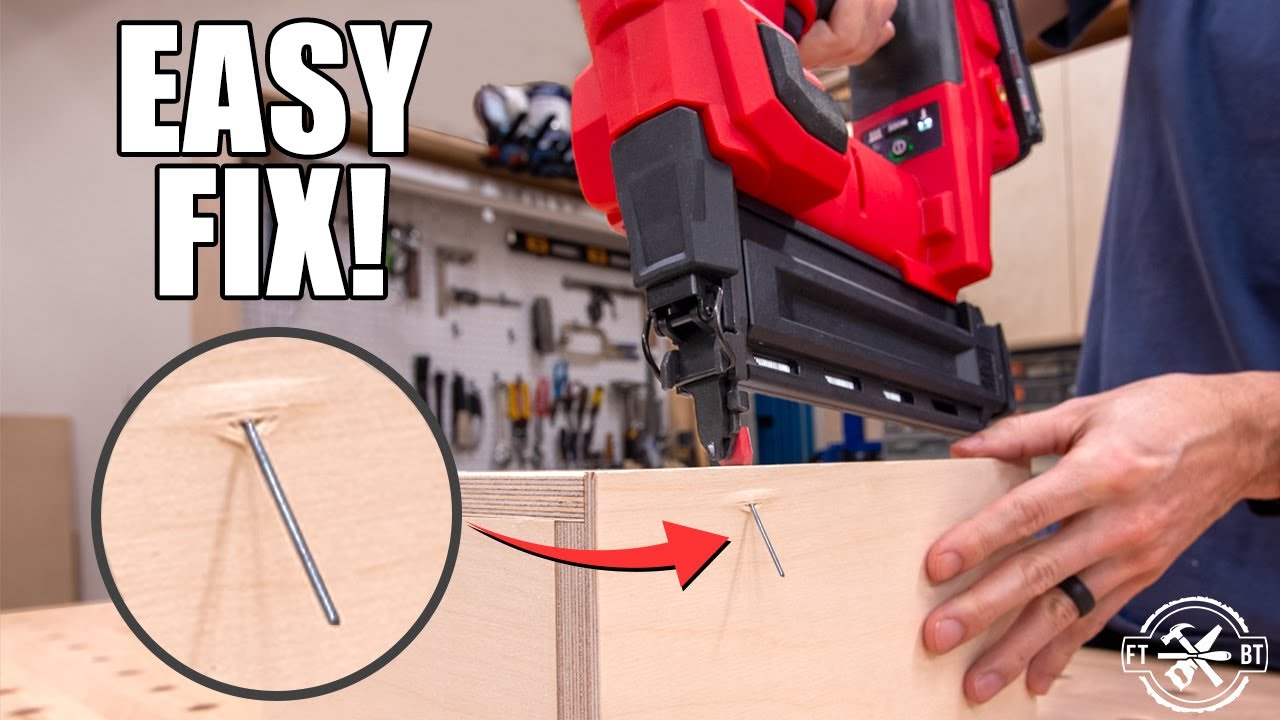
two reasons one when your pieces are not properly secured it could easily result in driving a mangled nail which could damage your workpiece and ruin your project second more importantly without clamps you're likely going to have to hold the two pieces together with your hand and that can be incredibly dangerous just as a bonus tip you always want to keep your hands away from the drive path to avoid an accident and for those reasons always have the pieces clamped and secure tip number four is to understand how to properly adjust your nail depth using the
onboard dials to avoid overdriving or underd driving your nail for example with this RI brad nailer the adjustment dial on the back of the tool regulates the air pressure which affects how deep that nail is going to sink plus you've also got the additional option to fine-tune that depth with the depth of Drive adjustment a lot of times times getting the right setting is going to come down to trial and error so it's always good practice to use a scrap piece of material to find the perfect depth for your project the fifth and final tip
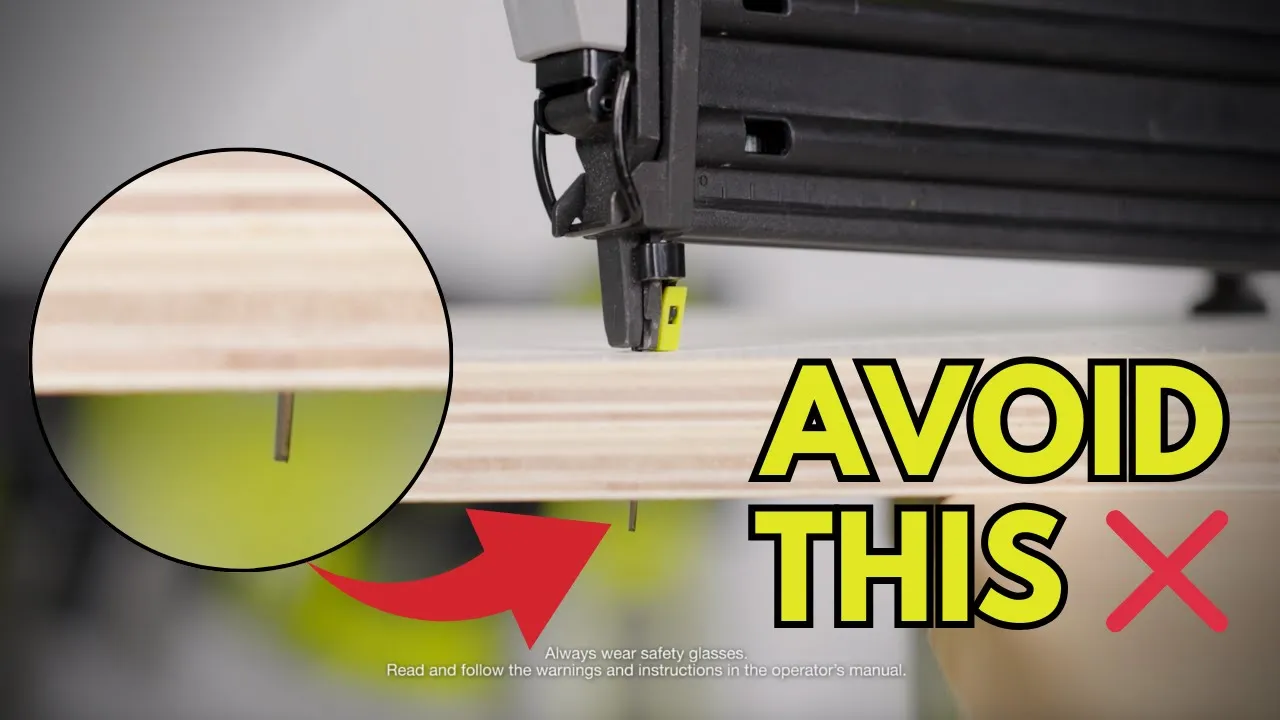
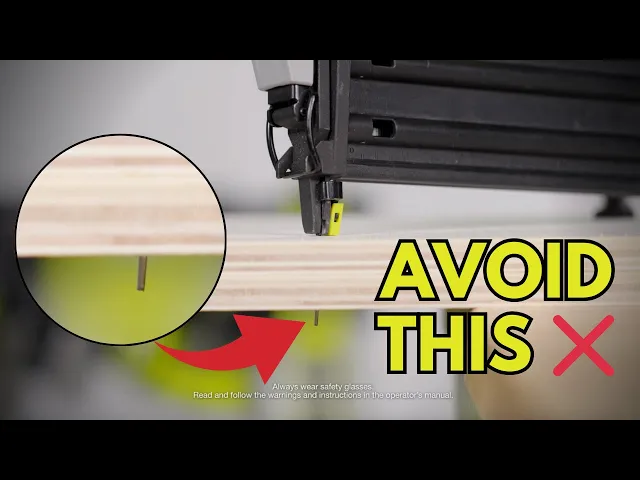
is to understand that the angle at which you hold your nailer is what will determine where your Brad nail will enter your material this tip is especially important when attaching two individual pieces at 45° for a project like a picture frame like we talked about in our drill tips video it works like the steering wheel in a car where you direct the wheel is where your car or nail in this case is going to go by understanding this first and foremost you'll be able to keep your hands clear of the drive path preventing potential accidents
while driving nails you'll also prevent your nail from blowing out the side of your material and possibly ruining your project which is why it's always recommended to Center your nail or on the material and drive straight down to avoid that lastly it can cause you to underdrive your nail even if you correctly set your depth of drive like we talked about in the previous tip just remember a proper setup will give you the straight flush Drive you're looking for every time and that's all five tips and tricks leaving you five steps closer to using that
Brad Nailer to conquer your next project be sure to check out our drill driver beginners guide video for more helpful tips and tricks thanks for watching and we'll see you next time if you enjoyed this video be sure to like share and subscribe to stay up to dat with all our new content like the tools 101 series beginner's guide our howto DIY series and so much more
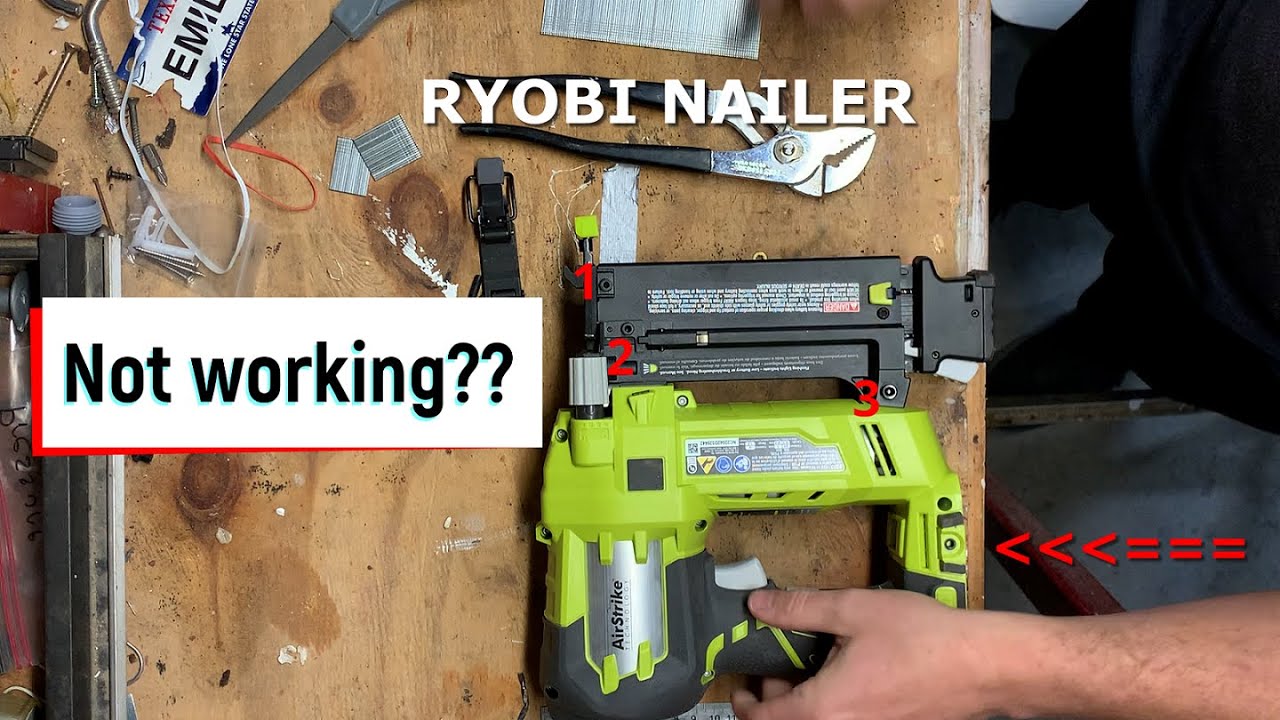

![[STEP BY STEP] Ryobi P320 Airstrike Fix (not firing nails)](https://img.youtube.com/vi/w9-noJgnwlc/maxresdefault.jpg)