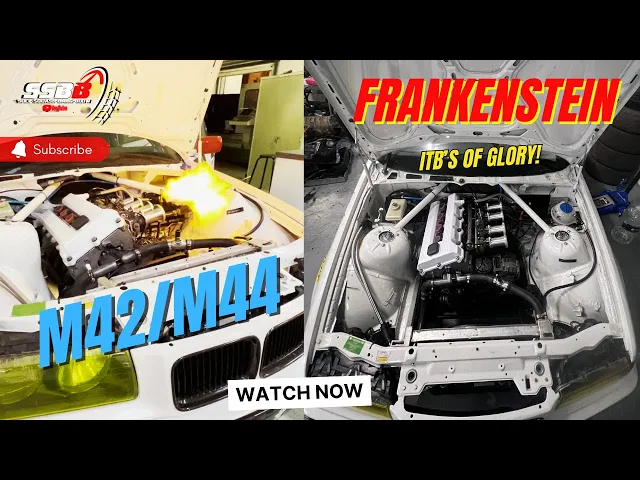
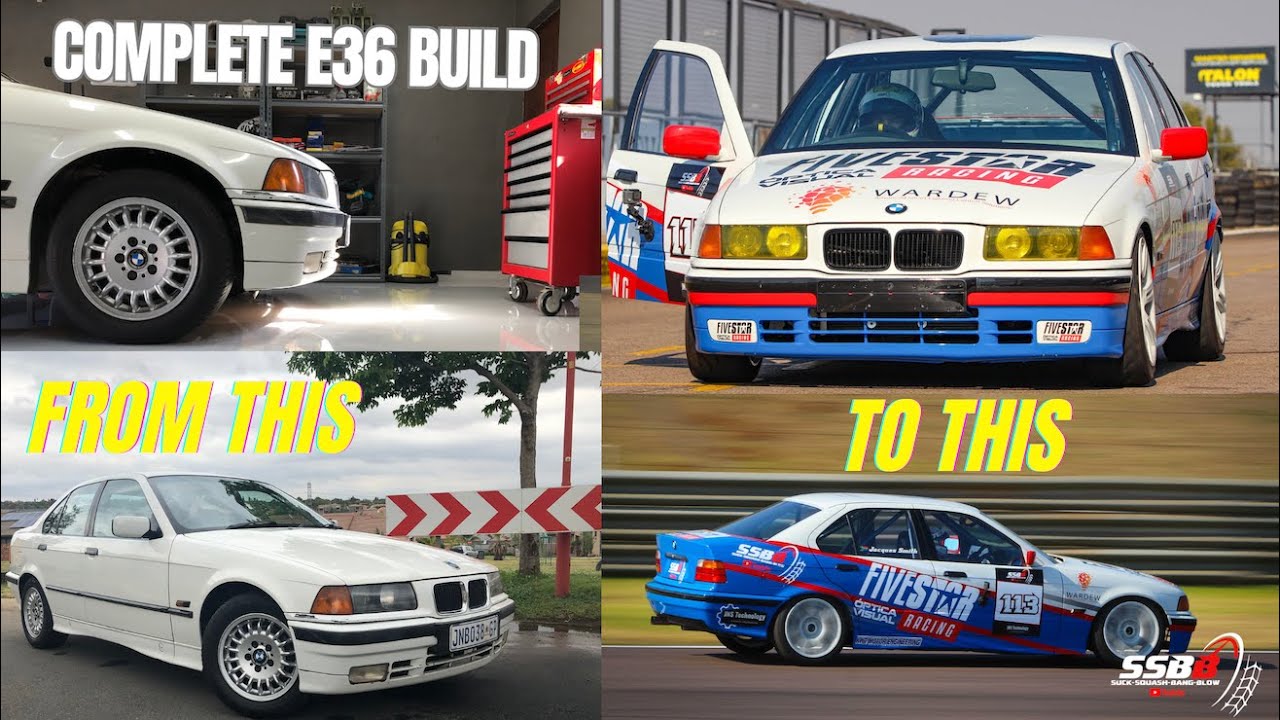
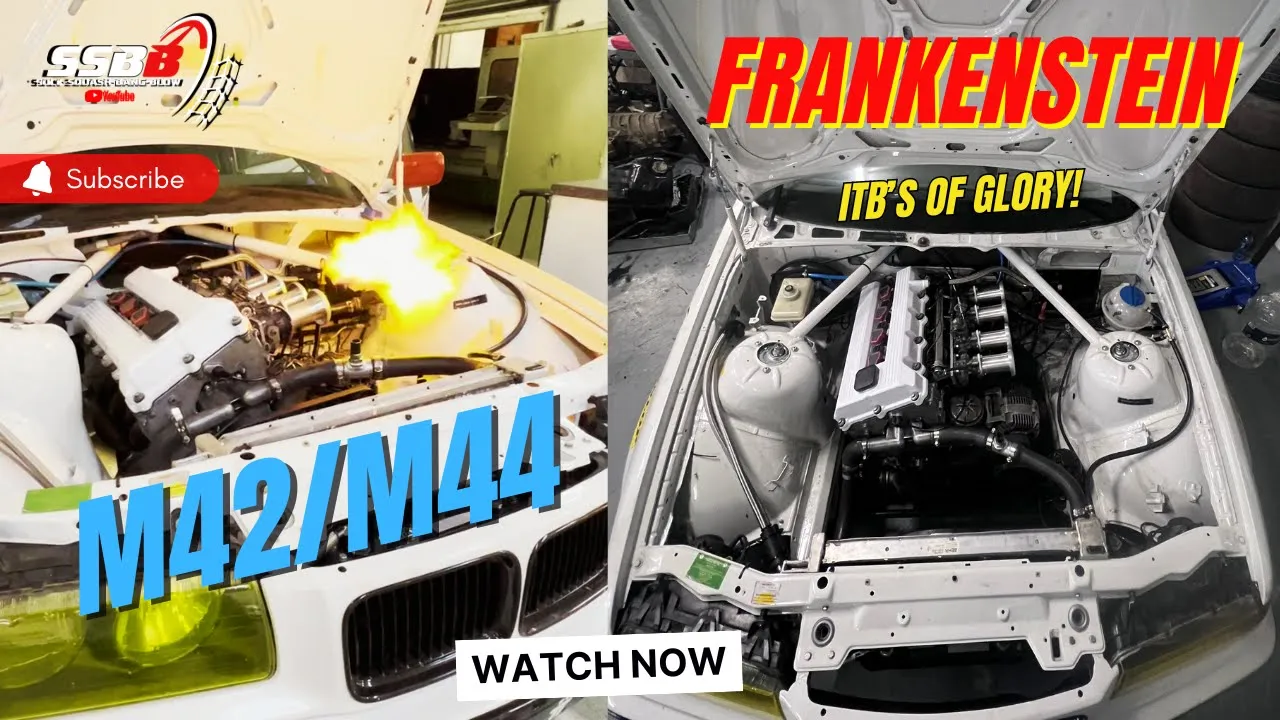
all right testing take one hopefully I get this right I got to add some emotion so when I started this project the idea was to do something that no one else was doing to bring back some love to a very special time in Motorsport history and a very special engine used all around the world but the goal was to do it in a way that is achievable to any Enthusiast without spending a ton of money but still getting a very good result a result that is obtainable and not just to throw a bunch of money
at something build or develop something and have no real pride in it create something that's difficult a challenge but yet still obtainable this is the story of my m42 m44 Frankenstein build all the trials all the challenges I faced building this engine and all the pride and the happiness I gained throughout the whole process please join me on This Magnificent Journey it's going to be a technical one I hope you enjoy [Music] it all right so as I take you through the story please excuse there's a bit of background noise that is the wind blowing
outside the workshop so I apologize if that comes through on the microphone this story is going to follow various different steps of the whole build process so stick around as we jump into step one so initially I went I used Facebook Marketplace and I've got a donor engine this engine was the actual m44 engine because the m42 is were really difficult to find and at that stage I just thought okay well we're going to try a very basic mild upgraded m44 and throw it in little did I know behold ladies and gentlemen the mighty BMW
m44 b19 this came out in the E36 318 I and uh 318i um the predecessor was the m42 v19 which was a very similar engine just with some different internals and what what but it's very difficult to find those engines now considering that this is pretty much a 30-y old engine so I am going to uh see what I can do with this engine why do I have this engine well because I like tinkering and I thought we would do a bit of a throwback to the '90s touring cars some of them ran these engines
obviously a very modified version of these engines so I'm not going to run a I'm not going to recreate a touring car engine because that would cost unhuman likee money so what we're going to do and what well what we're going to do is I'm going to pretty much um strip this thing down that's the goal for today strip it down I want to see what condition the head is in and I want to see what condition the bow is in the Pistons are in I don't think we'll strip the bottom end but I would
like to measure the compression ratio if I can still do that this evening and uh just see what we got to work with here what are we going to do well I'm going to do a very similar upgrade to what I did on the the m52 b28 only we not I'm not going to change the displacement on this engine it's going to remain a 1.9 L we are just purely going to see what we can do to bump up the power and then uh race it and see how it performs because apparently they are very
very good engines and uh it's got no vbt or voff or anything like that it is old school so double overhead cam 16 valve 1.9 l so we're a bit limited on displacement but we should still be able to get some Fair ponies out of it so let's see so first things first I need to get this thing onto the engine stand and then uh start stripping away and uh I've got some cool Innovation some cool ideas we're going to to play with um probably going to look at changing the intake manifold a different intake
manifold not this one this one is a variable length type thing and these these Runners are just too short and they also different lengths so it's not going to really work in a performance application so we're going to can that we're also going to can the exhaust manifold it's a good header but I think the tubes are the the the diameter of the headers are just the primaries are too small so we'll have to redo that but yeah let's get this thing on the engine stand and start [Music] stripping all right so I have my
boxes ready to gather the parts I like to kind of group them by cylinder head intake manifold and I Al have a whole bunch of bags for bagging and tagging I know it's a bit tedious but uh it's really the best way to make sure you know exactly where the bolts go um otherwise a bit of a jug juggling act so first things first what I'm going to do is take off this intake manifold yay all right so I don't want to fiddle with this thing too much I want to get this thing off there
we go ah there's one more right where the fuel line is these 90s engines are honest engines I mean look at this massive harness going to rejuvenate this engine none of this PCV crap we're going to use again so I think I've pretty much taken off everything yes was the fuel on and a bunch of sensors wow that is a very special intake manifold fuel in here smells very old what holy smokes there's something in the intake Port [Music] H it looks like a valve guard what okay well let's extract what that is [Music] I
don't know how long that has been in there there's some sort of bush it could have just fallen out now could also be a dow that fits on here I don't know that looks like that has been in there for a long time wow they are so lucky didn't chew this engine up [Music] full of oil [Music] disgusting this is an nice Val [Applause] [Music] cover okay so we can expect that this bowl will be pretty worn out this head looks like it's done some miles I don't know the mileage in this car this Cam's
got fair amount of whe on [Music] it that's [Music] nice a free socket [Music] wow double overed cam 16 valve timing chain system we're getting a new chain we'll keep the guides so what I must do now turn it over to TDC and then start dismantling wow at the state to these there should be a Mark here somewhere the mark TDC looks like it is this tooth after the Gap lined up with the front of the [Music] pulley that's what it looks like okay we're forging a path ahead I've taken out all the nuts I'm
just charging that battery intermittently that's the cam box cover looks good apart from the fact that it's filthy okay so we have to pull the sump off to lock the crank cuz we have to pull the front cover off there we go that's a cool sum rods all look good oil squirters [Music] there we [Music] go not a bad way to pul it not even that heavy crank looks good that is good news firm favorite of a four [Music] cylinder well I'm excited about this one [Music] [Music] okay the cover comes off [Applause] nicely so
the objective of BU of that was to get this timing chain off so let's do that [Music] that why am I taking the cam shaft out because we need to get to the head [Music] bolts we'll start from the outside [Music] let's pull this head off we've come so far please let there be no more there we go okay that's a heavy headit Lux huh it's running well oh that's good news but look at the carbon [Music] buildup can still see the crosshatches there's no massive lip that's a actually in brilliant shape the head looks
good as well this is exciting news because what that means is we can potentially get some good gains out of this head it looks pretty fresh the ball looks freshh um so thankfully not too much engineering work to do um but we'll have to just uh measure it all up and see where we get to so from here tomorrow I'm going to send this head off for engineering and we're going to start the process unfortunately because of time constraints I won't be able to do the porting myself so I am going to phone a friend
on that but having said that these ports look phenomenal they look really good to make good for making power so um it shouldn't take too much work actually I'll look at the exhaust Port see what that looks like anyway that's going to be it for tonight um get this thing wrapped up so we can send it tomorrow all right so I'm on my way to fetch a donor engine I found a really uh cheap one really shitty one um the idea is that the I'm going to put the donor engine in the car so we
can fabric uh can send the car for its intake manifold and exhaust manifold fabrication also tying into the rest of the exha because um we it's just to save time really so managed to find this engine it's pretty nasty but it doesn't matter um we're going to use it just for mockup purposes and so I can get the stuff made at the same time as I'm waiting for bits from engineering because if I have to wait for all that stuff to come back then uh we're just not going to have any time at the end
so these are the things you have have to do if you want to expedite a shortterm projects like this piece of scrap engine that was lying in someone in the back of someone's um yard in a shed it was like in the sand lying flat down just a really old beat up engine and I got that engine for the purposes of installing it in the caret we could carry on with the intake manifold as well as the exhaust manifold while I was building the actual race engine this was so that we could do two things
at once I got the engine for really cheap when I had got the engine and put it into the car that uh scrap engine I found out that it was actually an m42 engine that had bent valves that something had broken on the oil filter housing that pulley it it bent valves but it was the right cylinder head now the difference is the m44 has little rockers and the m42 still has a um cam bucket system um with hydraulic lifters but the m42 head is the better head because you can get away with a much
better cam profile and you can go to a solid lifter setup so I made a quick decision we pulled off the m42 head and sent it off to the engineering shop the guy that's doing my cylinder heads and he brought me back the old m44 we put that in for the exhaust and the intake so I got real lucky with that and that is why we were able to do what we did to this motor [Music] now what we're going to do is we're going to actually hone the block just a very very light hone
get it ready for assembly preassembly pre-assembly we have this hone and we're going to set it to its lightest setting on the spring preload and we're just going to give it five strokes and that's all before you can still see the cross hatching now it is um just a bit dirty from the chemical clean process but what we'll do is you'll see how it'll come out now that we uh give it a clean 1 3 4 [Music] 5 so what we're going to do now is is we are going to measure the cc's of the
head and the block and everything just to try and get the compression ratio on this four cylinder it should be quite big so uh what we do is we put a little grease around the top here I've already greased the the Rings so used grease on the piston rings that's to create a seal uh to create a seal so that the the paraffine doesn't run down so we're using paraffine and obviously you just want to get everything out so you get a consistent reading I've dropped the Piston down 4 mm so now we take our
plate get it in such a way that it will seal and not let the paraffine out so that's not going to work cuz the block is going downhill so we want the air bubble to come to the top filler plate is at the top cuz it's blocking is angled down on the engine stand so it's important to Bubbles at the top so the air can travel to the top all right so now we take our buet it's full it's on zero um and then we fill so we got 17.6 ml um what I need to
do now is just take this take this out obviously and now we need to measure the head and then from there we will be able to punch it in that calculator um you'll can find the link here somewhere and then uh we can see what the SE uh what the compression ratio is what we're going to do is we're going to do the the volume in the head quickly so again I'm just putting some grease around the edge and then we don't want the grease to affect the volumes so we clear off anything inside the
combustion chamber and uh just make sure the bu combustion chamber is clean um and obviously you have your spark plug in sometimes what we do is we put grease on the intake valves and exhaust valve seats this head has literally just been done so it should be fine after preassembly I see I measured the compression ratio and I got to about 11.8 to1 and I wasn't that happy with it I really wanted a bit more we also had a bit of a catch 22 where I had to now machine the V I had to machine
the Pistons more for the clearancing because of the highlift cam as well as the modified piston um and all of the good stuff so um the compression ratio I eventually got to during trial assembly was not the final compression ratio we eventually got to after I had machined the Pistons so this this was one of the most challenging parts of this whole build those Pistons are not from that engine that those Pistons are from the M50 B25 um that is the 325i M50 engine so I did a custom I gave the design I made up
a drawing gave the drawing to the Machine Shop to machine the Pistons and in this process you have to take it very incrementally so in other words you machine away what you kind of figure out it should be you do the trial assembly you put it together turn it over make sure it doesn't touch uh do the che clearances with the pr stick then strip it and upon doing so obviously we found that there was no clearance so the Pistons went through three rounds of Machining before I was happy with the clearance we got and
it um it's not something you can do take big bites out of you have to take it very slow it's a slow and tedious process um because you can always take away but you can never put back and that is that's why it took so long we were super held up with that okay so we've done the clearances we've assembled it turned it over Advanced the cam the cam now let's see where we are looks like the exhaust valves are much closer than the intake valve so we just cut this prti and half we take
this piece out no touching on the sides no touching on that side looks good now let's see the exhaust cuz the exhaust was looking super close oh oh man that looks close it's touching so we're good on the intake no good on the exhaust on the intake it's fine we've got you can see a nice 2 m a nice 2 mm step there works well that's what we're looking for about a 2 mm step but on the exhaust you can see there is nothing in fact it even looks like it's touching a bit over there
on the step and on this side there is also nothing the car also then came back from the exhaust and intake [Music] fabrication all right so I have all the Conrads 1 2 3 4 and I am ready to log all of the weights I'm going to measure them and basically Al balance the Conrad in terms of its small end weight versus big end weight so I have also installed the ARP Conrad bolts ARP 2000 Conrad bolts and from here we just going to balance them all right so I've changed my measuring strategy I am
basically suspending it like that and recording it cuz I was getting inconsistent readings so let's go all right so I have lightened balanced all the bottom ends to be exactly the same as well as the top end I've also deburred the Hole uh the oil feed hole to the bottom of the Piston so they all weigh 546 in total and then the uh small ends are all exactly the same I think it's 161 that I made them so yep pretty happy with that it's a good result for a DIY job um to remove the weight
I used the soft pad on the grinder and then to deur the uh hole I just used the deburring tool so Conrad's done [Music] W all right so we are officially starting assembly and um just going to clean up here cleaned all the bearings cleaned the pedestals cleaned the block blown it through I actually need to install the oil squirters first let's do that oil squirters going in number one so it looks like they go more or less 90° with the crank all right time for the bearings let's do it number one main bearing number
two main bearing number three main bearing clean this so many times number four main bearing with the thrust washer number five main bearing assembly loop it's time now I've already blown out all the galleries time for the crank to go in okay here we go let's put these pedestals in start with the middle one tab's always on the same side and what you must do is line up the bolts make sure it's nice in the center then it should go in nice and easily good always make sure you know which one is one so the
manual calls for 20° but uh because this is a race car I'm going to do it on 30 it's not much oh yes the crank must spin freely there is end thrust now we can do the rod and pistons now we put the Piston onto the cor Rod so this requires lots of lube the piston on the ging pin on the corn Rod so I check the orientation that's the front towards me orientation on the Piston that's the front more Lube so when I do this I always put the piston in a visce and then
start installing from the bottom up I put the uh Oil ring in first the main oil ring and doesn't really matter where you start but you always clock at 90° from each other so the Gap ring gaps must be 90° from each other the reason for that is so that the oil doesn't pass through so that one is there so I'm going to put this one the bottom one underneath 90° and then this one 180° from the from the bottom one so this ring will go like this the uh come on this one's being difficult
the exact orientation is not 100% necessary because the Rings do move but it's important that they are clocked 190 90° um this one is the second ring or the middle ring um it's got a marker for top so that one we put there we'll put this one 100° from that now this is quite a brittle ring so just have to be a bit careful not to break it and then the top ring sometimes the top Rings or the second ring have little scrapers on if it has a little scraper it must face down to scrape
the oil down and the top ring 90° from the second ring there we go [Music] [Music] all right so we've put the rings on what we're going to do now put um put Lube on the bearing put Lube on the conrod bolts cuz these are ARP 2000 conrod bolts um put lube in the ball put the ring scre together and get the sucker in so let's do that so we'll use the red line assembly Lube on the big end bearings we'll just leave that there like that then we use just conventional engine oil on the
ball the cylinder walls now interestingly enough something a lot of people don't know is when you look at a block um from in the rotational Direction the Pistons going up like that the crank is moving this way this plane in the direction of the crank is called the thrust this plane 90° to the crank rotation is called the ball a lot of people just call it the ball but uh yeah different turbon ly because the uh the Piston pushes up and the card pushes the Piston skirt into the wall therefore it thrusts the Piston into
the wall so we'll just Lube this puppy up nicely and then we need a RP lube for the bolts so I've got a little bit left here in this Lube container jobby of mine so we put a I had a little bit here there we go so we put Al assembly loop on the thread don't need a whole lot just enough and on under the head of the bolt okay so that is prepped and ready so now we've got oil in the bow oil uh assembly Lube on the bearing we have our ring squeeze so
now let's put a bit of Lube on this will get when the Piston goes on this is just normal engine oil then we take you take your piston make sure the orientation is right and you Loop this sucker up with just conventional engine oil specifically around the Rings Okay so we've squeezed our piston and our Rings make sure the ring squeeze is nice and flat on the Block if you feel any resistance in that process stop means one of the Rings is popped out so that's in nice and sweet now we're going to tighten it
up so now we take the bottom end of the bearing put some lube on it now a lot of people just use engine oil I like to use assembly Lube because it helps protect the bearings during startup especially if the engine is going to stand for a long time okay so that's done Alp Rod bolts with lub [Music] on make sure the orientation is correct it is there we go now we torque them now I must look up the torque specs 36 ftlb 48 sure that's pretty serious all right so the socket I have doesn't
work um it works just to get them on but it's not actually the right socket you need a multiex for this uh bolt so what we're going to do we're going to put it all together just make sure it turns all over it turns over properly and then we are going to look at getting the rest a lot of it buttoned up so we can get the head on so I'll have to go and buy a socket for this butth we're going to carry on so long all right so we're going to do cylinders 4
and and two and three together [Music] [Music] yes all right so I'm here alone there's no one else here I need to get this thing done right now it's a different night obviously to when we did the bottom end so now I'm going to start with the front end I need to get the front end on going to assemble this uh oil pump and then just smash it try and get as much done as I [Music] can all right oil pump assembled now to get the uh gasket set pull off that clean that block get
it on Old trusty iPhone just trying to get oil [Music] off don't want to wash this Lube Away by the number one main bearing but need to get all the oil off so I got an earling base bottom and subassembly gasket set it obviously comes with the rear main the front main seal uh oil pump bunch of O-rings this is the sump here has the front cover G gasket rear gasket uh whatever that is uh another whatever that is so oh yeah it's for the back here a lot of freaking gaskets so we I need
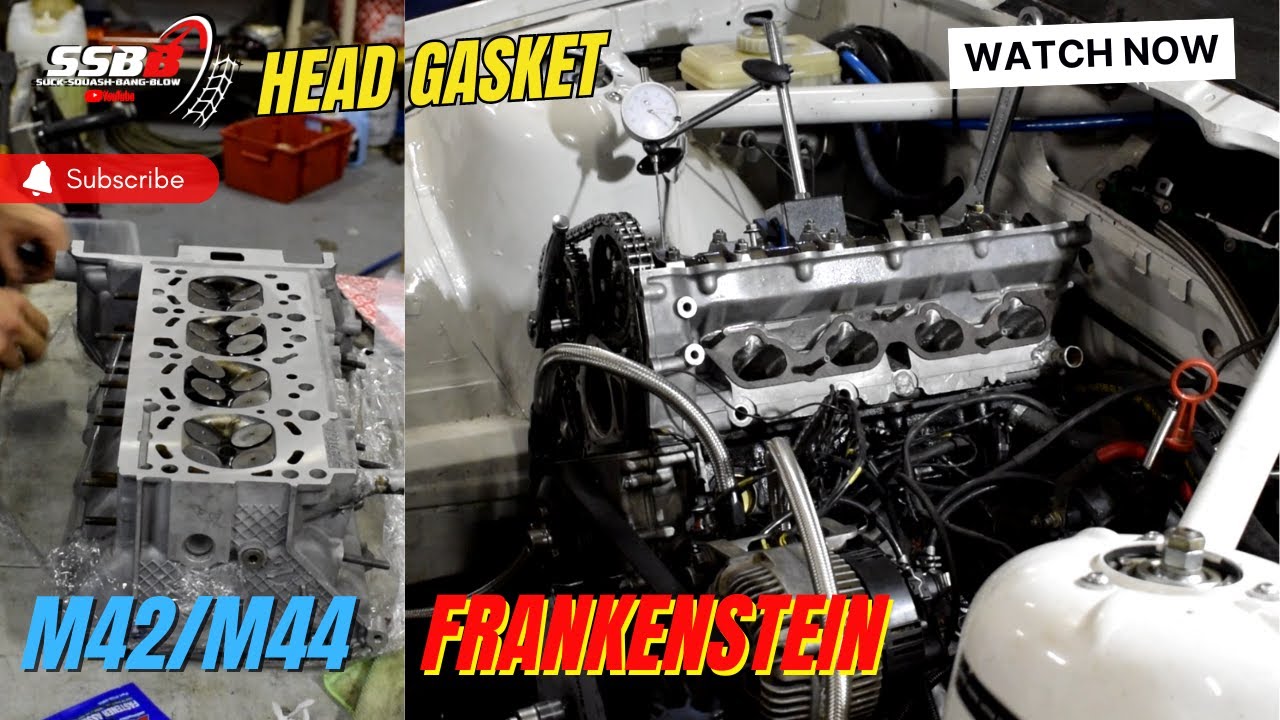
to get all of that on and we'll tackle that later let's [Music] go all right from cover is on talked all the bolts I'm going to get busy with the timing chain which means we've got to get this gasket on here and uh then it's pretty much ready for the head all right so head gasket is on ready to go I have all the bolts lubed up ARP assembly Lube I'm ready to put the head on but unfortunately I did not bring my other camera or a tripod so I'm filming on my phone so you
can't see it uh actually I'll try and put it up against the toolbx then you can't see it let's [Music] record man [Music] bada bing bada boom all right all right so timing chain is on um the cams are set from the last time I did the cam timing I'm going to go over that again but it is time to put a brand new timing chain tensioner on here so I'm going to use the existing cap and then it is a brand new timing chain tensioner so I've gone and gotten a whole bunch of new
stuff pretty much everything going through this engine is new um so we're just going to keep moving all right so we have TDC and now we're ready to set all right in intake cam done um the supplier recommended um 108° max lift so 108° before top dead center Max lift so if uh you do that 360 - 108 is 252 so we setting on 252 there and that is pretty pretty much Max lift over there so I'm going to do the exhaust that is uh 1 18 after top dead center and then we are done
with the cam timing so from there I just jump onto the rest of it so the front cover water pump thermostat and then really it's just brightening the rest of the stuff up so yeah just keep going all right she's all wrapped up for the evening I'm pretty pooped um I've got to work tomorrow so we'll come back and attack this thing some more still quite a few things to do but uh nothing left but to do it so uh I'm going to come back early in the morning on Saturday man it's we were just
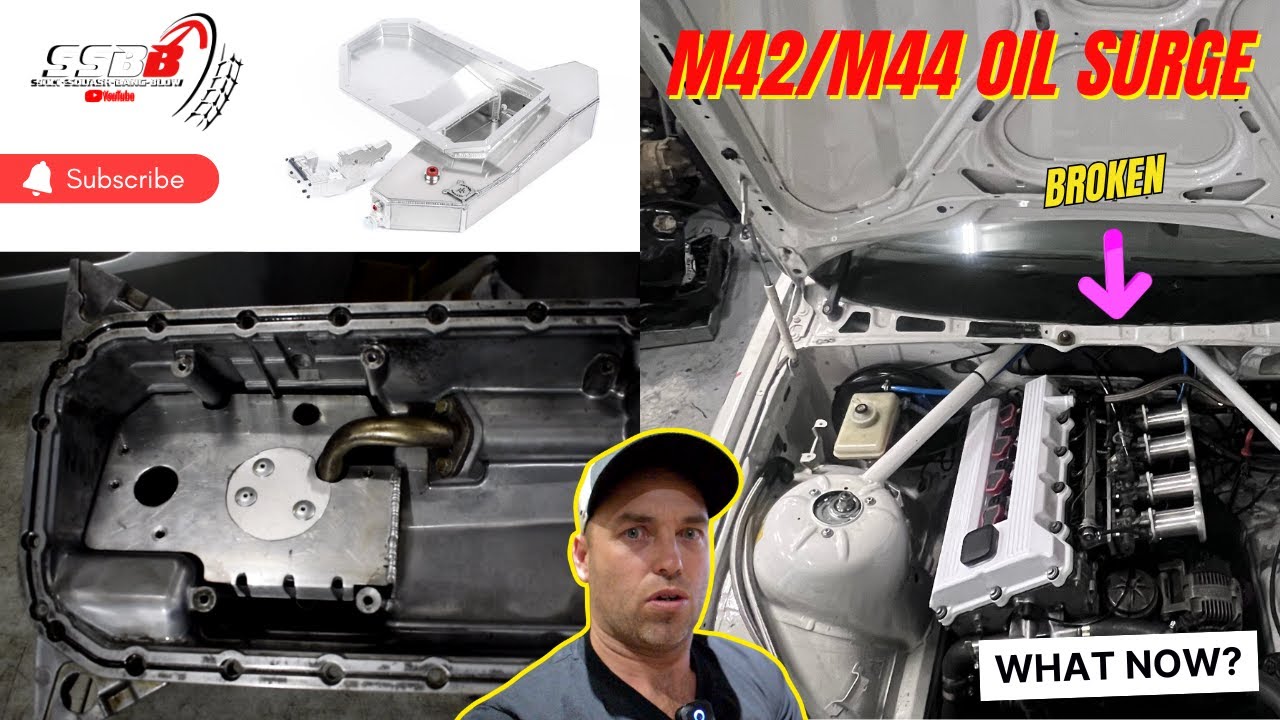
held up so much by the Pistons so yep just got to push just got to push let's see all right so we're going to talk the sump now we're going to torque the Conrad bolts and I've lost my torque wrench here we go Conrad still moves freely on the crank so we're good there like a glove let's just turn it so that number one is facing up there we go all right so this is our sump which has been modified obviously to accommodate uh oil Surge and a guy from uh speed spot in Petoria a
guy named cardle um did such a fantastic job on this for us so first thing he did is he put this little uh round tube in in and the reason you put that in is for the oil pickup to mount to mount and to sit in this is so that it provides a more of a secure place to pick up the oil all right so there it is with the pickup installed now this kind of work takes so much Forward Thinking and planning here you can see that he allowed a cut out in this tube
for this little mounting racket to go through and uh yeah that is brilliant Forward Thinking and just so well fabricated so the next piece that comes on he welded in this uh angle iron and put captive nuts in over here so so that we can install this baffle plates now this baffle plate is to assist with some more oil Surge and I kind of copied a design from the m52 which worked very well and this this sump had nothing more than um uh what do you call a windage tray which you will see shortly so
that goes in there like that so we have the round tube we also have this uh baffle um to kind of stop the sloshing um now and then the pickup and then on top of that what we install is this puppy this is the windage tray so this is a stock item this is also magnesium that's why it's discolored the way it has but that is pretty amazing considering we've managed to get all of this in in this package and I just have to say a massive shout out to cardle at speed spot in Petoria
North it's like the other side of the other side of Petoria but um really really really amazing Fab work he also did the uh intake manifold for me um where he cut the stock manifold the intake manifold is obviously the throttle bodies and all of that so the adapter I'll show you that what he did there but um brilliant brilliant brilliant fabrication aluminum work so well done thank you so much Carl um I'm going to get this puppy stuck into the blocks so we can get this engine in the car today look at this beautiful
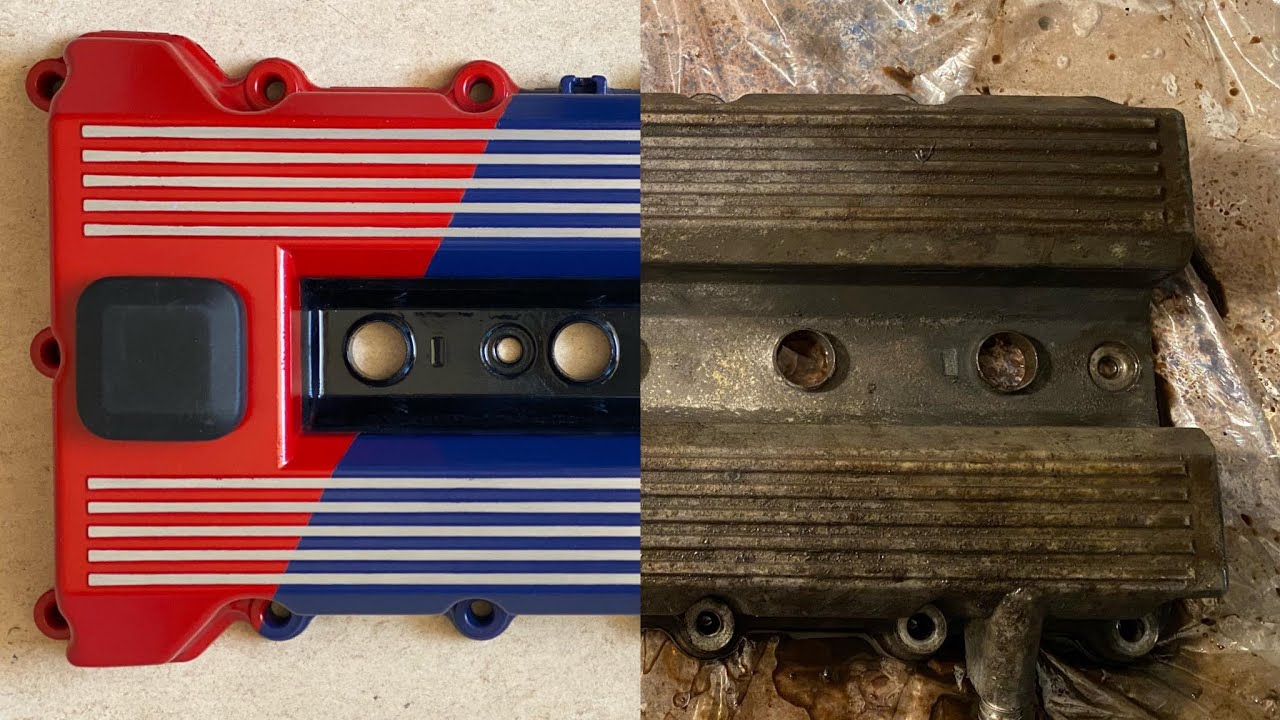
white valve cover I've welded on a a in fitting here and that is going to go to the Breather in the car but just look at it the pesta resistance okay so up next the cylinder head has been ported and so what I need to do is I need to match Port the the uh intake manifold um so what has happened is we cut the original manifold off and weld it on this um this is Cal obviously weld it on this adapter plate which then bolts to the throttle bodies so that is giving us a
couple of challenges first of all I need to Port match all of the ports to the cylinder head it doesn't uh the cylinder head's a bit bigger then we have a challenge here where uh the Water Port coming out the engine over here needs to clear this so I need to cut that off then there is another challenge with the oil cooler um hat that we're going to run I'm going to show you that but basically we're going to have to modify it here somehow to make that work so first things first I'm GNA have
to Port match these I don't have engineering blue so I won't be able to see uh what the difference is but I've got a plan okay so I've put Red Rubber grease [Music] on should probably put some bolts on and then I'll pull it off and show you so there you can see the difference effectively here where this thick line is on the grease that's where I need to machine it out to so it's quite a quite a difference on all of them not so much at the bottom but pretty much everywhere around it needs
to be opened up I ended up doing was installing the gasket between the intake and the cylinder head and then Port matching the gasket to the head right I obviously filled up each one of these ports and I'm going to vacuum it out now so um what that allows me to do is take that and transfer it to this manifold and then I should be able to get it right because I did Port match it according to the grease but it didn't line up so nicely so not sure what happened but doesn't matter this should
give us a good base and then we can get it done from there all right so I have taken it off there overlaid it on the uh on the manifold I used a marker to outline the overlap there we go so that's everywhere I need to open it up it's quite a bit over there I already started but it was catching the gasket but you can see how much it needs to come out quite a lot over here super interesting that's better try to get the light so we can see it so one of the
challenges I was having was that these existing grommets or the old grommets were so hard when I took fers out that hold the valve cover down so I had to cut them off with the side cover and then I couldn't get the new grommets on so I ended up using some oil and then I used a nut with a washer in a visce to screw in the hold down B now this proved to be very effective I tried to smack them in with a socket tube socket it just ended up messing up the washes right
so it's another day and we've had multiple nights we've been busy on this we haven't recorded everything but one of the things that hold us up is that every almost every every single bolt holding uh or the thread holding the valve cover onto the cylinder head was stripped and we had to get pretty much each one um hel coiled again uh also the the water housing that holds the thermostat with the pipes that come out for the radiator all of those buls were stripped as well so I had to get that hel coil so big
job for today well just one of the jobs is to get all the valve cover bolts back on and not strip them um the torque spec is somewhere between uh 8 and 12 new M on the cylinder head um so really when you're doing these bolts just make sure you don't overtighten them um because they uh come up to basically a hard stop and that's really the valve cover seals up against this rubber I showed you how to install that rubber this bolt basically just locks inside the head so do not overtighten okay so it's
about 9 new M so talking taing it up T up so it's 9 9 Newt M about 6 to 7lb of torque and you can feel it oh just had these threads be done so there we go there we go and you start from the inside out same as a head gasket just to get all of the uh any sort of imperfections I guess ripples are to push the ripples out now there's one that the guys didn't do which they'll have to come back and fix so that's always the case we're going to be left
with one [Music] there we got okay to do this [Music] so much space for activities woo w we are still quite a bit of work to do but she is in then I can put the gearbox in but uh she's in all right so one of the last tasks um I need to do is the accelerator cable now I've got this very nice kit from EFI hardware.com and it comes with cable and connectors and everything for a 20 Vol Toyota motor where for the throttle bodies but I'm not going to use all of it I'm
just going to use a couple of bits from it reason being we have this this um wo Mount fitting that goes into the firewall and I need to retain that I'm going to use this fitting here for from EFI Hardware but most of all down in the foot well the accelerator cable on the end has this clip that need to clip into the all this fitting that needs to fit into the pedal so I'm going to use the old cable the original cable from this car and just modify it so that uh we'll trim it
shorter so that it fits basically with the length and onto this um this linkage system and we can get a good setup going so I'm going to kind of use a bunch of bits from the the kit and the original cable all right so there are two things we are going to do do now we're at the point where we're at the point where I can crank for oil pressure so super exciting time so you take all of the plugs out so you see the coils are out the plugs are out other thing you do
to crank for oil pressure disconnect the injector plugs so it doesn't Prime the injectors the other thing I'm going to do is uh check the fuel system for any leaks there's quite a few new fitting so what I'll do is switch the ignition on and switch the fuel pump on and just keep an eye out for any [Music] leaks there's definitely fuel in the system no leaks so that's good the time has come again so it is that red light we need to go off so let me crank it from this side no issues nothing
oh come on okay let's try [Music] again it's got to pump through everything and there is oil come on show me something oil level has dropped a bit so there's definitely something happening what bit of a crisis I'm not getting oil pressure I'm not even full filling up the oil pressure housing so before I dig too deep I am going to take off this well filter housing bracket so we can see what is happening there um then maybe crank it with the bracket or oil comes flying out of the gallery um then we know that
there's a blockage in this bracket but if there's no oil pumping up from the from the oil pump then there's something going on with the oil pump or the scavenge or something so we'll start a problem solving here all right oil pressure check number 42 or whatever it is I can't say if oil came out doesn't look like it though that's a problem so unfortunately this is what it's come to sad State of Affairs first pull the sum off try to figure out what's going there's a good seal here where it needs to seal pulled
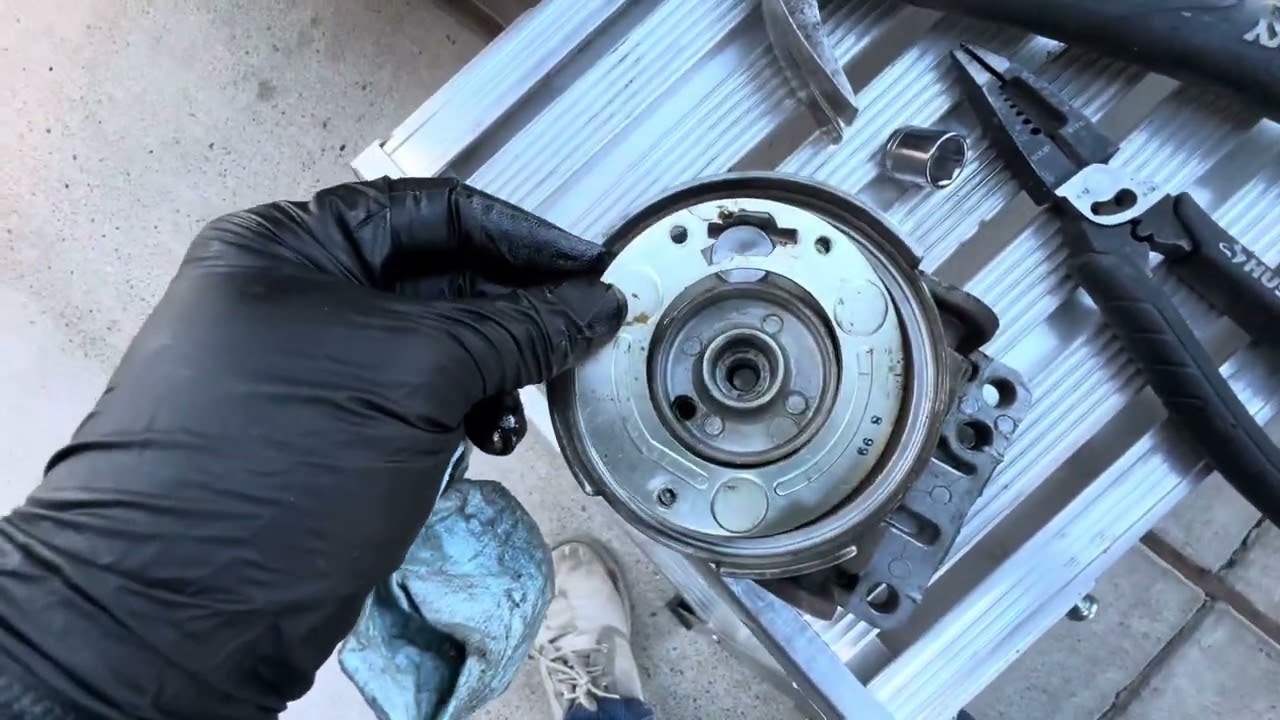
everything off to get to the oil pump strip the oil pump the oil pump looks fine so I don't actually know what is going on here um something very strange and it is not supplying oil so the only thing I can think of is that somehow there's a vacuum on the scavenge line where it's picking up air um through here through the scavenge tube so we'll have to check that out tomorrow but yeah it's a big setback all right it's another day I have um contemplated My Life Choices regrouped and come up with a strategy
so what I'm going to do is I am going to do a Bene test now I've stripped everything the oil pump everything and I can't can't really find anything wrong with the system so what I want to do is I want to basically pre-assemble everything and um you know with the tube and everything I'll have to clean it all first assemble the oil pump and bolt it onto the sump like it is in the car and then basically spin the pump over here and try and get it to pump oil over here and if it
does then at least I know it is moving oil because it wasn't moving oil in the car there's a couple of things that might could have happened uh it's possible that the pump needs to be primed now I did use uh assembly Lube but it is possible that it just didn't have enough let's say hydraulic uh I don't know displacement or it can't pull enough vacuum in the system to actually suck the oil out doesn't really make sense to me but based on the what I've read that is a possibility so first things first um
we're going to use some amazing ravenol uh brake cleaner and we are going to clean everything and then preassemble it and I'm I'm going to spare you all the cleaning and everything but I'm going to pre-assemble it and then we'll do the test and see so we'll catch you there so over here like a chump I didn't record on something with the audio and so therefore we don't have audio so yeah I'm just talking about how I'm going going to basically Prime the oil pump using this ravenol oil and make sure that there's plenty oil
to get everything lubricated because I did it previously with the assembly Loop and I think that was the problem in the end so I just lubed up the gears to make sure that everything had oil on it and there wasn't going to be any um metal on metal rubbing so much background noise and then you also Lube the outter gear and just make sure that the orientation is correct of the gear there's that uh Dot and Dot and you just kind of make sure they're both facing up and then just lubricate again so I wanted
to not create any hydraulic locks on that face just make sure that there's plenty oil inside the gears so then I just went ahead and uh tighten up all the bolts obviously I used Loctite and torqu them to 10 new [Music] M so here I'm just talking about how I how I've set up the rig we are just going to use everything without the baffles and basically put in this um system that I'm going to use the impact wrench on and as well as try and feed everything through so I put about 5 L of
uh just general mineral oil in just so that we could see I spun it over and I wasn't getting anything I was just trying to figure out the whole system um and eventually I figured out that uh you will see just now yeah I figured out that I needed to close the oil filter one of the holes on the oil filter housing side so that we could actually pick up a vacuum because here it was just not scaven ing properly so there you could see me start to fiddle with the holes and then I figured
okay I need to tape it up so that's what I did I taped up one of the holes and saw that okay if you do that you get [Music] pressure oh my word I'm such a bone head I didn't have the receiver recording so basically I'm putting this oil filter housing on to ask isolate the pressure relief valve um well we isolated the pressure relief valve I'm now putting on the oil filter housing to see if we can fill it up okay let's go there we go yes yes we've got oil pressure woo all right
let's see let's see boys hey yes boy pissed well everywhere but it's done we got oil pressure bada bing bada boom so I am really stoked because we managed to get oil pressure now I don't actually know what was going on because I thought the pressure valve was possibly leak bleeding but I don't know because this is the state it was in when it was in the car so without the oil filter housing on I couldn't get uh I couldn't pump because it was bleeding off through the outside of the housing but once I put
the housing on it you know before I put the housing on I isolated it with tape I got the oil I put the housing on we filled up the housing I got oil pressure so I don't actually know I think it possibly just needed to um have oil on the gears that's the only thing I can think of um so it's kind of weird it's kind of weird but either way at least it is uh working now there's nothing actually wrong with the system and that's what I thought I suspected it there was nothing like
No Smoking Gun or anything so um the contraption works at least we got oil so wow it is uh Monday night in 10 days time we racing this car so I'm also moving house this week it's absolute chaos moving house this week Wednesday is South African National voting day um it's freaking Madness so the goal was to have this thing on the dino today obviously that didn't happen from here I just got to assemble it get it all together so we can get it to the dno hopefully by Friday cuz Wednesday is a bit of
a r off um maybe even Thursday let's just see how we get on so I'm going to strip this I'm not going to show you all of that detail but hopefully I can get some footage of when we do the first startup and let's have a couple of runs on the dno obviously we have to check heat and all of that stuff so but the good news is we have oil pressure we can send some oil through the engine let's push forward [Music] yes yes right we're going to start fiddling trying to get closer to
First startup we here at at prom developments Miller developments so everything's ready clutches bled not sure we'll get on the dyno today but [Music] a [Music] [Music] [Music] oh a [Music] [Music] [Music] [Music] [Music] [Music] H guys I'm driving it I've got issues small F issues and uh we're not going to race there's a there's an issue with uh the idle there's an issue with the crank sensor oil leaks so unfortunately the car's drivable but uh we're not going to we're not going to race itks so good everything's good day so yeah we'll just take
it back to the track sounds good though [Music] [Music] n [Music] oh [Music] [Music] a oh SP be all oh sh nothing [Music] in the end the computer was going into a protection mode seeing that the coolant was getting too hot I am super excited to announce that that we have ravenol as a key sponsor with us on the SSBB uh YouTube channel and part of our journey they have sponsored me a whole bunch of product that I will be using on the race car we have a 10 w60 full racing oil this is a
full synthetic race oil next we have a fully synthetic gear oil this is also for a limited slip diff uh differential so we will be using this in the uh in the gearbox and in the differential next up we're going to be using their RS 325 plus brake FL this is a high temperature Racing brake flu all right so this engine this m44 b19 m42 m44 Frank gine b19 takes a full 5 L of oil so we're just going to dump this 5 L this 1060 racing oil straight in again thank you to ravenol for
supporting us and supporting the channel I'm super excited to work with them and let's see oh yeah not nice deep golden [Music] welcome to beautiful Cape Town we are here for the BMW Club cake Town Event our one Coastal event for the year we I'm here at G and Cooper and Mark fontini has got my car on the dno so first things first we're going to make sure all of the afrs are good on this brand new m44 and we're going to see what kind of power it makes on his d here in Cape Town
so that's at the coast [Music] [Music] all right guys we are here it's the Friday practice everybody's getting ready a lot of activity I've just done documentation that's my transponder that's for timing so that'll pick up what kind of left times I do the call felt good yesterday I did a first test with it from here I need to take the car to go do suering then our first well my first practice is going to be around 11:00 so I'm going to take it now do through saring and then bring it back make sure everything's
good so something I did yesterday was this I just closed this hole up I forgot the plastic cover at home in Johannesburg or Petoria so I just closed this up to try make the cooling system a bit more efficient also what I've done is I've added a flat floor at the front of the car tiny pin hole in the radiator so I see I have two now there's one there one there so I need to get that sorted but I've used a bit of uh we call it practically steel it's like a um it's like
a bonding agent that you use it uh use it for whatever so that kind of close that hole and uh from here I'm just going to clean up wipe up some of the oil power steering doesn't seem to be leaking everything's good I've added lock wire oil filter uh lock wire on the sump lock wire on the diff plugs uh it's mandatory here in South Africa also what they want here in t town uh the scrutineers like to see a spring on your dipstick to try to basically keep that from falling off they might ask
for a lock wire tab here so now because of the rain it's just about staying on the track finding the grip levels don't push too hard Le oh this rain is terrible [Music] [Music] [Music] oh w [Music] oh [Music] a oh [Music] if you want to see some more of this kind of content please consider subscribing just click on the Subscribe button hit the bell and you good to go right I'm just just standing out of the wind um so went out first session for me first practice session and uh it it was all dry
as soon as I got to the foot exit and it started bucketing down so car felt good though it was super super W and slippery had a few little Moments One of the guys in front of me had a big moment um so what I've done is just kind of topped up with fuels we're going to see it looks like it's going to be dry [Music] for the rest of the day so we're going to go out uh try it again uh qualifying is this afternoon and uh I've bed the brakes put that new ravenol
brake flood in so super Keen to see how it performs so we'll just take it from you [Music] oh w oh oh [Music] J [Applause] a yeah a a [Applause] [Music] CH see [Music] [Music] what inside as well [Music] [Music] [Music] oh [Music] [Music] well there we go guys we blew a head gasket and I thought it was the thermostat um it still probably could be so what I did was I took the thermostat out and uh basically cut it out and just kept the housing in there and went out in the last session but
uh the last session was qualifying but it just overheated straight away you know sometimes we have great success and sometimes we get kicked in the teeth with these things and um yeah unfortunately this is one of those times uh it's just a Pity that happened here in Cape Town but this is effectively the first race that I'm doing with the car so there's a lesson in that you know when you've got a a new build maybe don't be so ambitious it is what it is uh I've got to just get the car back to get
the car back home and then yeah take the head off start uh figuring it all out and whatever Cape Town was an amazing event I always love going there and it's um the the atmosphere is great the people are amazing so many supporters came out and said hello so thank you so much um I ended up having a great time the car was good it made 208 horsepower 150 2.6 or something Kow on the flywheel that's amazing that is really good power for an offthe shelf type modification build of an m44 sl42 Frankenstein motor so
what is the specification of this engine and I thought I'd keep this the best for last because it is something very cool so like I said m44 sub assembly the m44 bits are the block the um front housing the crankshaft and the conrods are all m44 as well as the sump the sump is obviously baffled as you saw we I'm using ARP conrod bolts M50 B25 Pistons heavily modified to get the compression ratio up eventually got the compression ratio after it was all said and done to 12 to 1 so very happy with that cylinder
head is an m42 cylinder head with a valve bucket setup and the um I'm running a custom grind high lift cam now the grind specifications I'm going to keep to myself but it is a custom grind on on the camshaft it's a reg cam shaft so I went as hot as I could go with the reground cam shaft and then also we in ported the the cylinder head mild porting because you didn't want you never want to go too big on the ports cuz it'll mess around with air speeds volumetric efficiency did a valve seat
job did a job in the valve seats and then we're running a custom intake manifold now originally I was going to build a turbo style manifold but it worked out that the material alone for that project was going to be the same price as going for an ITB setup so in the end I went for 43 mm Toyota throttle bodies with 100 mm Ram tubes the guy who did my Sump Coral also made the intake manifold for me so he laser jet cut a plate an aluminum plate cut the original intact manifold made it all
work it was a ton of work um made little bushes for the injectors injectors I'm using the Bosch 440 CC injectors that ran in my 6-cylinder coils I'm using the Audi R8 coils NGK spark plugs on the exhaust side I'm I've built a custom exhaust all the way through it's my it's my own custom design header so um it's large diameter header uh 4 into 2 into one I always like to run that for a bit of mid-range as well as top end the lengths and that are all my design and then a 63 mm
exhaust from the header all the way back to the car to the back of the car it's running the ECU Master's ECU for fuel I couldn't run the AV gas anymore cu the AV gas is actually what destroyed my Lambda sensor so for fuel I run 95 Pump Fuel that is all we can get here it has to be an unleaded fuel um so 95 octane with ravenol octane booster on the dyno worked perfectly in Cape Town again thank you Mark fontini for helping me with that Dino amazing work and what else is there the
oil cooler setup I explained that to you had to custom make a uh a flange that would fit in between the the alternator housing an a MTH amount of work um and then run a remote oil filter setup I tried to run the sandwich plate on top of the original oil filter housing that was just didn't work obviously all gaskets on new the timing chain is new original cam sha sprockets I set the cam timing to the what the Manu the what the cam manufacturer recommended so obviously did the custom cam timing for that clutch
and fly it's an aluminum flywheel and a special clutch that's running in this car something else I didn't tell you is at the dyno the clutch stopped working so there is there are a few little bits that we missed on this build but um for the most part we've captured everything the uh gearbox is still the 5-speed 328i gearbox that was in this car and from there to the back it's all still the same so very very happy with that um like I say at the coast it made 208 horsepower so for a little 1.9
L it is still a 1.9 L it's not even a 2 L yet um it made 28 horsep so very very happy with that there's more in it there's definitely more in it but I need to see this year through and uh next year we might go chase a little more and do some very cool stuff sometimes in life we set out on a path to find or obtain something often we encounter hurdles which challenge us and slightly change our direction or even our trajectory we fight these obstacles some of them we win some of
them we lose and some of them we don't even understand these these challenges lead us to growing and becoming more of what we could be at the time it's frustrating because we feel like you are held back we get annoyed because we are not reaching our targets goals or aspirations the most important thing to realize is that the realization of a worthy goal is hard and is necessary that it is hard nothing good ever comes easy but when it comes oh man when it comes it is glorious this is what molds us as people as
Community as family it's the journey thank you for watching [Music]