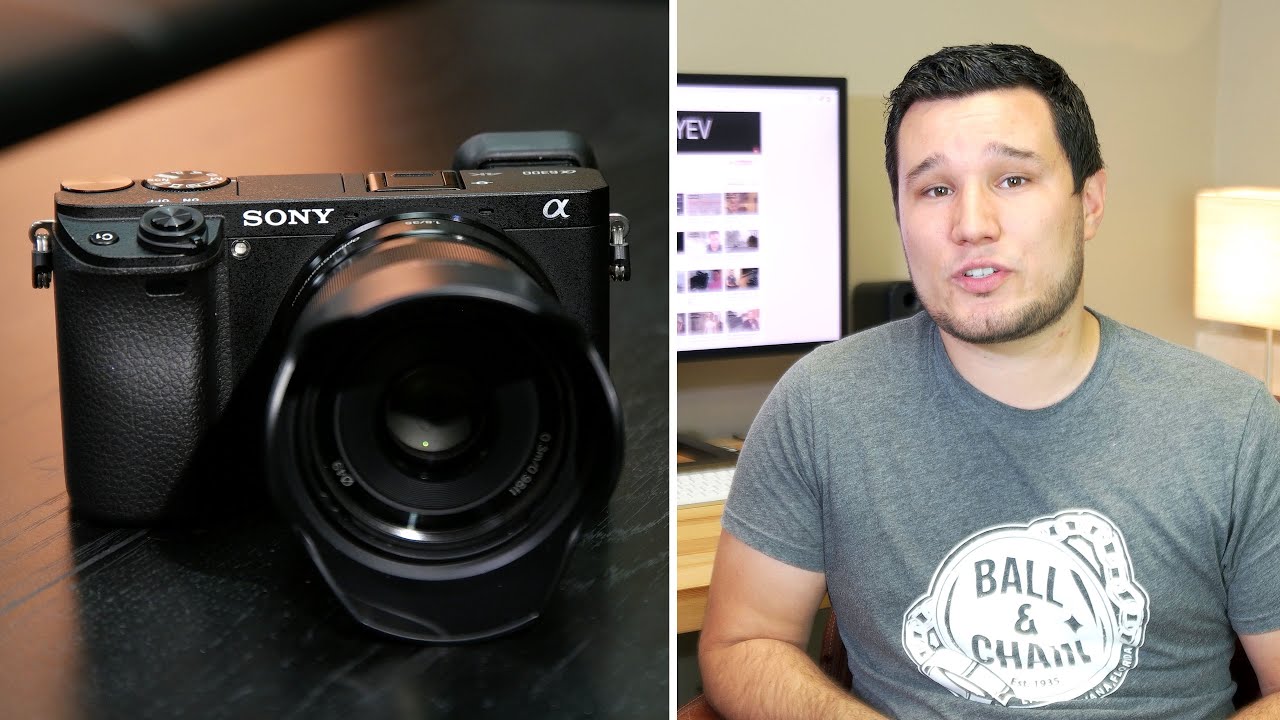
hi my name is Gary Friedman and welcome to the Friedman Archives blog today I'm going to talk about some obvious things about the sony alpha 6300 that you probably won't find in any online reviews I discovered these while writing my in-depth best-selling e-book on the camera which I refused to promote in this video much has already been said about how great this camera is it has the best autofocus of any previous Sony camera especially for follow focusing it has the stellar image quality and it can even shoot 4k video as long as your shots are
less than 20 minutes in length due to overeating let's start with something you probably already knew subconsciously a lens that almost all 6,300 owners have is the 16 to 50 power zoom which is super tiny super convenient and they even squeezed in a silent zoom motor and optical stabilization and yet it's still sharp while exhibiting relatively little distortion at the wide end how in the world did the engineers do that well the answer is they cheated this lens actually distorts pretty heavily but the average user will never notice it because it's either fixed in the
camera when they make the JPEGs or programs like Photoshop and Lightroom will fix it for you when importing your raw file but they will not tell you about it and it's a feature you can't disable have a look at this test shot using this lens the first isn't out of camera JPEG and the second is a raw file which was opened in Lightroom they look pretty similar distortions not too bad now have a look at this third shot which is open using a third-party software called raw therapy a program that has no corporate agreements with
Sony and therefore is not obligated to correct for the distortion for you without your knowledge or consent ok so is this a bad thing it's only being evil the answer is a lens snob might think so but an engineer would think you know if you can fix certain things in software it relaxes the constraints for design you have to work with in order to get a great performing low-cost product besides like has been doing this on their high-end cameras for many years now so it's ok for them anyway the engineers were not being deceitful they
were simply being smart so now you know the next thing I found was a very positive surprise if you've been following my blog for any length of time you know that I place a great deal of emphasis on good light more so than I do as shooting at high ISO s but sometimes life just kind of happens and you have to make the most of it one night for example I was shooting a friend of mine at night in a small dark area lit solely by the light of a Starbucks sign I ended up shooting
at the camera's highest ISO value which is 50 1200 nobody will ever look at this shot and say wow okay because the light is awful but hey it's a snapshot and snapshots have their purpose usually the best way to tackle high ISO noise is to shoot it in raw and then to reduce the noise later on on your computer which could produce superior results to the watercolor effect you usually get with in-camera JPEGs and as a small footnote I should mention the watercolor effect that everybody hates that looks horrible when you pixel Pete but was
actually designed to look best when you printed your picture at a 4 by 6 like either one-hour photo place so that's where that came from anyway after I spent a considerable time on my computer cleaning up the images from that night in Lightroom I had a look at the out of camera JPEGs that produced at the same time and I was gobsmacked these are tiny that better than the images I had spent so much time cleaning up by hand the out of camera JPEGs were now as good as what I was able to get manually
this is a first for Sony nobody's talking about this but they really should because the out of camera JPEGs on this camera are now better than any other Sony camera ever and that's saying a lot but you'll find the greatest difference at high ISO s cool next I found a bug just one bug mind you but it's pretty incredible considering the camera's complexity it's the flash exposure lock feature which was designed originally for situations where the subject was too small for the flash metering to expose for properly have a look at this example these were
taken with an older canon camera many years ago this feature evolved for situations is exactly like this we your subject wasn't front-and-center and therefore the camera wasn't too sure what to expose for when deciding how much flash to output and you use it just the way you use the auto exposure lock button you fill your frame with your subject I don't actually show you where's a picture frame here so let me show you how it's used here's a picture and I try to take a picture of it and use a flash exposure lock feature with
the flash the way you use the flash exposure lock is you first you have to assign it to a button in this case I've assigned it to the c2 button on the a 6,300 and there's two different versions as a flash exposure lock hold and a flash exposure lock toggle I've used toggle here because I don't like holding buttons down especially if they're not in convenient locations so the first thing I'm going to do is press the flash exposure lock toggle button what it'll do is they'll put out one free flash will measure how much
light comes back and then it'll decide how much more or less light has to be output and then it remembers that for the time you actually take the picture you'll notice that on the lower right hand corner of the screen you can see the lightning bolt and then the L meaning this is a flash lock is now reamping it so now what I'm going to do is I'm going to recompose first I'm going to focus lock recompose so the subjects in that tiny corner of the screen and then I go into shoot so here's what
I discovered about that when you use the you splash exposure lock with the ISO set to auto it tends to on it tends to over expose by about two stops have a look at that not acceptable the fix is very easy what you do is you change your ISO to something other than auto in this case let's just set it to 200 I'll fill the frame with my subject I'll press the flash exposure lock button again you can see a pre flash went off the lock flash exposure lock icon shows up in the lower right
hand corner I'll now focus recompose and shoot and much much better so there you go finally I'd like to spend some time clearing up what most new owners find confusing in their new camera all the different focusing modes and when you use what now if you see in some of my previous videos which explain this you can stop watching here because this will be just the same as what I'd done in the past the first thing you should know is that the camera has baked in a whole bunch of phase detect autofocus points right into
the sensor there's a gazillion of them let me show you how just one of them works and I'm going to isolate it by hitting the function button going in the focus area and switching to the flexible spot small it's the smallest you can actually get a small point see that little square in the center that's what it's going to focus on so let me go to the very center there we go even though it says face detect versus contrast detect you should know that all autofocus mechanisms require contrast in order to the job for example
if you point it to a blank featureless wall and then press the shutter release button halfway you're going to see it's going to fail it's just going to start hunting and hunting you say there's nothing I can possibly focus on now let me show you this we got three horizontal lines here I'm going to use the bottom one now I'm going to put the bottom one right in the middle of that square and I'm going to hit a shutter release button halfway notice it's having a hard time focusing on it see that blinking green light
and a lower left-hand corner that means it can't find a focus now I'm going to try to do is turn this 90 degrees sideways and feed it a vertical line ah no problem at all is that unique to just this one focus point let's try another one I'll hit the center button and change it let's go 2 up and 1 over and let's do the same experiment again I'll give it a horizontal line to focus on right there nope can't do it blinking green light now let's try it over here no problem at all so
the moral to the story is this camera all the pixels on this camera all the phase detector on this camera require vertical contrast in order to do the job properly will this ever show up as a problem for you probably not because in the real world is not as clean cut and dried as the example I've shown here of course I did that on purpose okay so you're the camera and you don't have more than one focus point you got a gazillion of them all over the sensor which one do you choose how do you
figure out which one of those to choose and identify your subject basically the camera uses two heuristics to accomplish this and to demonstrate it I'm going to use two characters for this part I'm going to use the my old Rico 35 Rico is now the owner of Pentax but in the olden days they made some really outstanding range finders range finders didn't have mirrors they didn't have pentaprism 's you would take the picture through one lens and you would actually compose the image out of here range finders were famous for being very small and very
very quiet that was a noise of rangefinder at least put it close to my microphone so you can hear that up until the advent of the a 6300 range finders were considered the quietest cameras you can buy but now with silent shooting mode it's been superseded anyway so that's one and I'm going to put that over here next my old friend does unit pride of the Soviet Union back in 1988 you can use it in Siberia in the winter time but I talked about this on other videos I'm going to put that right over here
a lot closer oh cool now here the camera you can what we'll do when you're focusing is it will evaluate the distance behind every single phase detect point on that sensor and they'll figure out what's the closest and it'll assume that that's the subject there so you have something hosted far away the camera will always select whatever is closest and that will be that will be the subject unless face detection is put on that phase detection face the camera can recognize a face and if it does that it will wreck if it does that there's
a serious portrait special I'm going to put that right in front of the further away object and sure enough if it recognizes the face it'll say okay that's my subject and it will focus on that instead so that's the two heuristics it uses it'll either focus on the closest item Oh unless face detection is turned on and it recognizes the face and that's how it detects that's how it figures out your subject okay good news how can we make it better well so many engineers figure out we want to be able to do focus tracking
but being able to identify a subject using focus tracking was difficult in the early days so what they did was they came up with a function called center lock-on AF which is ideal for movies and it lets the user specify what the subject is and once you do that the camera will track it pretty easily here's how it's used now in order to actually use this you have to enable in a menu camera screen six Center lock-on AF you need to turn it on no problem at all then it gives you instructions on the screen
what it's essentially telling you to do is fill the square with your subject and press the center button like that you notice the two white rectangles around it you've now told the camera this is my subject I want you to track the subject throughout the frame no matter where it goes if you are taking a movie of a play and you want to just focus on that one actor as he Criss crosses the stage doing his monologue this is a fun fine example of what to do now I mostly giving you a very very easy
example for the camera to track you what it does is it looks at the color and looks at the background and figures out okay again look for this kind of contrast wherever I go will it do as well in a complex scene where the subject and the background are not so cut and dried the answer is well let's see I'm going to move the camera over here to a relatively complex scene and I'm going to focus on this spherical type device over here I didn't work the same thing I got to press the center button
the instructions come back up fill the screen fill a square with your subject and then hit enter and notice it attracts something completely different something with no color whatsoever no shape and I'm not too sure why it did that let's try that again maybe it's because it's backlit maybe this is an unfair test let's try it again I'll hit the center button I'm going to fill the square with my subject and it's been fooled all right let's try something else I'll try this purple Cup cancel fill the square of my subject there it is okay
now the purple Cup is distinctly a different color so the camera will have no problem at all following that no matter what now in previous incarnations when I did this it would sometimes jump from one object to the other because in a confusing environment it will get confused but in a cut-and-dried one where your subject clearly stands out from everything else you're going to be doing alright this is a great feature as I said ideal for movies okay how can we make it better well the sony engineers have probably said to themselves what if we
had it so that the user didn't have to get involved in identifying the subject what if we did it automatically using the two heuristics that we identified earlier whatever was closest or whenever there was a face detected and that's how lock-on AF was born that's a very last feature you'll see inside your focus area menu let's go down the list here focus area Y that means the camera can pretty much choose any face to take point at once zone lets you choose from a subset of three vertical stripes Center is pretty intuitively obvious flexible spot
you can have either small medium or large expanded flexible spot and then there's this one lock-on AF wide which you'll notice is grayed out you can't actually choose it why not well two reasons one single shot mode is enabled so I'm going to invoke that to AF - see where it'll continuously try to change a focus that's good for when athletes are running to you so let's try it again lock-on AF great it's enabled and now you see the little tiny triangle on the right it's letting you choose many different options if you hit the
right and the left arrow buttons hit the right arrow button and it's I close to all the previous menus you've seen before lock-on AF Y the zone Center flexible spot all the options that are above it you can now cycle through using the left and right arrow keys I'm going to go with lock-on AF wide-area so here it uses the same heuristics we found it'll focus on whatever is closer or if it finds a face it will do that and then it'll assume that that's the subject and then track it there we go now no
you're not going to seeing squares involved but you can see a group of squares that are kind of parading around let me actually zoom in a little bit more and do that again so this is how the lock-on AF works it identifies what your subject is and tries very very hard to track that subject even if it goes out of frame for a second it might recognize it again as it comes in I tend to keep this on all the time when I'm in AF C mode mostly because if you shoot kids or animals a
lot this is a really great feature to have so that's a summary of the different focusing modes and you'll find much more detail about each one and when's the best time to use each in my book which by the way I refused to promote here well okay that's not true this would not be a complete YouTube video if I didn't talk about my ebook for the camera which many claim is the most detailed and enjoyable to read in the world of camera books it's over 600 pages in length and packed with examples explanations and demystifies
obscure functions like the s log 2 and s log 3 gamma curves of the video function one purchase price gets you three different DRM free formats a PDF for your computer or iPad a mobi file for your Kindle and also an ePub file for all other readers copy them to all your electronic devices it's yours also if you like the way I explain things you might also really enjoy the frequent archive seminars which can now be watched in the comfort of your home by streaming video it reveals the secrets of taking wild type images that
the Masters knew in the days before raw and the days before a Photoshop attendees from all over the world have said that they got more out of that presentation than they had by following all the bad advice they got from internet discussion forums in the last five years more information is available at frequent archives comm slash seminars thanks so much for watching you