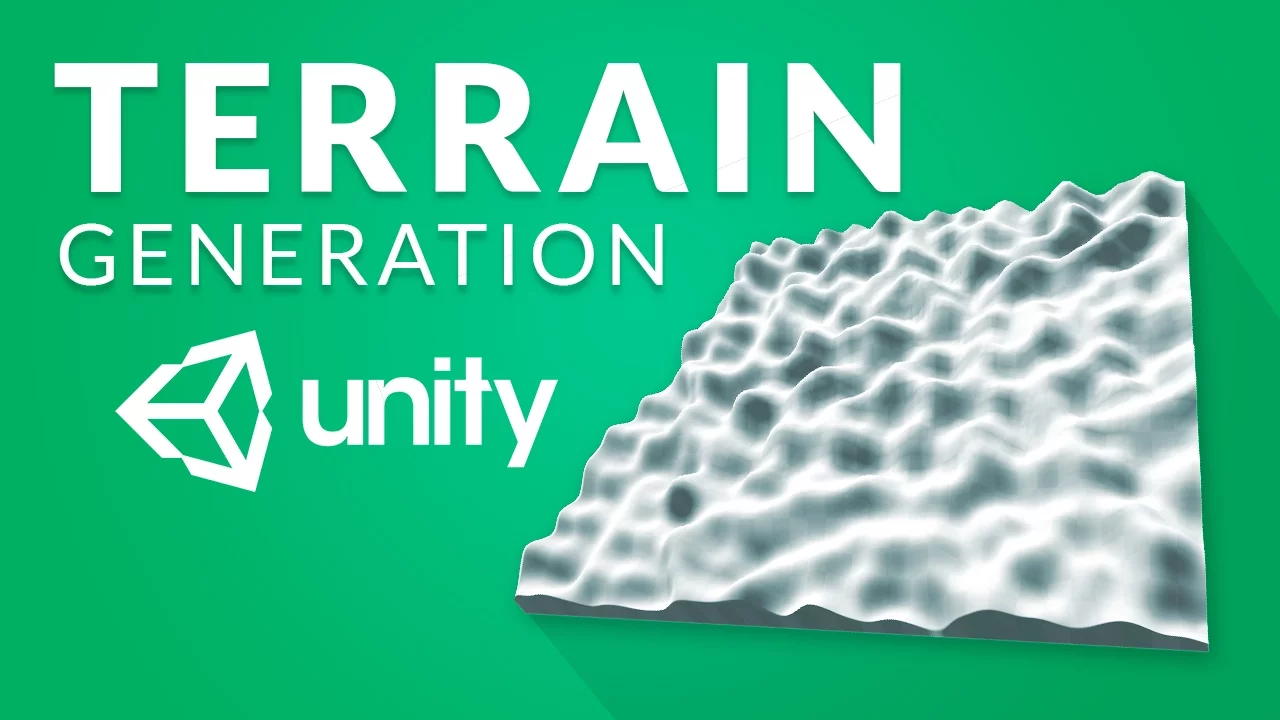
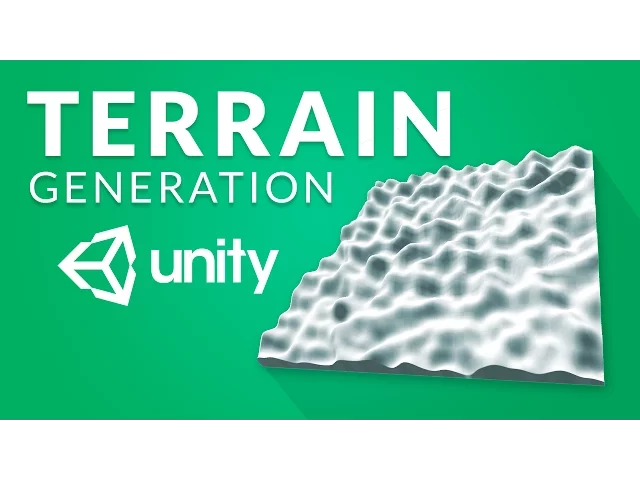
in this video we'll continue the topic of procedural generation we'll be using what we learned in the previous video about purling noise to generate a terrain in unity let's get started so we're going to be generating our terrain using the built in and fairly old terrain engine why because it's super easy to get working but it's also a big clumsy we'll talk about alternative options later in the video to create a terrain that's right click in the hierarchy go 3d object terrain we can now see in our scene view that a huge terrain has appeared
by default if we go under settings this is going to be 500 by 500 units I'll have a look at changing this through script later but now let's just go in here and add a new component we can call it Perlin noise or terrain generation I'm just going to call it terrain generator let's double click it to open it up in visual studio let's delete the two using tags at the top and both our methods for now first off we're going to be needing a lot of the same variables that we used in the last
video we're going to be using a public int width and will default this to 256 again the same thing for our height but height here can mean different things you can either mean the length of our terrain with the depth when viewed from above in our case this is going to mean the length and then we'll create another variable a public integer that is going to specify the depth meaning the height on the y axis of our terrain I will just to fold this to something like 20 now let's go and make a start method
in here we want to get a reference to our terrain component so that we can change the data of our terrain to do that we use get component of type terrain and we can go ahead and store this in a variable so let's create a terrain variable and it's also call it terrain and whenever we want to change properties of our terrain we have to access what is called terrain data to do that we go to rain dot terrain data and if we now write dot you can see all of the different things that we
can modify in here so let's go ahead and generate a new terrain data using a separate function which we are going to call generate terrain so this generate terrain method is of course going to return a terrain data we're going to call it generate terrain instead of creating a terrain data from scratch here let's use some of the settings that we set up inside of the inspector to do that we pass in here terrain dot terrain data and we take this in as an argument this is of course going to be terrain data and we'll
all it terrain data as well so we are saying that we want to set our terrain data equal to a newly generated terrain which is going to be based off of our current terrain data and now in here we can go and populate it so first off we want to set the dimensions of our terrain we do that by going to rain data dot size we'll set that equal to a new vector3 where the x is going to be our with the Y is going to be our debt and the Z is going to be
our height and just like our texture was made up of a whole bunch of different colors one color for each pixel or terrain data consists of a two-dimensional array of floats where each float is the height of our terrain at a given point and we can modify these heights really easily all we do is go to rain data dot set Heights we then give it the starting point which is going to be 0 0 in our case and then we give it a two-dimensional array of floats but of course we want to generate this using
protein noise so we'll write another function here we'll call it generate Heights let's close that off and let's begin creating our generate Heights method this is going to return a two-dimensional flow to Ray its name is going to be generate height and that's it now first we want to create a float array to do that we write float Margar that's a two-dimensional array we'll give it a name let's just call it heights and we'll set it equal to a new float array where the width of our array is going to be width and the height
of our array is going to be height so you can now imagine this float array as a grid of floats so that each point on our map has a float associated to it and if we now loop through each point we can set the float value equal to assemble from our Perlin noise so we go for int x equals 0 we keep looping as long as X is less than always and each time we'll increment by 1 instead of this we want to create another folder which is going to loop through the Y's it keeps
going as long as Y is less than height and we increment by 1 each time there as well now in here we can say height at the x and y position so the current X we're looking at and the current Y we're looking at is going to be equal to some Perlin noise value and this is what we'll generate and we'll do this in the exact same way we did it in the last video so we'll go here and call it something like calculate height and will input the and the wine then we'll create a
method that returns a float called calculate height it's going to take in an integer X and an integer Y we're going to make sure to calculate the noise coordinates not as whole numbers but as decimal place numbers so we'll write float X cord equals there we go X divided by width and the same thing with our Y cord Y divided by height and remember we multiply it both of these with a scale in order to be able to zoom in and out let's go up here and add a public float called scale and set it
equal to something like 20 by default and then we can multiply with that after each calculation and will then return a sample of our mass Perlin noise at our X chord comma or Y chord and now up here we are grabbing the appropriate float and setting it into a Heights array so up here we are calculating our height at the X&Y position we do that by taking our coordinates and converting them into our noisemap coordinates and then we are returning the value of a Kirlian noise function at those coordinates and we are feeding it into
our Heights array now all that's left to do is return this Heights array as soon as we're done looping through it and so we are now generating our Heights correctly and we can also return our terrain data because we have now both set these sides correctly and populated it with a bunch of pipe data and that means that up here is now correctly generating the terrain and feeding it into our terrain component so if we now hit save we should see that if we hit play inside of unity it does indeed do something but what's
going on here well the first thing is that it's only affecting a quarter of our terrain that's because that's one more value that we need to adjust other than the size the other thing is that well we aren't getting that much data it looks like everything is just clamped to a single value the reason for that is that we forgot to cast these values down here in true floats so we'll write float in front of both of those and up here before we set terrain data size we're going to in-state terrain data dot height map
resolution I will just set that equal to our width plus 1 so now when we save go into unity and hit play we should see our terrain correctly generating and it looks really cool if we start playing here we can go into scene view position our camera the way we want it select our camera switch to the scene view and hit ctrl shift F or command shift if you're on the Mac so now we should be able to see our terrain in the game view we can then go into visual studio and change this to
the update method and I don't recommend doing this in the update method unless for testing but if we now hit play and switch to our terrain here go into a terrain generated script we can see that we can now update the scale in real time and we can also update the depth which is going to mean the influence of our noise on the terrain and just like in the last video if you want a random terrain each time well then you're just going to randomize the offset so we're just going here and create a public
float offset X default that to a hundred and we'll create one for the Y as well then down here where we calculate our coordinates on our noise map we'll add offset X and offset Y and at the top we'll create a void start where we set off set X equal to random range between 0 and a great number and we do the same thing with offset Y let's save that hidden to unity they play and we can now see that each time we play we get a random terrain and that we can scroll through this
to create really interesting effects in fact you could have a look at animating this number over time let's go into visual studio into our update method and let's just say that offset X plus equals time Delta time and we can add a speed onto this let's say 5 if we now say we should see that every frame our terrain is going to be moving and this actually already works with colliders as well if we go in here throw 3d object cue reset the transform on this cube move it into somewhat of the center of our
scene I'm going to drag it up and size it up as well let's add a rigidbody to this and we can see that it falls down and collides with our terrain let's pretty much it for this video if you want to learn more about procedural generation which I definitely think you should I will have some good resources for you in the description the primary things that I would want to do difference is probably creating a mesh from scratch instead of using the built-in terrain engine and also having a look at how you can make the
noise more interesting a very common method is layering multiple Perlin noise functions with different frequencies on top of each other to create the variety and detail these different layers are commonly referred to as octaves sebastian lake has some really cool tutorials on this and some other cool stuff on procedural generation again check out the links in the description on that thanks for watching and I will see you in the next video thanks to all the awesome patreon supporters who donated in April and a special thanks to Derek Eames Kirk facial Ameri phi james callaghan Sybok
Nami Cole Cabral and Jason Lotito if you want to become a picture of yourself you can do so a pinch ENCOM slash Brackley


![[Unity] Procedural Planets (E01 the sphere)](https://img.youtube.com/vi/QN39W020LqU/maxresdefault.jpg)