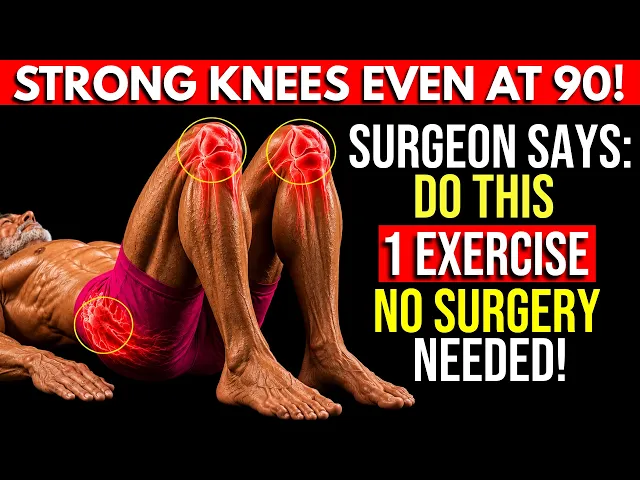
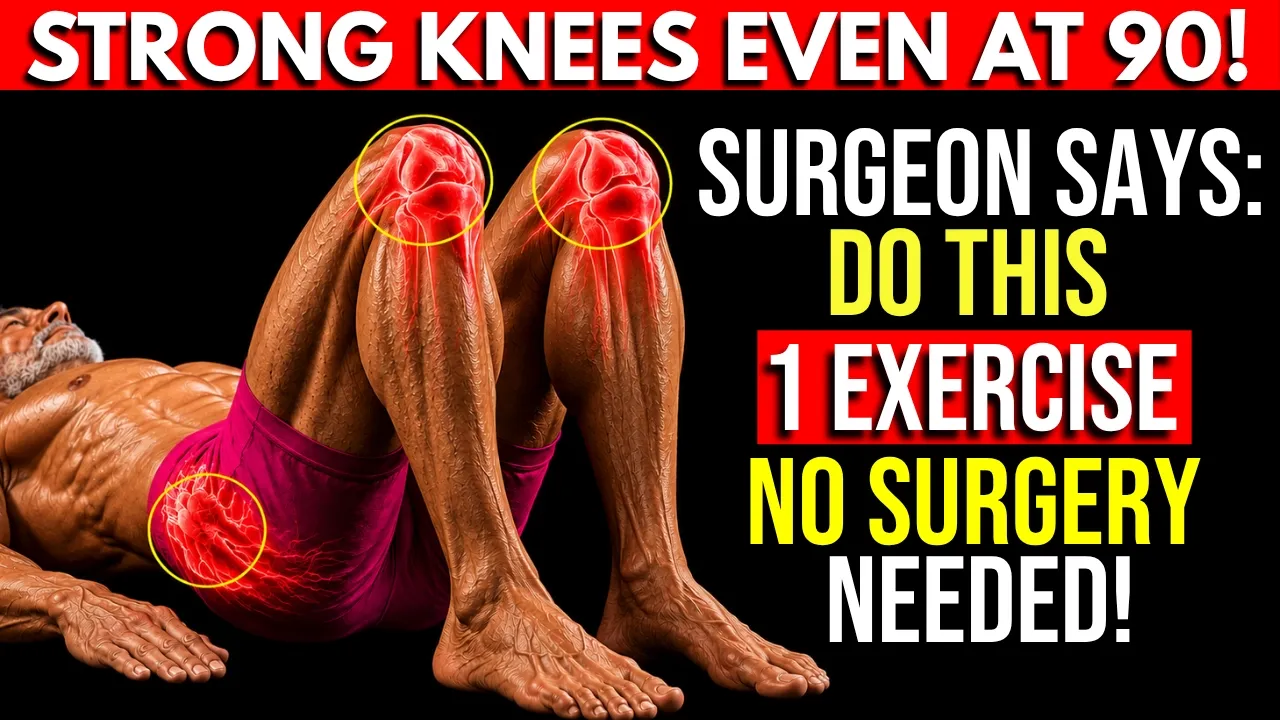
Knees cracking every time you stand up, gripping the handrail like your life depends on it just to go down the stairs? Most people will tell you that after 75, worn-out knees are just part of aging and surgery is your only option. But they are dead wrong.
A groundbreaking study published in the British Journal of Sports Medicine tracked 2,400 seniors over the age of 75. The results? 78% of those who followed a specific exercise routine completely restored their knee strength and mobility in just 16 weeks without a single incision and without spending a dime on surgery.
Here is the secret. Knee weakness in seniors usually is not a joint problem at all. It is a muscle problem hiding around the knee.
Once you wake those sleeping muscles back up, your knees will feel decades younger. In this video, I am going to reveal the five science-backed exercises to rebuild your knee strength in your 70s, 80s, and beyond. Especially our number one champion exercise, which helped an 81-year-old man throw away his walking cane in just 12 weeks.
Stay tuned until the end to see how you can do it at home with nothing more than a kitchen chair. Before we jump in, take a quick second to drop your age and where you are watching from in the comments below. I always love seeing how far our amazing community reaches.
Coming in at number five on our list is the toe tap exercise. Do not let its simple appearance fool you because this is an extremely important key for weak legs after the age of 75. First, please choose a very sturdy chair.
Sit with your hips shifted back, keep your back straight, and do not lean completely against the chair if possible. Place both feet parallel on the floor, hip-width apart. Rest both hands gently on your thighs or hold onto the side of the chair to maintain balance.
Keep both heels planted firmly on the floor. Slowly use the strength in your ankles to lift your entire toes and the soles of your feet as high as you possibly can. You will feel the muscle at the front of your lower leg tightening up.
Do not let your feet drop heavily on the floor. Count silently in your head 1 2 3 to lower your toes very slowly. This exact moment is when your legs are getting stronger.
We will perform 20 repetitions like this. Let us do it with me. Lift up and lower down very slowly.
If you feel tired in your lower legs, that is a very good sign. The muscles are being awakened. After 20 repetitions, please rest for 30 seconds to let your calves relax.
Then we will repeat for two more rounds. To achieve the best results, I recommend that you do this exercise right when you wake up or while sitting and watching morning television. Research shows that practicing in the morning helps muscles become 19% more responsive for the entire long day.
A small note, if after a few days you find it too easy, challenge yourself by lifting up for 3 seconds and lowering down for exactly 3 seconds. Slower means stronger. Practicing this exercise every day, you will see your steps become much more steady and confident.
Coming in at number four on our list is the seated leg extension exercise. If there is one muscle that protects your knees more than any other, it is the quadriceps, the large muscle at the front of your thighs. This simple exercise is one of the safest and most effective ways to strengthen it after the age of 75.
First, sit in a sturdy chair with a flat seat. Move your hips all the way back so you are sitting tall and stable. Keep your back straight and your shoulders relaxed.
Place both feet flat on the floor with your knees bent comfortably. Rest your hands lightly on the sides of the chair or on your thighs for support. Now focus on your right leg.
Slowly straighten your right knee and lift your foot forward until your leg is almost parallel to the floor. Do not swing the leg up quickly. Move with control and feel the muscle at the front of your thigh tightening as the leg rises.
Once your leg is fully extended, hold that position for 1 2 seconds. Keep breathing normally and do not hold your breath. Next, slowly lower your foot back down to the floor.
Count silently in your head, 1 2 3, as you lower. The slow lowering phase is where much of the strengthening happens. Do not let your foot drop.
Stay in control from start to finish. Now, repeat the same movement with your left leg. Lift slowly, hold briefly, then lower down for 3 full seconds.
Continue alternating legs in this smooth and controlled manner. We will perform 10 repetitions on each leg. After completing both sides, rest for about 45 seconds.
Then repeat for two more rounds. If this exercise becomes easy after a few weeks, you can increase the challenge by holding the extended position a little longer before lowering. The goal is not speed.
The goal is control. Practice this exercise three to four times each week, and you may soon notice that standing up from a chair, walking longer distances, and climbing stairs feel much easier and more comfortable. Coming in at number three on our list is the standing side leg lift.
This exercise is not about lifting your leg as high as possible. It is about teaching your body how to stay stable on one leg, something you do every single time you take a step. Stand behind a sturdy chair and lightly place your hands on the backrest.
Keep your feet under your hips and stand tall. Before moving, make sure your weight is evenly distributed between [clears throat] both feet. Now, slowly transfer your weight onto your left leg.
Imagine that leg becoming your support pillar. Once you feel steady, gently lift your right leg out to the side. Keep the movement smooth and controlled.
Your toes should point straight ahead, not toward the ceiling. Try to keep your upper body completely still as the leg moves. Lift only as high as feels comfortable.
Then pause for a moment and feel the muscles on the outside of your hip working to keep you balanced. Slowly bring the leg back to the starting position without letting it swing. Continue for 12 repetitions on the same side.
Then switch and repeat on the other leg. If balancing feels challenging, keep one hand on the chair at all times. As you become stronger, you can gradually use less support.
After completing both sides, rest for about 40 seconds and repeat for two more rounds. Remember, a smaller controlled movement is far more effective than a large movement performed with poor balance. Over time, this exercise can help you feel more secure when changing direction, stepping around obstacles, or walking on uneven ground, making everyday activities safer and more comfortable.
Coming in at number two on our list is the heel slide. This gentle movement is one of the best ways to help stiff knees move more freely again. If your knees feel tight when getting out of bed, stepping into a car, or standing up after sitting for a long time, this exercise is for you.
Find a comfortable place to lie down. A bed, a firm couch, or an exercise mat all work well. Rest your head comfortably and stretch both legs out in front of you.
Let your arms relax by your sides. Now focus on your right leg. Slowly slide your right heel along the surface toward your body.
As the heel moves closer, your knee will begin to bend naturally. Move only as far as feels comfortable. There is no need to force the movement.
A gentle stretch is good, but pain is not. When your heel reaches its closest comfortable position, pause briefly and allow the knee to relax. Then slowly slide the heel away from your body until the leg is straight again.
Imagine you are drawing a smooth line on the floor with your heel. Continue moving in this slow and controlled manner for 10 repetitions. Then switch to the other leg and repeat the same process.
Keep your breathing relaxed throughout the exercise and avoid rushing through the movement. After both legs are finished, rest for about 30 seconds and complete two more rounds. If sliding feels difficult, wearing a sock can help the heel move more smoothly across the surface.
Many older adults are surprised by how much easier everyday movements feel after practicing this exercise consistently. Simple tasks like getting in and out of a car, bending down to pick something up, or taking that first step in the morning often become much more comfortable. And now we have reached the number one exercise on our list.
The wall-assisted mini squat. If you only choose one exercise from today's video, make it this one. Many people hear the word squat and immediately feel nervous.
They picture deep knee bends, aching joints, and movements that seem impossible after 75. But this is completely different. This version is gentle, controlled, and designed specifically for older adults who want stronger knees without putting unnecessary stress on their joints.
To get started, find a smooth wall with enough space around you. Stand with your back resting comfortably against the wall. Take a small step forward so your feet are about shoulder width apart and slightly in front of your body.
Keep both feet pointing straight ahead. Before moving, make sure your shoulders, upper back, and hips are lightly touching the wall. Keep [snorts] your chest open and look straight ahead.
Now slowly slide your body down the wall. Only move a few inches at first. This is called a mini squat for a reason.
There is no need to go deep as you lower yourself. Keep your weight evenly distributed through both feet. Your knees should stay directly above your ankles and never travel far forward.
Once you reach a comfortable position, hold [snorts] it. Count slowly. 1 2 3 4 5 You should feel the muscles in the front of your thighs working.
That is exactly what we want. Now gently press through your feet and slide back up the wall until you are standing tall again. Take a moment to recover, then repeat the movement.
We will perform three repetitions today, holding each one for 5 seconds. As your strength improves over the coming weeks, you can gradually increase the hold time by a few seconds. The secret to this exercise is patience.
Do not focus on going lower. Focus on staying controlled. A shallow squat performed correctly will strengthen your legs far more effectively than a deep squat performed with poor form.
Many older adults discover that this exercise directly improves the activities that matter most. Standing up from a favorite chair becomes easier. Climbing stairs requires less effort.
Even getting out of a car starts to feel smoother and more natural. That is why the wall-assisted mini squat earns the number one spot on our list. Now here is what I want you to remember.
Do not let anyone convince you that weak knees are simply something you must accept because of your age. Getting older does not automatically mean giving up your strength, your mobility, or your independence. Muscles can become stronger at 70, 80, and even beyond.
Balance can improve. Walking can become easier. Everyday tasks can feel more comfortable again.
The truth is, every time you choose to move, every time you complete one more repetition, and every time you stay consistent with these exercises, you are investing in your future mobility and your freedom. So before you leave, I would love for you to comment three things below. First, type stronger knees.
Second, tell us your age. Third, tell us where you are watching from. For example, stronger knees, 81, Florida.
I read as many comments as I can, and seeing people from all over the world working towards stronger knees is always inspiring. If you found this video helpful, please give it a like, subscribe to the channel, and share it with a friend or family member who is struggling with weak or painful knees. Thank you for spending these minutes with me today.
Take care of your knees, stay active, stay strong, and I will see you in the next video.