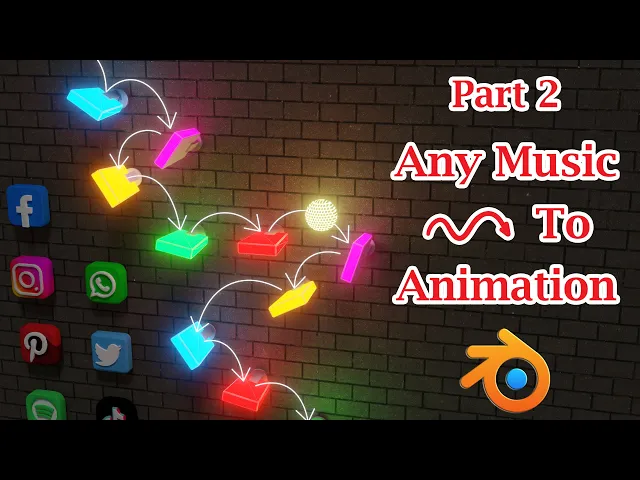
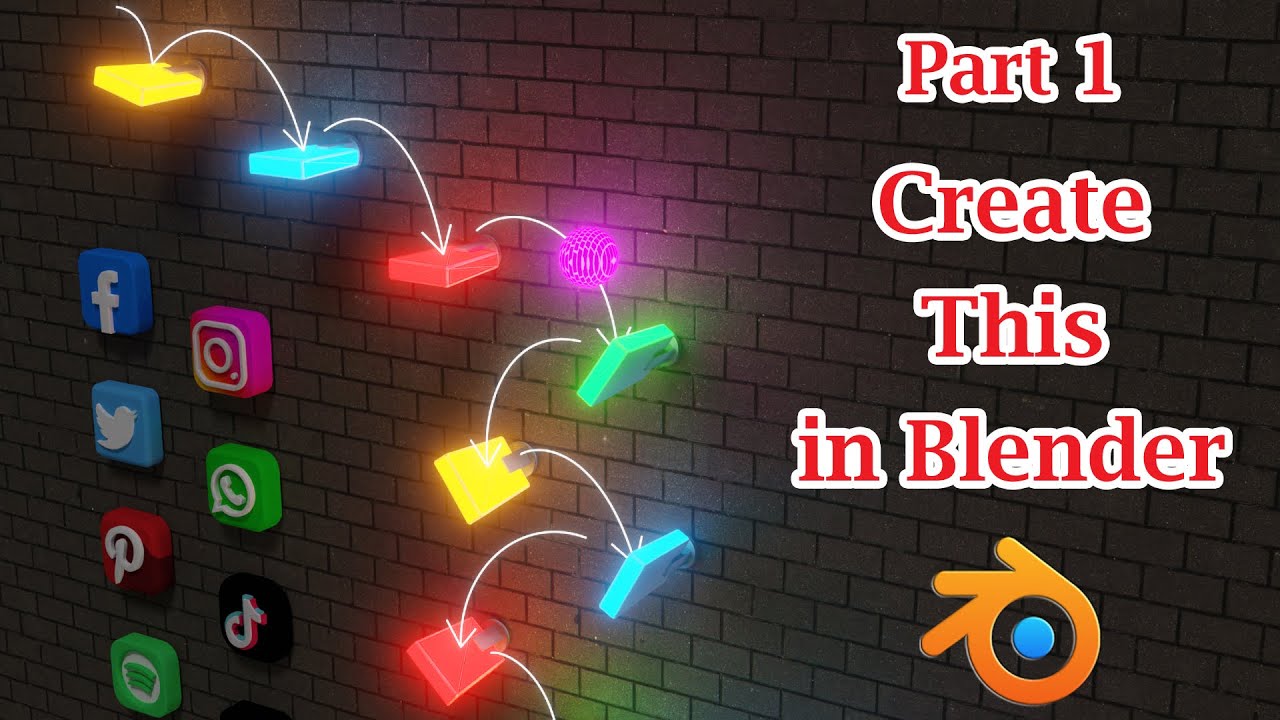
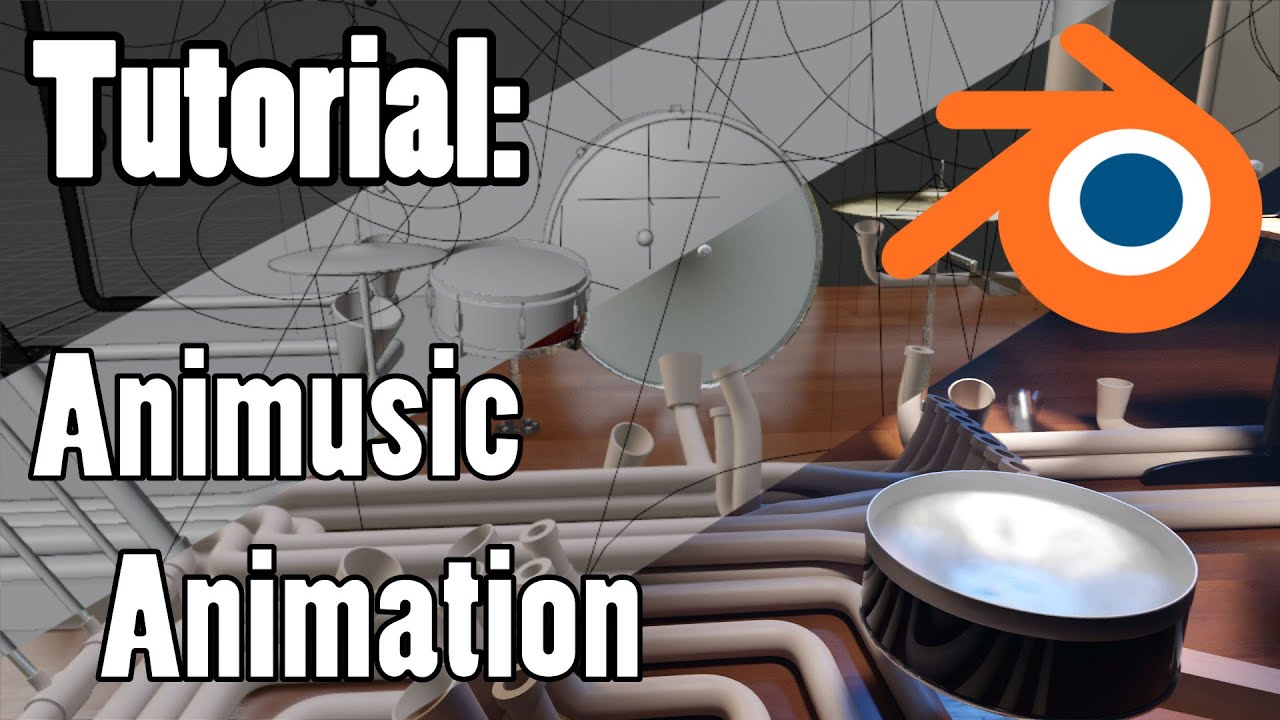
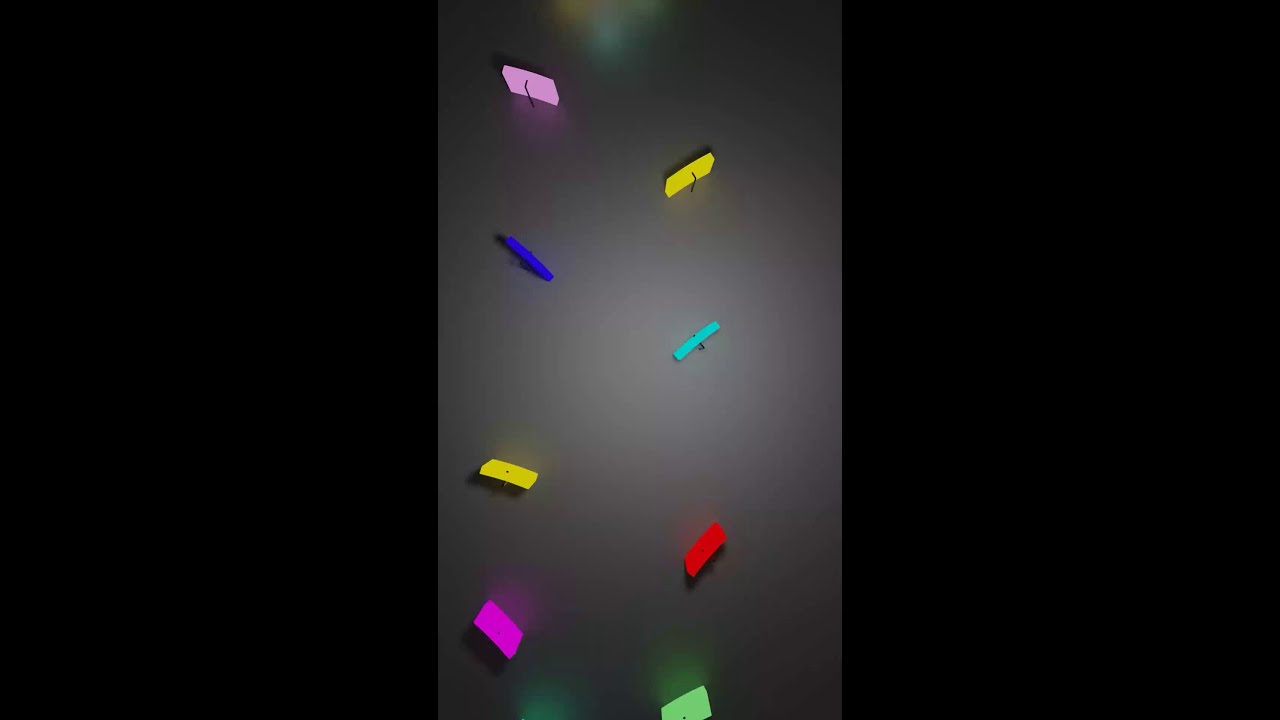
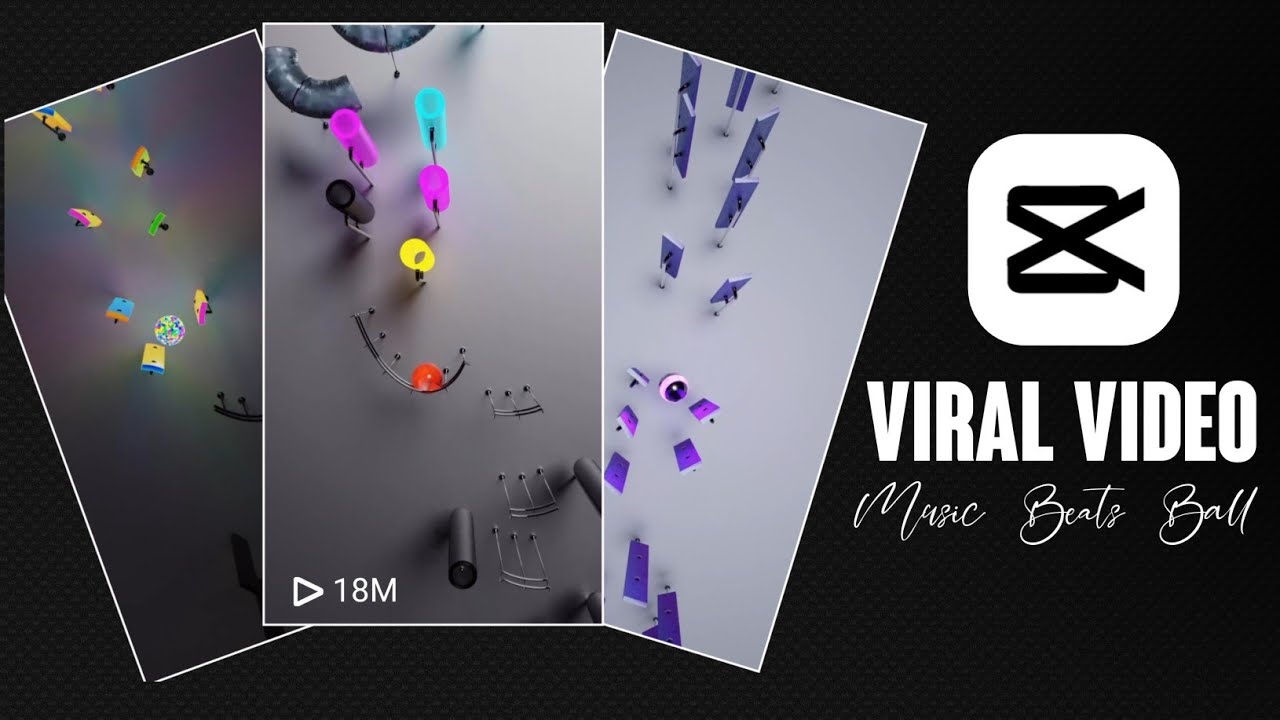
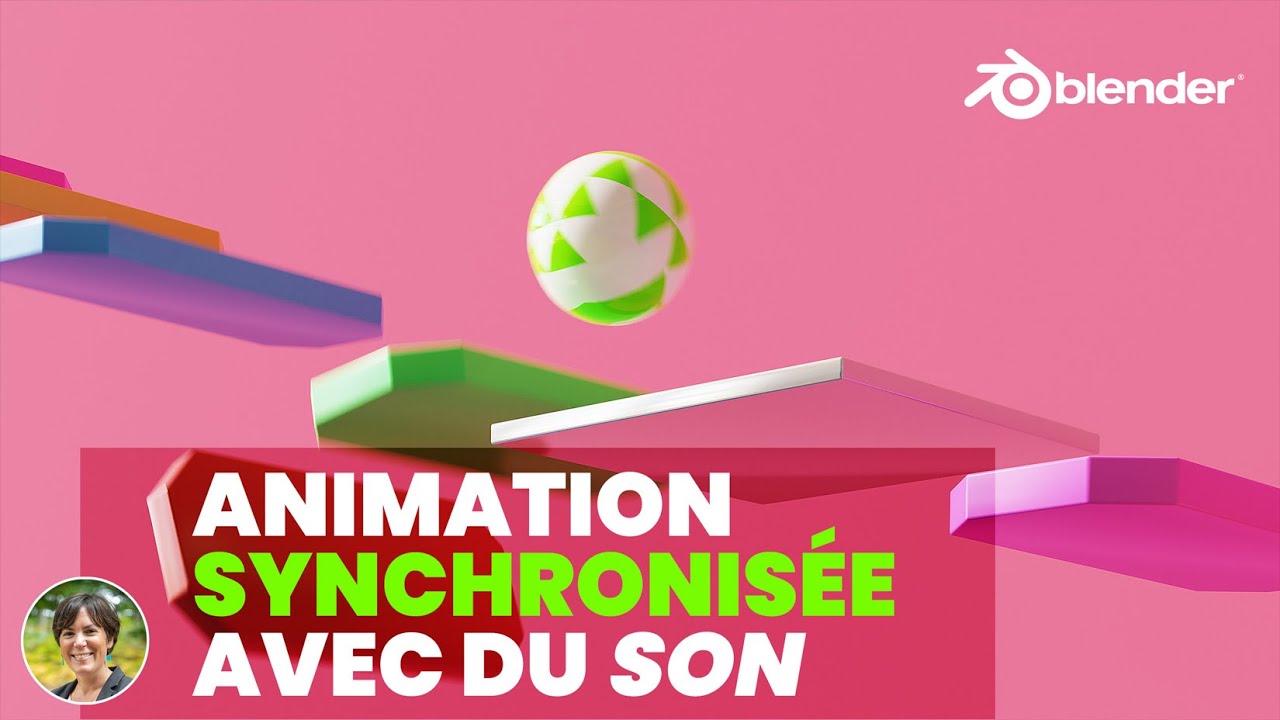
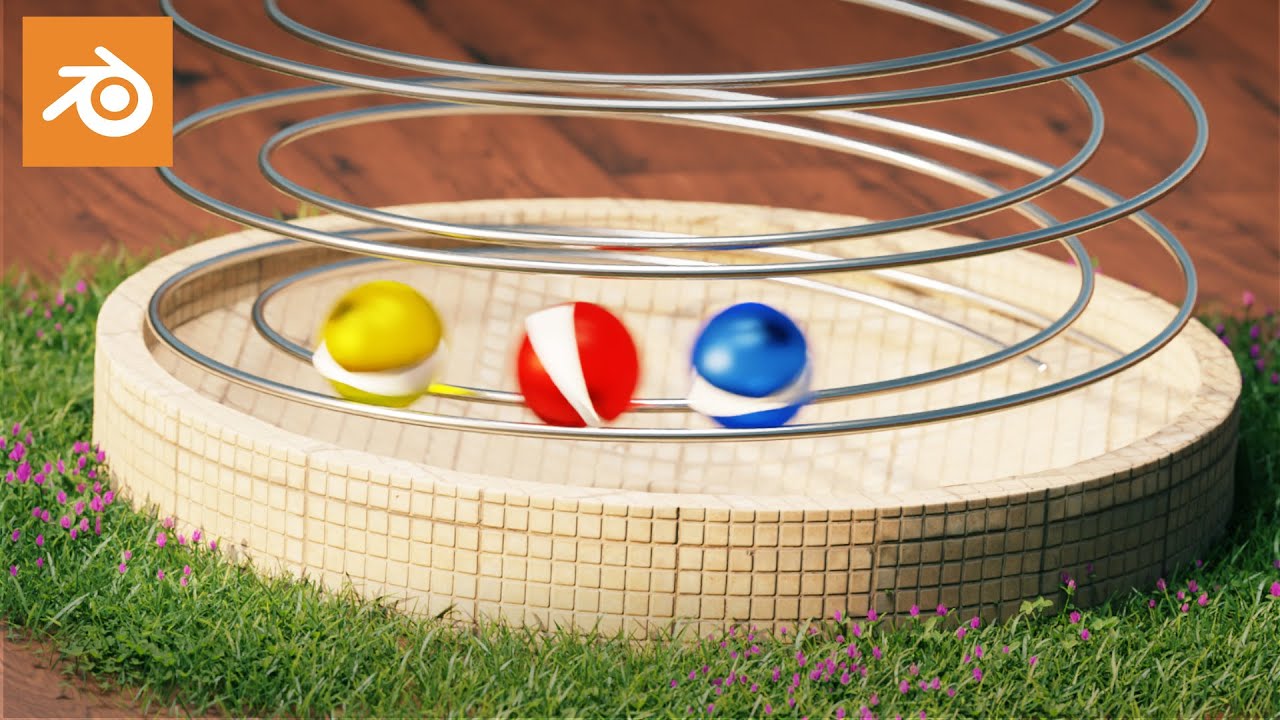
in the previous tutorial we have discussed how to create a musical marble animation using rigid body physics and blender now in this second part we'll discuss how to add a music of your choice how to start with any random music and create this animation following that musical track so that they are perfectly in sync let's say we take this [Music] music we'll create the musical marbles based on this audio file or this music you should ensure that there is no Prelude or Gap the music should start from the beginning and it should have a good
Rhythm that our animation can follow but before we do anything we need to First convert this music into a series of timeline markers as we can see here and we'll do it within blender using a script so remember that you have to rightclick on the blender exe and select the option run as administrator once blender opens we have to go to the text editor from here then click on this new button for a new script and paste this code this code is given Below in the video description it will install a module in blender called
Li Rosa this module is required in order to do the audio processing let's open the system console and then we can execute our code in the console you can see the installation progress and after the installation you'll get a successful message like this please remember that we need to run this code only once no need to run it every time now we can start with our blender file for the musical marble animation where we have set up rigid body physics for these objects so this ball is set up as an active rigid body and these
musical notes are set up as passive objects we have discussed this thoroughly in the first part of this tutorial you can check it from the link given Below in the video description before we do anything we need to identify the frame number when the ball hits the first musical note we can just run the animation and get this Frame number so we can see that it is frame number number 26 now we'll add the markers in this timeline based on the music file we can do it manually as well but we'll automate it with a
script so let's open the text editor and click on the new button then paste our script like this which is given again in the video description the script is ready to use you need to only change the location of your audio file here within a pair of quotes and then simply run this code once it is done we can go back to the viewport and you'll notice that the script has created a series of markers here following the rhythm of our song but we need to start this series from here just when the bouncing ball
hits the first musical note so hover your mouse near one of the markers like this and press G on the keyboard then move your mouse and place it exactly on frame number 26 and this is where we'll also add a speaker to play the music simultaneously so from the add menu let's add a speaker now go to the speaker Tab and click on this open Button we need to select the same audio file here which we want to convert into the musical animation now go to the playback options and change this first option to sync
to audio let's then play this animation from the [Music] beginning so from this quick test we can see that the music is in sync only for this first marker where the ball hits the first note and this is correctly placed but all other notes are currently out of sync we need to rectify their positions so that they also get perfectly synced with each of these markers on our timeline so let's go to the frame where we have the second marker and we can see that the ball is here for this Frame but we want it
to hit this second note at this Frame so we need the ball somewhere near this location and to make it happen we need to tilt this first note to rectify the angle of reflection and f- tune its position as well now calculate the physics up to this Frame number then we need to bring this second note close to this ball and change its orientation so that the ball is bound to hit this note at this Frame number now calculate the physics again and let's go to the third marker we need to again find out where
the ball is situated for this Frame number and we'll bring our third note right there we have to ensure a direct contact or an overlap with the ball and we may need to change the position or the rotation of the note now let's recalculate the physics and then verify where it goes we can actually test it once from the very beginning so we need to now place our fourth note so we'll select this whole thing then press shift d to duplicate it and place it in the correct location to overlap with the ball for the
fourth marker but if we recalculate the physics and play it again we'll discover that the ball is bouncing off heavily from this fourth note so we need to modify its physics properties we'll change its bounciness to say point8 we have discussed these settings in great details in the first part of this tutorial so here we'll focus only on the music part we we need to do the same steps for each marker and place the notes first calculate the physics to get the position of the ball then duplicate a note and place it in the correct
position with a slight overlap with the ball to get a collision let's calculate it again and play it from the beginning to [Music] verify and once you complete the setup it will look like this with [Music] sound [Music] now we'll discuss about few issues that you may encounter while working with this method and some issues that you have reported first you may have too many markers here for your audio technically these are called onsets The Script can detect too many onsets from your music but you need not consider all of them like we have two
markers here close to each other we can ignore this marker and consider only this one and also this one to create the bouncing of the ball but if you are unable to create these markers at all let's say you are unable to install lib Rosa for some reason or you can't run blender with administrative privilege the script won't work in that case but you can still create the markers from your music manually for any particular frame and the speaker object can be very helpful in that case let the speaker play your music you can manually
select a frame and then add a marker for that frame from here likewise you can add all these markers manually for your music but adding them using our script is definitely far easier the speaker can also start playing the music from a wrong frame it's possible that the speaker is playing our music from frame number one but we need it to start only from frame 26 there is no field in the speaker properties to control the start frame so we need to open the nla editor if we scroll down here in the left side we'll
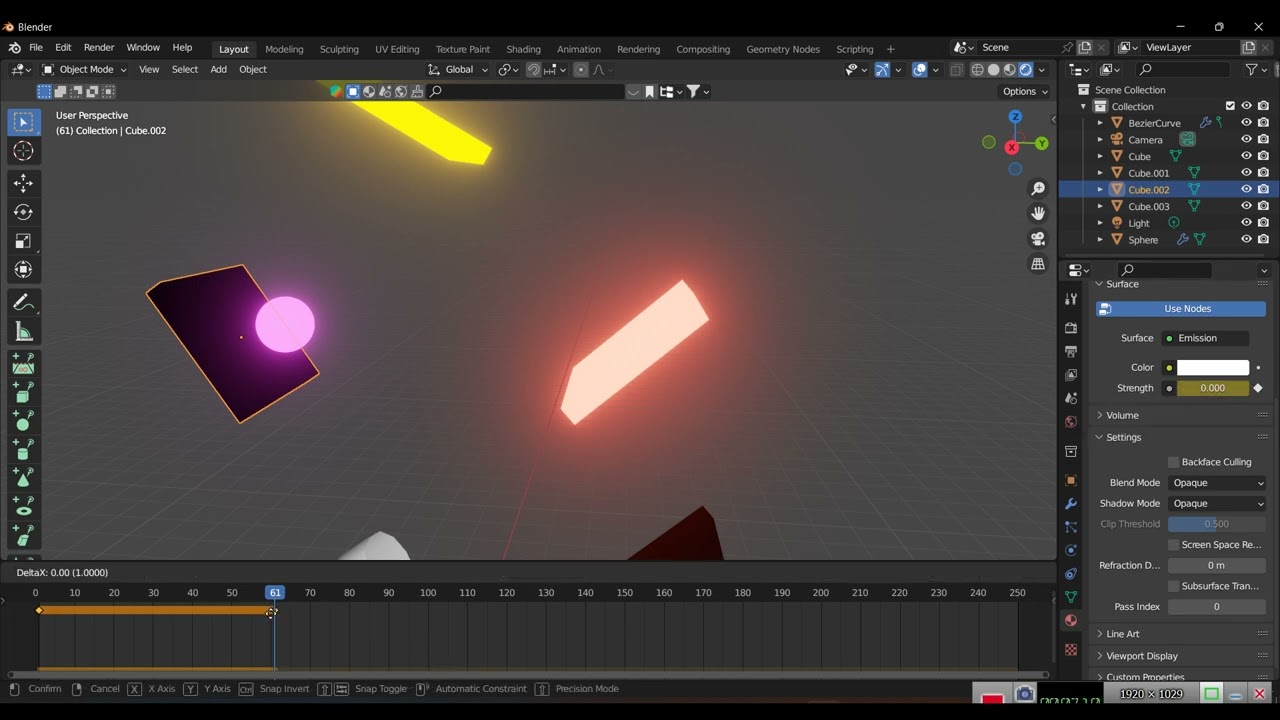
find an entry for soundtrack under the speaker object you can press G to grab the sound track and move it with the mouse so that it starts exactly at the desired frame number next we'll discuss about the materials of our musical notes since we have received several questions on this material setup so the Shader node tree for these notes looks like this we have used a mix Shader here which connects two different shaders like this and we have added two key frames one is at frame number 26 and another at 27 so the material will
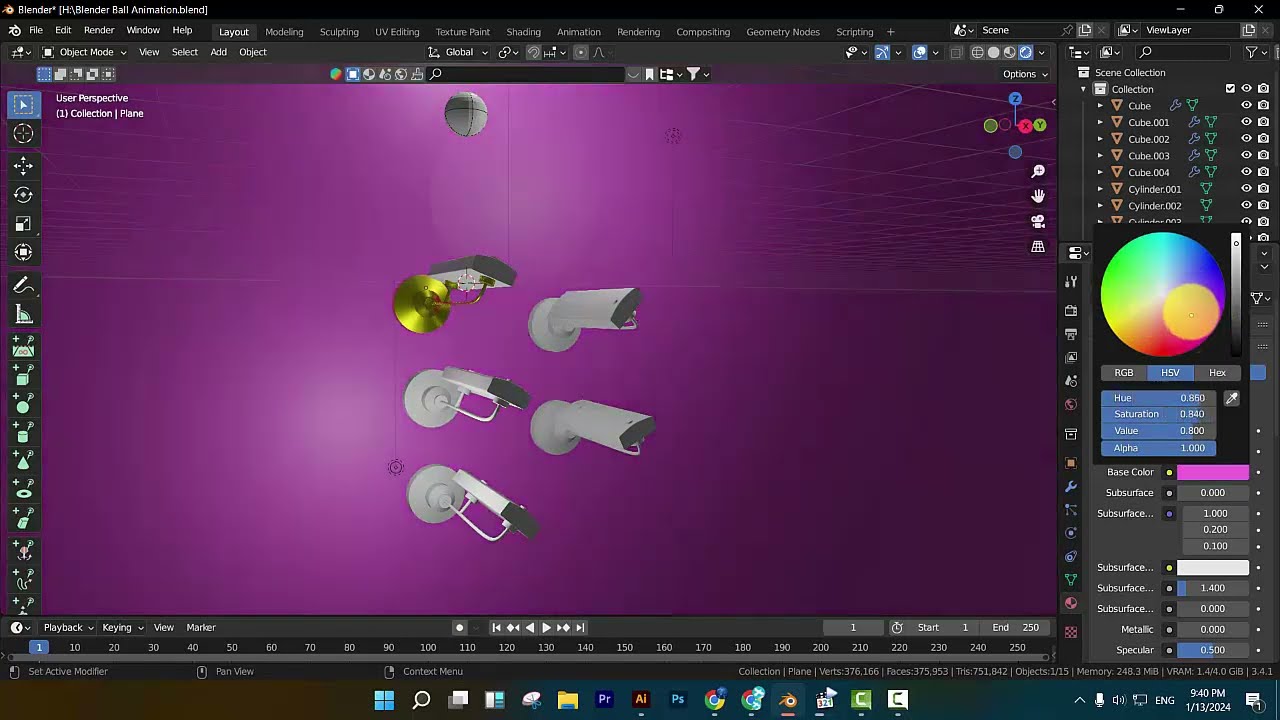
change from its base color to emission just after the collision at 26 but the problem is when you try to set up this material for another note with a different color it will reset the setup which you already did for all other notes so everything gets messed up this happens because we have created all these notes by duplication so the materials are linked to each other and changing one of them will change the others as well you have to first select all the notes together then go to the object menu and under relations under make
single user select the materials option the notes will now have a private copy of their materials and you can set up each of these materials separately based on the frame number when the ball is hitting a note then we can render our scene for an output like [Music] this I hope you like this series on musical marbles thanks for watching and don't forget to subscribe to this channel