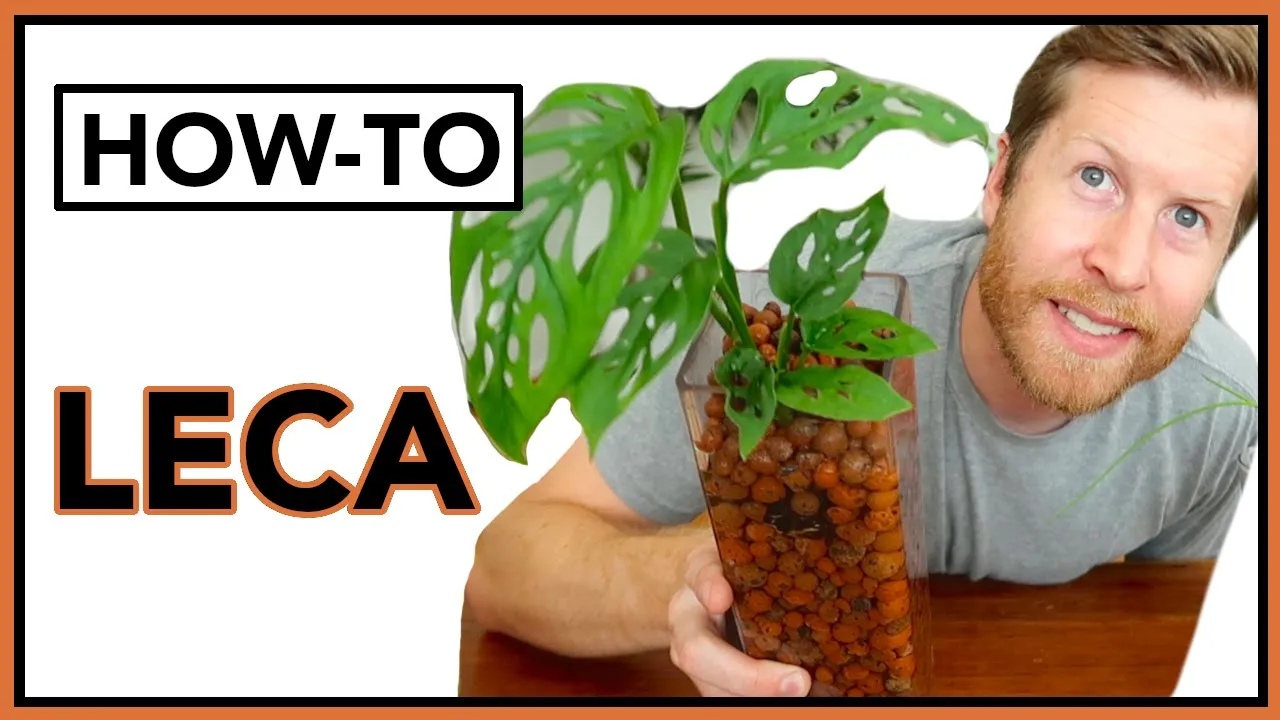
what in the world is lekka lightweight expanded clay aggregate we just called it lekka for short and what it technically means is these clay pebbles and when people are referring to lekka often they're just saying semi-hydroponics something that is sitting within water so we're essentially growing these plants within just rocks air water and nutrients and that gets to why people might want to grow with lekka first and foremost it just grows a lot faster hydroponics typically is about 30 to 40 percent faster growth and bigger growth than soil on average i've been growing in hydroponics
for about 14 years and using lecka throughout the whole process it's my favorite aggregate to use in the hydroponics world so not only do you have faster growth with lecca you have a lot less root issues typically there's a lot less chances for over watering and underwatering and there ends up being a lot less issues with root rot but root rot can occur in semi hydroponics this water needs to be changed frequently the oxygen needs to be put back into the water also leka is a lot cleaner than dirt there's a lot less mess when
transplanting and if you're in an apartment it can be really nice to kind of just use rocks and water as your primary way of growing there's also far less pests and bugs with lecka with soil a lot of your soil dwelling insects like your fungus gnats will live within this top layer of the soil with lecco they're not going to have really anywhere to go and we tend to keep this medium sterile using hydrogen peroxide and bleach whereas this is a very active and live culture within this soil so you'll get just a whole lot
less bugs now to get started with semi-hydroponics you're going to need a straight container you could use the container within a container a net pot within a glass container or something ideally opaque so that your roots don't get algae but this is a fine thing to start off with and you can upgrade at a later point you're going to need a part a nutrient that we make here and a part b nutrient these are micro and bloom from companies like general hydroponics and advanced nutrients if you're already doing lecka you're familiar with the three-part micro
grow and bloom but we just use the micro and the bloom of the three part and we'll show you how to mix those if you want to use our style of mixing nutrients and of course you'll just need some lecca itself so now we'll go work on converting the soil house plant into a lekka container we just want to really knock away any of the soil really gently with our hands just be really gentle and just kind of shake it out you can gently tap on something hard like this bucket next i like to soak
the root ball inside of some water kind of swish it around and that will get off a good amount of soil ideally i had a hose but i live in an apartment so this is the best option because we don't want to take chunks of dirt and then soak them into water in the semi-hydroponics that will create rot so we're going to rinse away all of this it's pretty good okay so now we have our desoiled plant our container that we're going to plant into and our bag of lecca and we put this together as
a simple kit that you can get on our website it just gives people a really simple and easy way to get right into lekka without it costing a lot of money or being super confusing so we're going to kind of mark where we want our plant to eventually sit so i kind of want it to sit just like that so i'm going to fill in with lecca about three quarters of the way [Music] now that we're in i'm just gonna fill in around the root zone and kind of let it filter in and fall into
place okay now we're fully transplanted we're gonna just get a gallon of tap water and our nutrients together to make our solution so we made this a very simple two-part formula for the nutrient and it doesn't necessarily need to be ph we add some things into the micro and the bloom to stabilize the ph so none of the water needs to be ph and no grow is used within this mixture so part a we're going to use between two and six milliliters and of part b it's going to be between 4 and 12 milliliters part
b is always twice the amount of part a hence the size of the bottles so since this is a relatively new plant we're going to go with the lower side and kind of step our way up so we'll use two milliliters of part a which is a stabilized micro put that straight into the water never mix the part a and part b together and then between each nutrient make sure to shake the bottle and mix it so part a is in now we're going to do part b it will be four since part a was
two this will be four so we'll go up to the three then we'll add in one more we also include a pipette within your kit just to make measuring nutrients very simple finally we'll add in some b1 vitamins and we'll do five drops per gallon this will help deal with the transplant shock if any we do also include some ph down within your kit if you want to use it but it isn't necessary the ph of this will be right around 6.2 to 5.8 depending on which mixture or concentration you use of these nutrients remember
that the larger your plant is in the more established it is and the more light it gets the more nutrients so that's when you'll be going up to something like six of this and 12 milliliters of this per gallon of water but again once you put that in and add in your vitamins your ph should be pretty stabilized most tap water comes out between seven and eight ph and that's what we've set up this nutrient program for so now our water is mixed we're just going to pour until the water reaches the bottom of the
root mass you want to go about a third of the way up the roots the roots act as little capillaries still draw that water up themselves and then you're going to want to change this water every two weeks and when you do that flush simply i'll wrap my fingers around the plant and hold the rocks back and just pour out the water and then swap it in of course you can do it more often but the goal of that is to reintroduce the oxygen back into this root zone since these roots are just sitting in
kind of an old water solution remember in active hydroponics we're constantly bubbling this water adding oxygen back in so make sure to change out this water in between cycles you can splash a little hydrogen peroxide kind of over as a rinse just to clean out any sort of pythium or root rot that might occur you want to have white fibrous roots if you get any brown or slimy roots you have a potential of root rot and again like i said this is not ideal being a clear container it's not ideal that i don't have a
net pot inside of it like this one but i just wanted to show people a really simple way to get going with lecco in a cheap affordable way that you can do right at home everyone's got a jar or a vase that they can use or cup if you did enjoy the video please click the like button down below it does help us out and if you want to get into lecca we specifically made this kit to be affordable and user friendly so check one out down in the description below [Music] [Applause]