what is going on guys blood with soulless PLC calm here and today I'm bringing you a quick tutorial on xic and xio instructions so one of the most fundamental yet sometimes misunderstood instructions in your toolkit within the ladder logic environment and this is something that is common to a lot of PLC's and essentially in a typical program you would see somewhere between a 90 to 95 percent of X ICS and Xiao used so extremely important to understand how they work and it's not that complicated so let's jump straight into the tutorial so in terms of
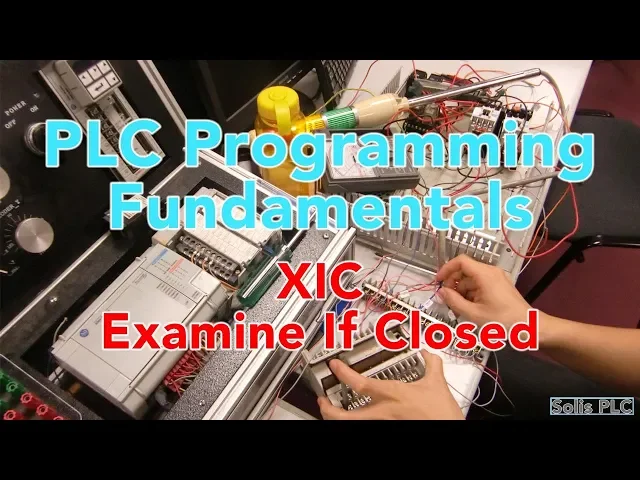
hardware what I have is essentially a PLC tied to two separate buttons the one on the left is green the one on the right is orange representing a start and a stop push button respectively so you don't need to worry too much about the hardware but essentially the first one the start button goes to my local one input that is zero and the second one the stop button goes to local one input data one as indicated by the program right here as well as the descriptions that I've put in already and looking at the logic
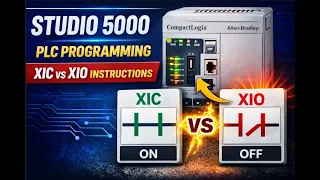
so in the first run you have this symbolic xic instruction so once again this can be pulled up from here and as you can see it tells us examine on so what does that mean is is that the condition or the xic becomes true whenever the input is pulled high and in order to pull the input high we need to hold down the button so I don't want you to focus on the other rungs for now but essentially in the first rung you can see that as long as I maintain my finger on that start
button this condition is highlighted green which means that it's evaluating to true and so when I release that button it immediately evaluates to false and you remove that a highlight and essentially what that is is that no matter what is after this instruction as long as this X I see is pulled high you will execute whatever is on the right side of my run right so as long as I maintain my finger down on that push button then whatever is on the right you don't need to pay too much attention to this a different instruction
which we're going to discuss in a separate video but essentially this X I see only allows current to go through the metaphor current whenever I have the finger down on this push button otherwise there is nothing as being executed after that button similarly on a run number one you have this same exact logic which is tied to the stub button so as soon as I hold down the stop button then this input one that I data one is available evaluated to true and there are four execute whatever is left on the wrong and of course
these are independent so if I hold down both of them then both of those rungs will execute so there's absolutely no tie in right now now what is happening below on this rung number two now I want to to discuss first of all what is you know what is a typical system required to run so what you want your conditions to be is essentially whenever you hold you press the start button the system needs to start running and then whenever you press the stop button the system needs to stop so which brings us to the
second point or a second instruction of this video which is going to be the X i/o so in this case let's examine the rung so if I start going through my ex i/o as you can see it's highlighted so it's inverse of the X I see so it's x io f stands for examine if open so whenever the button is not pressed or a deep pressed or you know any other terminology that you can use for a button it is going to evaluate to true so as soon as I start as soon as I hit
the start button the current essentially goes through my start button through the stop button which is not pressed and then it energizes this system is running right so whenever I hit the start and I hold it down then you can see that current can very easily pass through this X I see then it can pass through the x AO because the stop button is not pressed and then it can energize this last instruction now if I hold down the stop button you will see that this X i/o is no longer true so now even if
I try to press the start button with my other finger you will see that nothing is happening because it's not enough or this wrong a to iran right so remember a rung requires all the instructions on the left side let me just make make this a little clear if i zoom out all the instructions on the left side to evaluate true or allow the current to pass in order to energize whatever is on the right side so that's pretty much it for x ICS and x io let's rekt and really quickly re discuss what kind
of a essentially datatypes they are applied to so if I go back into these local tags if I go into this controller tag and look at my 0 & 1 the data bits which I'm using for the inputs we will see that they are boolean so a boolean really quickly for those of you who are not aware is essentially a 0 or a 1 so all I can have as a value here is a 0 or a 1 so if I try to put in something else then it's going to tell me it is invalid
because it's a string or I guess an integer so I have to put in a 0 and 1 and of course this is an input so it's only evaluating based on what the card is coming in as now the other kind of point that I want you to drive home is that the xic does not necessarily only need to tie into buttons so your buttons are definitely the most obvious thing or your inputs your sensors whatever is coming in to the plc is the most obvious thing to use on X IC and x io on
however they can be used on internal tags so as you can see I have this system boolean 0 which is a tag that I've invented it does not need to be an input or an output per se but it can be used for a and x IC and x io instruction and furthermore we will also see some of the more complex instructions which can leverage x ICS and X iOS for certain conditions as long as they are of type boolean and furthermore if you want to drive this point home you can even have tags so
if I go into this edit tags section and I create some kind of a an integer so for example an integer is composed out of a series of bullying's right so it is a dent at the top level but then if I expand this you will see that it is composed out of boolean s-- so I can very easily use an x IC or x io instruction on any one of these boolean x' within this dent structure so there's going to be 32 of them because a is essentially 32 bytes 32 bits sorry about that
so you can use it on any of them thank you guys so much for watching my content if you have any questions on this topic make sure to leave them in the comment section below and if you can spend five seconds of your time liking as well as sharing that video if you've enjoyed it that would mean absolutely the world to me and if you have any suggestions for the channel what kind of hardware software I should be covering then make sure to leave that down there as well see you next time take care bye