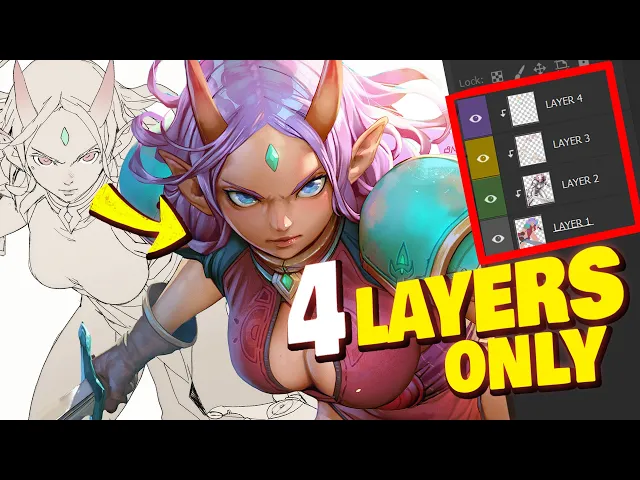
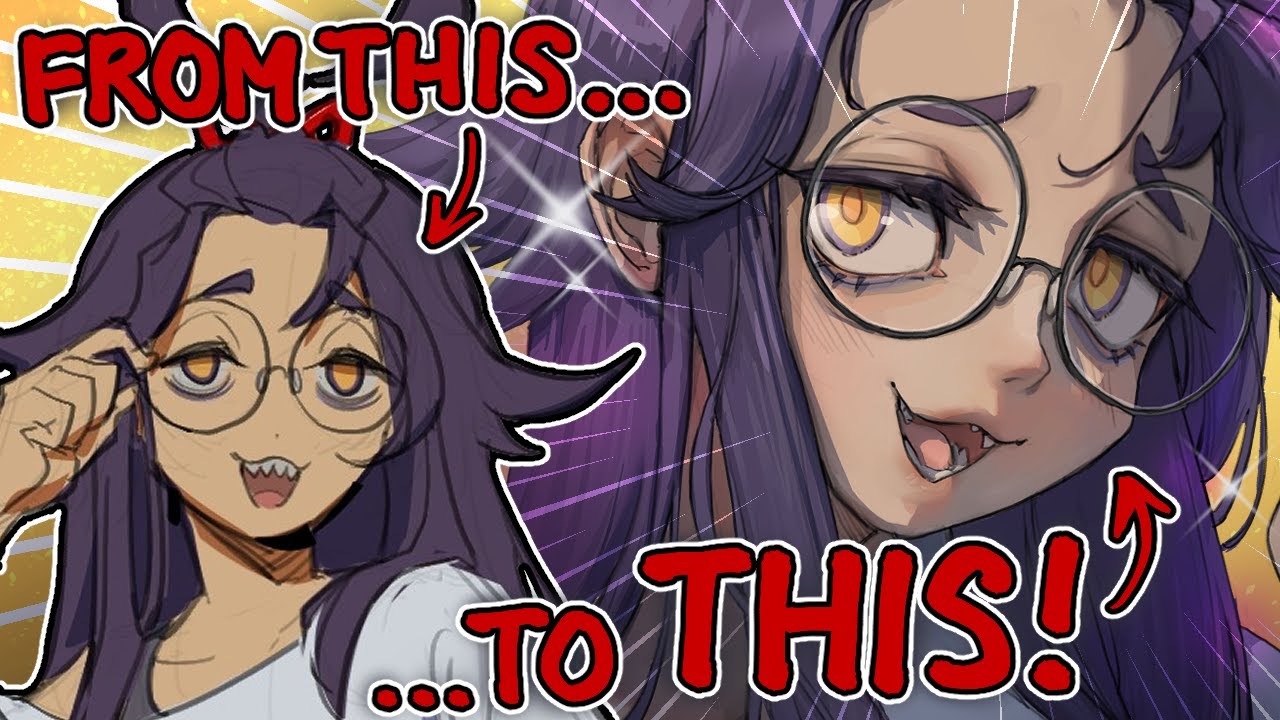
oh hi welcome back hey stop do last week I talked about the benefits of not using layers when drawing but in this episode of YouTube our school I'll go over what is undoubtedly the world's most simple coloring method using only four layers so how to go from this to this or layer and this method actually works in any painting software it's so simple a baby could do it so let's see how it's done oh uhoh let's get this glass [Music] started oh all right classes in session pay attention and you'll also need to pay the
class fee of either one like or one sub for all of this Professional Knowledge if you don't do it well I can't check either way I guess so let's just get started we'll just need a rough drawing to get started something like this and my lines are a mess up clothes as you can see but I'll be covering them all by the end of it so it really doesn't matter but with that said the linel less style is just my preference so if you prefer to have your line art showing in the final result then
you should spend more time and clean up your drawing obviously and if you do keep it then you'd probably have to call this method the five layer method because you'll end up with that extra line art layer in the end not as cool either way the rest of the process will be the same so let's start by creating our first layer that we'll call plats for this method the line art will start on top of the layer stack so the flats will be right below and I'm just going to either paint it or masso and
Paint Bucket the silhouette of my drawing like this now that we have something on the Flor Flats layer let's lock that Alpha for later and we'll actually leave that layer as is for now we could draw all of the different colors now but we'll probably have to readjust them later so might as well save ourselves some time and move on to shading for now so of course the second layer is going to be for the shading so let's just call it that and we'll want to make sure to slot that one in between our existing
layer so just above the flat layer now instead of a regular layer we'll transform this into a clipping mask like that in clip Studio paint and you can tell that it is a clipping mask now that it's turned red this way we'll limit the area that we can paint shading on to the flats only so if I tried painting on this new shading layer you can see that the paint is only being applied to the flats directly underneath all right for this layer will'll set the blend mode to multiply don't skip this part very important
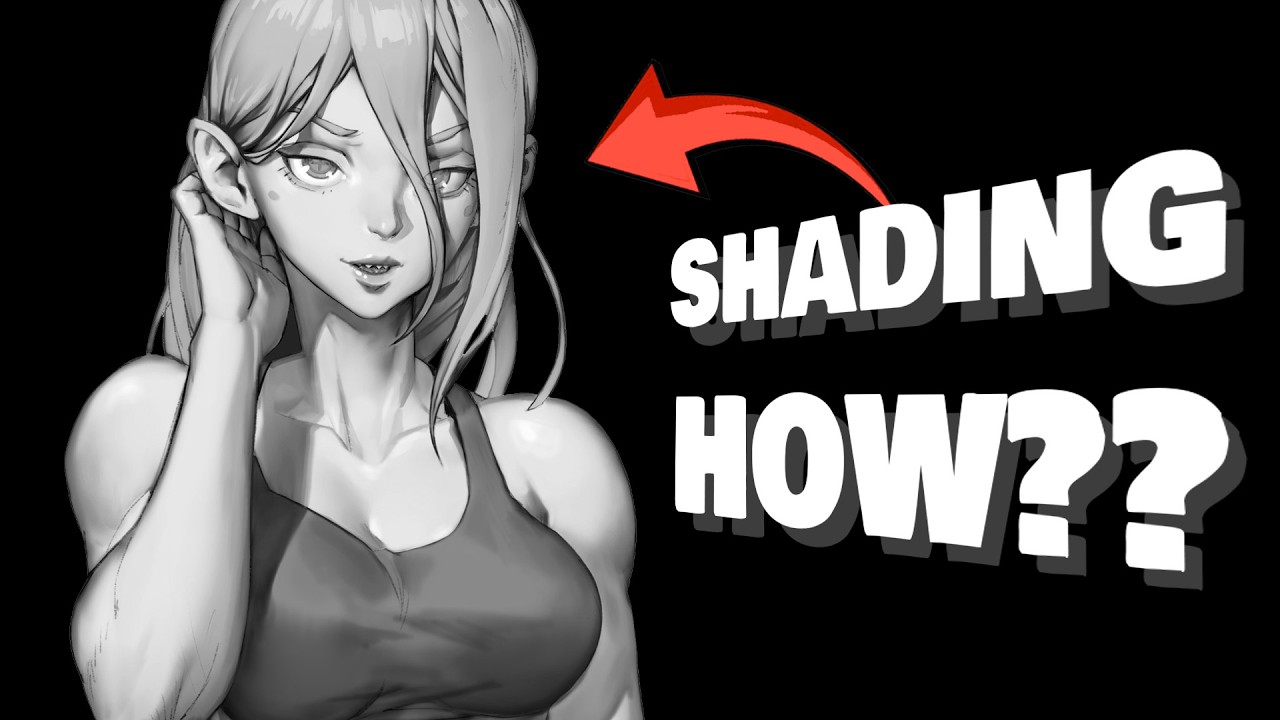
and for the shading really we'll want the character to feel like it has volume almost like a 3D model because that's going to pay off big time later in the process you'll see it's not easy but there are definitely a few things to keep in mind when working on the shading so the first one should be to keep it relatively light because otherwise we won't be able to see the colors underneath right so I'm painting with black but I want to paint just enough to give us that 3D look but not much more than that
the end result should feel like the ratio of lighter values is higher compared to darker values and the second thing worth mentioning is to completely ignore colors at this stage we want to shade our character as if it was just one color like one single material don't go darkening the hair if you want your character to have dark hair or anything like that colors will be managed with the flat layer later in the process not the shading layer you got me bro that's important and I know I always bring it up but don't hesitate to
use the free Magic poser web website to you know get an idea of your shading if you suck at shading again not sponsored I'm just a fan now since I know I'll get questions about it to shade I'm using my custom shading brush and the lasso tool paired with a basic soft brush for the most part that combo is usually what's going to allow me to do everything and that shading brush is part of my Advanced painter brush set if you want it I'll put the link to it in the video description but to be
fair it's not that hard to make one yourself so just get it if you're lazy basically and I will teach you how to create brushes also how to shade how to color design Master storytelling drawing in perspective and a lot more in my complete art education program that's on sale until the end of the month check it out with the link in the description if you need help pushing your art to Next Level the art school program has a curriculum of 30 in-depth classes spread over 10 terms to give you a complete Foundation as an
artist just like you would get with the masters of Fine Arts but with a heavy emphasis on digital art you also get access to our private school Discord to kind of help mimic a real class environment but even better the program is cheaper than most pen display tablets with their current sale so don't miss out on that it's almost over check out the link below for hundreds of reviews from students and to find out why nearly 26,000 other artists of all skill levels have joined so far what are you waiting for all right so now
that my shading is done that looks hot we can finally go back to our Flats layer and start to paint the different regions of our drawing with different colors oh and I almost forgot but I don't need my line art layer anymore now that I'm done shading so be gone and look how tidy this layer stack looks and then back to colors that step is super fun at least to me because you'll see the drawing really come to life with color and shading combined we'll be adding lighting soon also so it's fine if your colors
are a little on the dark side but I would try to keep it around like 50% brightness otherwise it might still end up being a little too dark even after the lighting pass but we can always easily change those colors later with some quick Paint Bucket action though so don't stress about your color choices too much all right now we're ready to move on to the third layer the lighting layer We'll add this one on top of the shading layer and just like the shading layer we'll also make this one into a clipping mask here
you'll have a few options when it comes to the blend mode usually I'll use hardlight because it gives me more control over the result but you might want to try overlay mode as well I use that too sometimes like if your shading is a little bit more subtle overlay might work best but whatever just try both and pick the one you prefer so in my case the light will be coming from the top as if the character was outside during the day like lit by the sunlight and having the lighting on its own layer is
nice because you can easily try different things like different light directions even and if you don't like it or if you make a mistake you just got to erase it and try again none of the rest of the work is impacted oh and since the sunlight is usually like pretty intense we might also be able to see the effect of subsurface scattering and I'll spare you the physics behind it but the result is this reddish transition that we can normally observe between the light and the shadow on the skin specifically personally though I'll just add
the effect everywhere because I kind of like how it looks even if it's inaccurate and it's super easy in Photoshop using an out water glow layer Style with these settings take note but you could just manually paint it too if you're using a different software it honestly doesn't take very long all right I'm digging this but I think it might benefit from a second light source maybe like a bluish one to mimic the subtle diffused light from the guy I know I'm cheating with an extra layer here but if this is already a lot to
take in Just Go with a single light source instead it'll still look pretty awesome and anyways this is what we have so far so flat colors sh and lighting looks cool kind of but we still have one layer to go we're not missing much our final layer will be all about the finishing touches I'll call this the materials layer because here we'll be trying to Define different materials wow because so far it all kind of seems like it's just this matte material but of course like skin Metals Hair Etc they all have their distinct properties
so we'll make this layer into a clipping mask as well and switch it to the hard light blend mode and now we're ready ready to go so first on the menu will be Reflections I'm going to have basically close to none for the Fabrics some for the skin and more for her metal armor and hair the light from the light sources is what's being reflected for the most part so we can place those highlights accordingly you know like kind of facing each light source the reflections shouldn't be just random that already looks a lot better
in my opinion but I'm sure you'll agree that she's still missing some skin color variations like redder lips some blush Maybe some red on the ears nose and of course we can't forget the smaller Reflections like on the eyeballs the tip of her nose and the lips maybe M check out the before and after ooh yes and now you would think we're done but you'd be wrong there's one tiny final step so let's go through that real quick we're going to go back to our Flats layer select the skin color using the wand tool so
we get just the skin selected and then we'll select the shadow layer lock its Alpha very important and then we'll just paint over the black shading using a really dark red color because check out how much more alive the skin feels now with black with dark red M and then you can repeat this process for different colors like I did so here's what my shading layer looks like in the end much more colorful much less muddy so there it is to recap real quick Flats first then the shading then the lighting using one two maybe
three lights the material properties and then the final adjustments to the shading layer and here you have the most optimized coloring process that I've ever come up with and it's yours I'm making it open source and I hope that helped so let me know in the comments you know if you got something out of this share the video maybe with somebody who would benefit and also like make sure to tag me on social media if you end up giving this a shot I really love seeing that stuff but yeah don't forget to slap that like
button for this epic method and I'll see you next week for another episode of YouTube Art School [Music]