hello and welcome to my next tutorial about prepare max this time i will show you how to analyze elasto plastic bending of a beam as always let's create a new model first i'll use the unit system of emitters and now i have to import the geometry i'll use the step file format and now our beam of rectangular cross section is already imported so i can proceed to the mesh generation i will specify the meshing parameters 20 millimeters or the maximum element size i can preview this confirm and create a mesh the mesh is now generated
so i can proceed to the analysis setup let's define a material first this will be still just like in previous tutorials i will specify elastic behavior first i use the same values of young's modulus and poisson's ratio as in previous videos and i also define plasticity this time so for the plastic behavior we have to specify data points yield stress versus plastic strain and in this case we will use elastic perfectly plastic material model so there's only a yield strength with zero plastic strain and there's a plateau region after that so we have to specify
only one point this would be yield stress of our material you can see this value here for the zero plastic strain and just keep in mind that on this plate here there's a total strain and but we have to specify plastic strength for the definition of plastic behavior in calculus so we can confirm this and create a new section i will assign this section to the beam and now i can proceed to step setup let's create a new step this will be static step with default settings and now i can define boundary conditions and loads
the beam is i can't deliver as you can see with force applied at the free end so i will define a fixed boundary condition first this will be here i can confirm this and now let's define a load and i could use rigid body constraint and apply the force concentrated first of the reference point and connect the ridge buttock constraint with this phase but in this case a rigid body constraint could make the results a bit off so let's use another type of load to be safe extraction we haven't used this one before i can
apply it directly to the face and i can specify the value in newtons and this force will be applied evenly to the whole face so that each node receives a part of the slot and just so that you avoid the confusion and not each node will receive this value but this will be spread uniformly over the whole surface so the value uh to be used in this case is 155 kilonewtons so i have to specify this here using newtons and i can confirm this and now what i have to do is submit the analysis but
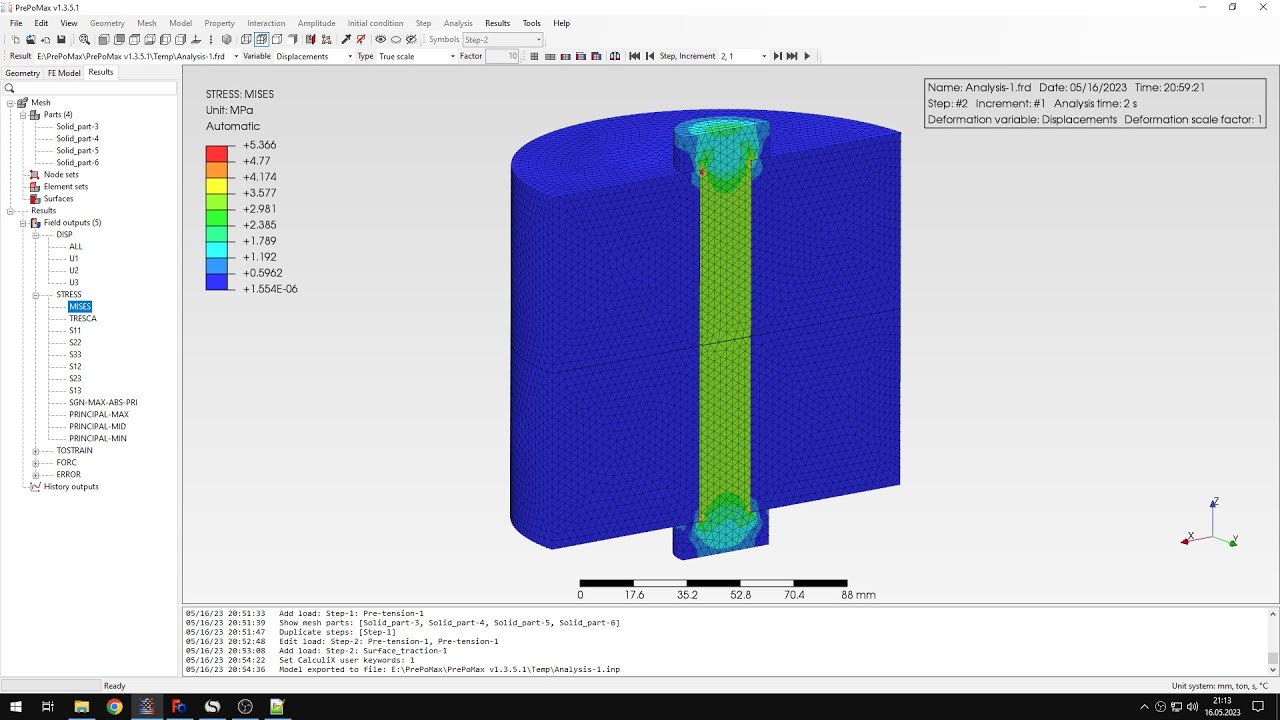
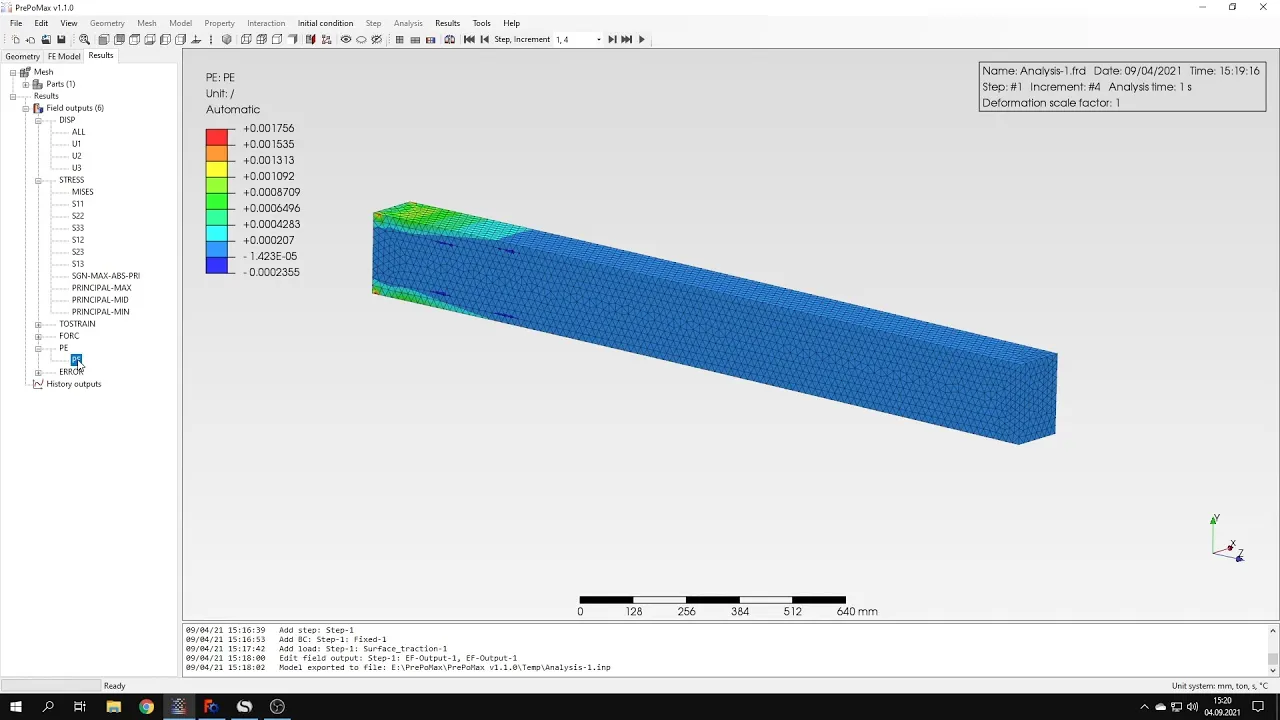
first i will define an additional field output because we might need plastic strain so let's go to the element output and here i will add the additional variable equivalent plastic strain i can confirm this and run the analysis analysis state may take time some time because the mesh is quite dense and this time we'll solve nonlinear problem for the first time so you can see that this is a nonlinear procedure so it might take some time for the analysis to converge as i expected it took a while but the results are already available so let's
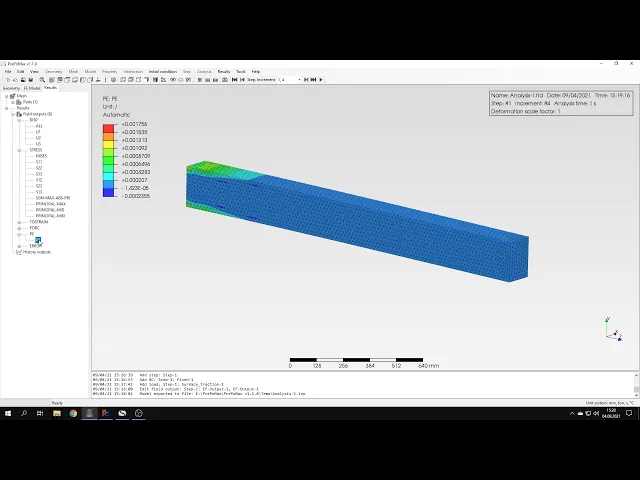
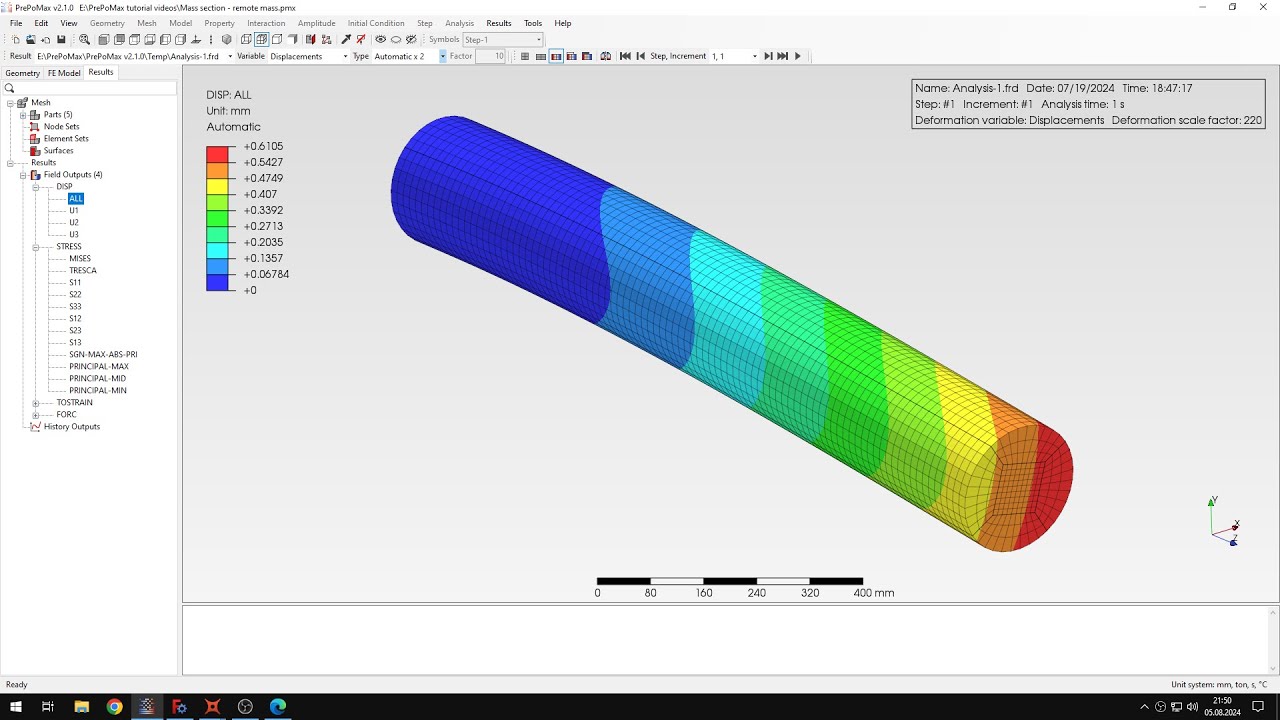
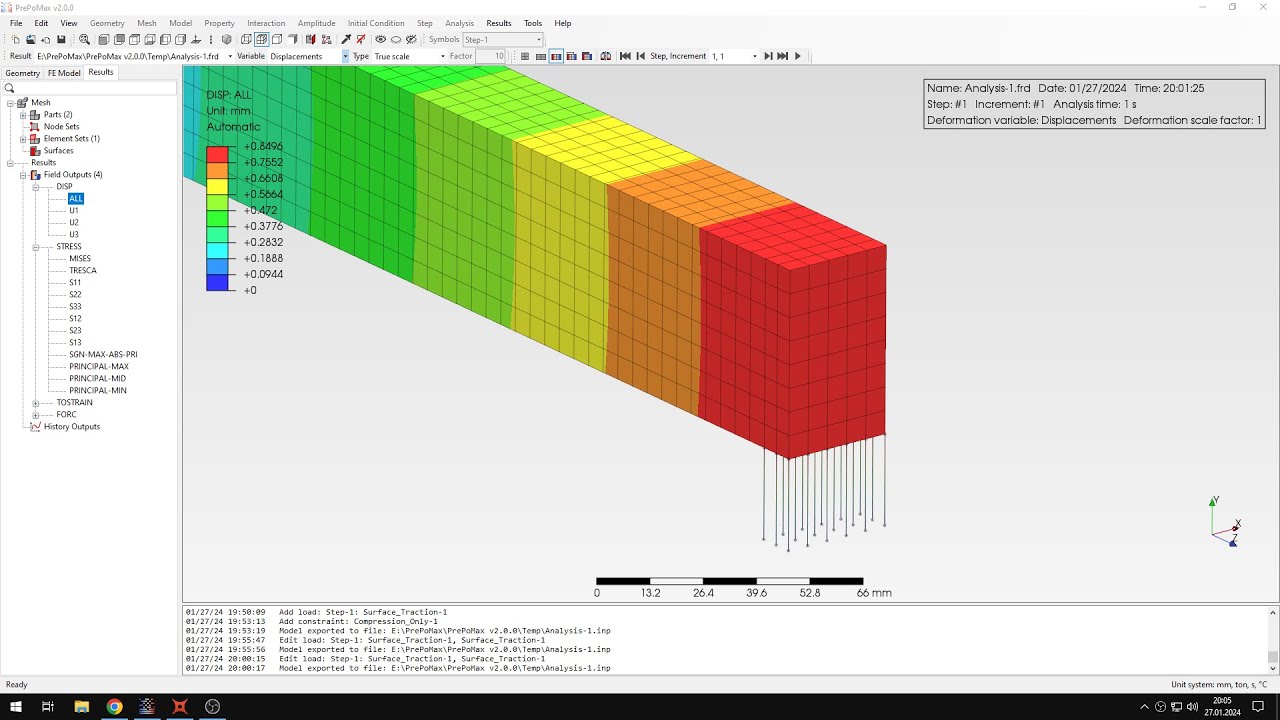
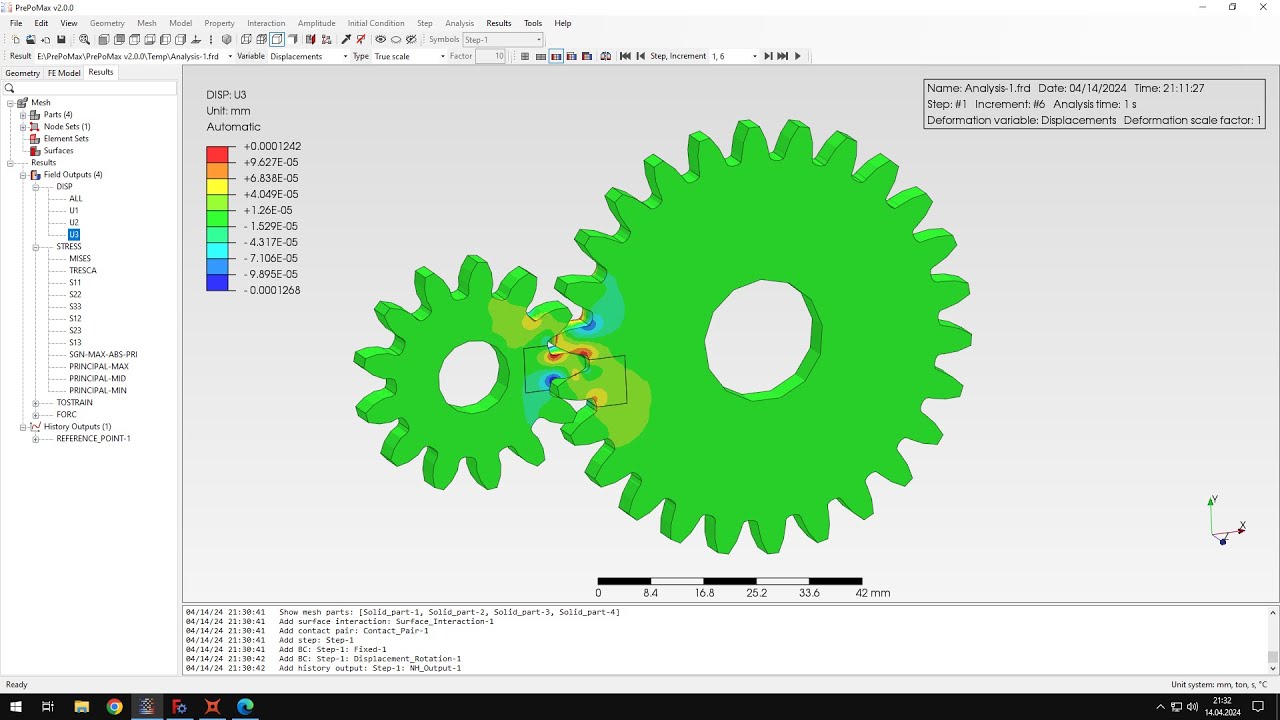
check them and here we can see the displacement stresses and our plastic strains and but to compare with analytical solution we are interested in the deflection so let's choose the proper displacement and to compare with the deflection uh obtained to analytical solution here's the the right value and let's check this uh using the query tool but first i'll show you that you can also enable the labels showing maximum and minimum values of particular valuable in this case we are interested in the minimum value so let's hide the maximum one and you can see that's the
minimum displacement actually the larger displacement in this case is 23.07 and that's pretty close to the analytical solution we could get closer but we would have to use different types of elements because tetrahedrons are not very good for this purpose unfortunately we have to use tetrahedrons to if you measure in preparamax but we can also import meshes you that use another types of elements and are created in different software you can import them to propamex and use them for calculations and the closest i got to it was with hexahedrons with reduced integration and they gave
me the value of 23.33 millimeters so pretty close to the electrical solution is still somewhat off but but it was closer than this value here so it's pretty important what kind of elements you use and how dense the mesh is that's it for this preponderance tutorial thank you very much for your attention as always feel free to ask any questions and suggest topics for future tutorials in the comments have a nice day and see you in the next video