It's really simple to get started with the BBC micro:bit. You just need a micro:bit, a micro USB cable and a computer. The micro:bit is a piece of hardware, a tiny pocket-sized computer.
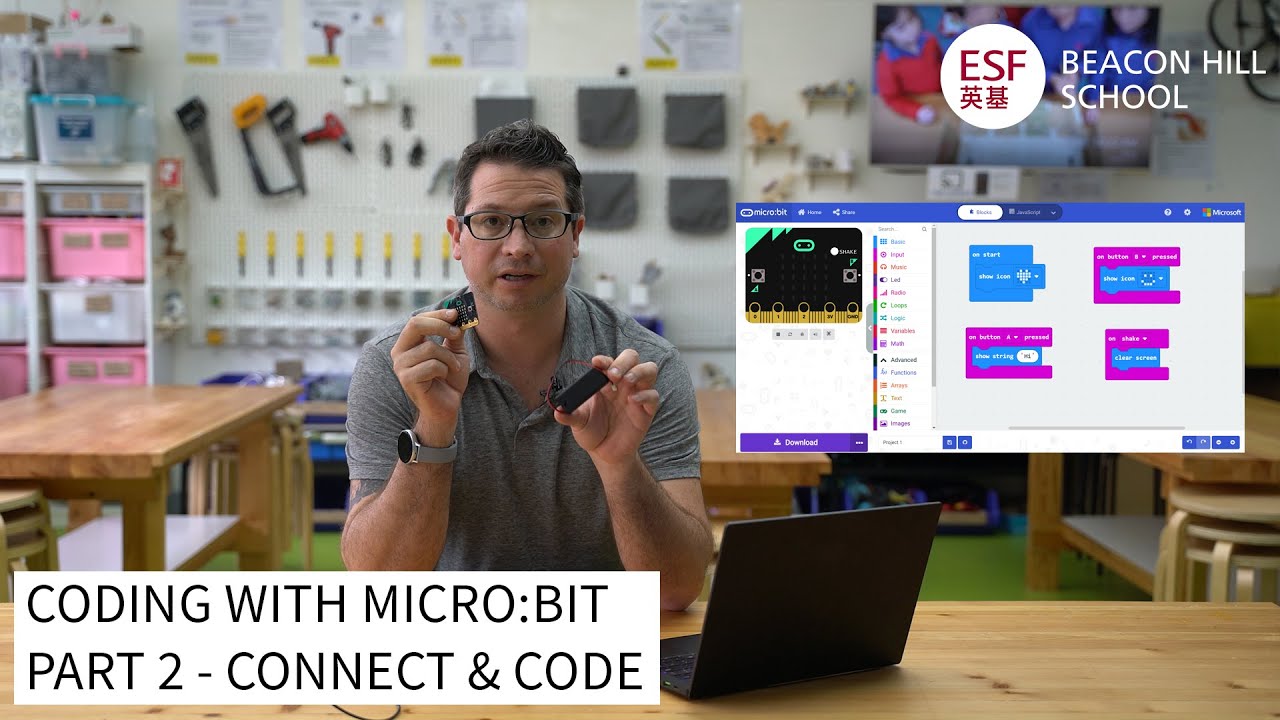
To make it work you have to tell it what to do by writing a computer program. Programs are called software. The micro USB cable is used to transfer the program onto the micro:bit.
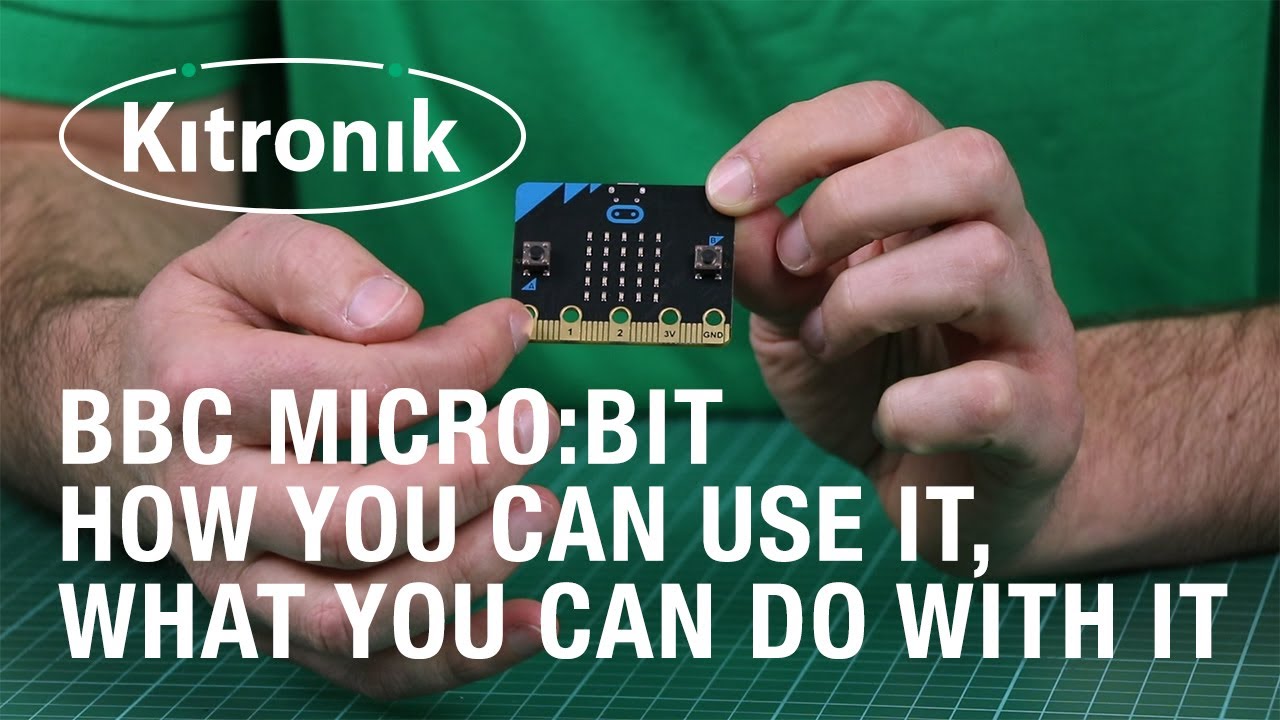
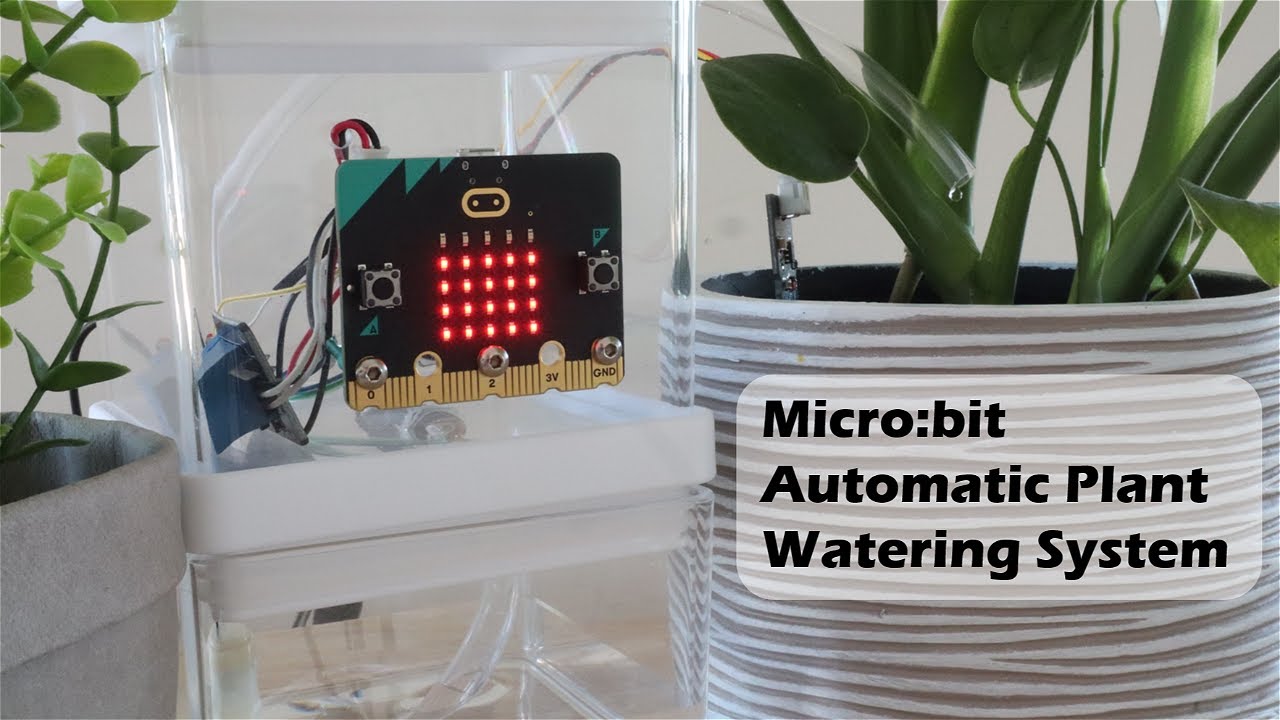
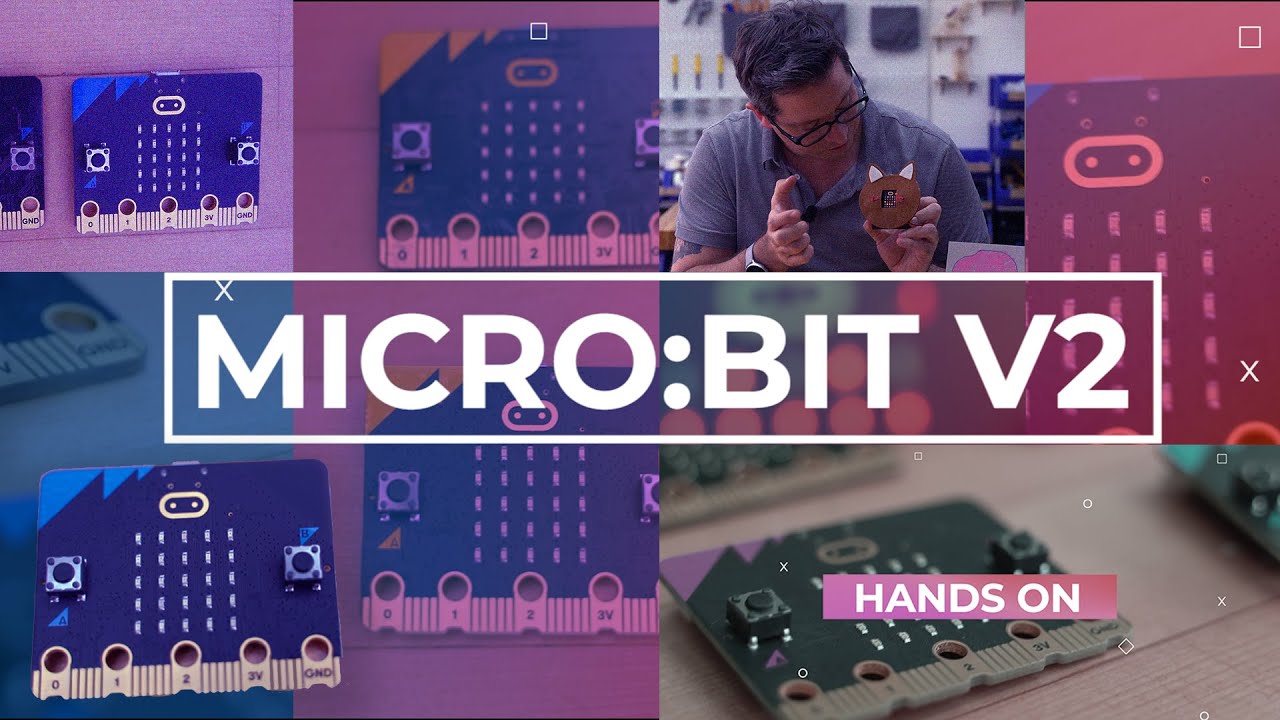
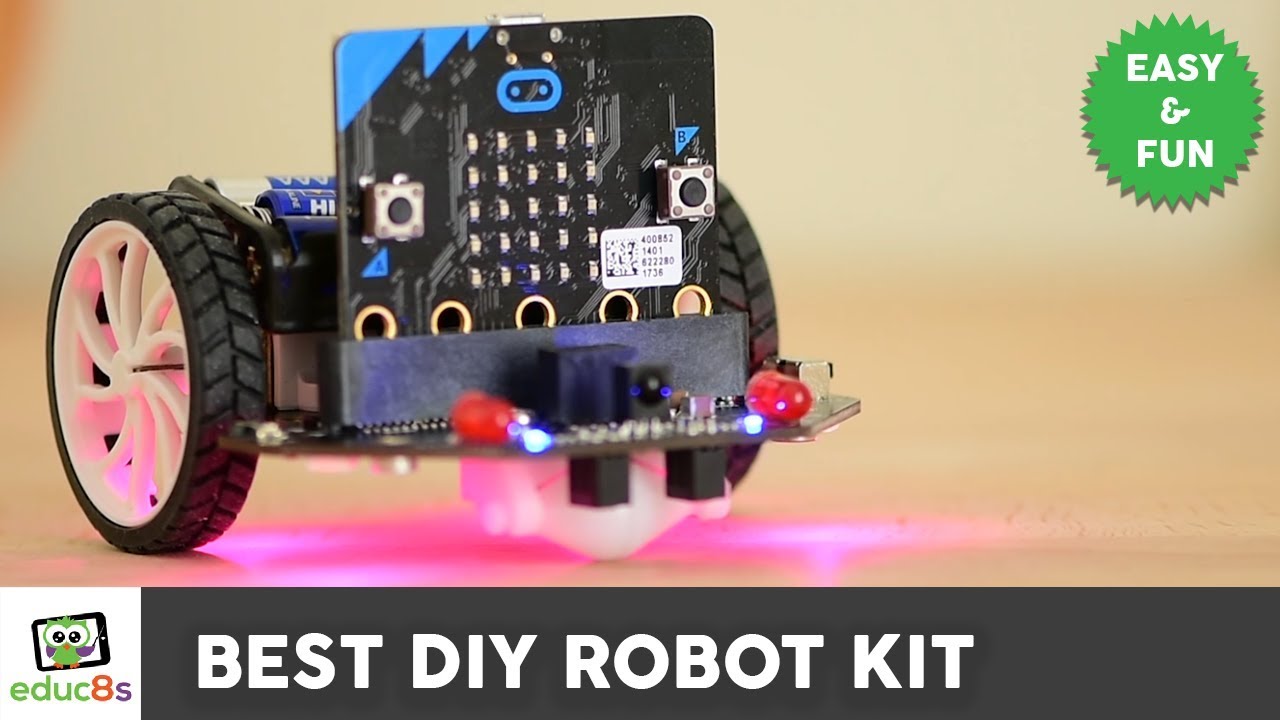
Let's have a look at it. On one side of the micro:bit you will see 25 LEDs arranged as a square to make a simple display. There are also two input buttons, button A and button B.
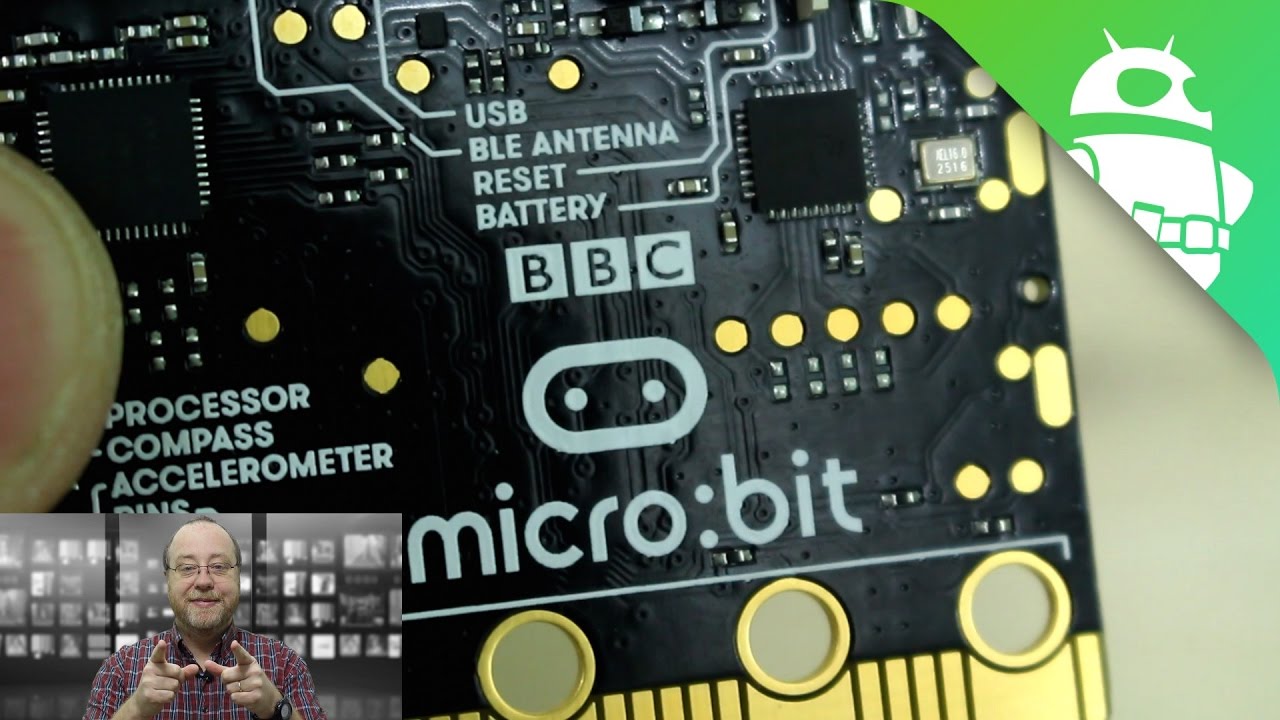
On the other side you will see a reset button and a small socket to plug in a battery pack. We explore the processor and other features in further videos in this series. The micro:bit can only do what you tell it to do, so the first thing you need to do is write a program.
You can use different programming languages to do this, for example MakeCode which works as a block and text editor, or the Python text-based editor. For beginners MakeCode is a good place to start. We've selected some simple projects to help you.
Choose one to get started. The latest version of the micro:bit has some exciting new features. The microphone adds a sound sensor and the special LED on the front of the micro:bit lights up to show you when this new sound input is measuring sound levels.
The speaker lets you add sound as an instant audio output to your projects. On the front of the new micro:bit its logo is now gold. This new capacitive touch sensor is an input that helps you interact with your micro:bit in even more exciting ways and now you can turn the new micro:bit off by holding your finger down on the reset button on the back and you can wake it up by pressing it again.