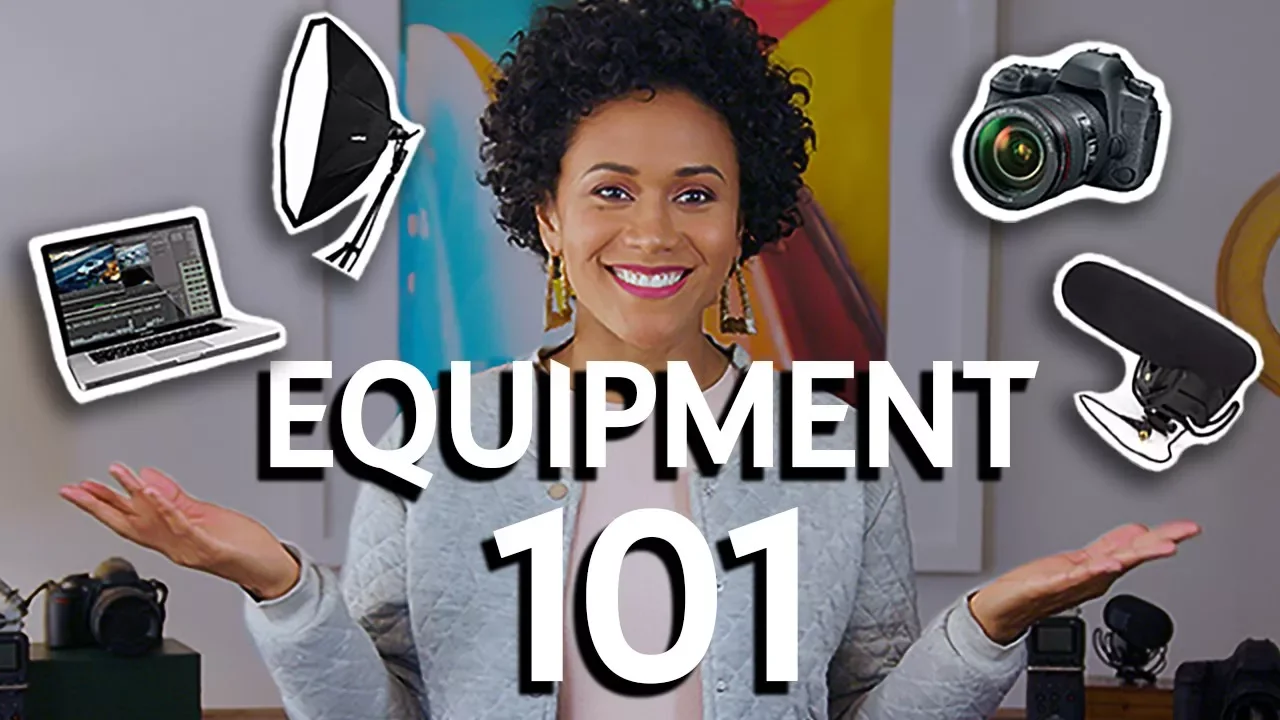
So, you're ready to start making videos—good! But what type of camera should you use, where will you record, is it quiet enough? Which mic?
What about the lights? Editing? So many questions.
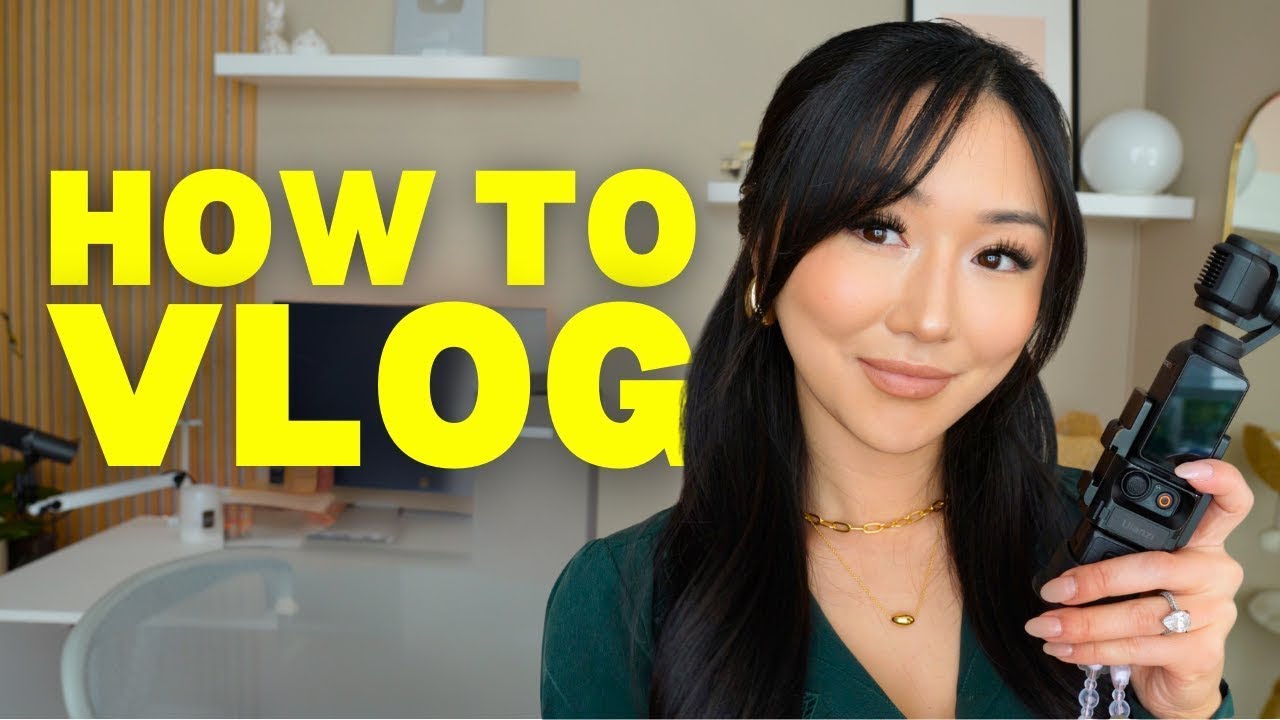
Making videos can be very intimidating, so come along and let's figure this out together, one step at a time. What's up beautiful people, it's your homegirl Maya Shameless all up in your building. And today we're going to be talking about how to jumpstart your video-making.
To be a YouTube creator, you need to have foundational knowledge of video production. Now, every creator has their own process, based on their own style, their goals. So, as we break this creative process down, make sure you guys keep that in mind.
Some people want that glossy, high-quality video while others are OK with something that's super-fast and quick so long as they have lots of uploads. So, as we go through, think to yourself, "how could these tips benefit my channel? " Let's get started with your number one asset: your camera.
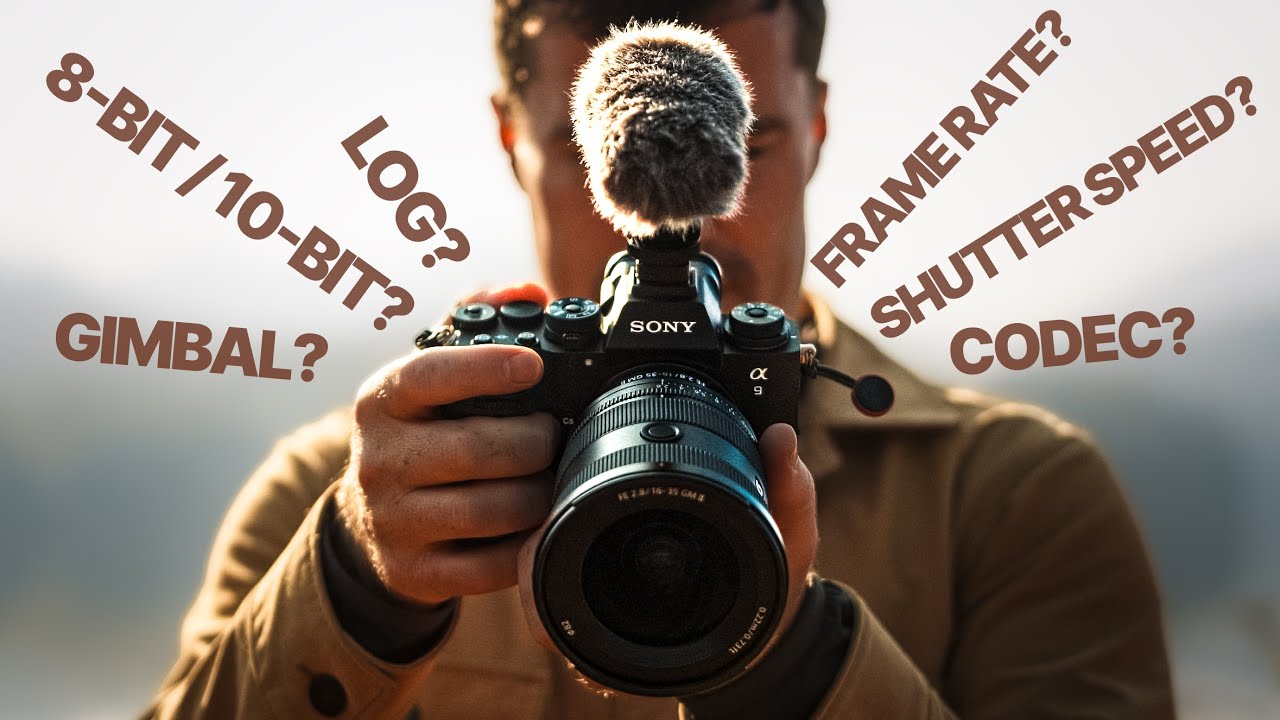
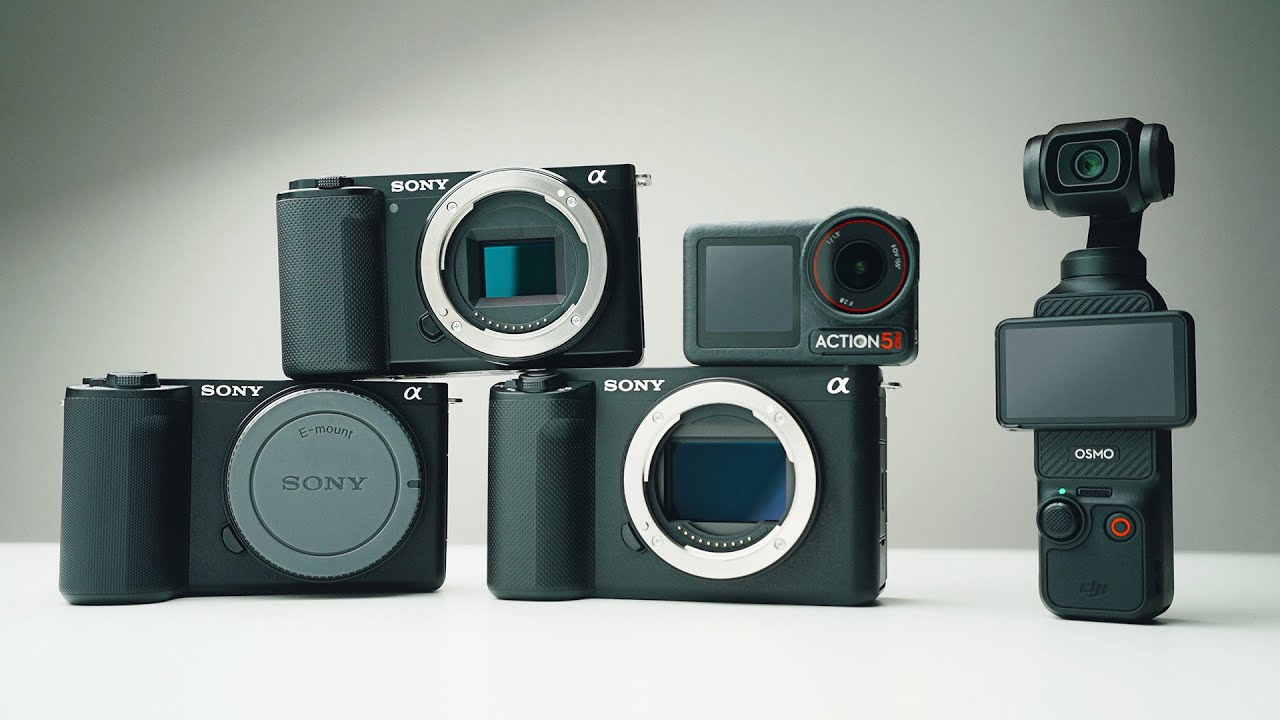
Here are two of the top camera options that we're going to be going over with you right now. A basic point-and-shoot camera, and a more sophisticated DSLR. Now, if you wanna know more specifics about brands you can always check out reviews and tutorials from other YouTube creators.
But first, let's go over how each of these cameras work and how they can help your channel. A point-and-shoot camera is gonna cost you something like $400–$700 USD and they're really simple and easy to use. They're a kind of all-in-one device that's great for frequent vlogging in almost any setting.
You can get one with a reversible LED screen as well so you can even see your shot. Here's some actual footage from a point-and-shoot camera. You can see that, even though it's a simpler camera it still has that nice, HD1080 look which is why so many top creators use them for their everyday videos.
Now, let's compare that to a DSLR. Don't worry what that stands for, it doesn't matter. What does matter is that you're gonna get a much more cinematic look that has a nice, blurry background.
And because of this, a DSLR is going to be more expensive often ranging from $500 to $2,500 USD. DSLRs are heavier, and they use interchangeable lenses You're going to need to be on top of getting focused and learning more technical aspects of using the camera. But don't even worry about it, there are plenty of tutorials on YouTube that will show you how to do this if you are interested in learning more.
That being said, you can see the difference. Pulling focus gives you that soft-focus background that comes across as very professional. Let's take a look compared to that point-and-shoot camera from before.
See the difference? Now, before I move on, I'm going to throw in an honorable mention. Nowadays, a lot of people are able to use.
. . Yes, their cell phones as their cameras.
This isn't going to give you the same quality but it's definitely impressive. It's a great option if you're not looking to spend a lot on a camera and you just want to start practicing on YouTube right now. Let's move onto sound, you might want to pay attention to this one because this is easily the place where most first-timers mess up.
That's because, while most viewers sometimes don't mind low-quality lighting they cannot stand low-quality sound. So, if you're still using your camera's on-board microphone make sure you're staying between 3 and 4 feet from the camera and if you want to get any further away from that that's where you have to get into more advanced options. So, this is a shotgun microphone.
It's recording what you're actually hearing right now and it runs you anywhere between $150 and $250 USD. Now, these microphones have directional recording. So, whatever it's directly pointed to, it's gonna pick up.
As long as your camera has a port for an external microphone you can just pop this on top and you are set. But, what if you want a much wider shot? That's when you use this guy: a wireless lavalier microphone, or a 'lav'.
Now, a lav kit can be anywhere between $200 and $600 USD—so a little pricier but if you need to be further away from the camera, it is a life saver. And a lavalier is also great when you're in a nosier location. Here's an example of a lav at work.
I'm outside, I'm standing super far away from the camera and I'm in a really tricky location. But I'm still getting really great quality sound. Let's switch over to the shotgun mic, and see how that stands up.
So here's an example of a shotgun mic out here. Not as great, right? Now, out of curiosity, let's switch over to the onboard camera mic and see how that stands up.
OK, so here it is. Can you hear me? Back to the lav, so much better.
I'm going to throw in another quick honorable mention. If you're really getting more advanced, and looking for a cinematic approach look into getting a boom microphone. That's where someone else is actually holding a mic over your head on what's called a boom pole during shooting.
It has great quality sound and again, this is only if you're looking to bring on a bigger crew. Most creators will be good to go with either a shotgun mic or a lav that we talked about. Both work to capture your voice, but some are better than others depending on what you're shooting or where you're shooting.
But again, it's all about what your specific needs are as a creator. So, let's move onto lighting. This is super important because it's what's going to help you show off your most important asset: yourself.
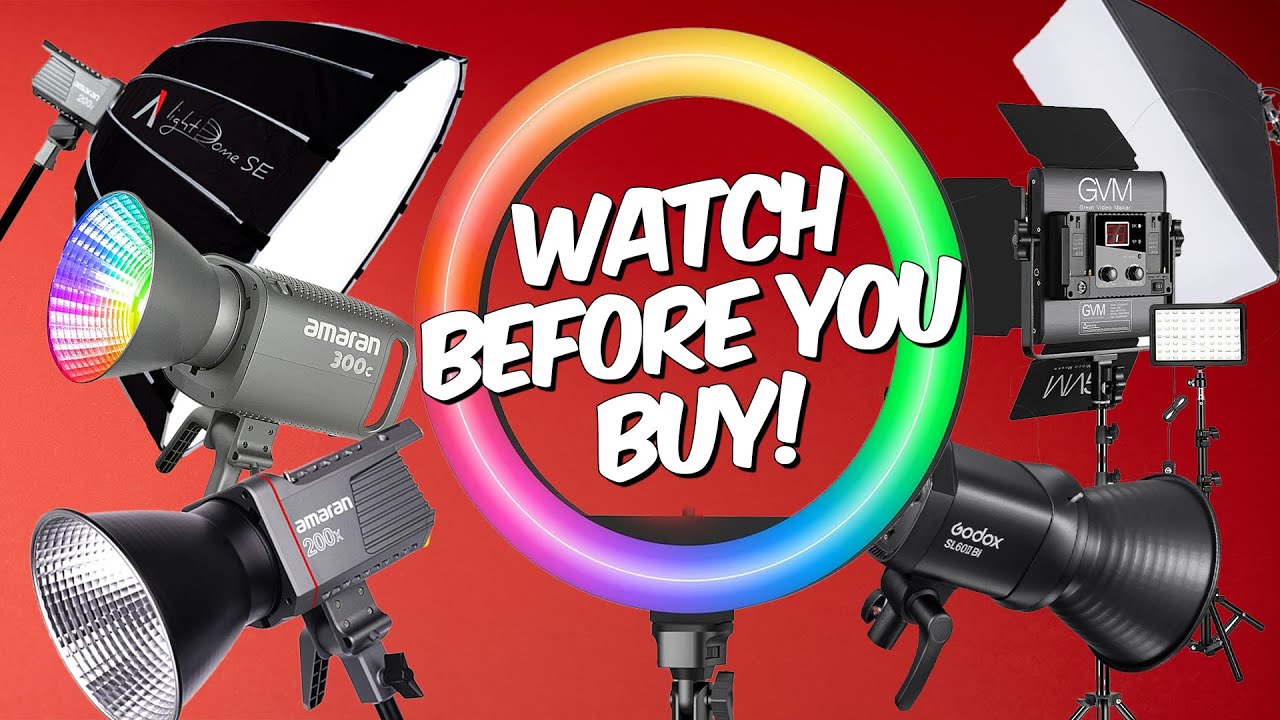
Most creators use something similar to what I'm using right now which is a two-point lighting system. That's two soft boxes lighting your face. One important tip that I have, especially if you get hot easily is to look into LED or fluorescent lights.
They run from $400 to $2,000 USD, but stay cooler than incandescent lights. You can also try to light up the background or play around a bit. But most importantly, show off your best self.
As you can see here, one of the best things about the soft boxes is that they create soft light as opposed to hard light. When it comes to your face, you always wanna make sure you go with soft because it means it diffuses the light and it's more flattering. It's the same reason lamps have lampshades.
Another option for soft, flattering light is a ring light. A ring light works really well to light up your whole face and give you that pop of eye light. It's basically a one-stop beauty light.
Our final lighting option is not only the brightest light in existence it's also completely free. The sun. A lot of creators just sit in front of a bright window to get that nice, natural light on their face.
Obviously this has limits in terms of the time of day you can shoot but it's still one of the easiest and cheapest options out there to get your glow on. So, let's see those three lighting options back to back now. The soft boxes give you a really polished look the ring light is great for beauty lighting and the window brings an easy way to light up your face.
They all work to keep you looking lit, so, what's best for you and your channel? So, you've made it to our last video-making topic: editing. Now editing is like a puzzle, you're going to take each piece of footage and stitch them together to tell your story.
It can get a little technical, but don't let that discourage you. If you're just beginning, there are a lot of great programs that are probably already on your computer right now. For example, you might already have iMovie if you're on a Mac or Windows Movie Maker if you're on a PC.
Focus first on learning how to do a simple cut. That way you can cut together your favorite pieces of footage just by dragging those pieces next to each other. >From there, you can learn how to use transitions, music or even effects.
Once you get the basics down you can always consider purchasing more advanced software. Some creators use editing programs like Adobe Premiere, Final Cut or Avid which can be anywhere between $100 and $1,000 USD. New creators, just stick to free programs, but just keep that in mind, you have options.
Of course if you want a more specific recommendation on brands or models give it a quick search on YouTube. You know creators are always passionate about sharing the tools they use and they have tons of great reviews out there that can help you make the right decision. But first, one more quick lesson.
Don't wait for the perfect equipment: start now. Practice with whatever you have, and improve with each video. OK, I hope that helps you jump into YouTube.
What advice do you have for people getting started? Do you have a favorite piece of equipment you'd recommend? Let me know in the comments below, and help each other out.
Now that you've got your equipment, ready to master the production skills? Check out this course on YouTube Creator Academy.


![Upbeat Lofi - Deep Focus & Energy for Work [R&B, Neo Soul, Lofi Hiphop]](https://img.youtube.com/vi/THh4fT0O7IY/maxresdefault.jpg)