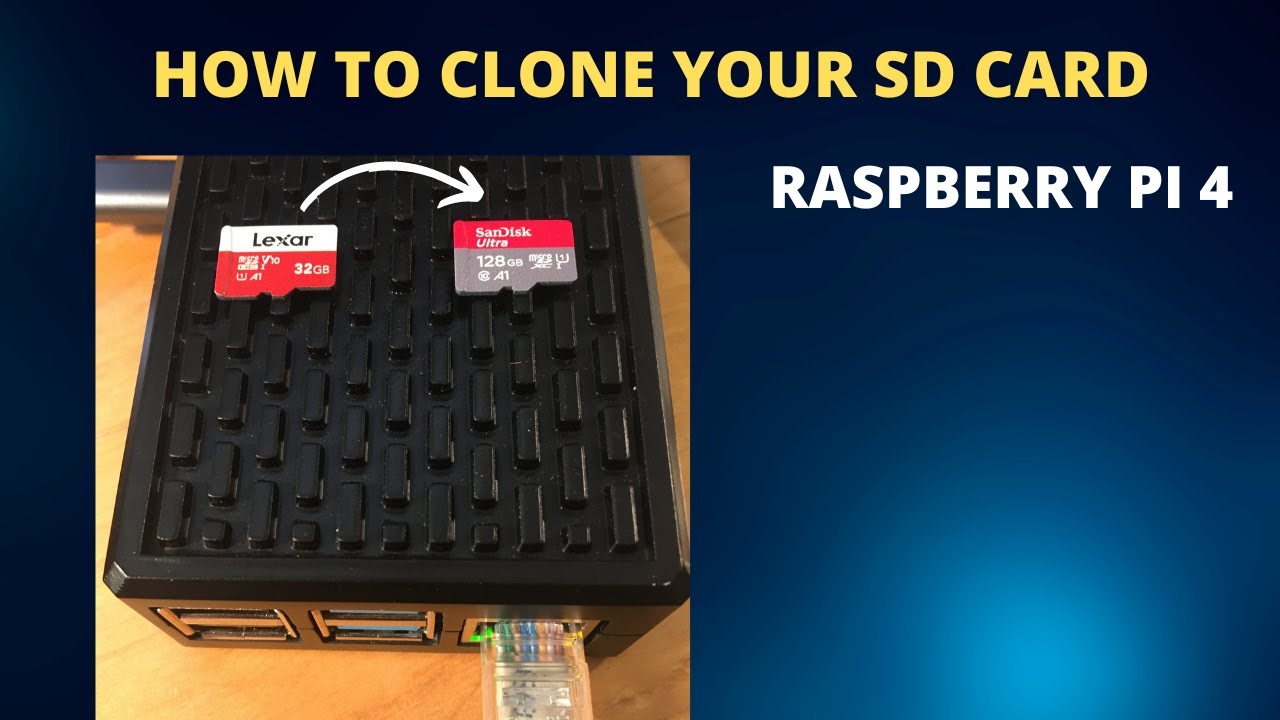
hey everyone mr sugi no here in today's video i'm gonna show you how to backup the image of your microSD card let's get started if you're wondering why you should back up an image on a microSD card well if you're a Raspberry Pi user I would say it's very important microSD cards can fail can become corrupt maybe you make a setting change for example if you're in retropie or in raspbian and things just don't work right afterwards if you have a backup image then you can just restore that image back to the microSD card and
you're golden and if you're wondering what an image is it's basically a complete backup 100% backup of everything that is on that micro sd card so this can be very useful as well if you want it to for example save your settings and give it to someone if you set up and configured retropie to work with a specific controller or a specific setting or if you've got an emulator to work really well with the Raspberry Pi or if you've got raspbian configured and you want to share that configuration with someone else you can put those
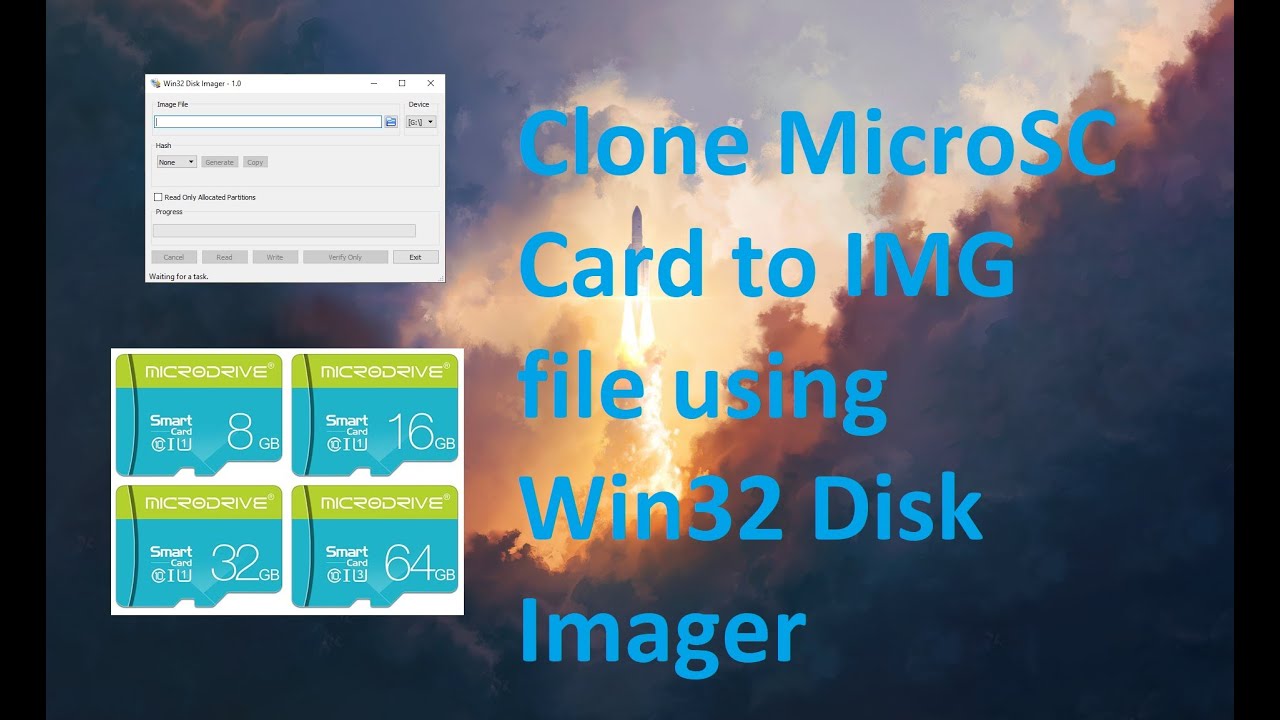
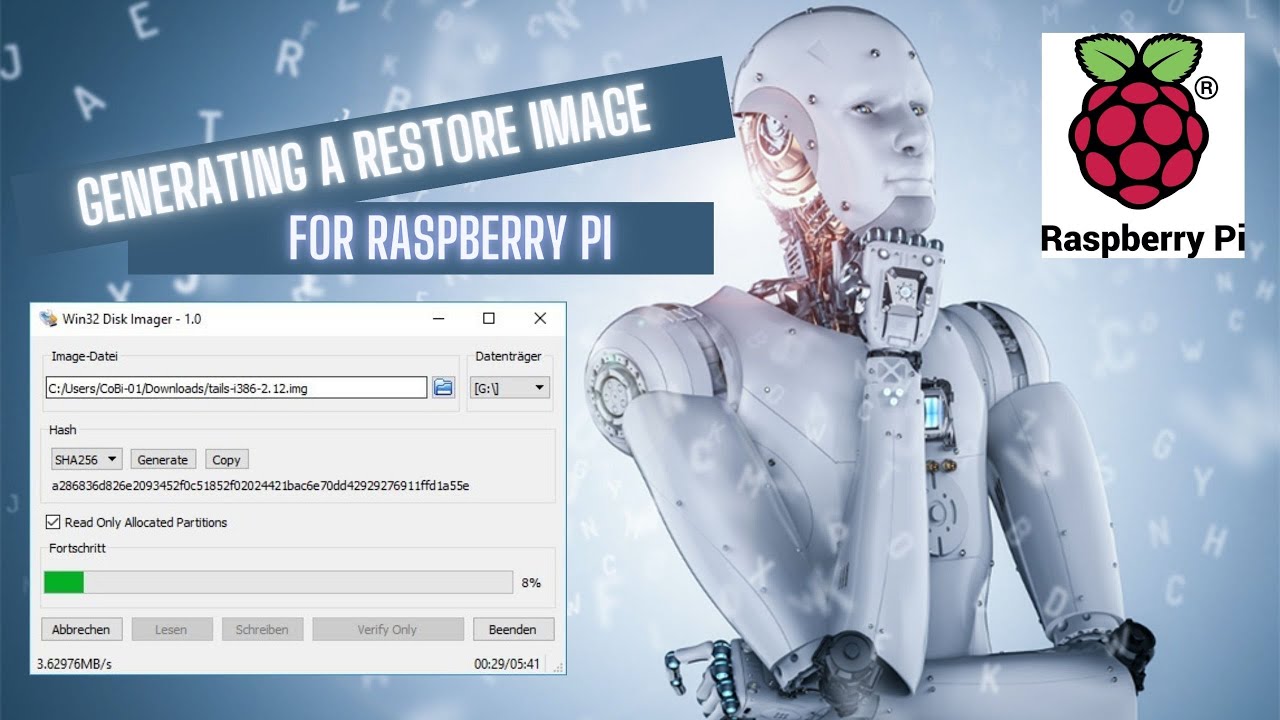
images on a I was gonna say floppy disk you can put them on a USB key you can send them to them online you can just put it on another micro SD card so it makes life a lot easier and it makes your Raspberry Pi experience incredibly better so I've had this website up in the background for a while now this is one of the programs that you will need this is called win32 disk imager I like this program it works very very well and I'll leave a link to the website in the description below
it is free now once you have 132 disk imager downloaded and installed you will need to plug the micro sd card into your computer I'm using an anchor micro SD card reader it's got a slot for an SD card and a micro SD card and this one is very very good it's USB 3.0 and I've found it to work pretty flawlessly so what I'm gonna do is I'm gonna copy the image from a micro SD card now once you plug the microSD card into the computer win32diskimager should automatically recognize the drive if not don't worry
close win32diskimager reopen it once the microSD card has been plugged into the computer the next step is to tell win32diskimager where you want to place your image so you can place it anywhere you would like provided you have space on the hard drive I'm placing mine in my drive and you also have to name the image here you have to name it dot IMG so I'm naming this retropie dot IMG and this is my backup image of retropie once you've done this the next step is to click read it says here read data from device
to image file now this step takes a little bit you can see here it's roughly gonna take 32 minutes to go through my entire micro sd card and create the image one-for-one all right so now when 32 disk imager has said read successful so at this point I have successfully created a perfect image of the micro SD card so if you just wanted to create an image of your micro sd card that's about it however if you did want to go one step further and restore that image to a micro SD card or a different
micro sd card then stay tuned so to write an image to a micro sd card I recommend using ature and I will leave a link to this program in the description below so we've already created the image file and now I need to connect this micro sd card to the computer so I'm just using the same anchor micro USB reader into my computer and I would like to take note of one thing as well you don't need the exact same brand or size of micro SD card that you use to copy the image so for
example if you have a 200 gigabyte image that you created from a 200 gigabyte card and let's say it was a samsung card and then you had a 256 gigabyte SanDisk card that you wanted to put the image to that will work as well what might not work is if you try to put the image on a smaller micro SD card so if your image is I don't know 150 gigs and you try to put it on a 64 gig micro SD card obviously it's not gonna work so I have selected the image that I
just created make sure you select the proper drive on here if you have external drives just make sure they're not connected or not selected make sure you're selecting the right Drive so I've only got one external drive plugged in right now and that is the micro SD card which is reading right here so I've selected the image I've selected the micro SD card the next step is to simply click flash creating the image and writing the image will vary in time based on the speed of the micro SD card based on the speed of your
USB Drive based on your computer based on the size of the micro SD card and image so you can see here this is gonna take a while it's ETA right now is 53 minutes and it's running at roughly 40 megabytes a second alright and just like that both micro SD cards are now the exact same plus I of the image backed up in case I need it for something else also I guess at your here is out of date so it's also reminding me to update that anyways that's all I've got for today if you
liked the video leave a like if you didn't like my video leave a like hit that subscribe button check out my other videos thank you everyone take care