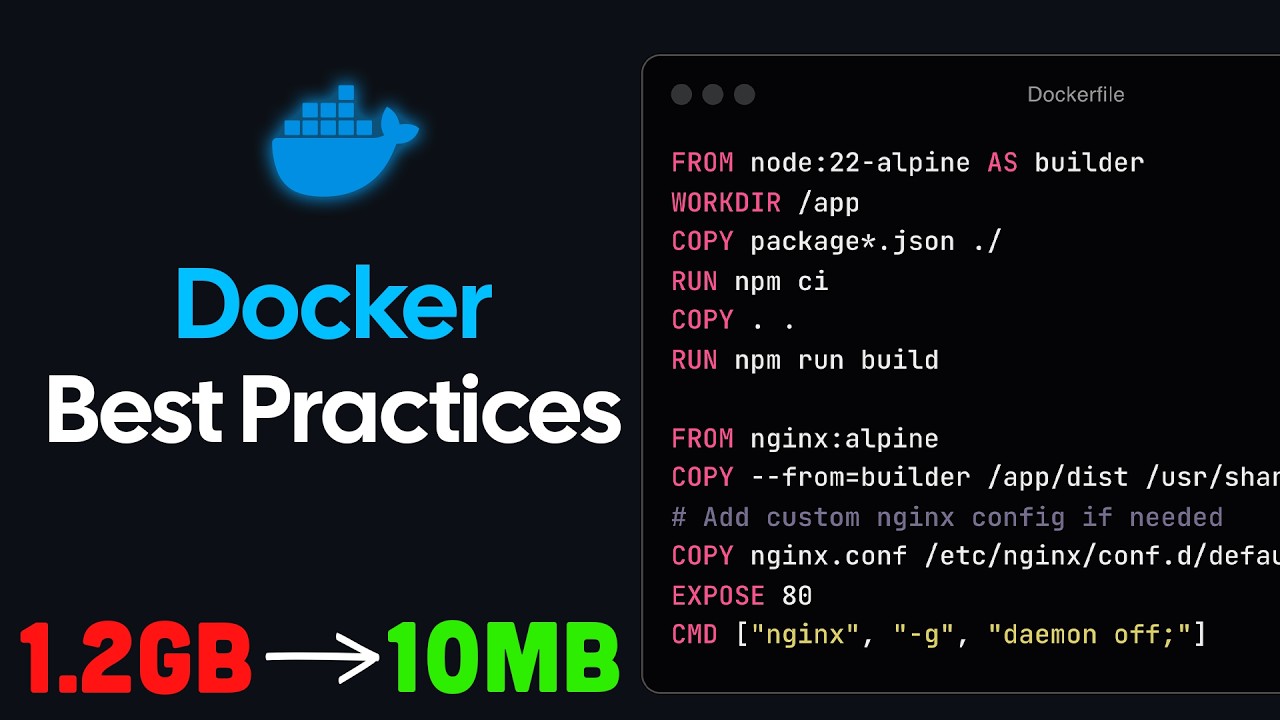
With Docker, it's easy to get into a situation where your Dockerfile is a complete mess and your deployments are getting slower and slower. So in this video, I'll take you step-by-step through creating an optimized and efficient Docker image. I'll cover picking the right base image, removing clutter from your Dockerfile, making it more secure, and a few things you probably didn't know were possible.
As a starting point, I have this very simple, extremely simple FastAPI app that just has one endpoint, a hello endpoint that you can send a parameter to, a name, and then it's simply going to return hello, name. Yeah, I know it's not very creative, but it works, right? Now, in order to run this locally using Docker on your machine, you of course need a Dockerfile.
And this is what that Dockerfile looks like. So basically, I need to install a bunch of dependencies here. I'm using Poetry in this case to handle the whole project, so I need to install that as well.
I need to set the path for that. We're also going to need some environment variables like a password and a user database host, that kind of stuff. I'm not actually using that in this particular example, but this is typically the thing you would need in a back-end API, right?
I'm setting the work there, so that's basically going to pick the local folder inside your Docker container where the files are going to be. I'm going to copy the application files into the container. Then, I will install the dependencies using Poetry.
I set up the virtual environment path correctly so it can find uvcorn. I expose the port, and then I start the FastAPI application. So that's my Dockerfile.
So now let's actually build this particular Dockerfile. As you can see, I've passed all of these environment variables as arguments to the Docker commands, so they're not in my Dockerfile, but they are actually passed like so. Now it's simply going to run this.
This is going to build the Docker image for me. As you can see, this took a while. It took 36 seconds.
We have a bunch of warnings here because, of course, these variables haven't been used, so I can mostly ignore that. I'm going to address some of these things later on in the video. But now that I have this Docker image, I can actually run this like so.
Now I have my uvcorn server running inside my Docker container, and I can actually take this URL, and I'm going to copy that. And when I paste this in Google Chrome, we see that we get this as a result. And I can even pass another name to the URL, like ariane, for example, and then that's going to give me this result.
You can also see these responses in the console when I'm running my application. So this is all working very nicely. Now there's another thing that is interesting to look at, which is what the Docker image and container actually looks like.
So as you can see, I have that particular image right here. I made that two minutes ago, so this is almost a gigabyte in size. And you also see that there is this container that we started in order to run the actual server.
So this is our starting point. Now, the problem with the starting point is already a pretty big one, is that we started with the Ubuntu base image. And it actually makes a massive difference if you pick a more suitable image for your particular project.
Ubuntu is pretty big, which is why the Docker image was kind of big, almost a gigabyte. So when you're creating a project, you can consider using a smaller image. There's a ton of different base images.
Now you might say, well, instead of Ubuntu, why don't we simply take the Python base image, right? Well, the problem is that the Python base image is actually also kind of large. So if I run this Docker build process again with the Python base image, you're going to see it's still going to be a pretty big size.
Even worse, if you look in Docker desktop, you see that the Python base image is actually 1. 68 gigabytes. And that's because it actually contains a lot of bloat that we do not actually need.
Now, the Python base image is actually based on Debian, which in principle is a good distribution. But there are different versions of that that you can pick. For example, you could use Bookworm, which is Debian 12 codename.
Or you can use Slim, which is no documentation, debugging tools, et cetera. You also have a combination, which is Slim Bookworm, which is both of these together. If you want an older version of Debian, you can use Bullseye or Buster.
If you can, though, consider using official images only because of maintenance reasons. These tend to be more frequently updated in terms of security, but also in general. Here I have almost the same version of this Dockerfile, but I replaced it with the Python Slim Bookworm image.
And if we go back to the original one, you can see that here I needed to install Python. So in this case, in our Python Slim Bookworm image, that's no longer needed because Python is already installed. So let's build this version of the Docker image and see how it compares to the first one.
In terms of timing, it helped a little bit. We went from about 37 seconds to 31 seconds, so that saves a bit of time. Not that much, though.
But when you take a look at the size now, you see that this is now a bit less than what we had before. So it's 868 megabytes instead of 937. And by the way, as you can see, I've added this no cache tag.
That's not important. It's just so that I recompile it from scratch each time so we don't get any bias in terms of. Now the next step is to think about the tag that you use.
Be sure to not always use the latest tag. This is a so-called rolling tag. Basically, every time there's a new version, the latest tag is going to be updated.
And since we didn't use a tag here, it's going to automatically be the latest one. If you're more specific, you can prevent unexpected changes in your base image. You'll have more control because you know the size, the contents and so on of the image that's being built.
This doesn't always minimize the image, right? It's possible that a particular version of this image is larger than a older version, but for maintenance purposes, this is actually a good idea. So you always know which version you're using.
For example, here I have yet another version of the same Docker image, but there I've added the 3. 13 tag. So let me now build this version of the image.
As you can see, this takes around the same time as we had before. And when we look at the Docker image stack, it's going to be the same size because probably 3. 13 is also the latest tag.
But now at least we are in control of the version that we're using. Let's further clean up this Docker file. So in this current version, we simply install like a bunch of stuff, but you can actually do that a bit more effectively.
Here I have another version of that Docker file where the apt-get command has the no install recommends option. So this basically doesn't install recommended package, but only what you actually need. So only the main dependencies are installed.
Talking about dependencies, by the way, this installs Poetry and so on. Actually for running the production environment, you won't actually need Poetry. There's a way to avoid that this ends up in your production image that I'll show you also in a minute.
But this already saves quite a bit of space. And having a small Docker file is actually nice because that just makes your deployment way faster. So let's now build this version of the image.
So this saved yet another second of build time, which is, you know, not much, but it's still nice that it's there. But again, we made our file a little bit smaller. We're now nearing 800 megabytes.
So we're making step-by-step a little bit of progress here. But we can do even more. Here's yet another version of that same Docker file where I'm actually removing the files and folders that are right here.
And what this actually does is that it removes metadata about package report stories that apt uses to manage software. So this includes information about the packages that are available, versions, dependencies, other details that it retrieves, something that you really don't need to have in your final image, right? So let's also build this Docker image and see how much space we save by doing that.
As you can see, that removes another 30 megabytes of space. Also, we're now at a build time of 25 seconds. So from the very first version of Docker, we already shaved off 10 seconds of the build time, which is pretty nice.
Now, the next change that I'm going to make is to use a different builder. Here's an example of the Docker file that actually uses UV. This is going to dramatically increase the speed of the build because Poetry's dependency resolver can actually be pretty slow.
Note, if you're changing from Poetry to UV and you use a pyproject. tomofile that's Poetry-specific, you might need to change the contents of that file, which, anyway, is good practice to do. So one thing that I did have to change here is that I needed to change from slimbookworm to bookworm because UV depends on things like curl in order to install itself.
So most likely, the image is going to be a bit bigger than the version before, but as you will see, it's actually building a lot faster than when we used Poetry. So as you can see, we're now at a build time of 8. 7 seconds, which is a really nice improvement.
Unfortunately, because now we switched again from slimbookworm to bookworm, our image size is now 1. 61 gigabytes, which is not great. But we're going to fix that in the next step, which is to use a multistage build.
So in order to make your Dockerfile more efficient, you can leverage multistage building. So you could use one image for downloading, installing, compiling, everything that you need to build your program. Then you copy over what you actually need to a new image, and then the new image is what actually is going to be deployed.
Docker can handle these multiple stages for you. You can do all sorts of different stages, as many as you like, but also be careful that it doesn't become too complex. In my view, if we're simply dealing with Python projects like the one I have here, actually having two stages is nice.
One for building, compiling, installing everything, and one for actually running the web server, the FastAPI server. So what does that actually look like? Doing multistage build is actually really easy.
So here I've changed the Dockerfile so that it now uses a multistage build. So here I'm still using 3. 13 bookworm, because that's needed in order for UV to run correctly.
I simply follow the process as I did before. However, of course, UV only needs the PyProject file in order to install its dependencies. So I simply copy over the PyProject file to the build image and then let UV create the virtual environment and install all the dependencies.
Then I have the production stage, which, again, uses slim bookworm. I set the environment variables that the server is going to need. I set the work there.
I copy over the files. And from my builder stage, I copy over the VM folder, the virtual environment. I set up the path, expose the port, and then I simply run UV record just like before.
So that's a simple multistage build. Let's run this and see what we got. So as you can see, this is still really fast.
Actually, it's now even faster. It just took 5. 3 seconds to build this whole thing.
And when you take a look at Docker Desktop, you also see that this image is now really small. We saved a lot of space by not having all of these build tools installed in our image. So it's really clean, really minimal, which is really great, because deploying this is now going to be really fast.
Having such a small Docker image is great. This also means it's going to save you on storage costs, because these things are typically stored in registries on the cloud. And now perhaps it's a good idea to just check that this actually is still running as expected.
So here I'm running the UFCONN server with my multistage build image. So it all seems to work as expected. And let's try calling an endpoint just to make sure that that also works, which it does.
But we're not there yet. Actually, we can still further improve the efficiency of this Dockerfile. One thing that you want to avoid is what you also see me do in this Dockerfile that I have right here, and that I'm still copying over everything.
Actually, this is not needed. My production application doesn't need all the files. And most likely, I'm now copying over a bunch of things that are not really necessary, because there is my source folder.
There might be some other stuff here, like VS Code settings. Who needs VS Code settings in a production image, right? It's not necessary.
So you can actually be more specific and only copy the things that you need. That can lower your image size. Now, in this case, it's just a couple of files.
It's a basic example. But it's possible that you might accidentally copy over gigabytes of node modules from a related TypeScript project or something else. So you want to be really careful and only copy the things that you actually need.
So here's another version of that same Docker image where I'm not copying over everything, but I just copy over the source folder, because that's the only thing that I need. Let's build this image and see what we end up with. Now, what's really nice now is because we have already optimized the build process so much, I actually don't even need to skip the video.
It's just building ridiculously fast now, which is really nice. And as you can see, this didn't really save me a lot of space in this particular instance. But if you're accidentally copying over huge files, this is going to make a massive difference.
Another reason, by the way, to make sure that you're only copying things that you actually need is for security issues. If you simply copy everything, you might accidentally copy over files that are sensitive, like . env files or other things.
So I'm really happy with this Dockerfile size. Final things that I want to show you is a few ways to make your Dockerfiles and images a bit more secure. So the first is to use a better mechanism of loading secrets by using secret mounting.
And here's an example of what that looks like. So instead of, in the previous version, simply taking environment variables directly, what you can actually do is mount secrets by doing this. So you refer to an id, a secret id, and I get these from a call to a cat of slash run slash secrets of these particular secrets that we store.
And I'll show you how to call this because that's also going to be slightly different. And doing it this way, it means that the secret is only accessible for this specific run operation. So other run operations will not be able to access the secret.
So this is the value that the container will use. And this particular bit is going to set the environment variable in the image. Note that this is not like the ultimate most secure way because anyone that gets a hold of this image will still be able to access these credentials and tokens.
An alternative solution to this is to actually use some sort of vault like a HashiCorp. But this is not going to be covered in this video. I might do a video about that in the future if you want to know more about that.
But honestly, this is good enough if the image is not going to be shared with others. Because when I'm mounting secrets, the Docker build command is also slightly different. So here we need to specify the secrets like so.
So we specify the id and then we specify the environment variable. So you need to make sure when you call this that these environment variables are defined. So let me run this.
And again, we're going to have very fast build time, but now it's going to use secret mounting. In terms of Docker file size, there is no difference here. It's really just a way to make your Docker image a bit more secure.
Final thing that I recommend you do, and that's also the last thing that I'll show you here, is that you should create a non-root user. And set it as the user under which the container will run. This is a security best practice.
By default, Docker containers run as the root user. And that means if an attacker exploits some sort of vulnerability in your application, they might gain root access to the container. If you run this as a non-root user, that limits what an attacker can do inside your container.
Even if someone gains access, they won't be able to modify system files or install new software inside your container. And this actually also helps for you because then you can't accidentally modify system files or write data where you shouldn't. So how do you do that?
Actually, really simple. The only thing that you need to do is add an actual user. So here I'm creating a new user.
I'm calling that app user. And then I'm going to simply switch to that user. And then actually that's how the rest of the container will run.
So let's build the container. Now the final version of the container took less than five seconds, which is really nice. It's really fast to build.
And if you look at the size, well, we have a slightly increased size with related to the last one because now we're, of course, creating a user. That apparently takes up some space, but not much. So in the end, what we now have is a really fast build.
The image is really small. And it's also pretty secure. Now, before I finish this video, I need to vent a bit.
We actually had a lot of trouble getting all of this to work like we wanted. Working with Docker honestly proved quite hard. That's, for example, no easy way to inspect the contents of a container except for logging LS commands, which makes it really hard to test.
If you combine that with multistage builds, access permissions, local files versus files in the Docker image, different files and folders in the different images that are used in multistage, the working directory, default paths that various tools like UV use, and it's really easy to get lost. To give you an example of the really stupid things that you can run into is that I have here my final version of the Docker file. As you remember, I copied the pyproject.
toml file over. If I simply copy over everything, which includes the pyproject. toml file, and then I'll try to run this image.
So the image actually builds fine. But when I then try to run it, it can't find uvigor. I have no idea why.
If I change this to only use the pyproject. toml file, I'm copying over exactly the same VN folder. There's no change.
UV can install dependencies in exactly the same way. But now when I run the Docker image, it works without any issue. For some reason, I'm not able to copy over everything, but if I only copy the pyproject.
toml file, it works. I still haven't figured out what is going on. I have no idea why this works.
If you have any idea why this is happening, I'd love to hear about it. Post it in the comments below. I literally spent hours trying to figure this out, and in the end, I basically just gave up.
Now, I've put a link to git repository in the video description that contains all of the Docker files and all the different versions that I showed you today. Feel free to use these as you wish in your own project. Something that I didn't talk about at all in this video is how to actually use Docker for your local development setup.
That's really important because you want your local setup to resemble production as closely as possible to avoid nasty surprises. Check out this video where I go over exactly what you need to do to set that up correctly. Thanks for watching, and see you next time.